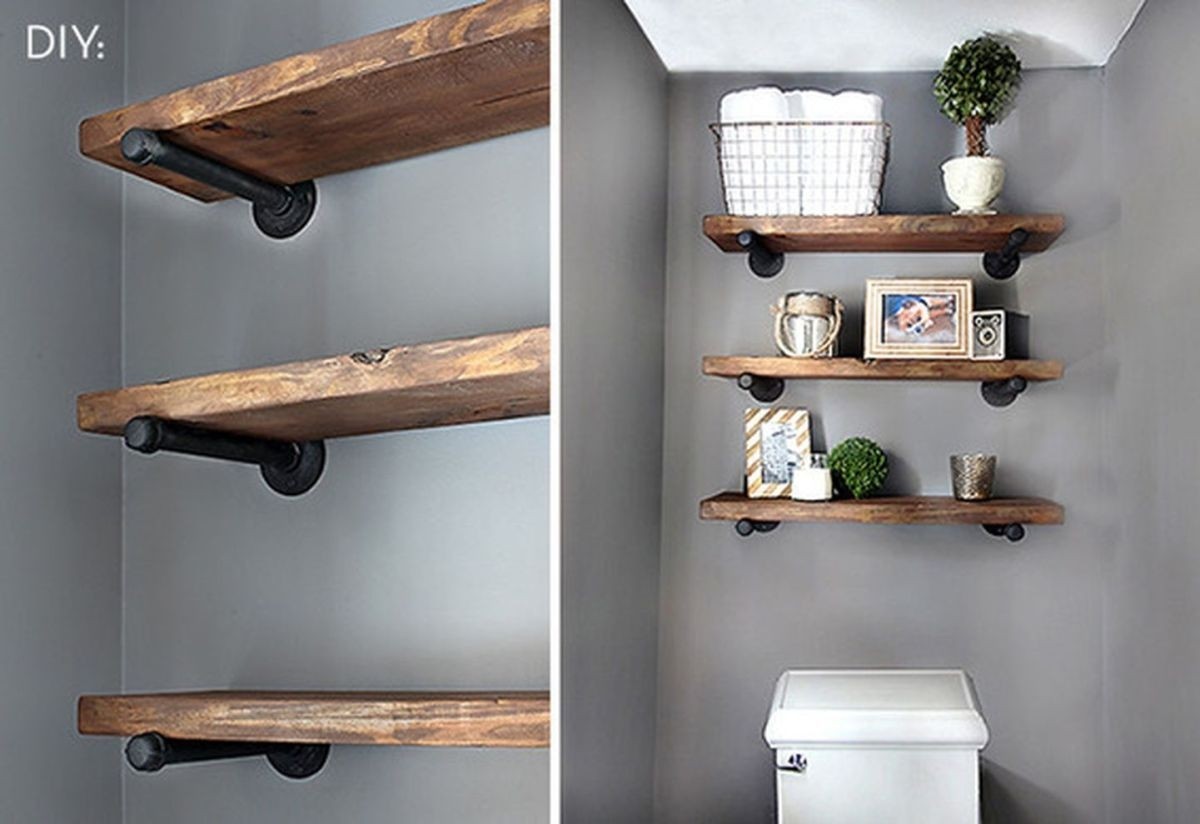
Creating DIY bathroom shelves above the toilet is a smart and practical way to utilize unused wall space, especially in smaller bathrooms where storage can be limited. These shelves can add both functionality and style to your bathroom, giving you a place to store essentials like towels, toiletries, and decor items. When done right, DIY shelves can transform your bathroom, making it more organized and visually appealing. The beauty of making your shelves is that you can customize them to fit your space, style, and storage needs perfectly.
One of the first considerations when planning to install DIY shelves above the toilet is the size and dimensions of the space. You’ll need to measure the wall area above the toilet carefully to ensure the shelves will fit without being too large or too small. Most people opt for shelves that are about 8-10 inches deep and spaced 12-15 inches apart vertically. These dimensions provide enough room for storing most bathroom essentials without the shelves protruding too far into the space, which could make the bathroom feel cramped.
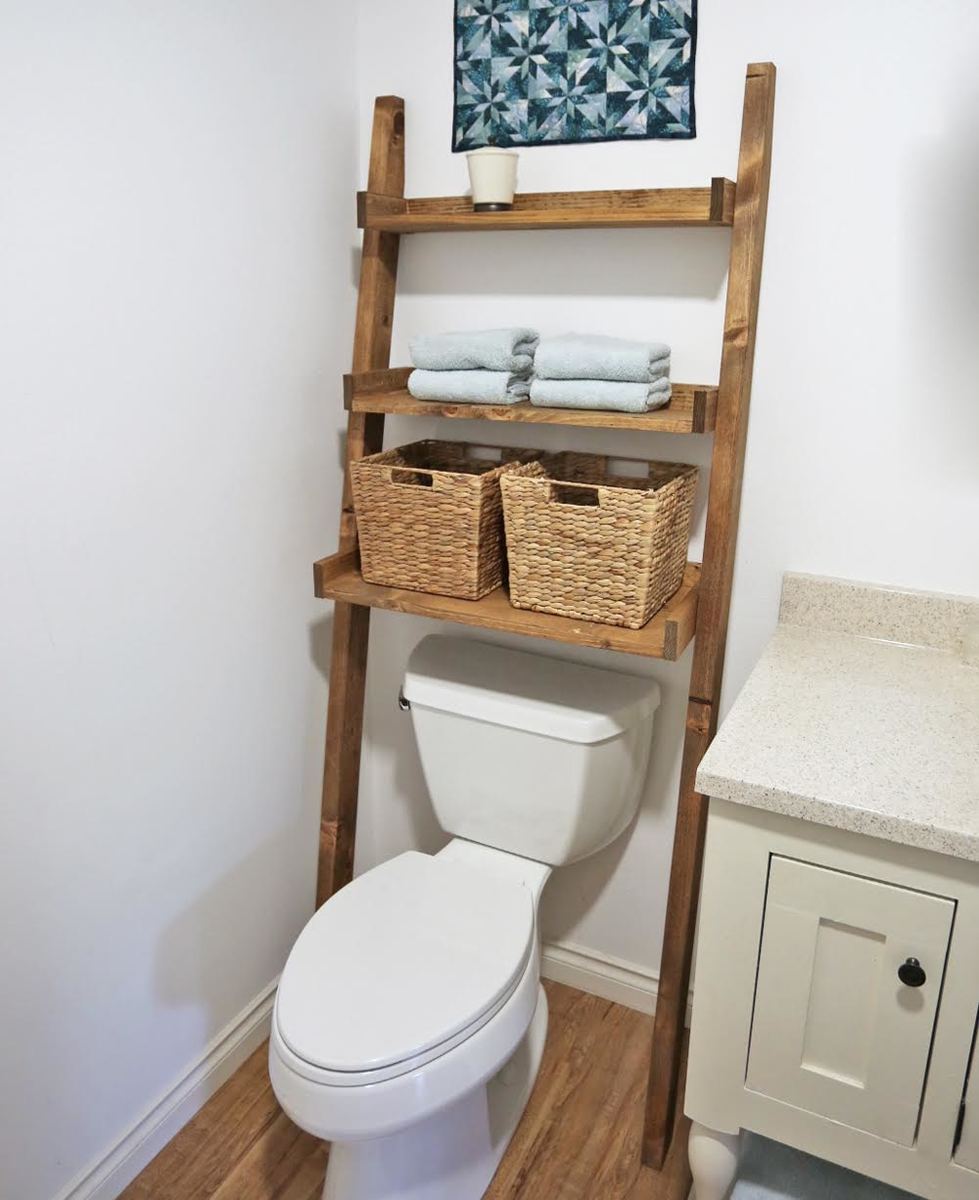
Choosing the right material for your shelves is also essential. Wood is the most common choice for DIY shelving projects due to its versatility and aesthetic appeal. Depending on your bathroom style, you can select different types of wood or finishes. For example, stained wood can provide a warm, natural look that works well in rustic or traditional bathrooms, while painted wood in a solid color can give a more modern, sleek feel. If your bathroom has a lot of moisture, consider using water-resistant materials like treated wood or composite boards that won’t warp or rot over time.
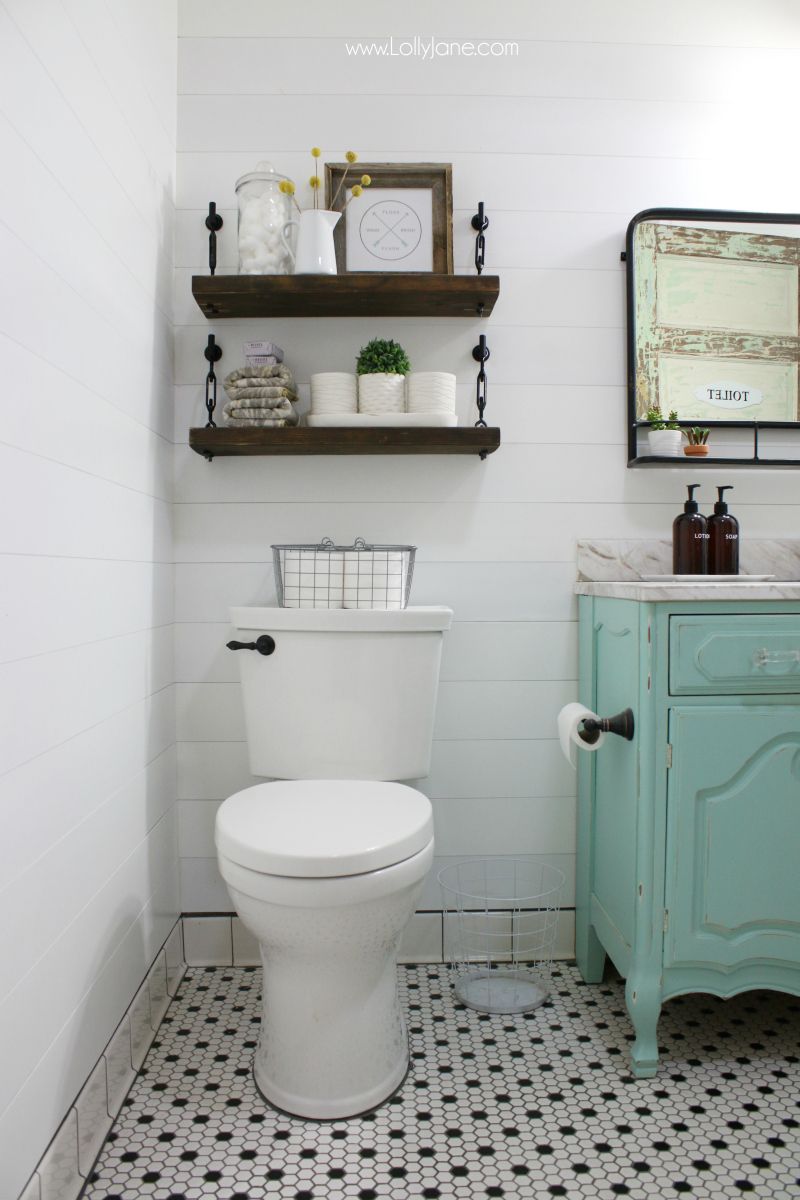
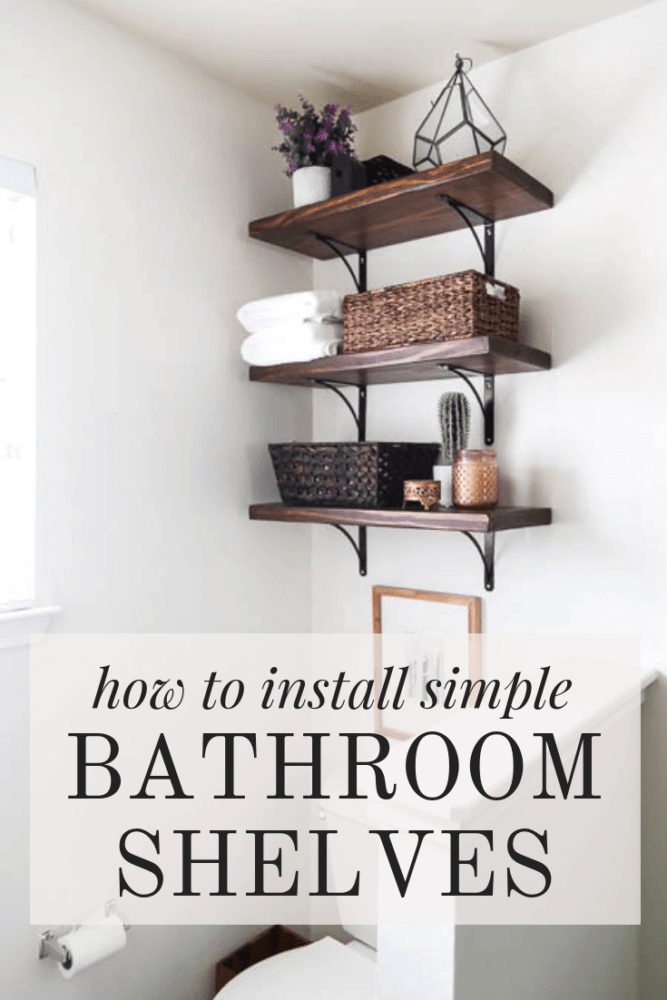
When it comes to designing your shelves, the possibilities are endless. You could go for a simple, minimalist look with floating shelves that appear to be suspended without visible brackets. Floating shelves are popular because they create a clean, uncluttered appearance, perfect for modern or contemporary bathrooms. On the other hand, if you prefer a more industrial or farmhouse aesthetic, you could opt for shelves with visible metal brackets or iron piping, which adds a bit of texture and contrast to the design. The choice of hardware plays a crucial role in determining the final look of the shelves.
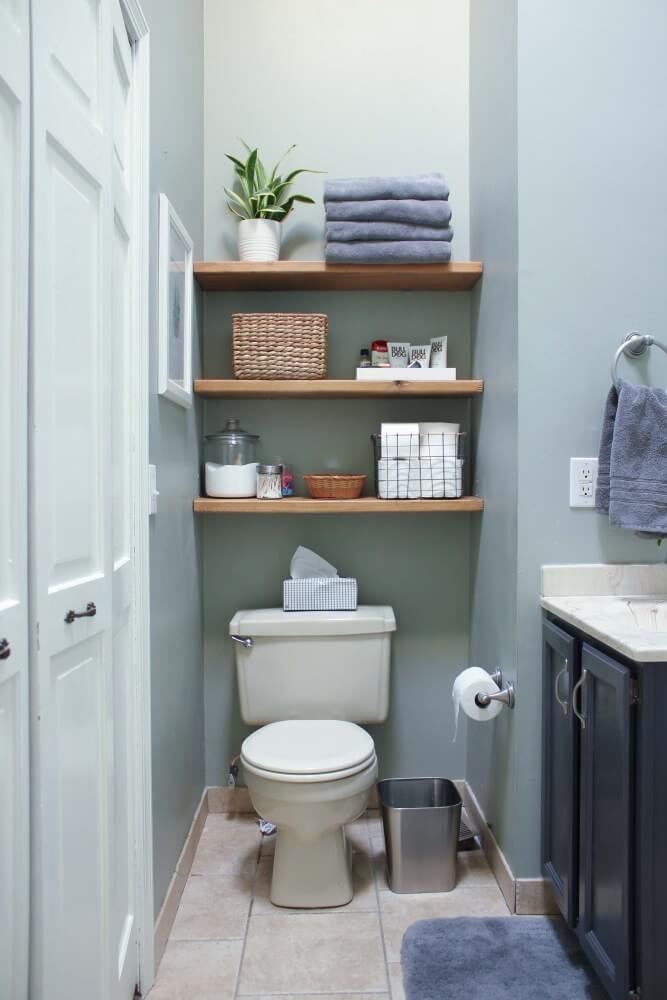
Another aspect to consider is the spacing and placement of the shelves. You’ll want to place the first shelf at least 18-24 inches above the toilet tank to allow for easy access and avoid bumping your head when using the toilet. After that, you can space additional shelves at regular intervals, ensuring there’s enough vertical clearance for the items you plan to store. For example, if you’re storing towels or taller decor items like vases, you’ll need more space between the shelves compared to storing smaller items like toiletries or candles.
The installation process is fairly straightforward, especially if you have basic DIY skills and tools. To begin, you’ll need to locate the studs in the wall behind the toilet. Shelves that are attached to studs are much sturdier and can hold more weight compared to shelves that are simply screwed into drywall. If you can’t find studs in the right location, you can use heavy-duty wall anchors designed to support shelves. Once you’ve marked the location of the studs or anchors, you can install the brackets or hardware and then attach the shelves.
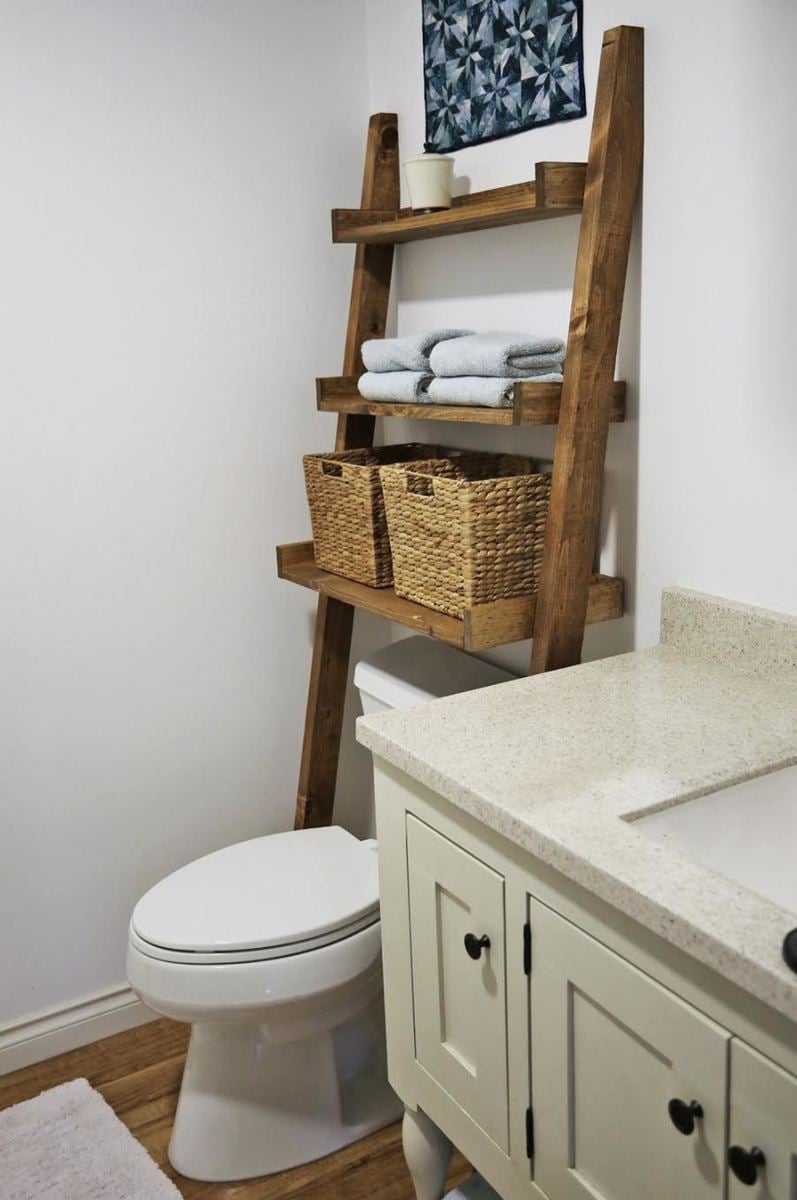
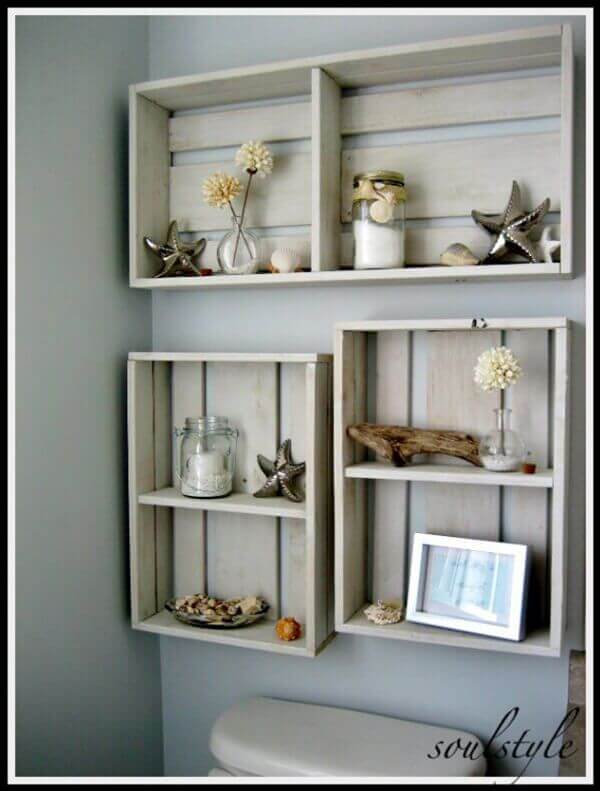
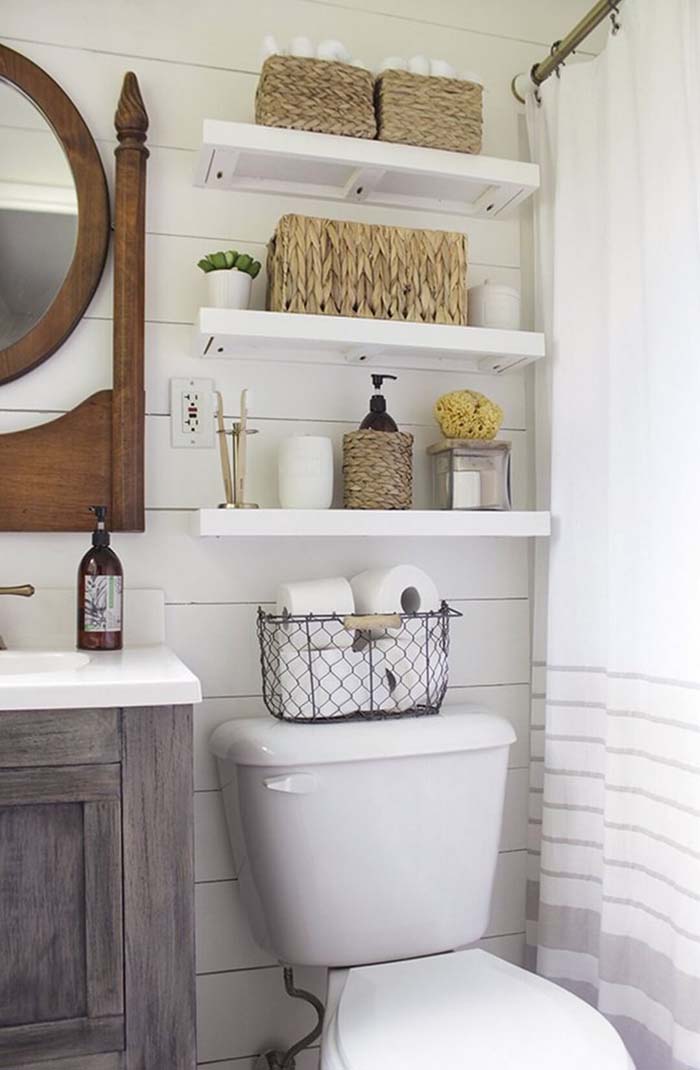
After the shelves are securely mounted, it’s time to think about how to organize and decorate them. A common mistake is to overload shelves with too many items, which can make the space feel cluttered and chaotic. Instead, aim for a balanced mix of practical storage and decorative elements. For instance, you can use baskets or bins to neatly store smaller bathroom essentials like toilet paper, toiletries, or cleaning supplies. These containers not only keep things organized but also add texture and style to the shelves.
In addition to practical storage, you can incorporate decorative items to enhance the overall look of your bathroom. Small plants, candles, or framed art are popular choices for adding a personal touch to bathroom shelves. Succulents or air plants are especially well-suited for bathroom environments, as they thrive in humidity and require minimal maintenance. These decorative accents can help soften the hard lines of the shelves and add warmth to the space.
If you’re working with a small bathroom, it’s important to strike a balance between storage and decoration. While you may be tempted to use every inch of shelf space for storing bathroom essentials, leaving some open space will make the shelves feel less crowded and more visually appealing. Try to group items in clusters, leaving some negative space between them to create a more cohesive and organized look. This also helps to avoid the shelves feeling overwhelming or overly busy.
Another way to enhance your DIY bathroom shelves is by incorporating lighting. Adding LED strip lights or small puck lights underneath the shelves can create a soft, ambient glow that highlights the items on display and adds a touch of luxury to the space. Lighting is particularly useful if the shelves are placed in a darker part of the bathroom, as it can make the area feel more inviting and functional.
If your bathroom has limited natural light, consider using lighter colors for the shelves and the items placed on them. White or light-colored shelves can help brighten up the space and create a more open, airy feeling. Pairing these lighter shelves with mirrors or reflective surfaces can further enhance the light and make the bathroom appear larger. This is especially beneficial in small bathrooms where space and light are at a premium.
One of the main advantages of DIY bathroom shelves is their flexibility. If you ever want to change up the look of your bathroom, you can easily repaint or restain the shelves to match a new color scheme. You can also swap out the hardware for a different style, such as switching from rustic iron brackets to sleek, modern chrome or brass supports. This allows you to update the look of your bathroom without having to completely replace the shelves, making it a cost-effective way to keep your decor fresh and current.
In addition to being flexible, DIY bathroom shelves above the toilet are a great way to add value to your home. Well-designed and functional storage solutions are always a selling point, and potential buyers will appreciate the added convenience and style that custom shelving brings to a bathroom. Even if you’re not planning to sell your home anytime soon, investing in practical storage can enhance your day-to-day experience by making your bathroom more organized and user-friendly.
Another benefit of DIY bathroom shelves is that they provide an opportunity to express your style. Whether you prefer a minimalist, modern look or something more eclectic and decorative, your shelves can be a reflection of your taste and creativity. The ability to choose your materials, finishes, and hardware means that your shelves will be one-of-a-kind and tailored to your specific needs.
Last, building your bathroom shelves is an affordable way to upgrade your space. While pre-made shelves or custom cabinetry can be expensive, DIY shelves can be made with budget-friendly materials and still look high-end. By sourcing your wood, brackets, and paint, you can control the cost and ensure that the final product meets your expectations without breaking the bank.
Common Mistakes to Avoid
One common mistake is not measuring the space accurately before starting the project. Always measure the wall space above the toilet to ensure that your shelves will fit without crowding the area or sticking out too far, which could make the bathroom feel cramped. Double-check your measurements to avoid unnecessary mistakes.
Another frequent error is overloading the shelves with too many items. While it’s tempting to use the shelves for storage, overcrowding can make the space look cluttered and disorganized. Aim for a balance of practical storage and decorative items, and leave some negative space to avoid a chaotic appearance.
Not securing the shelves to studs is another major mistake. If the shelves are not properly anchored, they may not be able to support the weight of stored items and could eventually pull away from the wall. Always locate studs or use heavy-duty wall anchors designed for shelves.
Choosing materials that aren’t moisture-resistant is another pitfall. Bathrooms are humid environments, so using untreated wood or materials that aren’t designed to withstand moisture can result in warping, mold, or decay over time. Opt for treated wood or other water-resistant materials to ensure the shelves last.
Neglecting to use a level when installing the shelves can lead to a crooked, uneven appearance. Always check that the shelves are level before securing them to the wall. Even a slight tilt can be noticeable, especially when the shelves are positioned above eye level.
Last, rushing the project can lead to poor results. Take your time when cutting, painting, and installing the shelves to ensure a polished and professional-looking finish. It’s better to spend a little extra time getting everything right than to end up with a project that looks rushed or incomplete.
What materials should I use for bathroom shelves above the toilet?
For bathroom shelves, materials like treated wood, composite boards, or metal are ideal due to their moisture resistance. Wood is a popular choice because of its versatility and can be painted or stained to match your bathroom’s aesthetic. If using wood, make sure it’s sealed or treated to withstand humidity and prevent warping. Metal shelves, while sleek, should be rust-resistant to endure the damp bathroom environment.
How high should I place shelves above the toilet?
Shelves should be installed about 18-24 inches above the toilet tank to allow enough clearance for access and prevent any awkward bumps. The height depends on the ceiling height and the number of shelves you want. Typically, shelves are spaced 12-15 inches apart, but this can be adjusted depending on the items you intend to store.
What tools do I need for DIY bathroom shelves?
The basic tools include a tape measure, stud finder, level, drill, screws, and wall anchors. If you’re working with wood, you’ll also need a saw (or have the wood cut at a hardware store), sandpaper, and paint or stain. A miter saw helps cut angles if your design requires angled cuts.
Do I need to find studs to install the shelves?
Yes, attaching shelves to studs is important to ensure they are sturdy and can hold weight. If there aren’t studs where you want to place the shelves, use heavy-duty wall anchors designed for holding shelves. These anchors provide extra support, especially if you’re storing heavier items like toiletries or decor.
What can I store on bathroom shelves above the toilet?
You can store a variety of items, such as towels, toilet paper, toiletries, and cleaning supplies. Decorative baskets or bins are useful for keeping smaller items organized and out of sight. You can also add decor like plants, candles, or framed art to enhance the bathroom’s overall aesthetic.
Can I update the shelves if I change my bathroom decor?
Yes, DIY shelves are easy to update. You can repaint or restain the shelves in a different color to match the new decor. Additionally, swapping out the brackets or hardware can give the shelves a fresh look without having to rebuild them. This makes DIY shelves a flexible and cost-effective option for long-term use.
Shelves Above Toilet
DIY Bathroom Shelves: Built In Bathroom Shelves Above Toilet
Related articles:
- Bathroom Shelf with Towel Bar West Elm
- Bathroom Towel Rack Shelf Wall
- Bathroom Shower Shelf Black
- Bathroom Corner Shelf Ladder
- Bathroom Shelf with Blow Dryer Holder
- Glass Bathroom Shelf with Gold
- Bathroom Shelf Unit Bamboo
- Floating Shelf Height Bathroom
- Bathroom Shelf with Soap Dispenser
- Vintage Bathroom Glass Shelf
