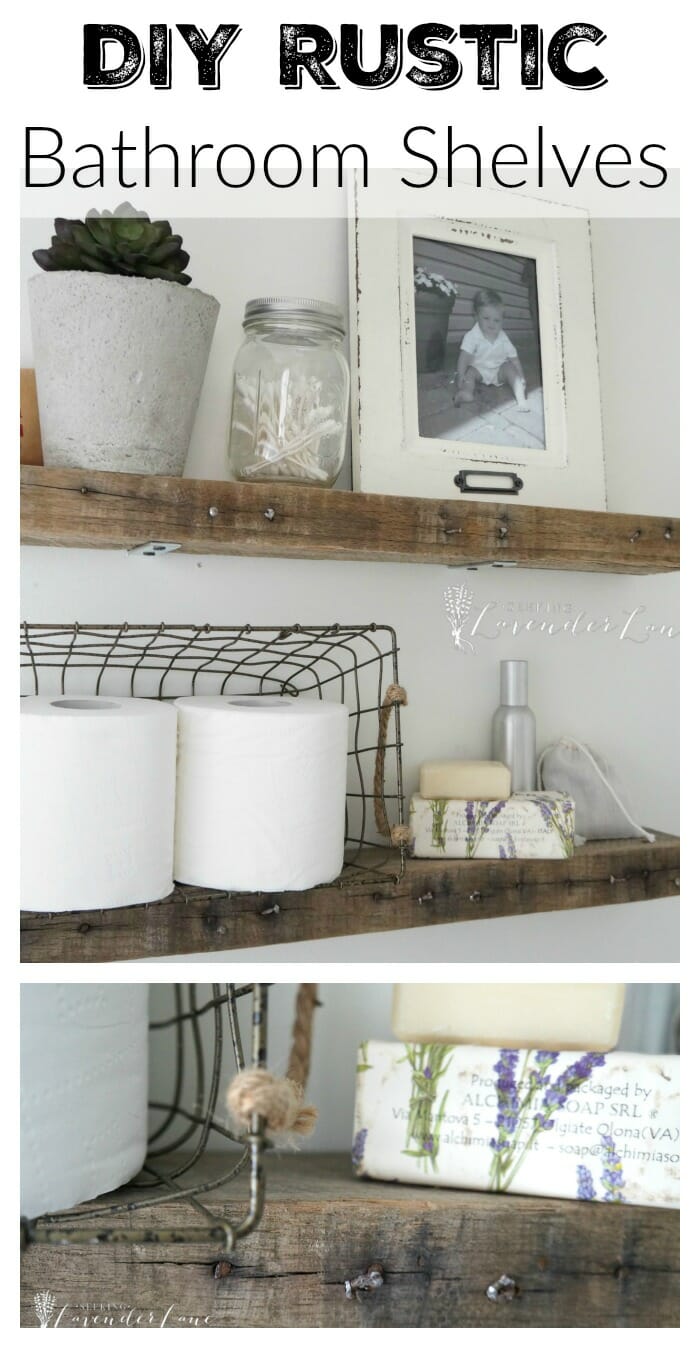
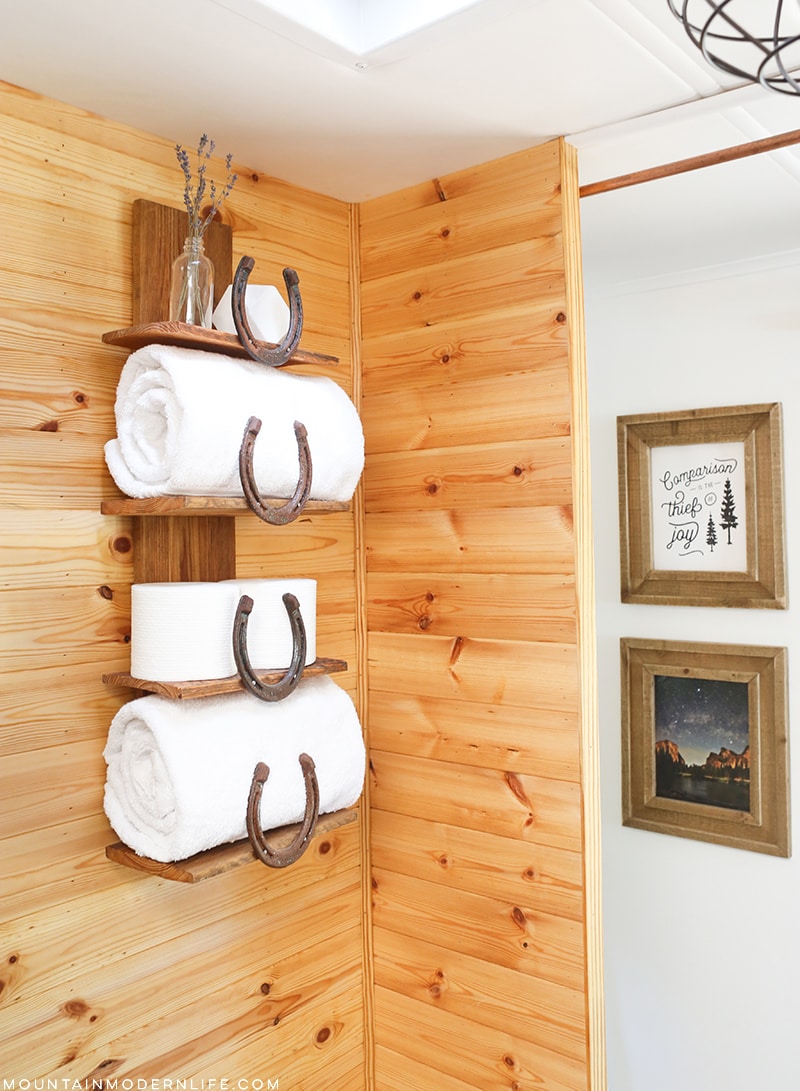
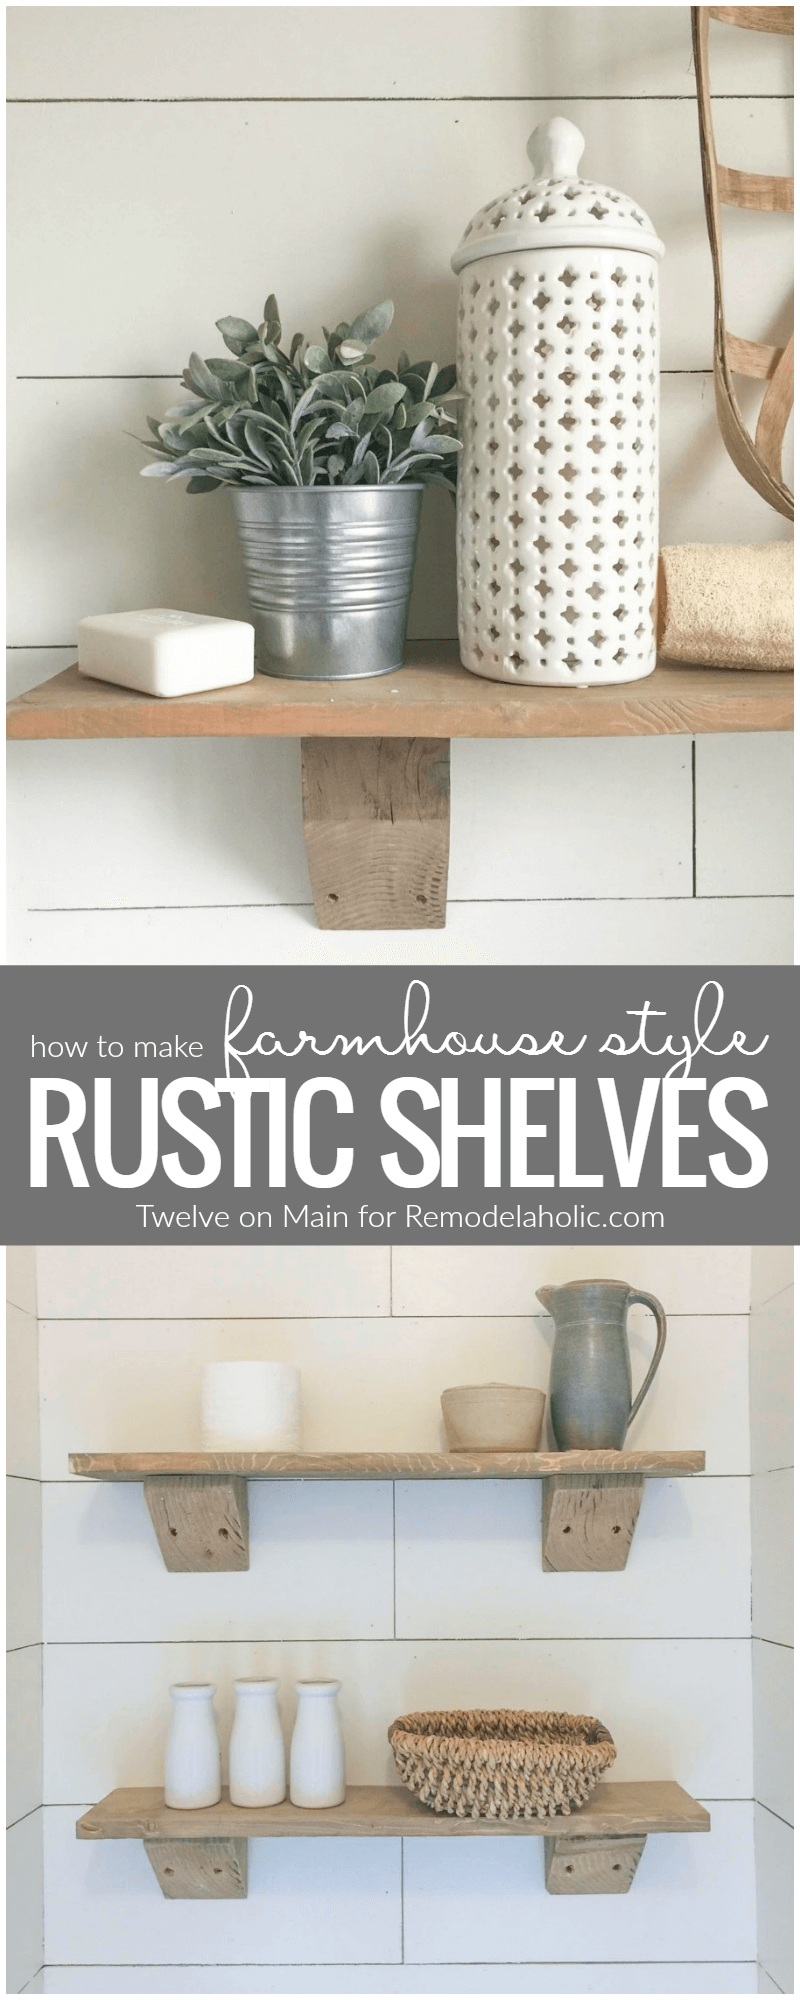
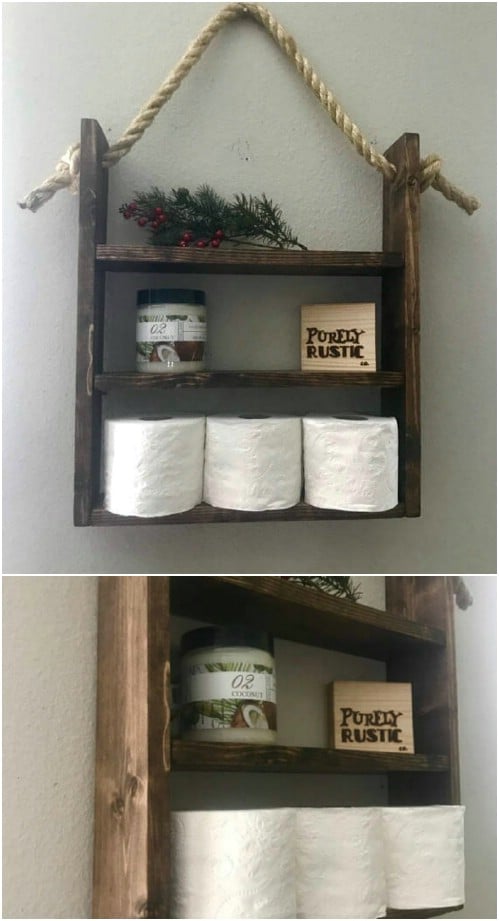
Creating a rustic bathroom shelf yourself can be a fun and rewarding DIY project, especially if you love the charm and warmth that rustic decor brings to a space. Rustic shelving not only offers practical storage but also adds a touch of natural beauty and personality to your bathroom. One of the first things you want to consider when planning your rustic bathroom shelf is the type of materials to use. Reclaimed wood, weathered boards, or even old pallets can be excellent choices for a rustic aesthetic. The imperfections in these materials—knots, grain patterns, and worn textures—enhance the vintage, lived-in look that characterizes rustic design. Finding these materials is often as simple as visiting a local salvage yard or repurposing old furniture or crates you no longer use.
The design process can be as simple or complex as you want it to be. If you’re new to woodworking, you might want to stick to a basic shelf structure with minimal cutting and sanding. Measure the space where you intend to install the shelf, keeping in mind how it will fit into your existing bathroom layout. For example, a long, narrow shelf might work well over the toilet, while a shorter, deeper shelf could be perfect for under a mirror or above the sink. Once you’ve measured the dimensions, sketch out a basic design for your shelf, factoring in the number of levels, how deep the shelves will be, and the type of brackets or mounting hardware you’ll need.

Rustic design typically embraces simplicity and functionality, so don’t overthink the details. The beauty of the rustic style lies in its imperfections and the natural look of the materials. When choosing your mounting hardware, consider using cast iron or oil-rubbed bronze brackets to maintain the rustic feel. Another option is to incorporate leather straps or rope as supports, adding texture and a unique twist to the typical shelving setup. If you’re going for a floating shelf design, make sure you have sturdy wall anchors to support the weight of the wood and anything you plan to store on it.
Sanding is one of the key steps that ensure your shelf not only looks great but is also safe to use. While rustic wood can be left slightly rough for aesthetic purposes, it’s still important to sand any sharp edges or splinters. Start with a coarser grit sandpaper (around 80-grit) to remove any large imperfections, then work your way to finer grits (up to 220-grit) for a smoother finish. This step is particularly important if you’re using reclaimed wood, as it may have nails, screws, or other debris embedded in it. Be thorough in checking the wood for any hazards before you begin sanding.

Once the sanding is complete, it’s time to apply a finish. While many rustic designs leave the wood raw and untreated, sealing it with a clear varnish or wax can protect the shelf from moisture and wear, especially in a bathroom environment where humidity is high. Matte finishes work best for a rustic aesthetic, as they keep the wood looking natural and unpolished. If you prefer a darker tone, consider using a stain that enhances the wood grain without giving it too much shine. Whatever finish you choose, make sure to apply it in thin layers, allowing each coat to dry completely before adding the next.
Mounting your rustic shelf requires careful attention to ensure it’s level and secure. Use a level to mark where the brackets or anchors will go, and double-check your measurements before drilling any holes. If you’re installing the shelf over tile or drywall, be sure to use appropriate anchors to support the weight of the wood and anything you plan to store. If the shelf is going above a sink or in a high-traffic area, you’ll want to make sure it’s particularly sturdy. For larger, heavier shelves, it might be necessary to mount them into wall studs for added support.

After the shelf is mounted, decorating it is where you can let your creativity shine. Rustic decor tends to favor natural, earthy tones and textures. Consider filling the shelf with woven baskets for storing toiletries, glass jars for cotton swabs and Q-tips, or small potted plants to add a touch of greenery. Wooden trays, ceramic containers, and vintage-style mirrors can also enhance the rustic feel. Keep in mind that too much clutter can detract from the clean, simple lines of a rustic shelf, so aim for a balance between practical storage and decorative pieces.
Lighting can also play a big role in highlighting your rustic shelf. Soft, warm lighting works best with this style, so if your bathroom lighting is currently too harsh, consider swapping out bulbs for something more ambient. Adding a small string of fairy lights around the shelf or installing a nearby sconce with a vintage Edison bulb can enhance the rustic vibe. The warm glow will bring out the natural textures of the wood and create a cozy, inviting atmosphere in the bathroom.
In terms of maintenance, your rustic bathroom shelf should be relatively low-maintenance, especially if you’ve treated the wood with a protective finish. However, it’s important to periodically check the shelf for signs of wear and tear, especially if it’s located near a water source. Over time, moisture can cause wood to warp or discolor, so wiping the shelf down regularly with a dry cloth can help prevent long-term damage. Avoid using harsh chemicals or cleaning products on the wood, as they can strip away the finish or leave streaks.
One of the best parts of building your own rustic bathroom shelf is the sense of accomplishment that comes with completing a DIY project. It allows you to customize the shelf to your specific needs and preferences, and it gives you a piece of furniture that’s uniquely yours. Whether you decide to build a simple single shelf or a more complex multi-level design, the result will be a beautiful and functional addition to your bathroom that reflects your style.
While there are many ready-made rustic shelves available for purchase, making your own allows you to control the quality and appearance of the piece. You can hand-select the wood, decide on the exact dimensions, and even experiment with different stains or finishes until you achieve the perfect look. Plus, a DIY shelf can often be made for a fraction of the cost of store-bought options, especially if you’re able to source your materials from reclaimed or recycled sources.
The rustic bathroom shelf can also evolve over time. As your decor changes, you can update the shelf by refinishing the wood or adding new hardware. You can also repurpose it for different rooms or uses if you decide to change things up down the line. The versatility of rustic design is one of its biggest strengths—it’s timeless and adaptable, making it a great choice for those who like to refresh their home decor periodically.
Creating a rustic bathroom shelf is not just about the result, but about the process of making something with your own hands. The craftsmanship that goes into a DIY project adds an extra layer of satisfaction, and every time you see or use the shelf, you’ll be reminded of the effort and creativity that went into its creation. This personal connection to the item makes it even more meaningful, and it’s likely to become a cherished part of your bathroom for years to come.
Common Mistakes to Avoid
One of the most common mistakes when creating a rustic bathroom shelf is failing to measure the space properly before starting. Taking the time to accurately measure your bathroom walls and shelves can save you a lot of frustration down the road. Another mistake is choosing wood that is too weak or warped. Even though rustic design embraces imperfection, structural integrity should never be compromised. Always use sturdy, solid wood to ensure your shelf can hold weight without bowing or breaking.
Additionally, rushing through the sanding process can lead to uneven surfaces or splinters. Taking the time to properly sand and finish the wood will create a more polished, durable result. Incorrect mounting is another issue—always use the correct anchors for your wall type, and double-check that your shelf is level before finalizing the installation. Lastly, overloading the shelf with heavy or excessive items can cause strain on both the wood and the mounting hardware, so be mindful of what you store on it.
What type of wood is best for a rustic bathroom shelf?
The best type of wood for a rustic bathroom shelf is reclaimed or weathered wood, as it already has the character and texture that fits the rustic style. Cedar, pine, and oak are popular choices because they are durable and can withstand the moisture typically present in a bathroom environment. The important thing is to choose wood that is sturdy enough to hold weight but still has that natural, worn-in look.
How can I protect my rustic shelf from moisture in the bathroom?
To protect your rustic shelf from moisture, it’s essential to apply a sealant or protective finish. A clear varnish, polyurethane, or wax can help protect the wood from water damage while still allowing the grain to show through. Make sure the finish is suitable for use in humid environments, and apply it evenly in thin layers for maximum protection. Additionally, keeping the shelf away from direct water sources like the shower can further extend its lifespan.
Do I need special tools to make a rustic shelf?
No, you don’t need specialized tools to make a rustic shelf. Basic tools like a saw, drill, screwdriver, and sandpaper will suffice for most projects. If you plan to cut the wood yourself, a miter saw or circular saw can make the job easier, but you can also have the wood cut to size at most home improvement stores. A level and measuring tape are crucial for ensuring proper installation.
Can I use pallet wood for my rustic bathroom shelf?
Yes, pallet wood is an excellent choice for a rustic bathroom shelf. Pallet wood is often readily available, affordable, and has a naturally distressed appearance that fits well with rustic design. However, make sure the pallet wood is clean and free of chemicals or contaminants before using it. Sanding it down and applying a finish will also help improve its durability.
How do I prevent my shelf from sagging over time?
To prevent your rustic bathroom shelf from sagging, ensure that you use thick, solid wood for the shelf itself and strong brackets or supports. Mounting the shelf to wall studs will provide additional stability. Avoid placing overly heavy items on the shelf, and periodically check the mounting hardware to ensure it remains secure over time.
Can I incorporate other materials into my rustic shelf design?
Absolutely! Incorporating materials like metal, leather, or rope can add interest and texture to your rustic shelf. Metal brackets or leather straps as supports can enhance the rustic look, while materials like rope can give the shelf a more handcrafted, industrial feel. Mixing materials adds dimension and character to your DIY shelf, allowing you to create a unique and personalized piece for your bathroom.
DIY Rustic Wood u0026 Metal Bathroom Shelves – Liz Marie Blog
Best DIY Bathroom Shelf Ideas and Designs
Remodelaholic Build an Easy Rustic Bathroom Shelf
Bathroom Rustic Shelf Bathroom Storage Wall Mounted Shelves
Easy DIY Floating Shelves – Floating Shelf Tutorial Video u0026 Free Plans
DIY Rustic Bathroom Décor Ideas To Give Your Bathroom Farmhouse
Related articles:
- Kes Bathroom Corner Shelf
- Corner Shelf Brackets for Bathroom
- Bathroom Corner Shelves Free Standing
- Bamboo Shelf for Bathroom
- Wire Bathroom Shelf with Towel Bar
- Bathroom Shelf Ideas DIY
- Bathroom Towel Rack Shelf Wall
- What to Display on Bathroom Shelves
- How to Hide a Pedestal Sink
- Pottery Barn Bathroom Glass Shelf


