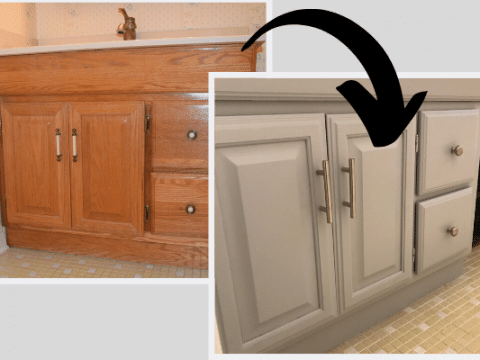
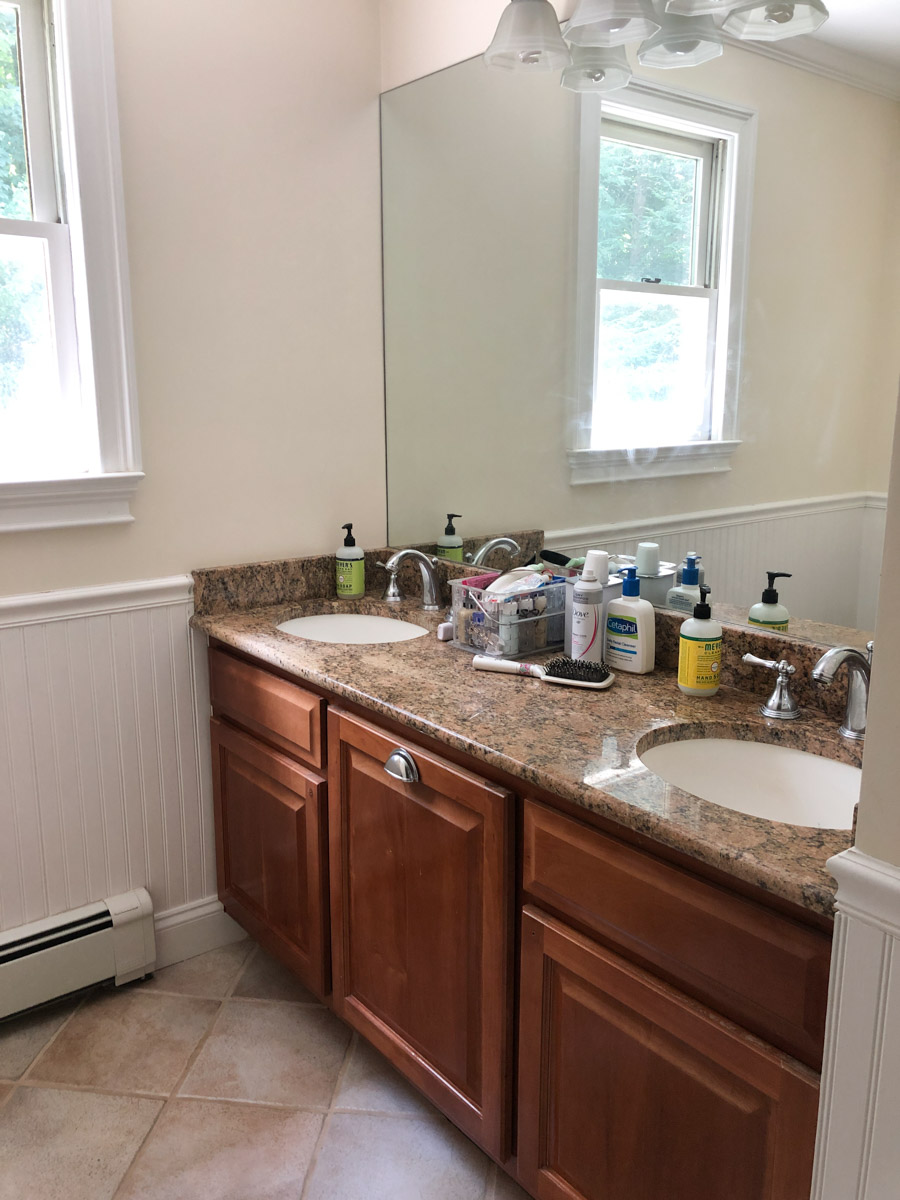
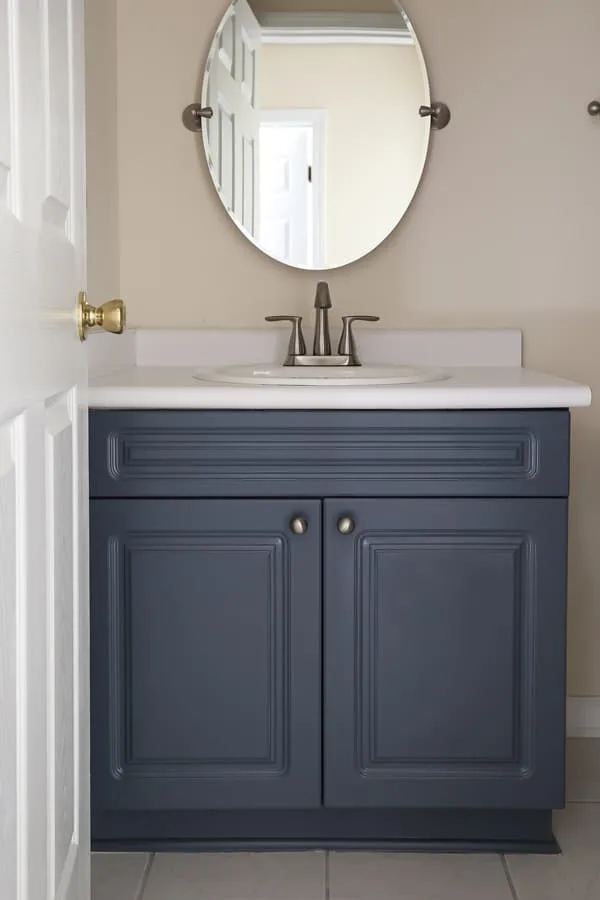
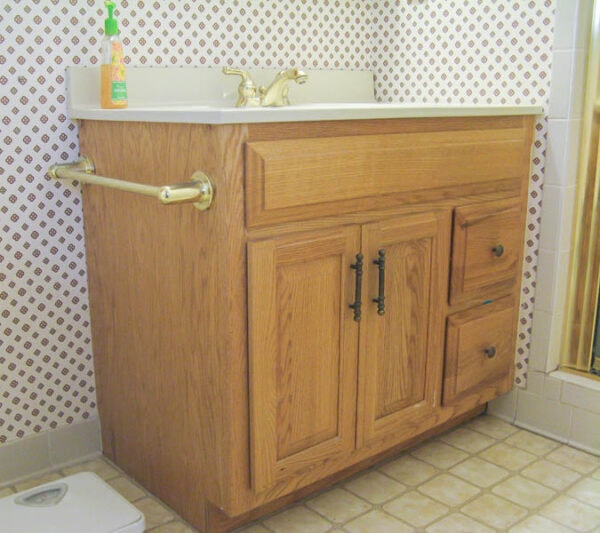
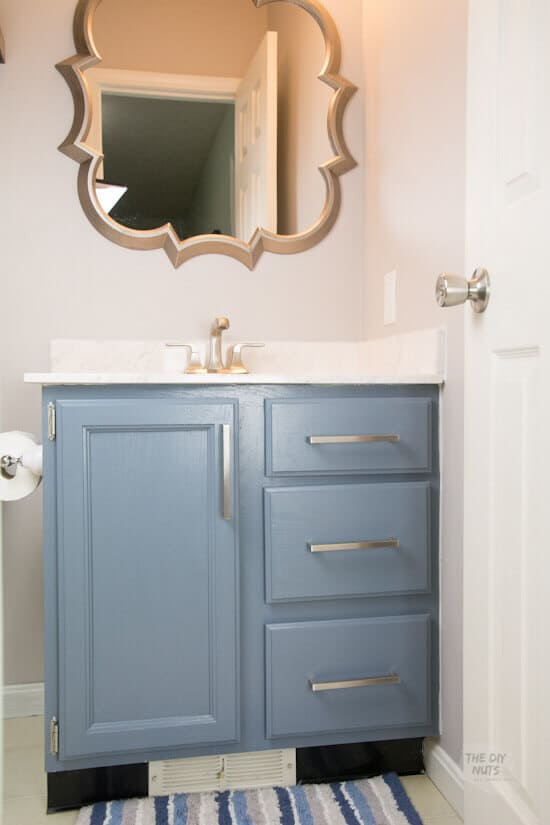
When I decided to paint my oak bathroom cabinets, I was excited about the transformation potential but aware of the detailed process required to get it right. Oak is known for its distinctive grain, which adds texture but can be tricky when painting. I realized that understanding the preparation, paint types, and finishing touches would be crucial for a long-lasting, professional-looking result. My goal was to refresh the space while keeping the inherent beauty of the oak intact. This project required patience, but the result was worth every step.
The first step was preparation, which I learned was perhaps the most critical part of painting oak cabinets. Skipping or rushing through this phase would lead to a poorly executed finish that chips or peels over time. I began by removing the cabinet doors and drawers to ensure I could paint them evenly. This step also made it easier to reach all parts of the cabinets without awkward angles. I labeled the doors and their corresponding hardware with painter’s tape and a pen so that reassembly would be simple. This small effort upfront saved me a lot of confusion later on.
Cleaning the surface was next on my list. Oak, like many types of wood, accumulates grease, grime, and general residue over time. Using a degreasing cleaner ensured that the paint would adhere properly. This step is particularly important in bathrooms, where humidity can contribute to the buildup of unseen dirt. After cleaning, I rinsed everything with a damp cloth to remove any cleaner residue, allowing the wood to dry thoroughly before moving on to sanding.
Sanding was essential for a few reasons. It helped smooth out any imperfections and provided a surface that would hold the primer and paint more effectively. I used 120-grit sandpaper to rough up the finish and create a texture that the primer could grip. For more intricate areas and the edges of the cabinet doors, a sanding block came in handy. This part of the process wasn’t just about aesthetics; it set the foundation for a durable finish that would withstand the test of time. After sanding, I wiped down the surface with a tack cloth to remove all dust particles, ensuring the primer would go on smoothly.
Choosing the right primer was another big decision. Oak’s grain tends to bleed through paint if not properly sealed. I opted for an oil-based primer, as it’s excellent at preventing this kind of bleed-through and adheres well to wood. The primer also helped fill in some of the grain, creating a smoother surface for the paint. I applied it with a high-quality brush for the edges and a small roller for the flat surfaces, making sure to cover every nook and cranny. After applying the primer, I let it dry fully, which took several hours. Patience was key here; painting over tacky primer would have been disastrous.
Once the primer was fully dry, I sanded lightly with 220-grit sandpaper to smooth out any uneven spots. This step may seem redundant, but it makes a significant difference in achieving a professional-looking finish. A quick wipe with a tack cloth removed any remaining dust, and I was finally ready for the main event: the paint. For my cabinets, I chose a semi-gloss latex paint that would provide a durable, moisture-resistant finish. The semi-gloss also made it easier to clean, which is a must for bathroom surfaces.
Applying the paint required careful technique to avoid visible brush strokes. I started with a brush to paint the edges and detailed areas and then used a foam roller for the larger, flat sections. This combination helped create a smooth, even finish without leaving marks. I worked in thin, even coats to avoid drips and allow each layer to dry properly before applying the next one. This step required patience, as the first coat often looked streaky. However, I knew that rushing the process or using thick coats would only lead to a sloppy result.
Two coats were generally enough, but for some areas, a third was necessary to achieve complete coverage. Allowing adequate drying time between coats was essential to prevent smudging or imperfections. In the meantime, I took the opportunity to clean and polish the cabinet hardware. If your hardware is outdated, this is the perfect time to replace it with new pieces that complement the updated color of your cabinets. A small detail like new handles or knobs can make a surprising difference in the overall look.
After the final coat of paint was fully dry, I moved on to the sealing process. Applying a clear polyurethane topcoat helped protect the paint and added a layer of durability. This step is especially important in bathrooms, where high humidity and frequent use can wear down painted surfaces over time. I chose a water-based polyurethane in a clear finish, which didn’t yellow over time as oil-based topcoats sometimes do. Using a clean brush, I applied the topcoat in long, even strokes and allowed it to dry for at least 24 hours before handling.
Reassembling the cabinets was the final part of the project. Because I had labeled each door and its corresponding hardware earlier, putting everything back in place was straightforward. I was careful to avoid banging the doors or drawers during reassembly, as the paint, although dry to the touch, could still be curing underneath. Once everything was back in place, I stood back and admired my work. The transformation was impressive; the freshly painted oak cabinets brought new life to the space and made the entire bathroom feel more modern and clean.
One thing I noticed was that the painted surface didn’t mask the grain entirely. This was intentional on my part, as I wanted to retain some of the wood’s natural texture. However, if a smooth, grain-free finish is what you’re after, more advanced techniques, like using a grain filler before painting, might be necessary. For my needs, the subtle grain showing through added character without looking dated or unfinished.
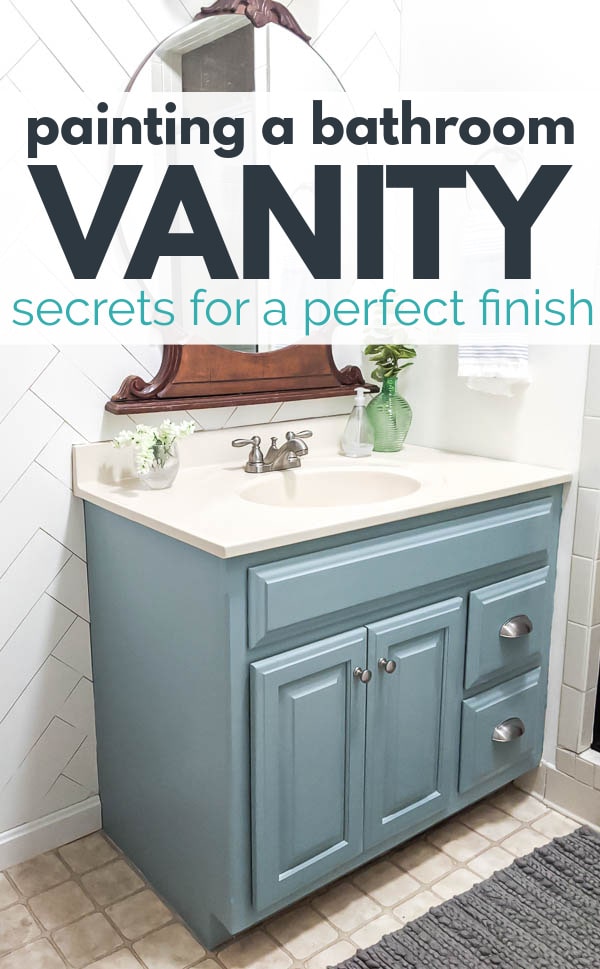
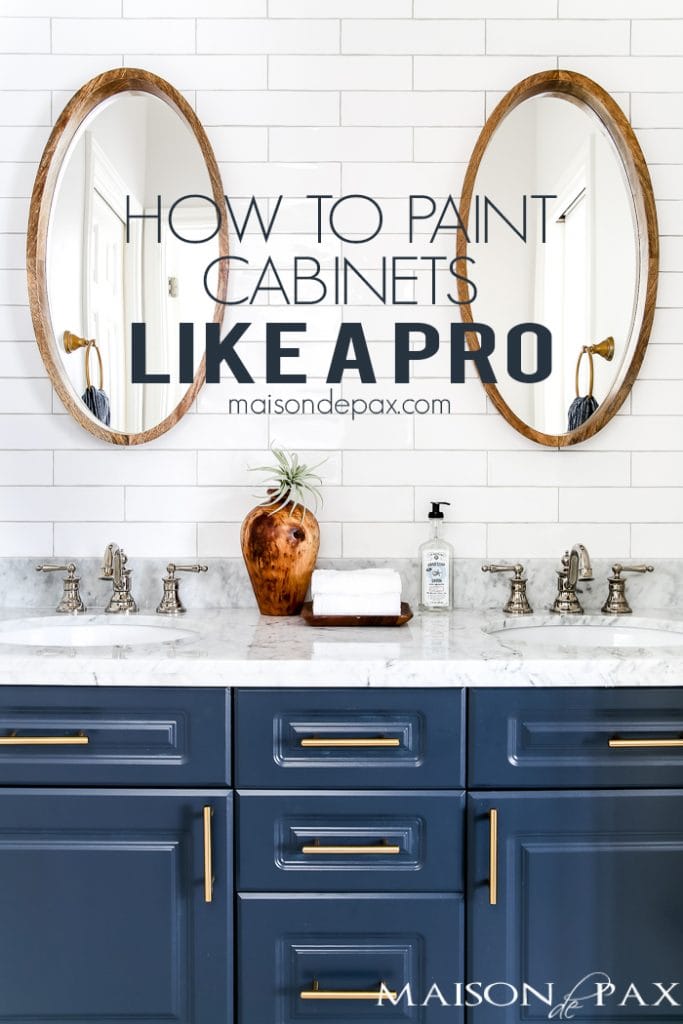
In terms of color choice, I opted for a neutral yet modern shade that would complement the rest of the bathroom. Whites, soft grays, or even muted blues can work wonderfully in this space. If you’re looking to create contrast, a darker color like charcoal or navy could also be striking, particularly if paired with lighter wall colors and accessories. Keep in mind that the color you choose will impact how much light is reflected, which can affect the overall brightness of your bathroom.
Painting oak cabinets is a project that requires a commitment to detail, but the reward is undeniable. I found that the satisfaction of updating my space without spending a fortune on new cabinetry was worth the time and effort. Plus, with the right preparation and techniques, I ended up with cabinets that not only looked great but were also durable enough to withstand daily use in a busy household.
Common Mistakes to Avoid:
One common mistake is not thoroughly cleaning the cabinets before starting the painting process. Grease and dirt can prevent paint from adhering properly, leading to peeling or uneven coverage. Rushing through or skipping the sanding phase is another frequent error; this step ensures that the primer and paint stick to the surface. Using the wrong primer or skipping it entirely is also problematic, as oak’s grain can bleed through even multiple coats of paint without a proper sealant.
Many people also make the mistake of choosing the wrong type of paint. High-gloss paint may seem attractive for its durability, but it can highlight imperfections on the surface. Semi-gloss or satin finishes tend to work better for a balanced look that is still easy to clean. Additionally, applying paint too thickly can lead to drips and a rough finish. Always opt for multiple thin coats rather than one thick coat. Finally, neglecting to seal the painted surface can result in a finish that doesn’t last long, especially in humid environments like bathrooms.
Why is priming important when painting oak cabinets?
Priming is crucial because oak wood has a prominent grain that can bleed through the paint, leading to a streaky finish. An oil-based or shellac-based primer prevents this and helps to seal the wood, ensuring that the paint adheres well. Skipping the primer step can result in a poor finish that chips or peels quickly.
Can I paint oak cabinets without sanding?
While some products claim to be “no-sand,” sanding remains a best practice for a durable result. Sanding creates a surface that allows the primer to adhere properly. It’s especially necessary with oak, which can have a glossy or uneven finish. Skipping sanding can result in a painted surface that easily chips or peels.
What is the best type of paint for bathroom cabinets?
A high-quality semi-gloss or satin latex paint is ideal for bathroom cabinets. These finishes provide durability and are moisture-resistant, which is important in a bathroom environment. Semi-gloss paints are easier to clean and provide just the right amount of sheen without highlighting imperfections.
How do I ensure a smooth finish without visible brush strokes?
Using a combination of a high-quality brush for detailed areas and a foam roller for larger, flat surfaces can help minimize visible brush strokes. Applying thin, even coats and allowing each to dry completely before adding the next is essential. Lightly sanding between coats also helps create a professional, smooth finish.
How long should I wait between coats of paint?
The drying time depends on the type of paint used, but a good rule of thumb is to wait at least 4-6 hours between coats for latex paint. Always check the manufacturer’s recommendations. Allowing enough time between coats prevents smudging and ensures that each layer adheres properly to the one below it.
Do I need to seal the painted bathroom cabinets?
Yes, sealing painted cabinets with a clear polyurethane topcoat is highly recommended, especially in a bathroom where humidity can affect the longevity of the paint. Water-based polyurethane is a good choice because it won’t yellow over time and adds an extra layer of protection that helps the paint withstand daily use and cleaning.
How to Paint Cabinets to Last: Painting a Bathroom Vanity – Maison
Our Painted Bathroom Vanity: The “Before” u0026 “After” and How-to
How to Paint a Bathroom Vanity – Angela Marie Made
How to Paint a Bathroom Vanity: Secrets for a Perfect Finish
How to Paint Bathroom Vanity Cabinets (That Will Last) – The DIY Nuts
Painting Our Oak Bathroom Vanity Southern Style a life + style
Related articles:
- Bathroom Cabinet Over Sink
- Tall Rotating Bathroom Cabinet
- Traditional Wooden Bathroom Cabinets
- Build Your Own Bathroom Cabinets
- Victorian Plumbing Bathroom Cabinets
- Wall Mounted Wooden Bathroom Cabinets
- Small White Bathroom Cabinet Floor
- Bathroom Cabinets Mesa Az
- Zeus Bathroom Cabinet
- Wall Mounted Bathroom Cabinets With Towel Rack
