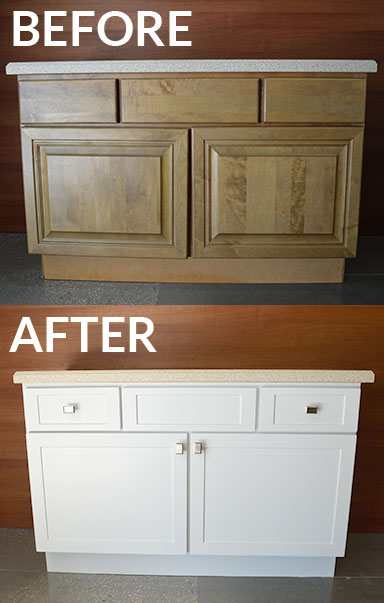
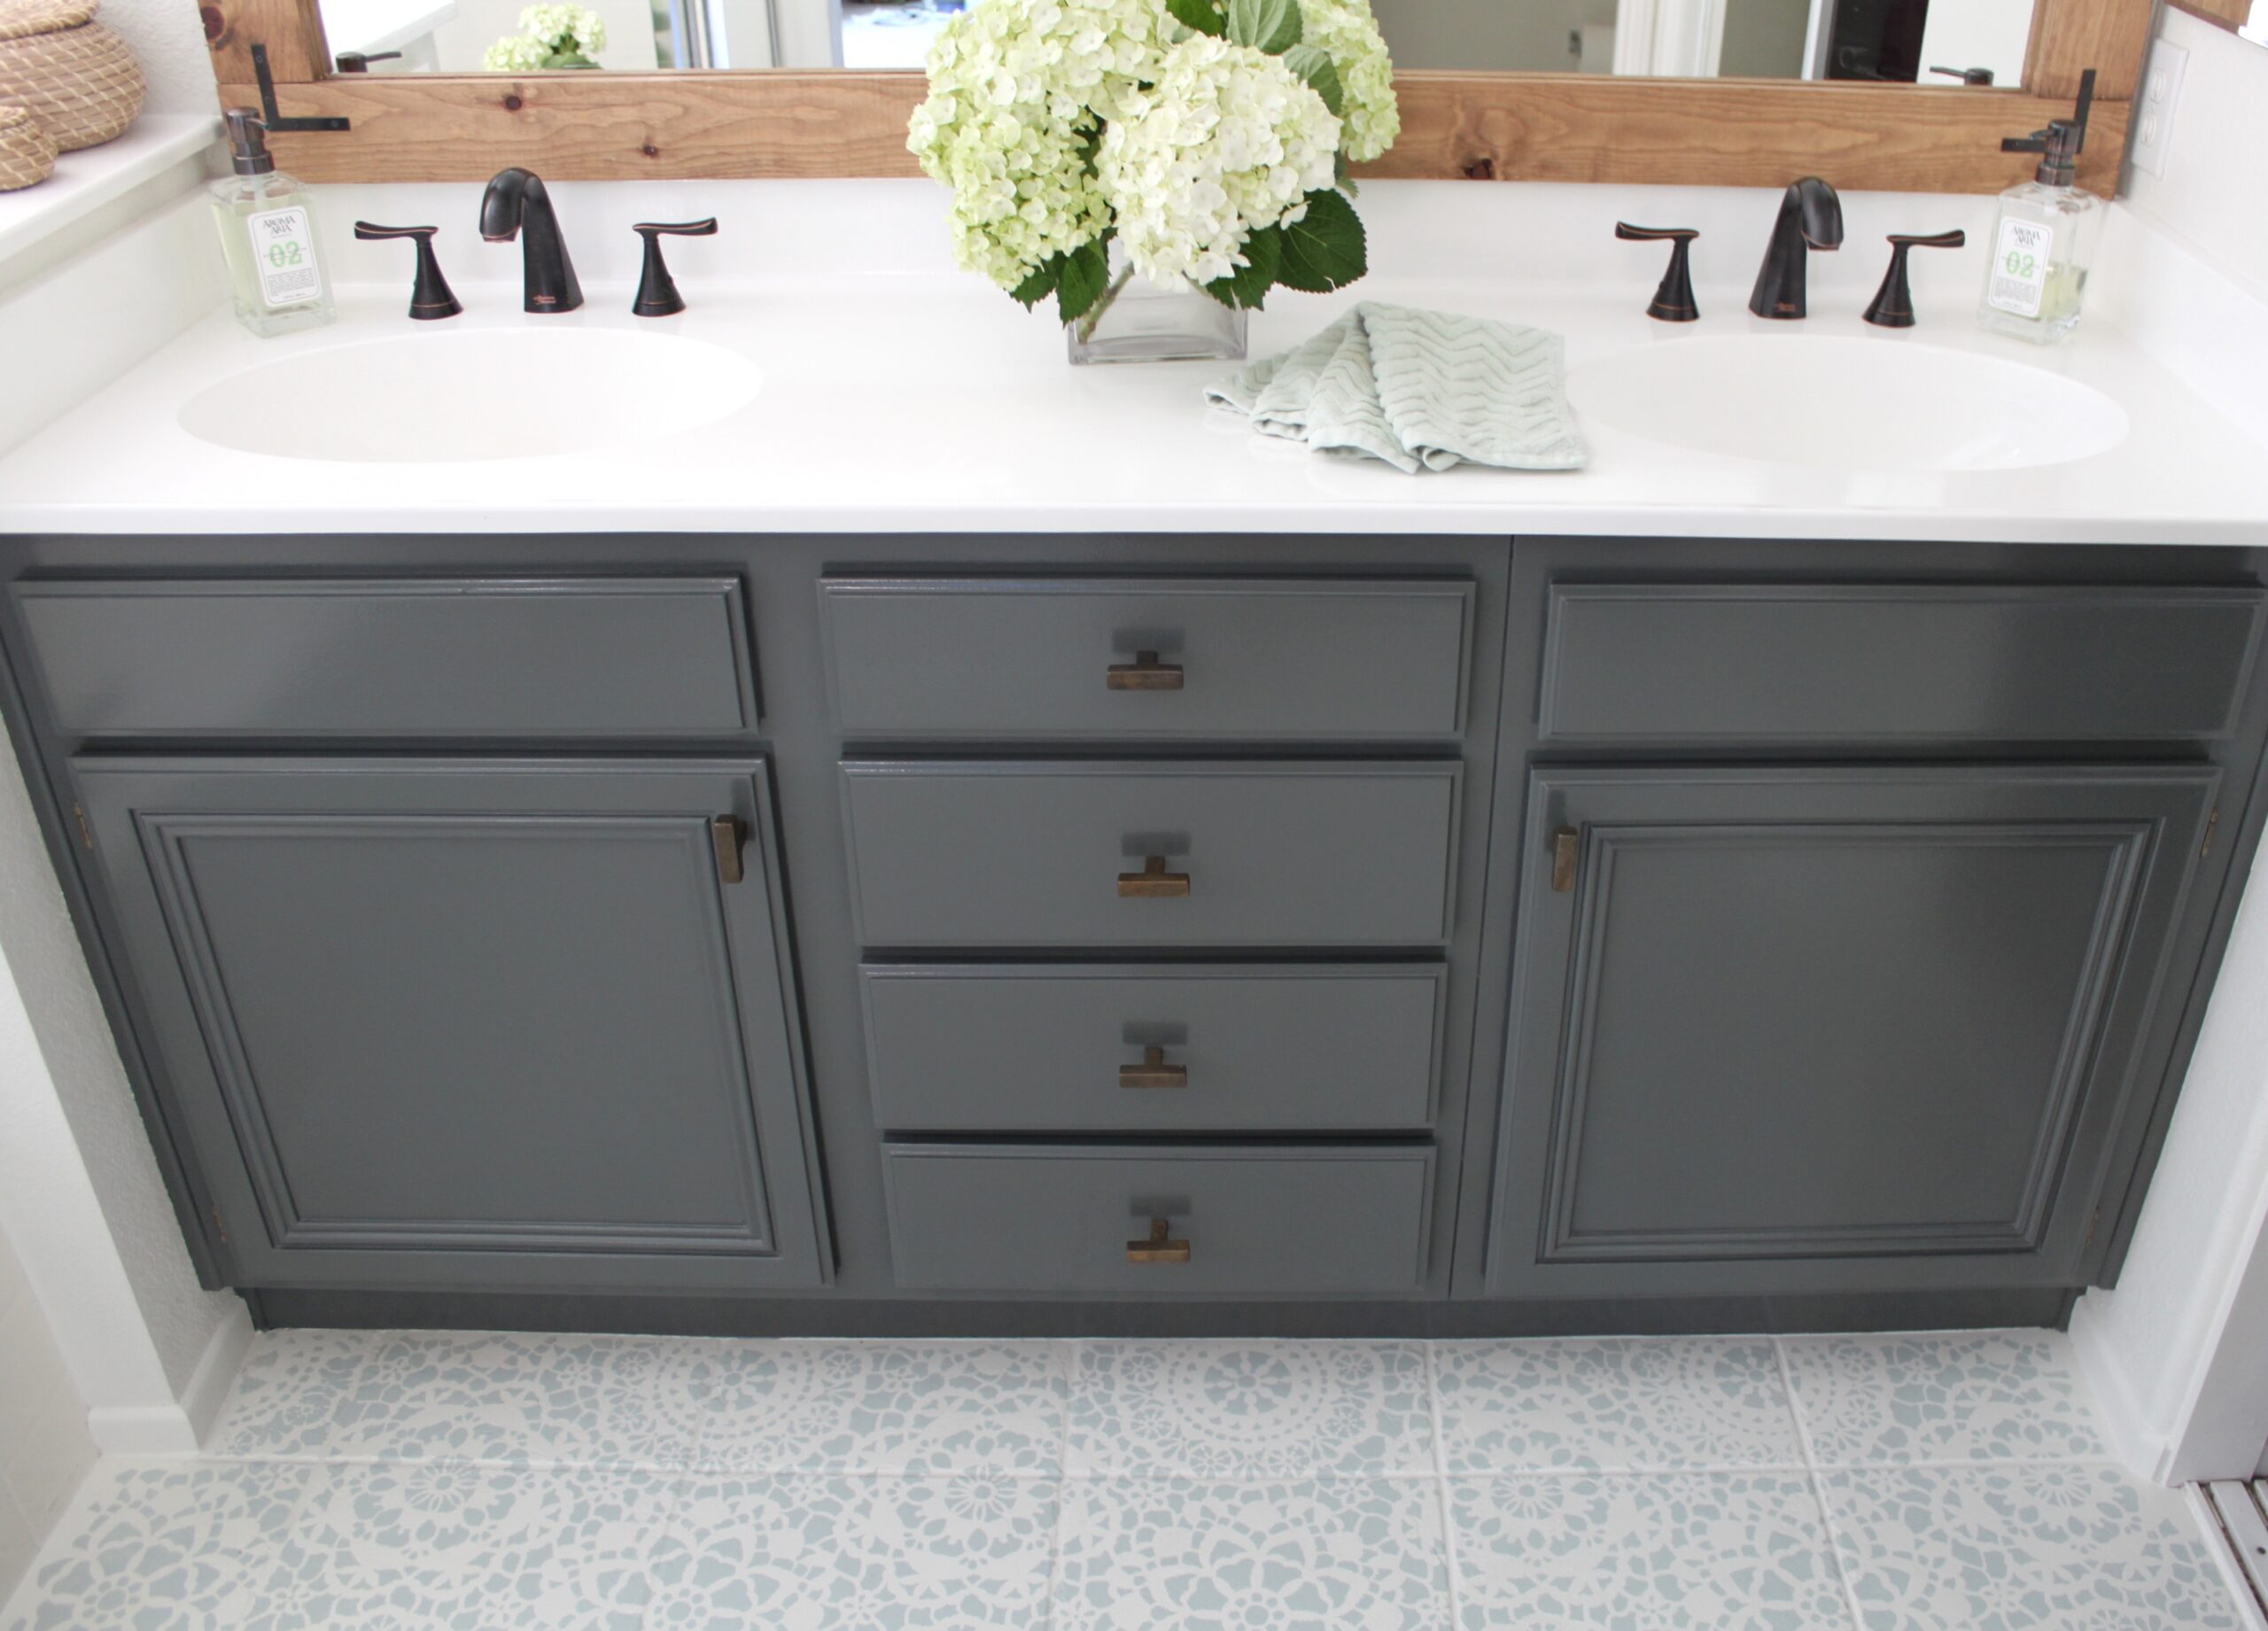
DIY bathroom cabinet refacing is an excellent way to transform the look of your bathroom without the cost and hassle of a full cabinet replacement. This process involves giving your existing bathroom cabinets a fresh, updated appearance by applying new materials to the cabinet doors and frames. Let’s explore three key aspects of DIY bathroom cabinet refacing to help you embark on this home improvement project.
First, the materials and tools required for DIY cabinet refacing are relatively easy to obtain. You’ll need items like veneer, adhesive, cabinet hardware, sandpaper, and a variety of hand tools. The veneer comes in various finishes and styles, allowing you to choose the look that best matches your bathroom’s decor. You can even opt for thermofoil or laminate for a sleek, modern appearance or real wood veneer for a more classic touch. The availability of these materials at home improvement stores makes it convenient to gather everything you need for the refacing project. Additionally, the process typically involves removing and replacing cabinet hardware like handles and knobs, which can be found in an array of styles to suit your design preferences.

Second, the DIY cabinet refacing process itself is manageable, even for those with limited woodworking experience. It generally involves removing the cabinet doors and drawer fronts, sanding the surfaces to provide a better bonding surface for the veneer, and then applying the new veneer using adhesive. The adhesive used is often designed for a strong and lasting bond, ensuring the veneer stays securely in place. After the veneer is applied, you can reinstall the cabinet doors and drawers and replace the hardware for a complete transformation. The step-by-step instructions and guides available online or from manufacturers of cabinet refacing materials can provide valuable assistance throughout the project.

Last, DIY bathroom cabinet refacing is a cost-effective alternative to full cabinet replacement. It allows you to give your bathroom a fresh and updated look without the expense of purchasing entirely new cabinets. Additionally, it’s an environmentally friendly option since you’re repurposing your existing cabinets rather than disposing of them. This project can also be completed in a relatively short amount of time, minimizing the disruption to your daily life. While the cost savings can be substantial, it’s important to note that the results of DIY cabinet refacing can be quite stunning, providing your bathroom with a whole new aesthetic appeal that can rival the appearance of new cabinets.
DIY bathroom cabinet refacing is a practical and budget-friendly way to give your bathroom a makeover. With readily available materials and tools, this project is accessible to those with varying levels of DIY skills. The process of removing, refacing, and reassembling the cabinet components is manageable, and it allows you to personalize your bathroom’s appearance according to your taste. The cost savings, environmental benefits, and transformative results make DIY cabinet refacing an attractive option for homeowners looking to update their bathroom’s look and feel. Whether you’re aiming for a modern, classic, or unique style, DIY cabinet refacing can help you achieve your desired bathroom makeover.
How To Refinish Bathroom Cabinets DIY Domestic Blonde

You are able to also produce a further modern appearance to the bathroom by teaming these particular cabinets type with complementing chrome finished faucets and shower units. Bathroom cabinets in the latest times are utilized to describe some cabinet which we are able to have as well as use in a bathroom.
Fluted Bathroom Cabinet Refacing DIY – at home with Ashley
Fluted Bathroom Cabinet Refacing DIY – at home with Ashley
Major Tips To Transform Your Bathroom Cabinets If It Looks Like This
How to Replace Bathroom Vanity Doors Diy cabinet doors, Diy
DIY Bathroom Cabinet Makeover
Introduction to Refacing – Peel and Stick Refacing – Reface Supplies
Before and After: Bathroom Vanity Refacing, Tallahassee
Fluted Bathroom Cabinet Refacing DIY – at home with Ashley
Related articles:
- Frosted Glass Bathroom Cabinet
- Bathroom Cabinets Houston Tx
- Oak Finish Over The Toilet Space Saver Bathroom Cabinet
- Bathroom Cabinets Vanity Unit
- Bathroom Cabinet Trash Can
- Rustic Bathroom Cabinets Vanities
- Corner Bathroom Cabinet With Light
- Unfinished Bathroom Cabinets Online
- Small Bathroom Cabinet With Towel Bar
- Bathroom Cabinets With Granite Countertops
Introduction
Do-it-yourself (DIY) bathroom cabinet refacing is an easy and cost-effective way to upgrade your bathroom without having to replace the entire cabinet. Refacing involves replacing the doors, drawer fronts, and hardware of your existing cabinets with new materials. This simple project can completely change the look of your bathroom without breaking the bank. In this article, we will discuss the steps involved in DIY refacing, as well as a few tips to help you get started.
What is Bathroom Cabinet Refacing?
Bathroom cabinet refacing is a process of replacing the doors, drawer fronts, and hardware of existing cabinets with new materials. This can be done on both framed and frameless cabinets. The new materials may include wood veneer, laminate, or a variety of other materials depending on your budget and style preferences. This process can dramatically change the look of your bathroom while still saving you money compared to buying new cabinets altogether.
Benefits of Refacing
Refacing provides several benefits that make it an attractive option for many homeowners. Refacing is often much more cost-effective than replacing your cabinets altogether. Additionally, it is a relatively quick process that doesn’t require any major construction work or renovations – often the entire project can be completed within a few days. Finally, refacing allows you to customize the look of your bathroom to fit your style while still keeping costs low.
Steps Involved in Refacing
The steps involved in refacing vary slightly depending on whether you are working with framed or frameless cabinets. However, there are some general steps that are common across both types:
1. Remove all hardware from the existing cabinet frames and drawers. This includes hinges, handles, knobs, etc.
2. Measure the cabinet frames and drawers for replacement materials – such as wood veneer or laminate – that match your desired style and size preferences.
3. Cut the replacement materials to size according to your measurements from step 2.
4. Attach the materials to the frames and drawers using screws or nails depending on what type of material you are using.
5. Reinstall any hardware such as hinges and handles onto the new frames and drawers once they are attached securely to the cabinet frames and drawers themselves.
6. Clean up any excess glue or nails used during installation before enjoying your newly refaced cabinets!
Tips for DIY Refacing
When tackling a DIY refacing project there are a few tips that can help make things go more smoothly:
1. Make sure you have all of the necessary tools before starting – such as saws, screws, nails, glue, etc – so that you don’t have to stop partway through because you don’t have what you need for something specific.
2. Take accurate measurements when ordering replacement materials so that they fit correctly when installed onto the cabinets themselves – measure twice, cut once!
3. Don’t forget about aesthetics – choose colors or styles that complement each other so that everything looks cohesive when finished!
4 .Be careful when handling sharp tools like saws or drills so that you don’t injure yourself during installation – safety first!
Frequently Asked Questions (FAQs)
What tools will I need for refacing?
You will need basic tools such as screwdrivers, saws (or other cutting tools), screws or nails (depending on what material you are using), glue , measuring tape , etc . It is important to make sure you have all necessary tools before starting so that you Don’t have to stop partway through because you don’t have what you need for something specific.
How long does it take to reface cabinets?
Refacing typically takes a few days depending on the size of your project and any other factors involved. It is important to note that this process is usually much quicker than replacing your cabinets altogether.


