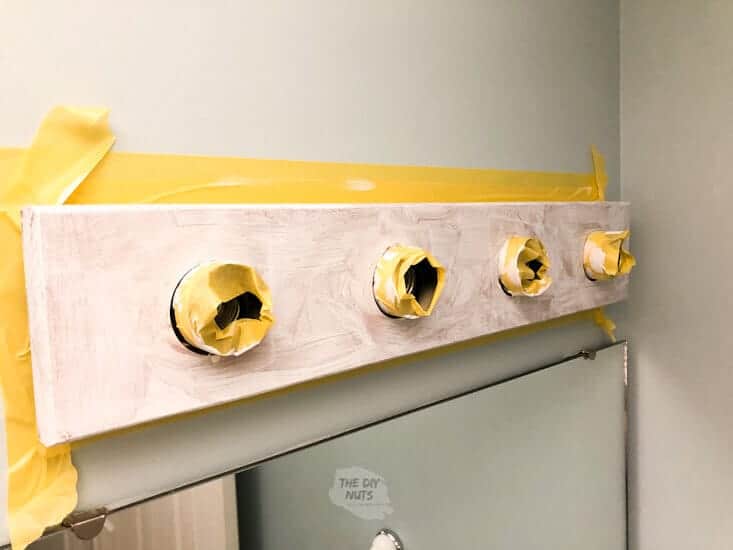
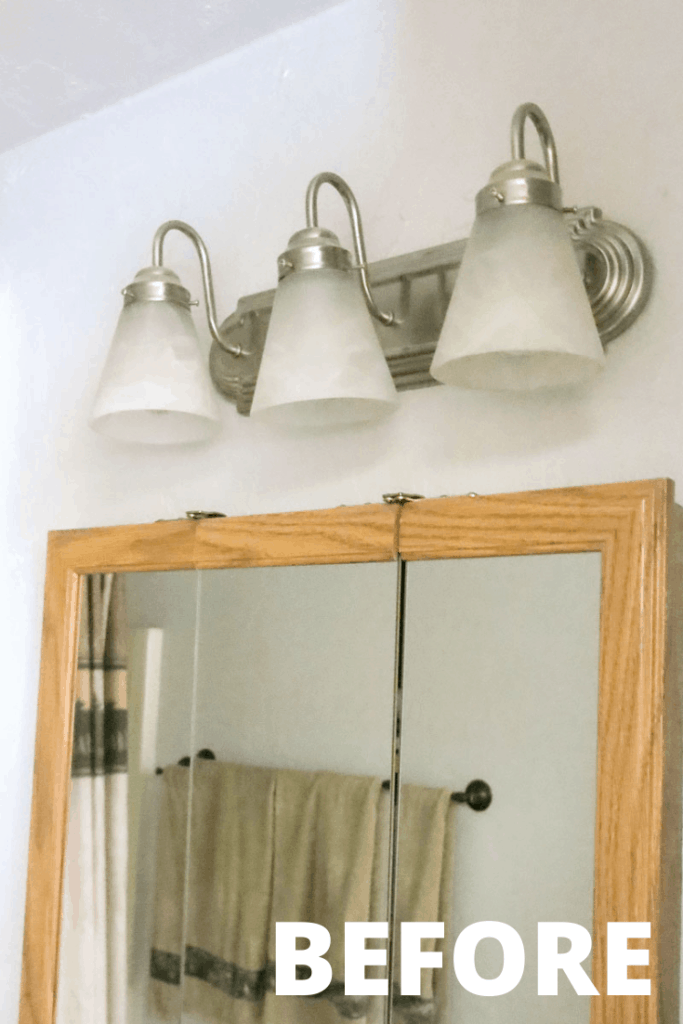
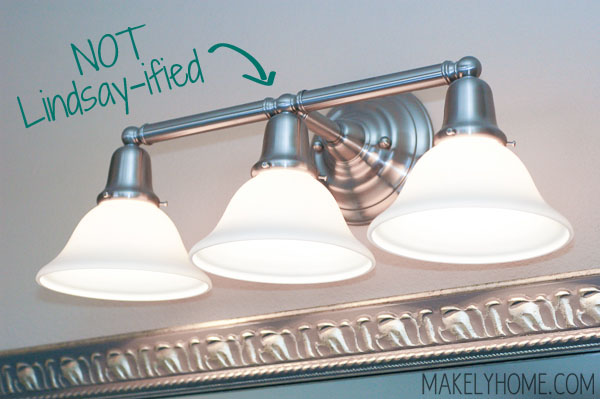
Creating DIY bathroom light fixtures can be an immensely rewarding project, allowing you to tailor the lighting to your specific needs and aesthetics while saving money. The first step in any DIY project is careful planning. Consider the layout and function of your bathroom. Think about the different areas that need lighting, such as the vanity, shower, and general ambient lighting. A well-lit bathroom not only improves visibility and functionality but also enhances the overall ambiance. To achieve this, you might need a combination of task, ambient, and accent lighting. Task lighting, such as around the vanity mirror, should be bright and clear, while ambient lighting provides general illumination, and accent lighting can highlight architectural features or decor.
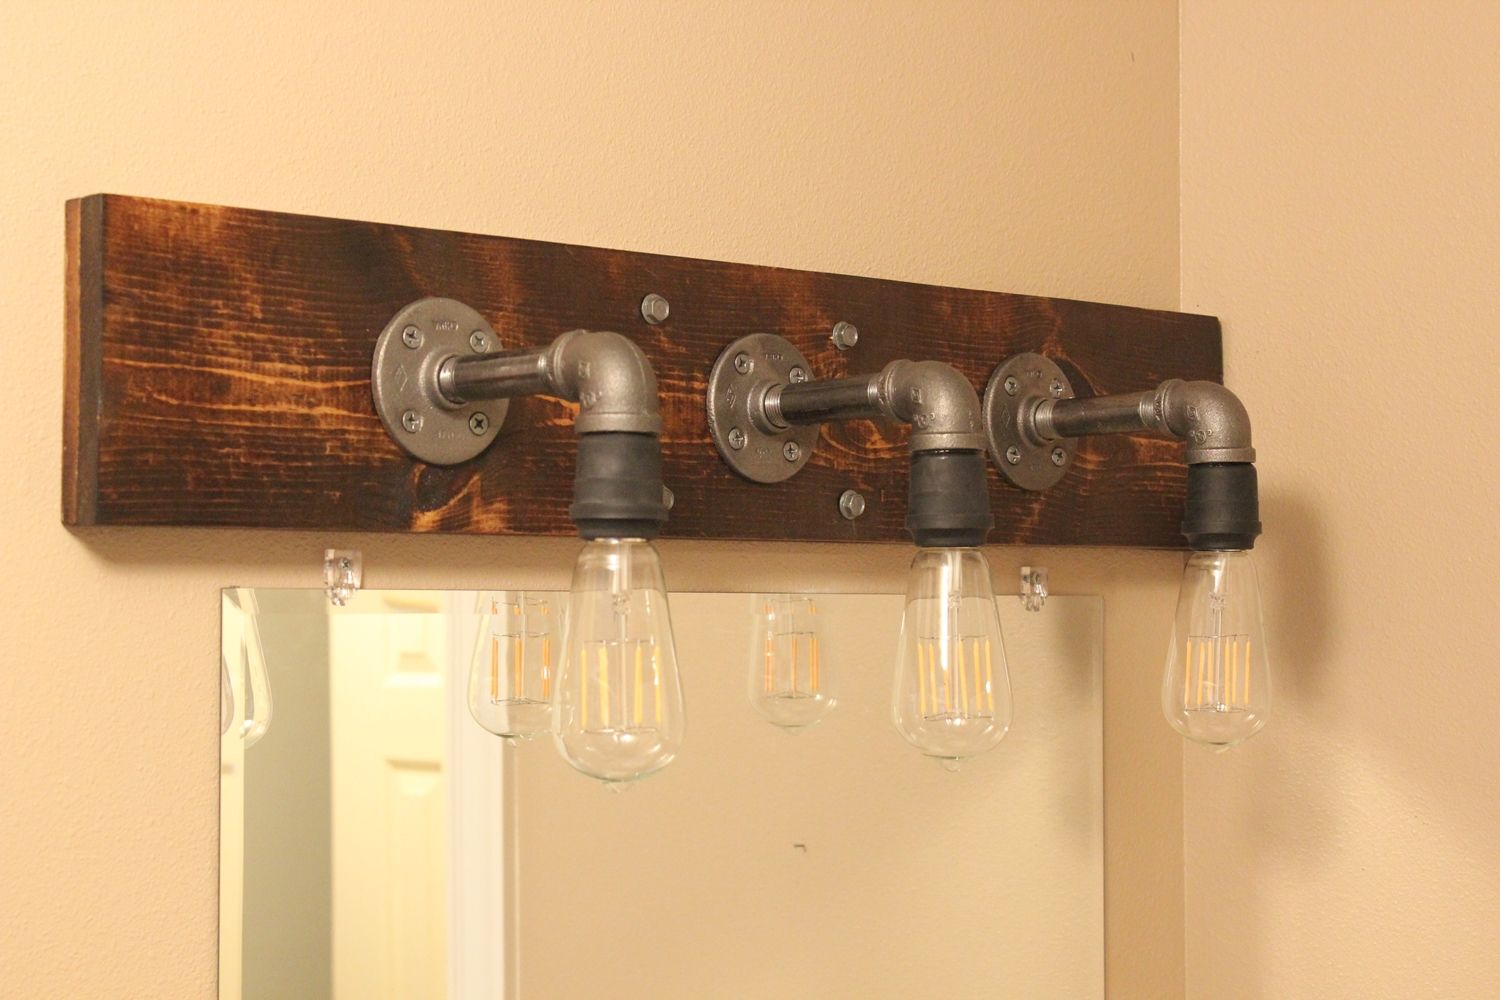
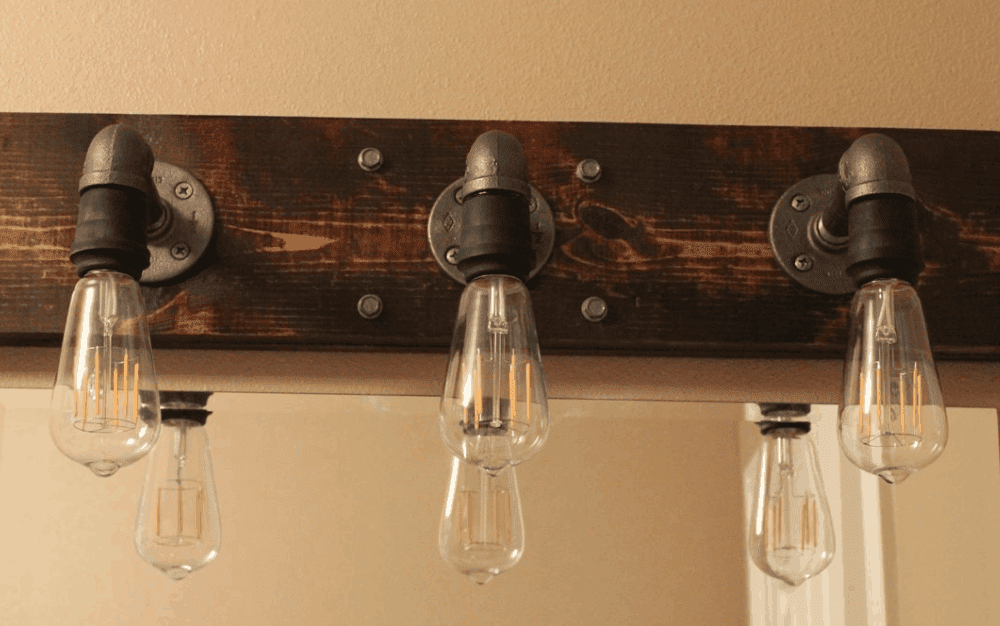
When selecting materials for your DIY bathroom light fixtures, it’s crucial to choose those that can withstand the humid environment of a bathroom. Look for fixtures rated for wet locations, ensuring safety and longevity. You can find a variety of materials like metal, glass, and certain plastics that are suitable. Reclaimed materials can also add a unique touch. For instance, using old mason jars, industrial piping, or vintage sconces can give your bathroom a personalized and stylish look. These materials not only offer durability but also contribute to the overall aesthetic of your bathroom.
Another important consideration is the type of bulbs you use. LED bulbs are highly recommended for bathroom lighting due to their energy efficiency, long lifespan, and the quality of light they produce. They come in a range of color temperatures, from warm white to cool daylight, allowing you to create the desired ambiance. For task lighting, especially around the vanity, opt for bulbs with a color temperature of around 4000K to 5000K, which closely resembles natural daylight and provides the clarity needed for grooming tasks.
Once you have your materials and bulbs, the next step is installation. Safety should be your top priority when working with electrical components. Make sure to turn off the power at the circuit breaker before beginning any work. Use a voltage tester to double-check that the power is off. Gather all necessary tools, such as wire strippers, screwdrivers, and pliers, and ensure you have a clear understanding of the wiring in your bathroom. If you’re not confident in your electrical skills, consider consulting a professional or taking a basic wiring course.

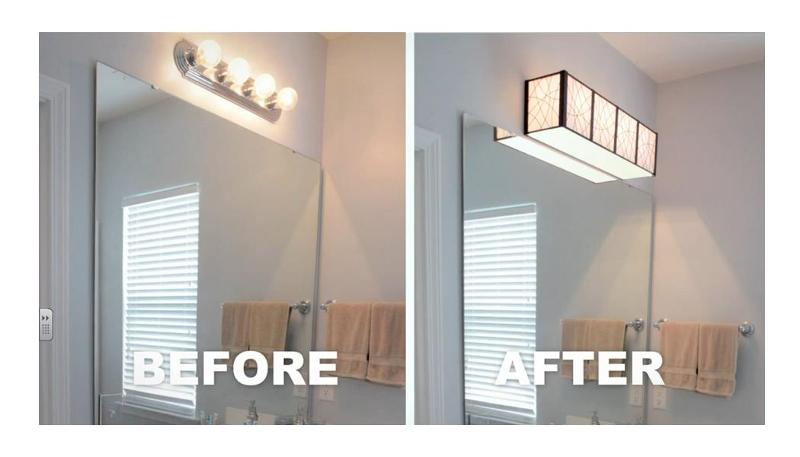
To install a new light fixture, start by removing the old one. Carefully detach it from the wall or ceiling, disconnect the wires, and take note of how they are connected. This will help guide you when connecting your new fixture. Next, install the mounting bracket that comes with your new fixture. Secure it firmly to the electrical box in the wall or ceiling. Connect the wires from your new fixture to the wires in the electrical box, matching the colors (typically black to black, white to white, and green or bare to ground). Use wire nuts to secure the connections and wrap them with electrical tape for added safety.
With the wiring connected, you can attach the new fixture to the mounting bracket. Follow the manufacturer’s instructions to ensure a secure installation. Once the fixture is in place, install the bulbs and turn the power back on at the circuit breaker. Test the light to ensure it’s working correctly. Adjust the fixture as needed to ensure it’s level and positioned correctly. Finally, clean the fixture and bulbs to remove any dust or fingerprints that may have accumulated during installation.
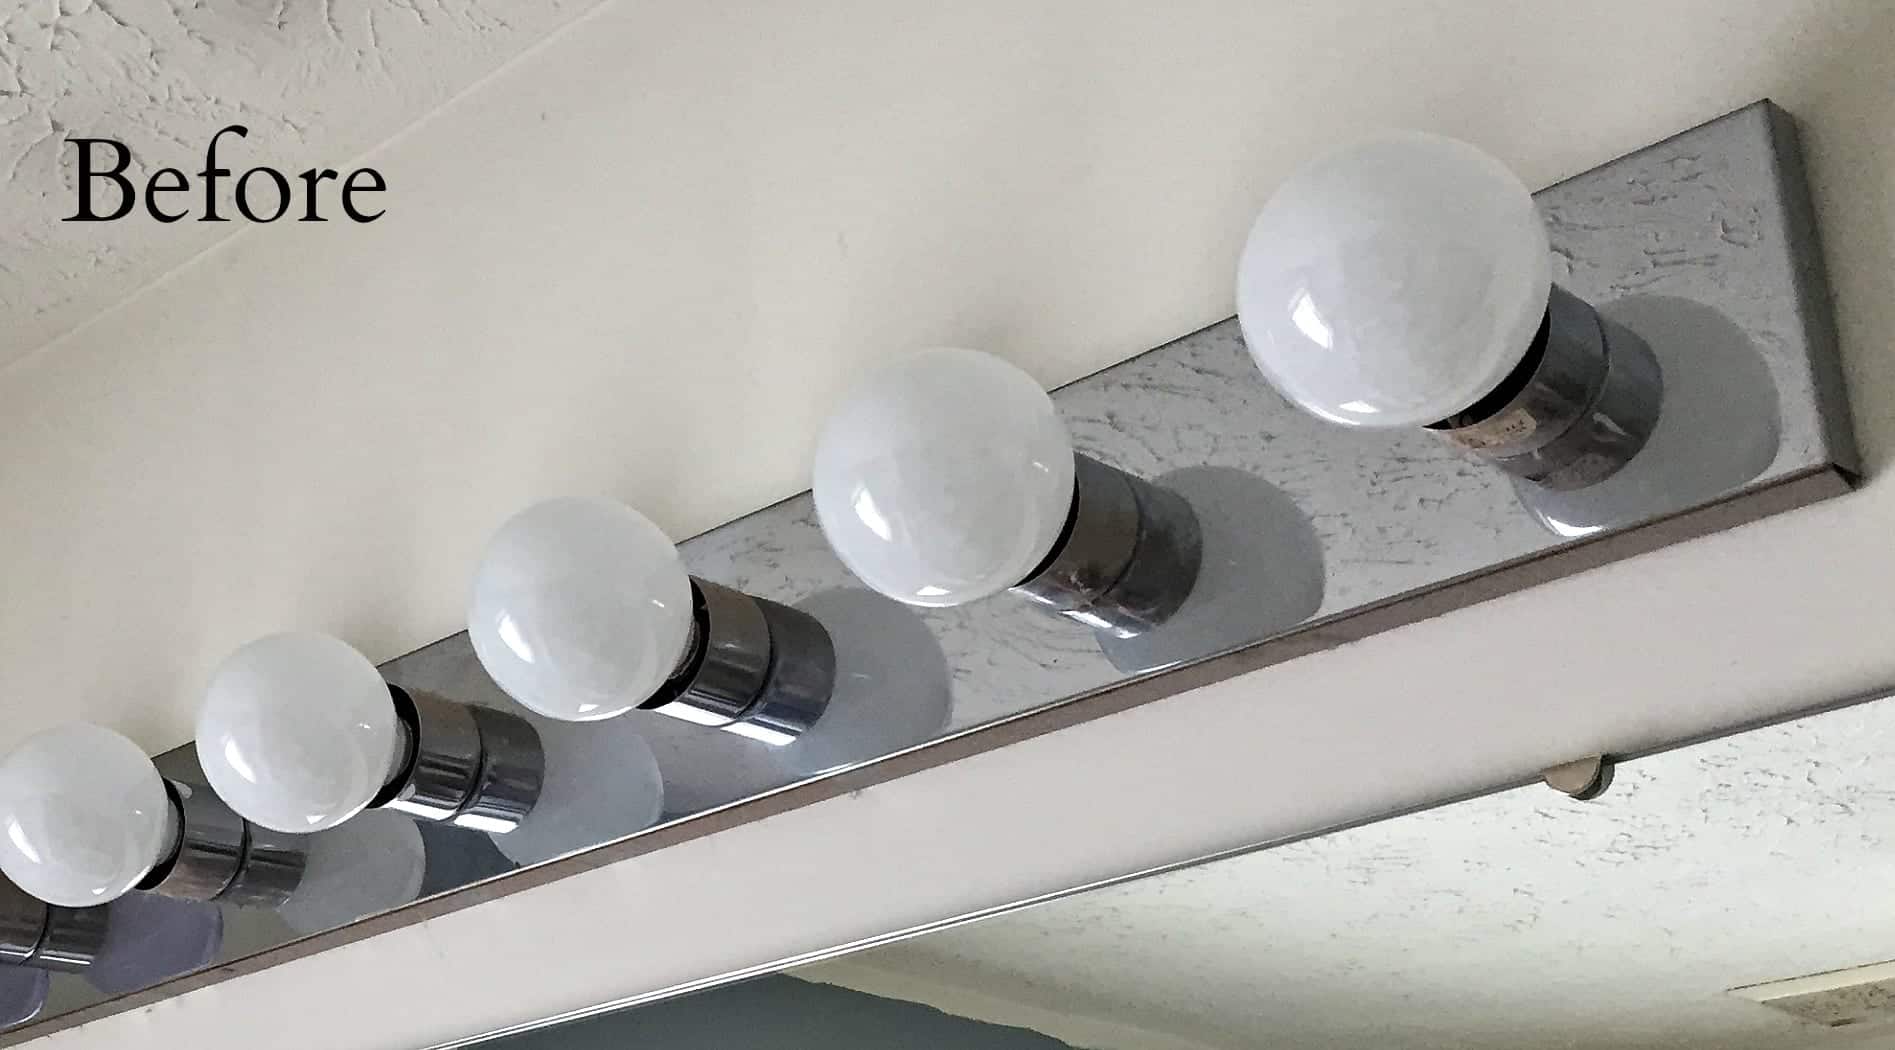
Customizing your DIY light fixtures can add a personal touch to your bathroom. Consider painting or staining the fixture to match your bathroom decor. Adding decorative elements, such as crystals, beads, or custom shades, can also enhance the look. If you’re using glass elements, consider etching or frosting the glass for a unique appearance. These small details can make a big difference in the overall look and feel of your bathroom.
Lighting controls are another important aspect to consider. Installing dimmer switches allows you to adjust the brightness of your lights to suit different tasks and moods. For instance, you can have bright light for grooming and softer light for a relaxing bath. Motion sensors are another great addition, providing convenience and energy savings by automatically turning lights on and off as needed. Smart lighting systems offer even more control, allowing you to adjust your lights using a smartphone or voice commands.
Energy efficiency is an important consideration in any DIY project. In addition to using LED bulbs, you can further enhance energy efficiency by installing occupancy sensors, timers, or smart home systems. These devices ensure that lights are only on when needed, reducing energy consumption and lowering your utility bills. Consider the placement of windows and natural light sources to maximize daylight usage, reducing the need for artificial lighting during the day.
Maintenance of your DIY bathroom light fixtures is crucial to keep them looking and functioning their best. Regularly dust and clean the fixtures and bulbs to ensure optimal brightness and longevity. Check the wiring and connections periodically to ensure everything remains secure and safe. Replace bulbs as needed, and consider upgrading to more energy-efficient options as technology advances. Taking care of your light fixtures will ensure they continue to enhance your bathroom for years to come.
Embracing creativity in your DIY bathroom light fixtures can lead to unique and personalized results. Don’t be afraid to experiment with different styles and designs. Whether you prefer a modern, industrial look or a more traditional, vintage feel, there are endless possibilities to explore. Look for inspiration in design magazines, online platforms, and home improvement stores. Combining different elements, such as metal and wood or glass and fabric, can create stunning visual effects and make your bathroom truly one-of-a-kind.
For those new to DIY projects, starting with smaller, simpler fixtures can build confidence and skills. Gradually, as you become more comfortable, you can tackle more complex installations. There are plenty of resources available, including online tutorials, workshops, and community forums where you can seek advice and share your progress. Engaging in DIY projects can be a fulfilling hobby that not only improves your home but also provides a sense of accomplishment and creativity.
Working on DIY bathroom light fixtures can also be a collaborative effort. Involve family members or friends in the project, making it a fun and educational experience for everyone. Kids can learn about basic tools and safety, while adults can share skills and ideas. This collaborative approach can also speed up the project and create lasting memories. Plus, having multiple perspectives can lead to innovative and creative solutions that you might not have considered on your own.
Safety should always be a priority in any DIY project. Always follow manufacturer instructions and local building codes. If you’re unsure about any aspect of the project, seek professional advice. Using the right tools and protective gear, such as gloves and safety glasses, is essential. Ensure that all electrical components are properly insulated and that the bathroom has a GFCI (Ground Fault Circuit Interrupter) outlet for added safety. These precautions will help prevent accidents and ensure a successful DIY project.
Finally, enjoy the process and the results. DIY projects are as much about the journey as the destination. Take pride in the work you’ve done and the skills you’ve learned. Share your accomplishments with friends and family, and enjoy the improved functionality and aesthetic of your bathroom. A well-lit bathroom can make daily routines more pleasant, and knowing you created it yourself adds a special sense of satisfaction.
Common Mistakes to Avoid
One common mistake when undertaking DIY bathroom light fixture projects is neglecting to plan thoroughly. Skipping the planning phase can lead to purchasing the wrong materials, incorrect measurements, and an overall design that doesn’t meet your needs. Always start with a clear plan, including sketches or design software to visualize the final result.
Another frequent error is choosing materials that are not suitable for the bathroom environment. Bathrooms are typically humid, and using materials not rated for damp or wet conditions can lead to rust, corrosion, and electrical hazards. Always check the specifications of the fixtures and materials to ensure they are appropriate for bathroom use.
Improper installation is another pitfall. Rushing through the wiring process or ignoring safety precautions can result in faulty connections, short circuits, or even electrical fires. Always turn off the power at the circuit breaker before starting and double-check all connections with a voltage tester. If in doubt, consult a professional.
Failing to consider lighting needs is also a common mistake. Overly bright or too dim lighting can affect the functionality and ambiance of your bathroom. Ensure you choose the right type of lighting (task, ambient, accent) and the correct bulb wattage and color temperature for each area. This attention to detail will create a balanced and functional lighting scheme.
Ignoring energy efficiency is another oversight. Opting for traditional incandescent bulbs instead of LEDs can lead to higher energy consumption and increased utility bills. Always consider energy-efficient options and incorporate controls like dimmers and timers to further reduce energy use.
Last, neglecting regular maintenance can lead to decreased performance and longevity of your fixtures. Regularly clean and inspect your light fixtures, replace bulbs as needed, and check for any signs of wear or damage. This proactive approach will ensure your DIY fixtures remain safe and functional for years to come.
Can I use any type of light bulb for my DIY bathroom light fixture?
It’s important to choose the right type of bulb for your bathroom light fixtures. LED bulbs are highly recommended due to their energy efficiency, long lifespan, and quality of light. They come in various color temperatures, allowing you to create the desired ambiance. For task lighting, such as around the vanity, opt for bulbs with a color temperature of around 4000K to 5000K, which closely resembles natural daylight. Ensure that the bulbs you select are suitable for wet environments to ensure safety and durability.
Is it safe to install my bathroom light fixtures, or should I hire a professional?
While many DIY enthusiasts successfully install their bathroom light fixtures, safety should always be a top priority. If you have basic electrical knowledge and experience, you can undertake the project yourself by carefully following instructions and safety guidelines. However, if you’re unsure about any aspect of the installation or lack confidence in your electrical skills, it’s wise to consult a professional. Hiring an electrician can ensure that the installation is done correctly and safely, preventing potential hazards.
How do I ensure my DIY bathroom light fixture is safe to use in a humid environment?
To ensure safety in a humid bathroom environment, select light fixtures and materials specifically rated for wet locations. These fixtures are designed to withstand moisture and prevent rust, corrosion, and electrical hazards. Additionally, make sure the bathroom has proper ventilation to reduce humidity levels. Using materials like metal, glass, and certain plastics that are moisture-resistant will enhance the safety and longevity of your fixtures. Regular maintenance, such as cleaning and inspecting the fixtures, will also help maintain their safety and functionality.
What are the best types of lighting for different areas of the bathroom?
Different areas of the bathroom require different types of lighting to ensure functionality and comfort. Task lighting, such as around the vanity mirror, should be bright and clear to aid in grooming tasks. LED bulbs with a color temperature of around 4000K to 5000K are ideal for this purpose. Ambient lighting provides overall illumination and can be achieved with ceiling-mounted fixtures or recessed lights. Accent lighting, such as wall sconces or under-cabinet lights, can highlight architectural features or decor, adding a stylish touch to the bathroom.
How can I make my DIY bathroom light fixtures energy-efficient?
To make your DIY bathroom light fixtures energy-efficient, use LED bulbs, which consume less energy and have a longer lifespan compared to traditional incandescent bulbs. Additionally, consider installing dimmer switches to adjust the brightness according to your needs, reducing energy consumption when full brightness is not required. Occupancy sensors or timers can automatically turn off the lights when not in use, further saving energy. Integrating smart lighting systems allows you to control the lights remotely, optimizing energy usage and convenience.
What are some creative ideas for DIY bathroom light fixtures?
There are numerous creative ideas for DIY bathroom light fixtures that can add a unique and personal touch to your space. Using reclaimed materials like old mason jars, industrial piping, or vintage sconces can create a distinctive look. Customizing fixtures with paint, stain, or decorative elements such as crystals or beads can enhance their appearance. Experimenting with different styles, such as modern, industrial, or vintage, allows you to tailor the fixtures to your bathroom decor. Online platforms, design magazines, and home improvement stores offer plenty of inspiration for innovative and stylish DIY projects.
How to Build a DIY Bathroom Light Fixture from Ceiling – TheDIYPlan
Make A Rustic Wood Iron Pipe Vanity Light DIY
How To Spray Paint Bathroom Light Fixtures – Making Manzanita
Round-up of Contemporary and Modern Bathroom Lights
Related articles:
- How To Fix A Pull Cord Bathroom Light
- Modern Bathroom Lighting Vanity
- Replacing Bathroom Light With Fan Light Combo
- Bathroom Light Replacement Covers
- Bathroom Light Fan And Heater
- Over Mirror Bathroom Light Shaver Socket
- Ip44 Led Bathroom Lights
- Old Fashioned Bathroom Light Fixtures
- Sensor Bathroom Light Switch
- How To Install Bathroom Light Bar


