Bathroom tile demolition is a crucial phase in the process of renovating or upgrading a bathroom space. Whether you’re looking to replace outdated tiles, address water damage, or simply give your bathroom a fresh look, proper tile removal is essential for a successful and efficient project.
The first step in bathroom tile demolition involves careful planning. Assess the scope of the project, considering the type of tiles, adhesive, and substrate materials used. Different tile materials, such as ceramic, porcelain, or natural stone, may require specific tools and techniques for removal. Additionally, understanding the condition of the substrate is crucial to determine if any repairs or replacements are necessary before installing new tiles.
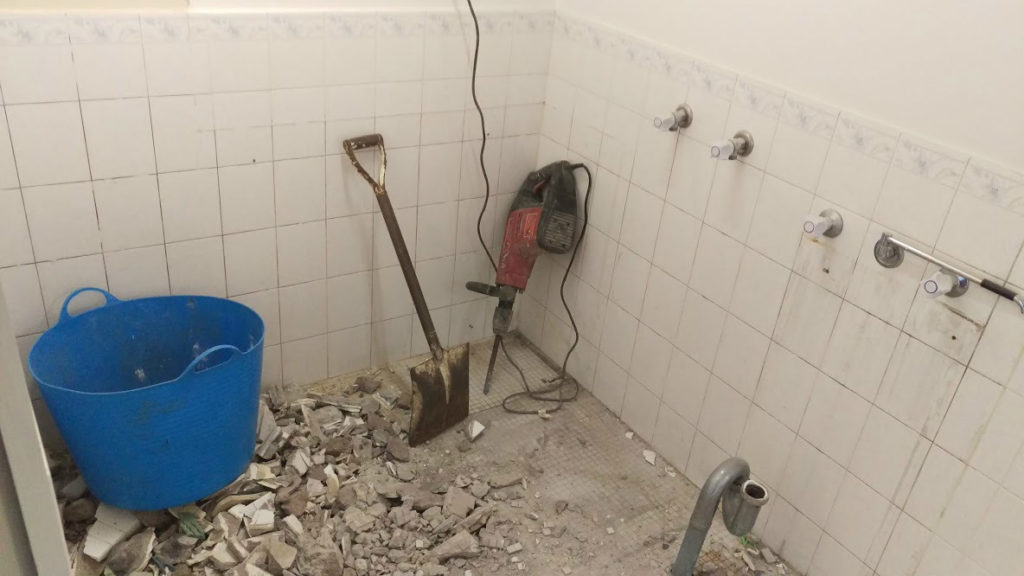
Tools play a key role in the effectiveness and safety of bathroom tile demolition. Common tools used for this task include a chisel, hammer, pry bar, and, in some cases, power tools like an electric jackhammer or a demolition hammer. Safety precautions, such as wearing protective gear like goggles and gloves, should always be observed to minimize the risk of injuries during the demolition process.
The method of tile removal depends on the type of tiles and the adhesive used. For example, ceramic tiles are often pried off the substrate using a chisel and hammer, while larger tiles or those set with strong adhesives may require the use of power tools. Careful attention should be given to avoid damaging the underlying substrate, as this may impact the success of the subsequent tiling installation.
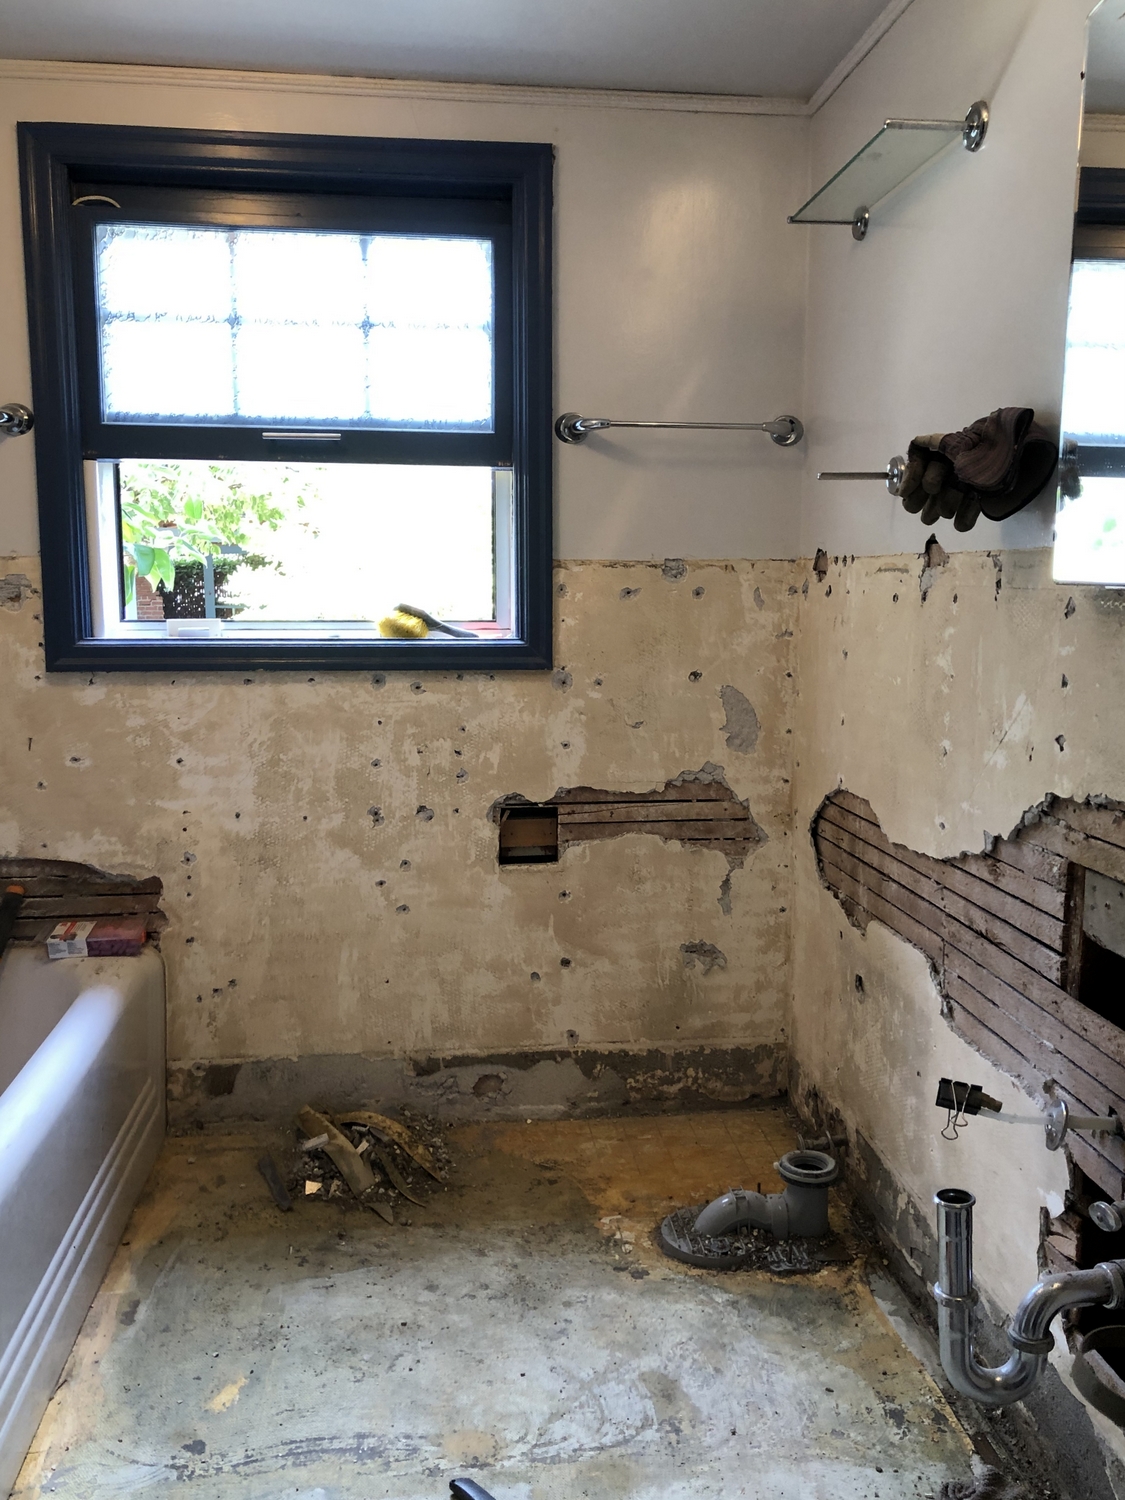
Once the tiles are removed, the next step involves clearing any remaining adhesive or mortar from the substrate. This is crucial for achieving a smooth and level surface for the new tiles. Depending on the type of adhesive used, this may involve scraping, grinding, or using chemical solutions to break down and remove the residue.
Proper waste disposal is an often-overlooked aspect of bathroom tile demolition. Tiles, adhesives, and other materials can generate a significant amount of waste. Ensuring that these materials are disposed of in an environmentally friendly and responsible manner is essential. Some materials may be recyclable, and local regulations should be followed to properly dispose of any hazardous waste.
Bathroom tile demolition is a meticulous process that requires careful planning, the right tools, and a focus on safety. Whether you’re tackling the project yourself or hiring professionals, understanding the steps involved in tile removal ensures a successful and smooth bathroom renovation. From assessing the project scope to disposing of waste responsibly, each step plays a crucial role in achieving a beautifully renovated bathroom with new, stunning tiles.
DIY Upcycled Tea Tin Planter

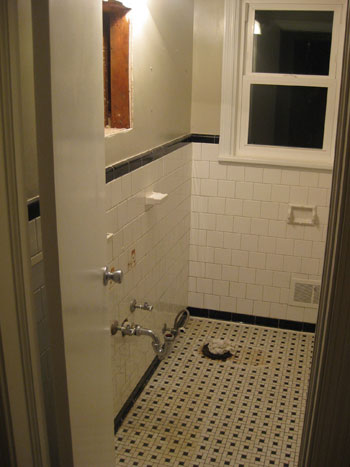
Removing bathroom tiles
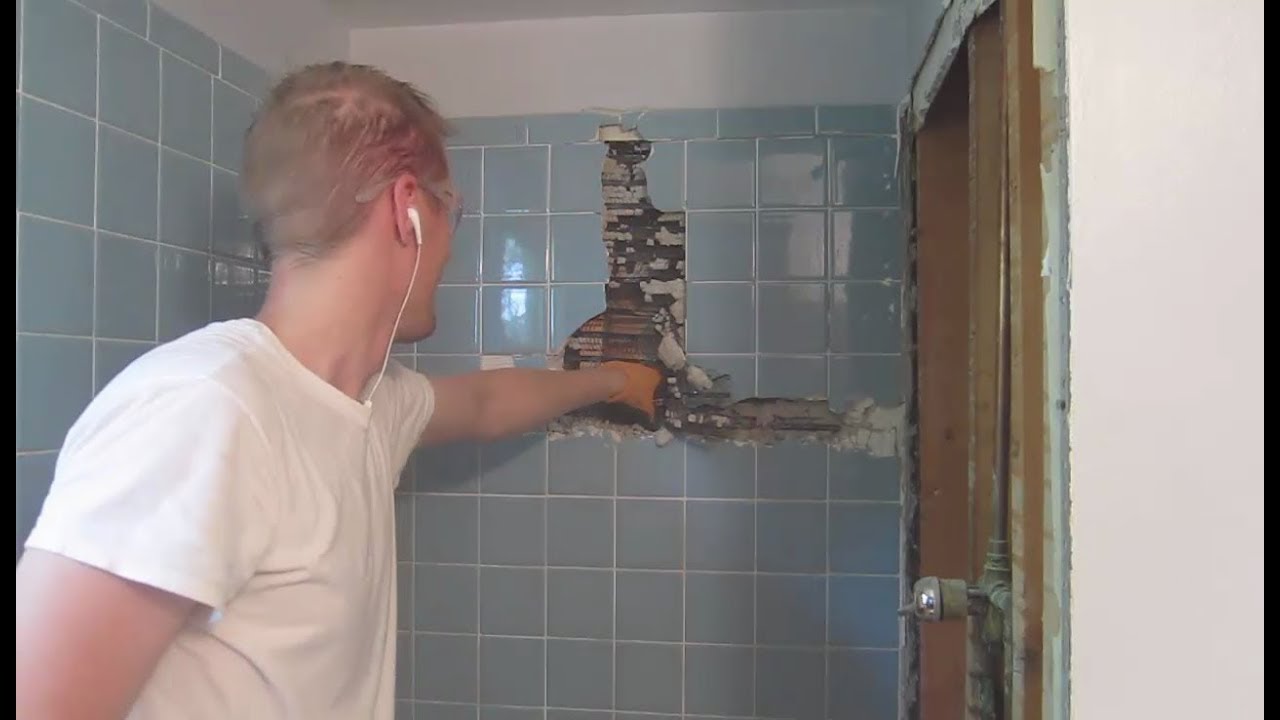
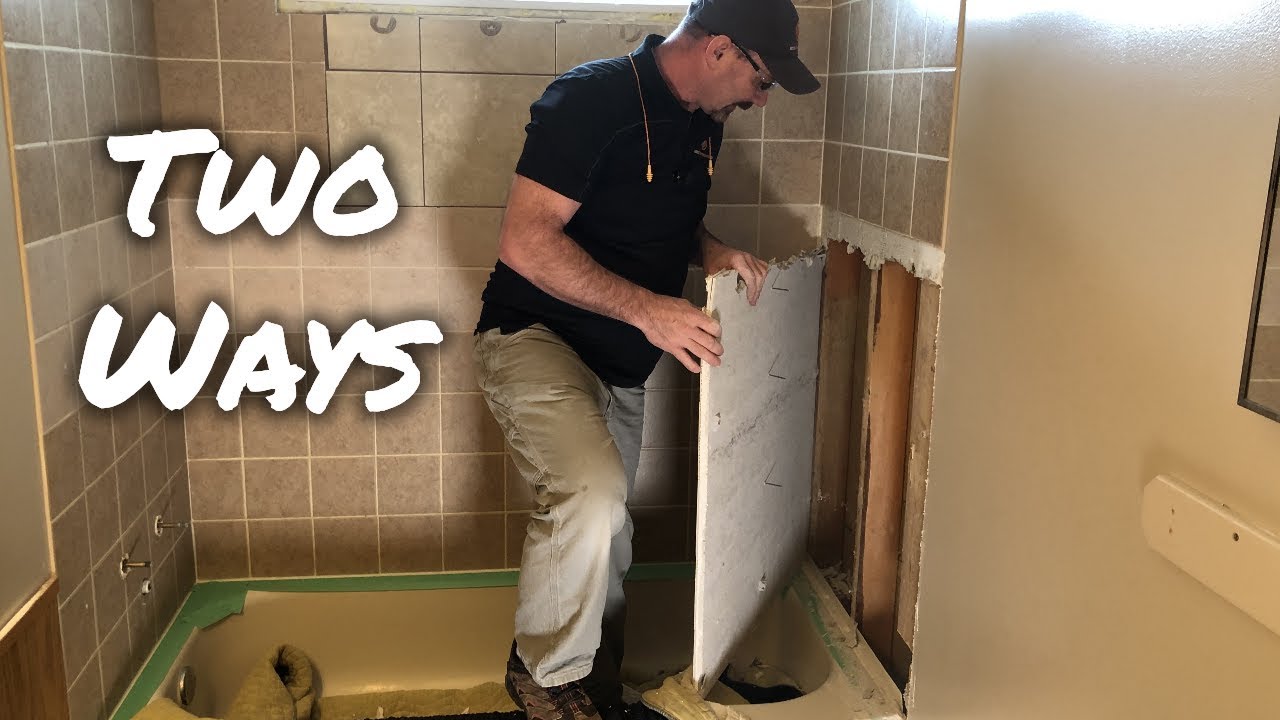
Demo Shower Tile – Remove Old Shower
Best Bathroom Demolition Service and Cost in Albuquerque NM
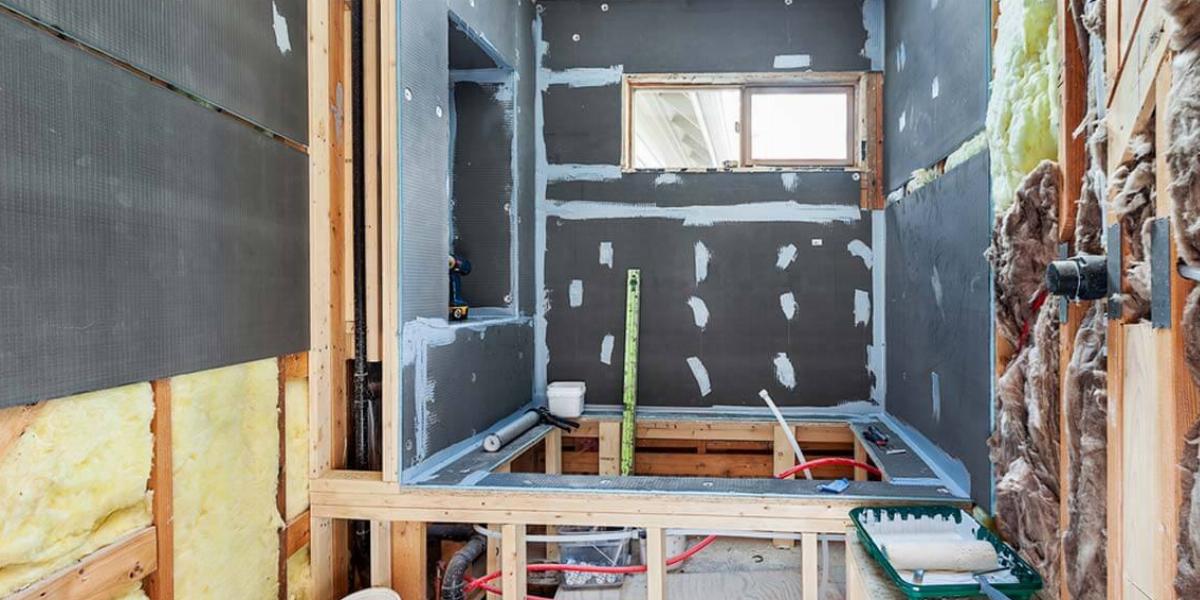
Bathroom Renovation Part 3 ~ Demo, Walls, Floors u0026 More
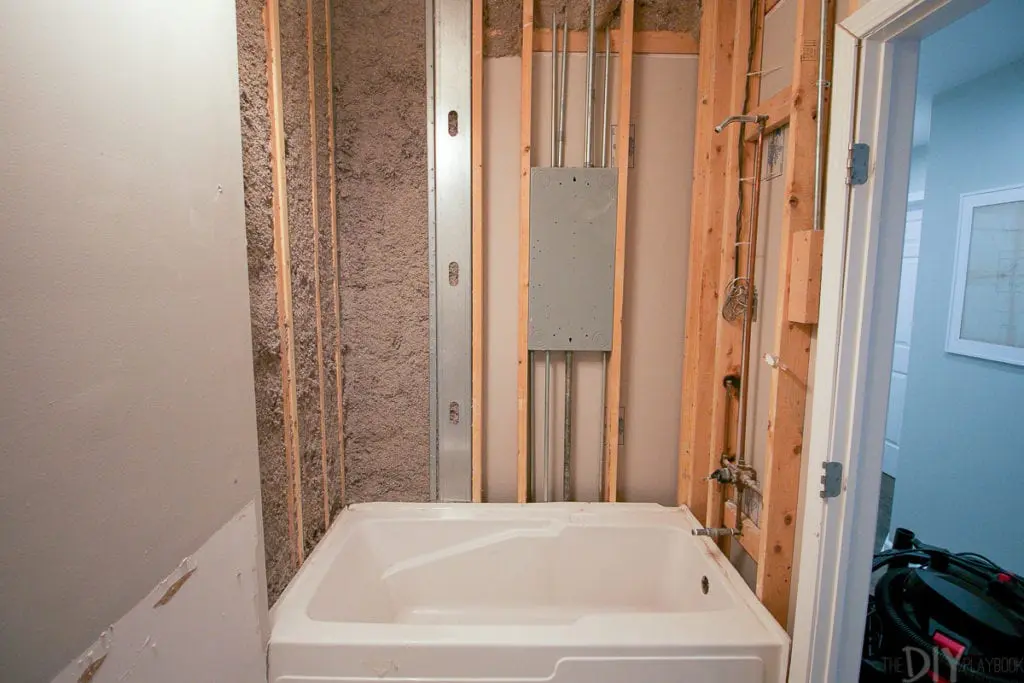
How to Demo a Bathroom in a Weekend The DIY Playbook

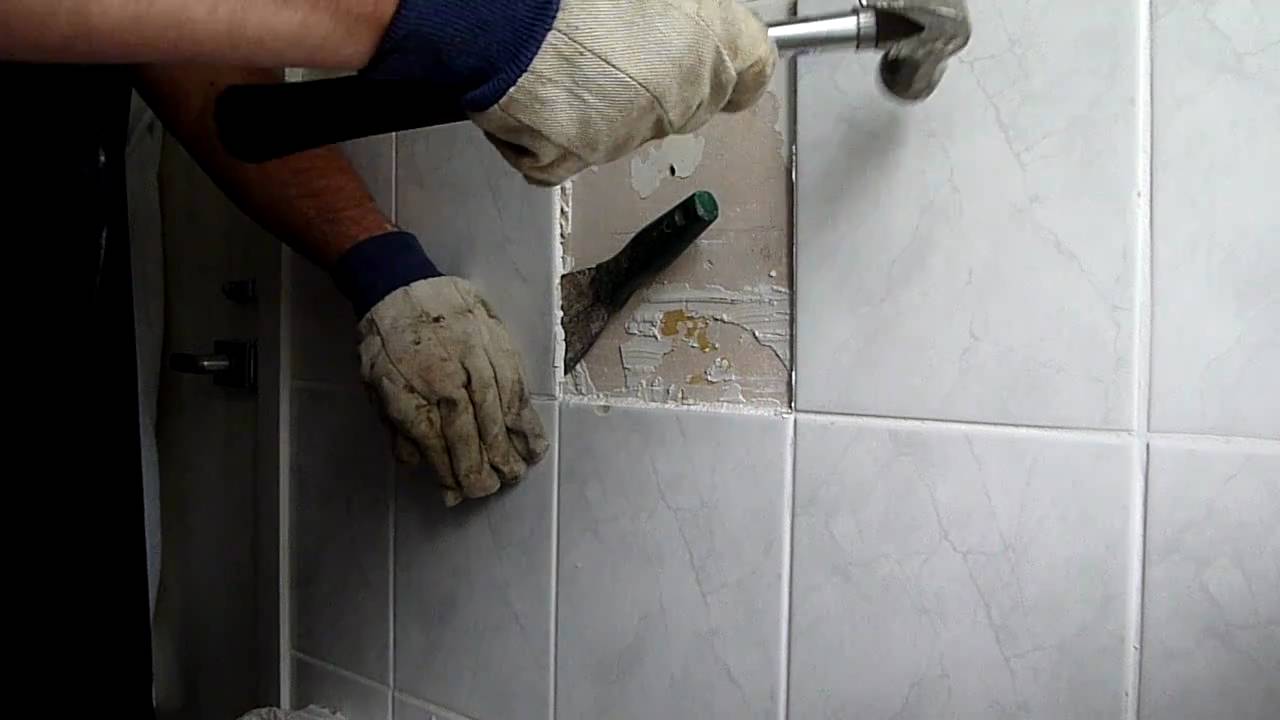
How To Remove Bathtub/Shower Wall Tiles
Tips on How to Remove Old Shower Tile u2022 Ugly Duckling House

Demoing Tile, Mortar, u0026 Metal Mesh In The Bathroom Walls Young

How to PHASE a bathroom reno (keep that shower as long as possible
How to Demo a Bathroom in a Weekend The DIY Playbook
Related articles:
- Modern Bathroom Tile Ideas
- Blue Glass Mosaic Bathroom Tiles
- Bathroom Tile Shower Design Ideas
- Modern Bathroom Tile Texture
- Modern Bathroom Tile Layout
- Bathroom Tiles Painted Over
- Best Bathroom Tiles For Small Bathroom
- Bathroom Tiles Same Floor And Wall
- White Bathroom Tile Design Ideas
- Unique Bathroom Tile Ideas
Bathroom Tile Demolition: A Comprehensive Guide
Removing bathroom tiles is a daunting task that can be intimidating for any homeowner. It requires patience, the right tools, and a fair amount of manual labor. In this comprehensive guide, we will walk you through the process of bathroom tile demolition step-by-step to help make it as easy as possible.
Preparing for Bathroom Tile Demolition
Before beginning the demolition process, there are a few things you’ll need to do to make sure you’re ready. First and foremost, make sure you have all the necessary tools and materials on hand. You’ll need protective eyewear, gloves, a hammer, chisel or crowbar, a drill with masonry bit (if needed), and a dust mask. You may also want to invest in an electric grinder with diamond blade if your tiles are particularly stubborn or difficult to remove.
Next, make sure the area is adequately ventilated and prepare a designated area for debris removal — this will help keep the mess contained and make clean up easier when you’re finished. Finally, consider laying down some protective material such as plastic sheeting or drop cloths on the surrounding surfaces to protect them from any flying debris during the demolition process.
How to Remove Bathroom Tiles
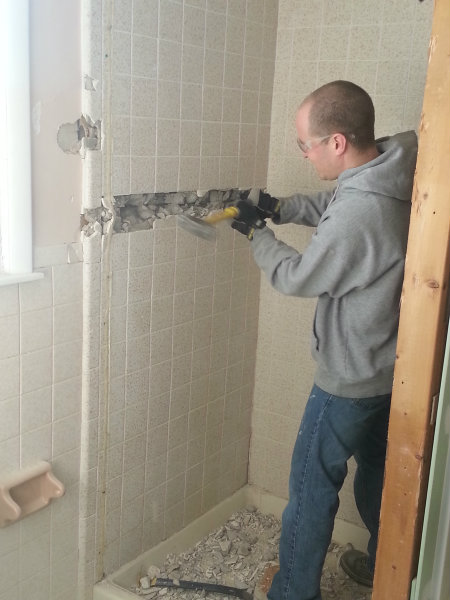
Once you’re all set up and ready to go, it’s time to start removing the tiles. Start by using your hammer to break up any large pieces that may be present — this will make the job much easier in the long run. Use your crowbar or chisel to pry off any remaining pieces of tile from the surface. If your tile is particularly stubborn or difficult to remove, you can use your drill with masonry bit to create holes in it — this should make it much easier to chip away at smaller pieces one by one.
If you’re still having trouble removing your tiles, an electric grinder with diamond blade can help speed up the process. This tool can be used to cut through even the toughest of materials with ease — just be sure to wear adequate protection while using it! Once all the tiles are removed from the surface, use a vacuum cleaner or broom and dustpan to remove any remaining debris from the area before continuing on with whatever project you plan on doing next.
How long does it take to remove bathroom tiles?
The length of time required for bathroom tile demolition varies depending on several factors such as size of tile, type of adhesive used, condition of surface underneath tiles etc., but typically it takes anywhere from 1-3 hours per square meter of tiles being removed.
What type of tools do I need?
The most common tools used for bathroom tile demolition include a hammer, chisel or crowbar, drill with masonry bit (if needed) and an electric grinder with diamond blade (if needed). Protective eyewear, gloves and a dust mask are also recommended for safety purposes.
What type of protective material should I use?
Plastic sheeting or drop cloths are ideal for protecting nearby surfaces from any flying debris during demolition — these should be laid down prior to beginning work for best results.
What tools are needed for bathroom tile demolition?
Several tools can be used for bathroom tile demolition. These include:
- Hammer
- Chisel
- Power Drill
- Reciprocating Saw
- Demolition Saw
- Grinder
- Sledgehammer
- Pry Bar
- Dust Mask
- Safety Goggles
- Gloves
It is also important to have protective material such as plastic sheeting or drop cloths to protect nearby surfaces from any flying debris during demolition.
What type of protective gear should be worn for bathroom tile demolition?
When demolishing bathroom tiles, you should always wear protective gear such as safety glasses, a dust mask, gloves, and a long-sleeved shirt and pants. Additionally, you may want to wear safety boots or shoes with steel toes and a hard hat for additional protection.
What type of safety equipment should I use when demolishing bathroom tile?
When demolishing bathroom tile, you should wear safety glasses, a dust mask, work gloves, and hearing protection. You should also make sure to have a dust extraction system or shop vacuum to reduce the amount of airborne dust particles. Additionally, it is recommended to use a drop cloth or plastic sheeting to protect nearby surfaces from any flying debris during demolition.
What type of safety gear is necessary for demolishing tile?
When demolishing tile, it is important to wear protective eyewear, a dust mask, gloves, and sturdy work boots. It is also advisable to wear long pants, long sleeves, and hearing protection. Additionally, you should use a drop cloth or plastic sheeting to protect nearby surfaces from debris.
What type of protective clothing should be worn when demolishing tile?
When demolishing tile, workers should wear protective clothing such as safety glasses, long pants, closed-toe shoes, a hard hat, gloves, and a dust mask.