A leaking bathroom faucet handle is a common issue that can lead to water wastage and increased utility bills. It can also be an annoyance, causing persistent drips and potentially leading to more significant plumbing problems if left unchecked. Fortunately, fixing a leaking faucet handle is a task that most homeowners can tackle with a bit of knowledge and the right tools. This article will guide you through the steps to identify the problem, understand the parts involved, and effectively fix the leak.
Understanding the Faucet Anatomy
Types of Faucet Handles
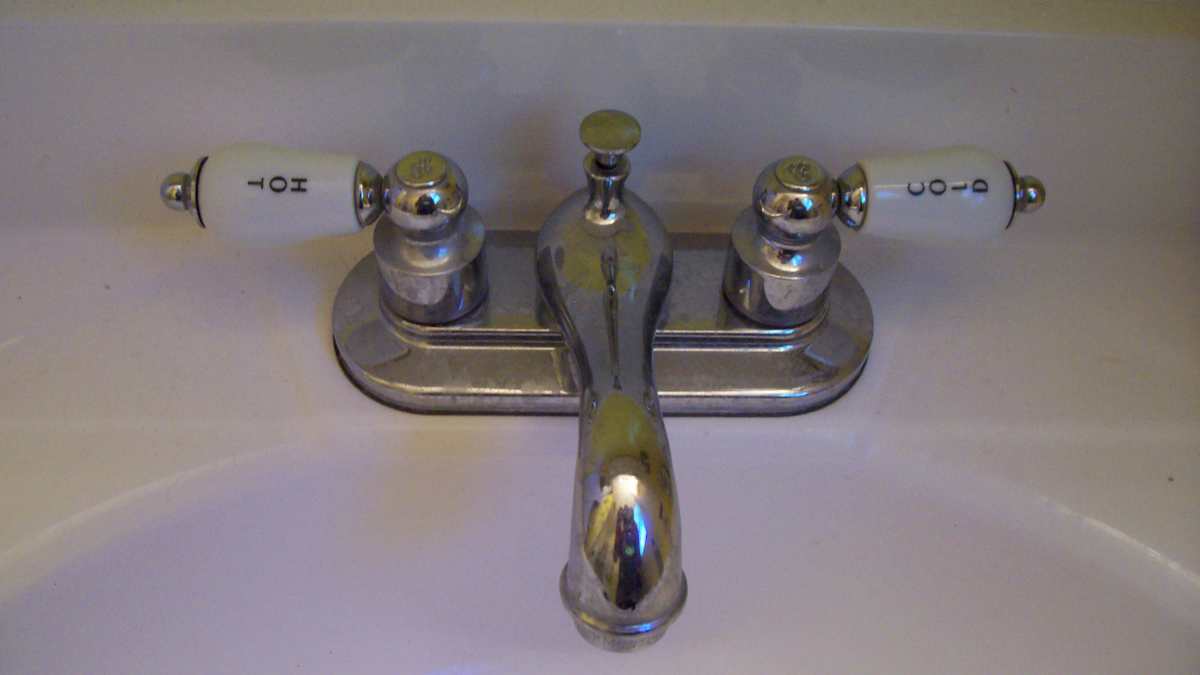
Before diving into the repair process, it’s essential to understand the type of faucet handle you have. The most common types are compression, ball, cartridge, and ceramic disc faucets. Compression faucets have separate handles for hot and cold water and operate by tightening or loosening a washer to control water flow. Ball faucets, typically single-handle, use a ball mechanism to regulate water flow and temperature. Cartridge faucets can be single or double-handled and use a cartridge to control the water flow. Lastly, ceramic disc faucets use a pair of ceramic discs to manage the water flow and are known for their durability.
Identifying the Leak Source
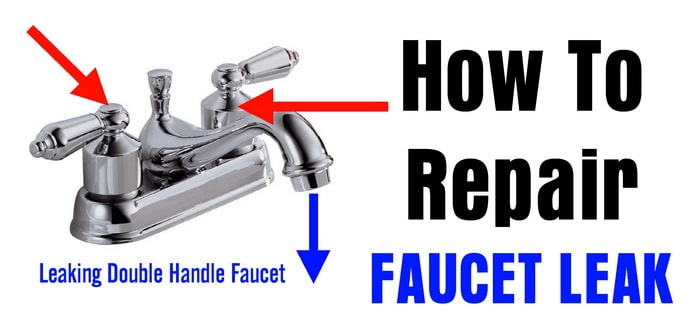
Identifying the source of the leak is crucial for an effective repair. Leaks can originate from various parts of the faucet handle. Common sources include worn-out O-rings, deteriorated washers, or damaged cartridges. Observing where the water is leaking from can help pinpoint the exact issue. For instance, if the water is leaking from the handle base, it could indicate a problem with the O-rings. If it’s leaking from the spout when the faucet is off, the washer or cartridge might be faulty.
Tools and Materials Needed
To fix a leaking faucet handle, gather the necessary tools and materials before starting the repair. Common tools include an adjustable wrench, a Phillips and flat-head screwdriver, needle-nose pliers, plumber’s grease, and replacement parts such as O-rings, washers, or cartridges. Having a set of Allen wrenches and a utility knife can also be helpful. Ensure you have a bucket or towel to catch any water drips and protect your sink area during the repair process.
Safety Precautions
Before beginning any repair work, it’s essential to take some safety precautions. Turn off the water supply to the faucet to prevent water from spraying during the repair. This can typically be done by closing the shut-off valves under the sink. If there are no shut-off valves, you may need to turn off the main water supply to your home. Additionally, cover the sink drain to prevent small parts from falling in and getting lost. Wear safety goggles to protect your eyes from any debris or splashing water.

Step-by-Step Repair Process
Removing the Faucet Handle
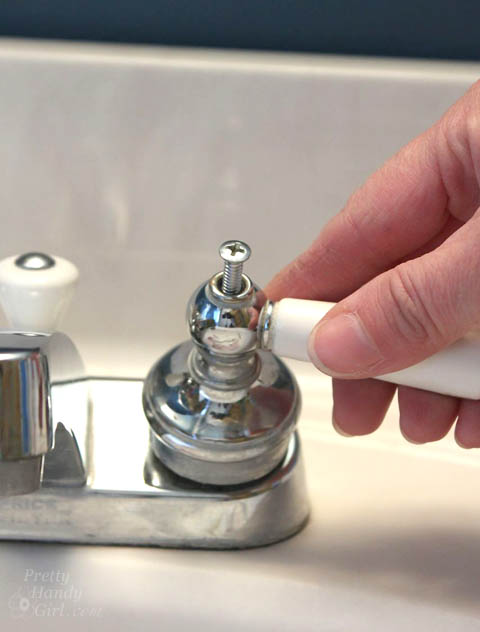
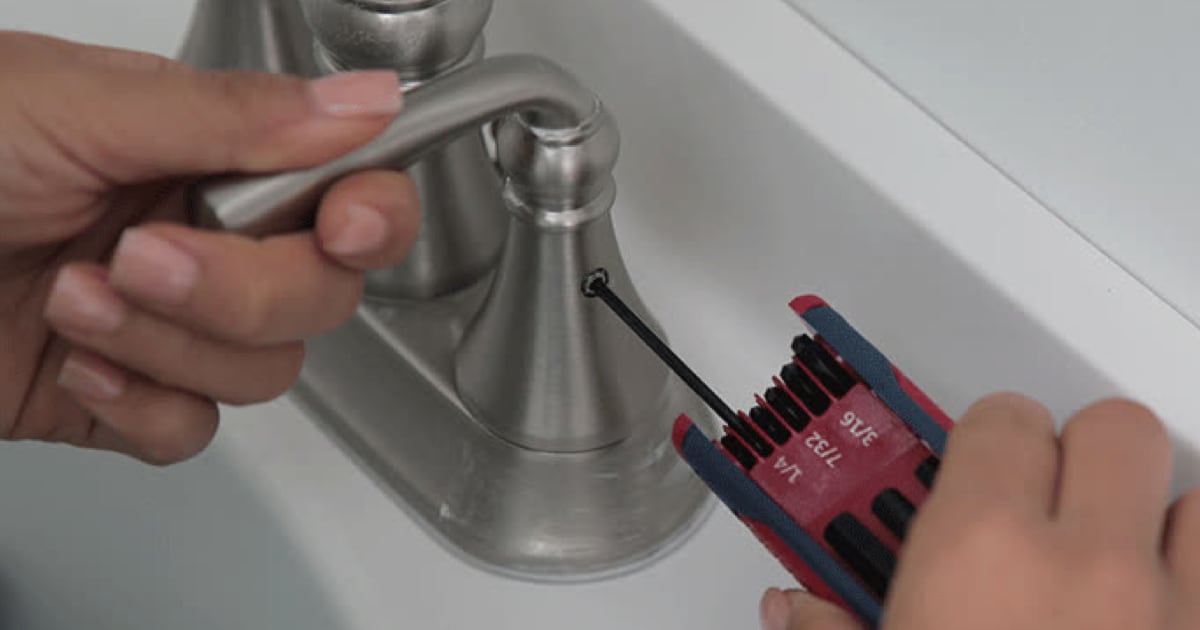
The first step in fixing a leaking faucet handle is to remove the handle itself. Start by locating the screw that holds the handle in place. This screw is often hidden under a decorative cap, which can be pried off using a flat-head screwdriver. Once the cap is removed, use the appropriate screwdriver to unscrew the handle. Carefully lift the handle off the faucet to expose the inner components.
Inspecting and Replacing the O-Rings and Washers
With the handle removed, you can access the O-rings and washers. These parts are often the culprits behind a leaking faucet handle. Inspect the O-rings for any signs of wear, cracking, or damage. If they appear worn out, replace them with new ones of the same size. Similarly, check the washers and replace them if they show any signs of deterioration. Apply a small amount of plumber’s grease to the new O-rings and washers to ensure a proper seal and smooth operation.
Replacing the Cartridge or Ball Assembly
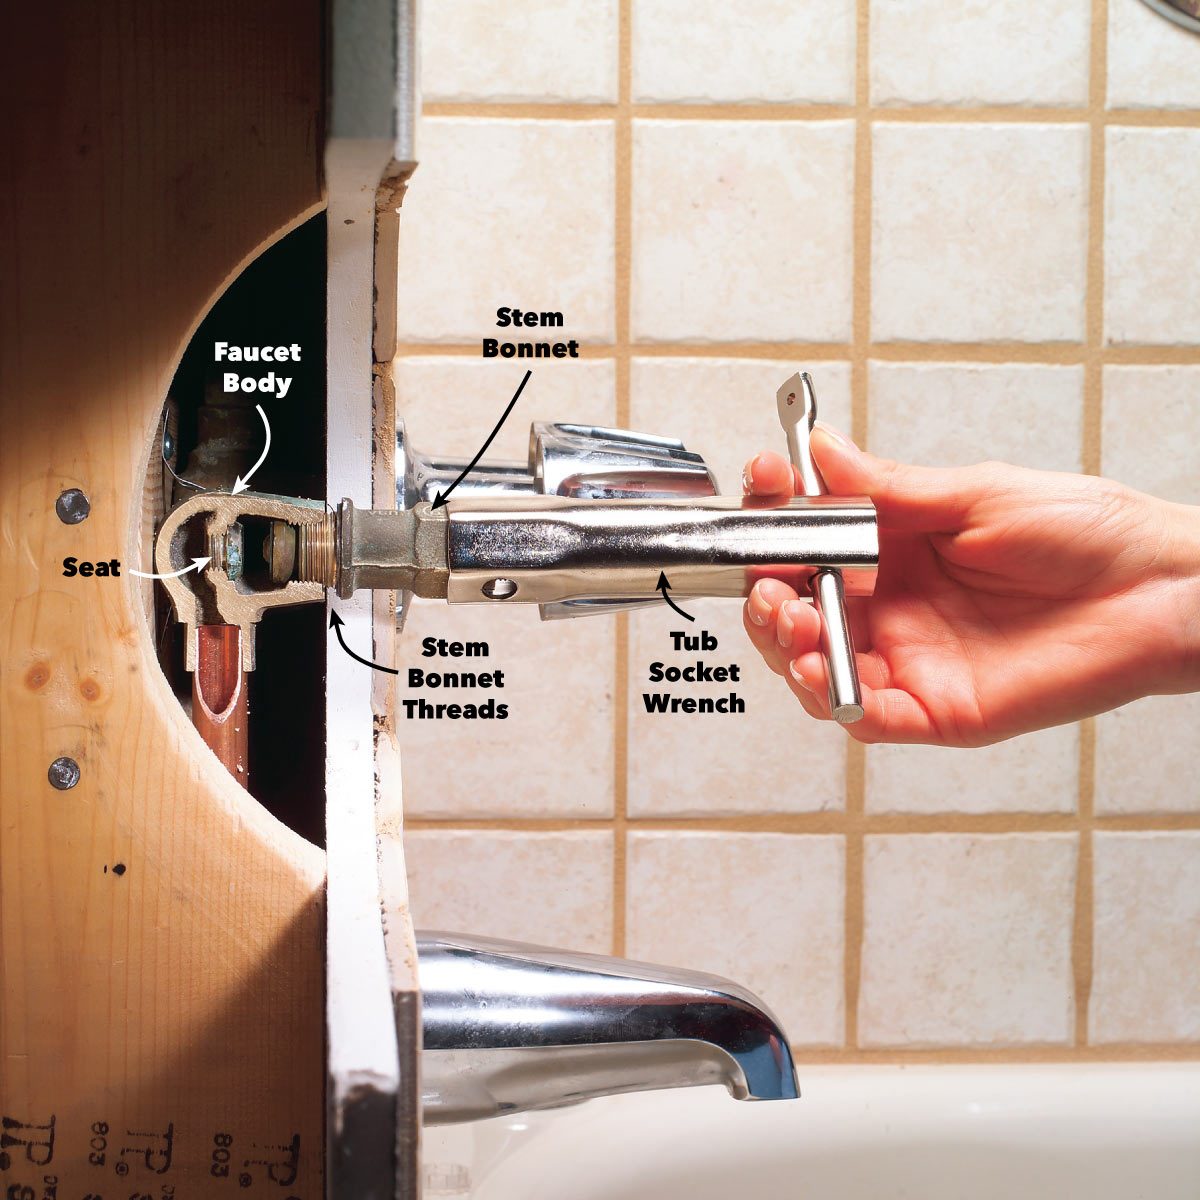
If the leak persists after replacing the O-rings and washers, the issue might be with the cartridge or ball assembly. For cartridge faucets, remove the retaining clip or nut that holds the cartridge in place and pull out the cartridge. Inspect it for any signs of damage or wear and replace it if necessary. For ball faucets, use needle-nose pliers to remove the cam and packing. Inspect the ball for wear and replace it if needed. Reassemble the faucet by reversing the removal steps.
Reassembling and Testing the Faucet
After replacing the necessary parts, reassemble the faucet by following the disassembly steps in reverse order. Ensure all components are securely in place and the handle is firmly attached. Turn the water supply back on and test the faucet for leaks. Gradually turn on the faucet and check for any drips around the handle or spout. If there are no leaks, the repair was successful. If the leak persists, recheck the parts for proper installation and consider seeking professional help if needed.
Common Mistakes to Avoid
Skipping the Inspection
One of the most common mistakes when fixing a leaking faucet handle is skipping the inspection of all potential problem areas. It’s crucial to thoroughly check O-rings, washers, cartridges, and other components to ensure you address the root cause of the leak. Overlooking a damaged part can lead to recurring leaks and additional repairs.
Using the Wrong Tools
Using the wrong tools can damage your faucet and make the repair process more difficult. Ensure you have the correct tools, such as the appropriate screwdriver type and size, adjustable wrench, and needle-nose pliers. Using makeshift tools can strip screws or damage delicate components, complicating the repair.
Incorrectly Installing Replacement Parts
Incorrectly installing replacement parts is another common mistake. Ensure that new O-rings, washers, and cartridges are properly seated and secured. Misaligned parts can cause leaks and affect the faucet’s functionality. Follow the manufacturer’s instructions carefully to avoid installation errors.
Neglecting to Turn Off the Water Supply
Neglecting to turn off the water supply before starting the repair can lead to water damage and mess. Always ensure the water supply is completely shut off to prevent water from spraying out when you disassemble the faucet. This simple step can save you from a potentially wet and frustrating experience.
How often should I replace the O-rings in my faucet?
The frequency of replacing O-rings depends on the faucet’s usage and water quality. Generally, O-rings should be inspected annually and replaced every few years or when you notice signs of wear or leaks. Hard water can accelerate the wear of O-rings, so consider more frequent inspections if you have hard water.
What if my faucet still leaks after replacing the O-rings and washers?
If your faucet still leaks after replacing the O-rings and washers, the issue might be with the cartridge or ball assembly. Inspect these components for damage and replace them if necessary. Persistent leaks may also indicate a problem with the faucet’s internal parts, and seeking professional help could be beneficial.
Can I use any type of grease on the O-rings?
It’s best to use a plumber’s grease on O-rings. Plumber’s grease is designed to be water-resistant and safe for use with plumbing fixtures. Avoid using petroleum-based greases, as they can deteriorate rubber and plastic components, leading to further leaks and damage.
How do I know if I need to replace the entire faucet?
If your faucet is old, or corroded, or if the internal parts are significantly damaged, it might be more cost-effective to replace the entire faucet. Frequent leaks, difficulty in finding replacement parts, or poor water flow are signs that it’s time to consider a new faucet.
Are all faucet cartridges the same?
No, faucet cartridges are not universal. They vary based on the faucet’s brand, model, and type. When replacing a cartridge, ensure you get the correct one for your specific faucet. Bringing the old cartridge to a hardware store or consulting the faucet’s manual can help you find the right replacement.
Fix a Leaky Faucet Double Handle DIY

How To Repair A Leaking Double Handle Faucet

How to Fix a Leaking Bathtub Faucet (DIY) Family Handyman
Faucet Parts & Repair
How to Repair a Single-Handle Kitchen Faucet (DIY) Family Handyman

How to Fix a Leaking Glacier Bay Bathroom Sink Faucet – DIY Home

How to Fix the Leak on a Price Pfizer Single Handle Bathroom Faucet
Related articles:
- Grohe Widespread Bathroom Faucet
- Price Pfister Bathroom Faucet Porcelain Handles
- Polished Brass Bathroom Faucets Centerset
- Cheap Single Hole Bathroom Faucet
- Bathroom Faucets Ottawa
- Bathroom Faucets By Kohler
- Price Pfister Serrano Chrome Bathroom Faucet
- Price Pfister Pull Out Bathroom Faucet
- Bathroom Faucet To Garden Hose Adapter
- Moen Bathroom Faucet Chrome