Fixing a bathroom tile leak requires careful assessment and proper execution to prevent further damage to the surrounding areas. The first step in addressing a tile leak is to identify the source of the leak. This may involve inspecting the grout lines and caulking around the tiles for signs of damage or deterioration. Common issues that can cause tile leaks include cracked or missing grout, damaged caulking, and loose or damaged tiles. Once the source of the leak is identified, it’s essential to determine the extent of the damage and develop a repair plan.
If the leak is caused by damaged or deteriorated grout, the first step is to remove any loose or damaged grout using a grout saw or utility knife. Once the damaged grout is removed, the area should be thoroughly cleaned to remove any debris or residue. After cleaning, new grout can be applied to the affected areas using a grout float, ensuring that the grout lines are filled evenly and completely. Once the new grout has been applied, excess grout should be wiped away using a damp sponge, and the area should be allowed to dry completely before sealing.
If the leak is caused by damaged or deteriorated caulking, the old caulk should be removed using a caulk removal tool or utility knife. Once the old caulk is removed, the area should be cleaned thoroughly to remove any residue or debris. New caulk can then be applied to the affected areas using a caulk gun, ensuring that the caulk is applied evenly and completely. After applying the new caulk, excess caulk should be smoothed out using a damp finger or caulk finishing tool, and the area should be allowed to dry completely before use.
In some cases, the leak may be caused by loose or damaged tiles. If this is the case, the affected tiles will need to be removed and replaced. To remove a tile, carefully pry it away from the wall or floor using a putty knife or chisel. Once the tile has been removed, any old adhesive or mortar should be scraped away from the substrate using a scraper or wire brush. After cleaning the area, a new tile can be installed using tile adhesive or mortar, ensuring that it is aligned correctly with the surrounding tiles. Once the adhesive has dried, new grout can be applied to the grout lines, and the area should be allowed to dry completely before use.
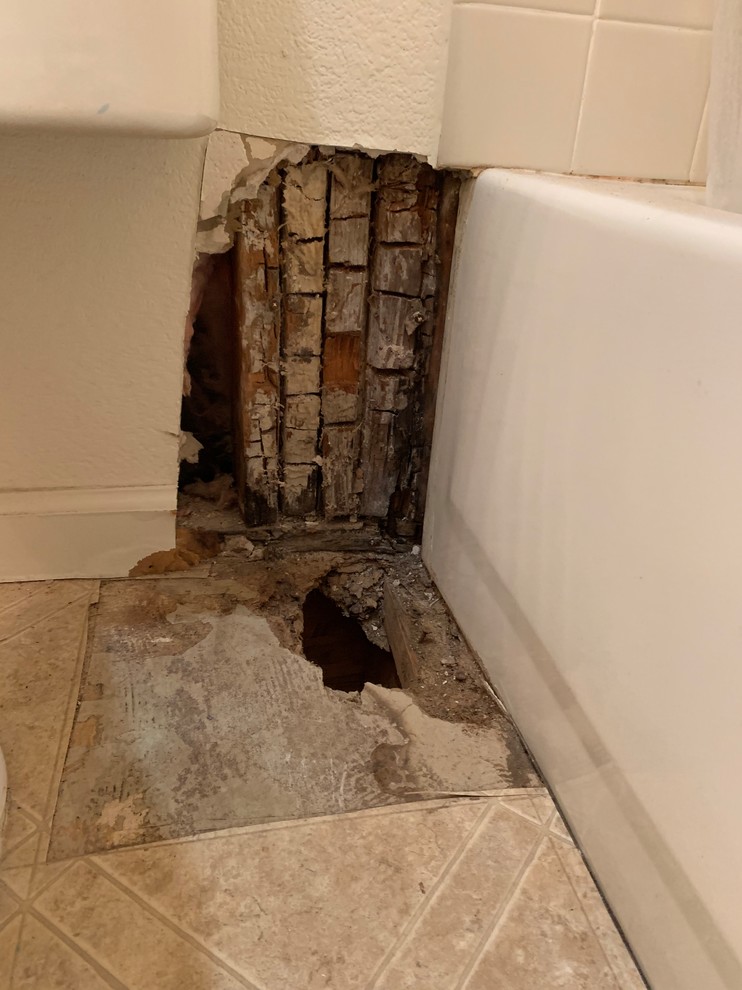
In some cases, fixing a bathroom tile leak may require the expertise of a professional plumber or tile installer, especially if the leak is extensive or if there are underlying issues with the plumbing or substrate. Additionally, it’s essential to address any underlying issues, such as water damage or mold growth, to prevent future leaks and ensure the long-term integrity of the bathroom. By following these steps and taking the necessary precautions, homeowners can effectively address bathroom tile leaks and restore the functionality and aesthetics of their bathroom spaces.

How to Fix a Leaking Shower Without Removing Tiles
Fixing a water leak between tiles!

Temporary fix for leaking, cracked bathroom tile floor
How to Fix Water Damage Behind Shower Tiles Like a Pro ServiceMaster

How To Fix Bathroom leakage without removing floor tiles by Waterseal Clear-Coat Kit- DIY KIT Demo

How to stop water leaking through bathroom and shower tiles Weber UK

Epoxy Grout Fixed My Leaking Shower. Will It Work For You?

How to stop water leaking through bathroom and shower tiles Weber UK

Water Damage Behind Shower Tiles
Do You Need to Remove Tiles to Repair a Leaking Shower? – Shower
Related articles:
- Nitco Bathroom Tiles Images
- Bathroom Tile Vertical Stripe
- Bathroom Tile Sealer Spray
- Bathroom Tiles For Sale In Sri Lanka
- Slate Bathroom Tile Pros And Cons
- Laying Out Bathroom Tile
- Small Bathroom Tile Shower
- What Is The Best Way To Clean Bathroom Tile Grout
- Bathroom Tiles In Nigeria
- Replacing A Bathroom Tile
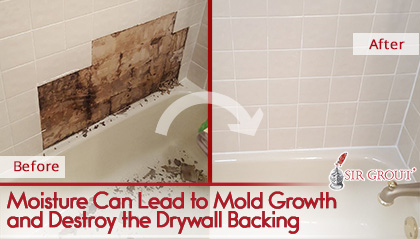
Bathroom tile leaks can be a frustrating experience for any homeowner. A leaking tile not only causes inconvenience but also can lead to water damage and mold growth. Fixing a bathroom tile leak requires some basic tools, patience, and attention to detail. In this article, we will guide you through the steps to fix a bathroom tile leak and answer some frequently asked questions related to tile leaks.
Step 1: Identify the Source of the Leak
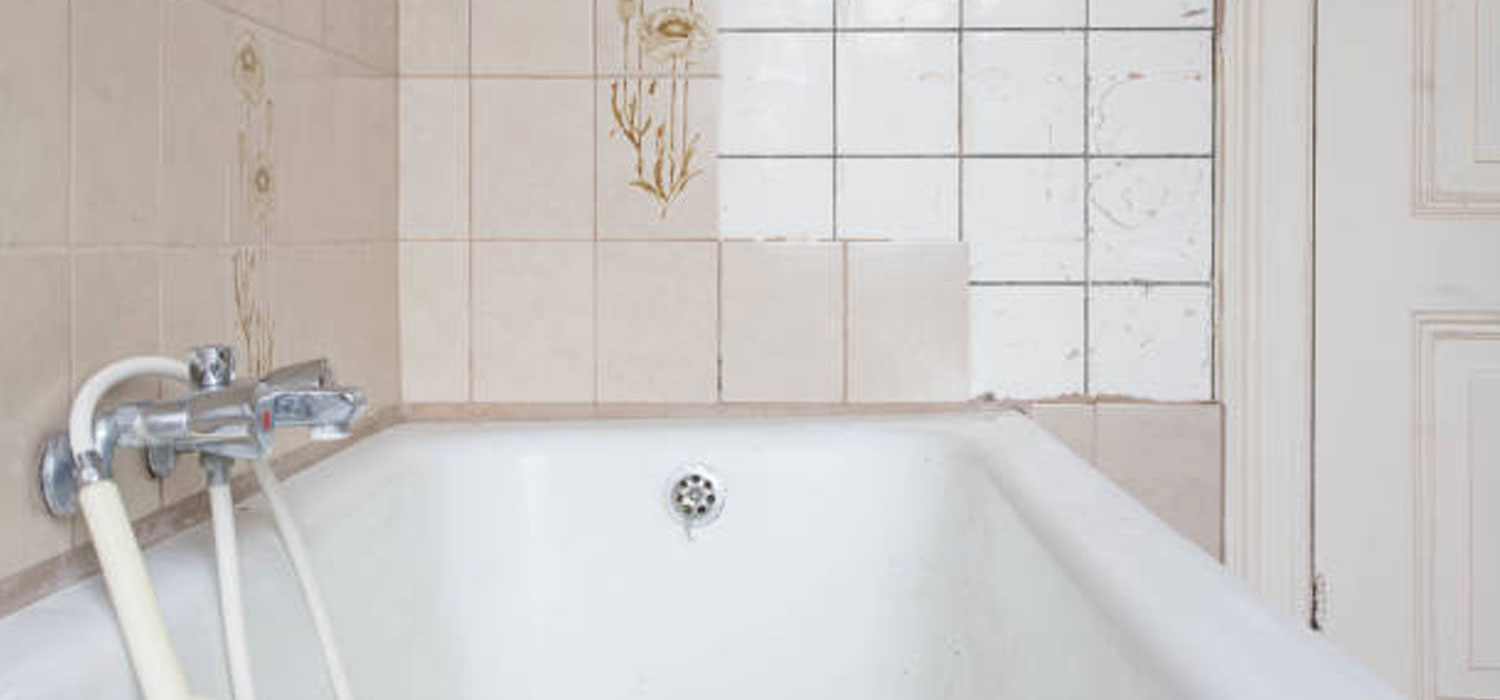
Before you start fixing the leak, it is important to identify where the water is coming from. A leaking tile could be caused by multiple reasons such as a damaged grout line or cracked tiles. One way to identify the source of the leak is to inspect the area when the leak is occurring. Check for any signs of water damage on the ceiling or wall below the bathroom. If there is no visible damage, then try running water in the shower or bathtub and observe where the water is seeping through.
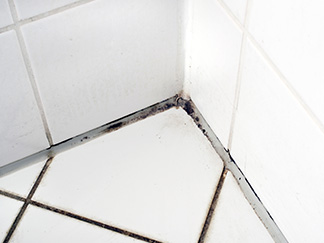
How do I know if my bathroom tiles are leaking?
If you notice water stains on the ceiling or walls below your bathroom, it could be a sign that your tiles are leaking. Another sign of a leaking tile is dampness or discoloration on your bathroom floor or walls.
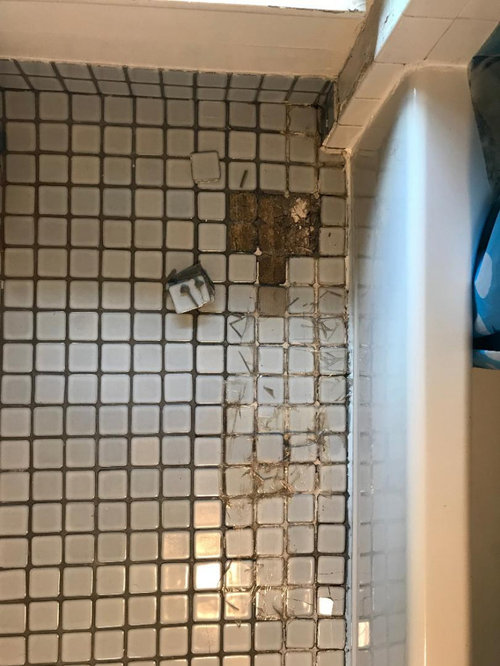
Step 2: Remove Damaged Tiles
Once you have identified where the leak is coming from, it’s time to remove any damaged tiles. Use a hammer and chisel to carefully remove the tiles without damaging surrounding tiles. If you are replacing a large section of tiles, it may be necessary to use an angle grinder with a diamond blade to cut through the grout lines.
Can I replace one tile without removing all of them?
Yes, it is possible to replace one tile without removing all of them. However, if you want to maintain a consistent look across your bathroom, we recommend replacing all of the tiles in that area.
Step 3: Replace Damaged Grout
If the leak is caused by a damaged grout line, then you will need to remove the old grout and replace it with new. Use a grout saw or rotary tool to remove the old grout, being careful not to damage the surrounding tiles. Once the old grout has been removed, clean the area with a damp cloth and allow it to dry completely before applying new grout.
Can I use caulk instead of grout?
Caulk can be used in place of grout in certain areas such as corners or where two different surfaces meet. However, it is not recommended to use caulk as a replacement for grout in areas that will be exposed to water such as showers or bathtubs.
Step 4: Replace Cracked Tiles
If the leak is caused by a cracked tile, then you will need to replace the damaged tile. Purchase a replacement tile that matches the existing tiles in your bathroom. Use a tile cutter to cut the new tile to size and apply adhesive to the back of the tile. Place the tile in position and press down firmly. Allow the adhesive to dry completely before grouting.
Can I repair a cracked tile instead of replacing it?
It is possible to repair a cracked tile using epoxy or other types of adhesives. However, this method is not recommended as it may not provide a long-term solution and could lead to further damage down the line.
Step 5: Apply New Grout
Once all of the damaged tiles have been replaced, it’s time to apply new grout. Mix the grout according to manufacturer instructions and apply it using a rubber float. Be sure to work the grout into all of the joints and smooth out any excess. Wipe away any excess grout with a damp sponge and allow it to dry completely before sealing.
How often should I reseal my grout?
Grout should be sealed every 1-2 years to prevent water damage and discoloration. However, this may vary depending on the type of grout and the amount of traffic in your bathroom.
Step 6: Seal the Tiles
Once the grout has dried completely, it is important to seal the tiles to prevent water from seeping through. Use a tile sealer that is specifically designed for your type of tile and apply it according to the manufacturer instructions. Allow the sealer to dry completely before using your shower or bathtub.
Can I use a spray-on sealer instead of a brush -on sealer?
Yes, spray-on sealers can be used instead of brush-on sealers. However, it is important to make sure that the sealer is specifically designed for your type of tile and to follow the manufacturer instructions carefully.
Step 7: Monitor for Leaks
After completing the repair, it is important to monitor the area for any signs of leaks. Check the area periodically for any dampness or water stains. If you notice any issues, immediately address them to prevent further damage.
What should I do if the leak persists after making these repairs?
If the leak persists after making these repairs, it may be necessary to call a professional plumber to assess the situation. There may be an underlying issue with your plumbing that needs to be addressed.
Fixing a leaking shower or bathtub is a manageable task that can be completed by most homeowners. By following these steps and taking proper precautions, you can successfully repair the leak and prevent further damage.