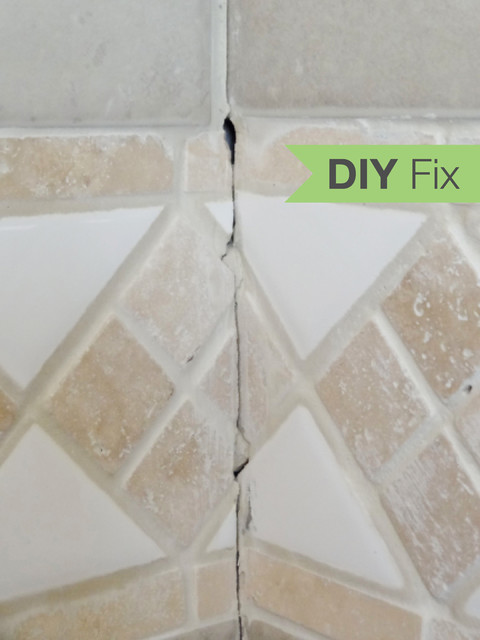
Fixing cracked bathroom tiles is an essential task to maintain the integrity and aesthetic appeal of your bathroom. Cracked tiles not only compromise the visual appeal of the space but can also lead to further damage if left unattended, such as water leaks and mold growth. The process of fixing cracked bathroom tiles typically involves assessing the extent of the damage, removing the damaged tile, preparing the surface, and replacing the tile with a new one. However, the specific steps may vary depending on the type of tile and the severity of the crack.
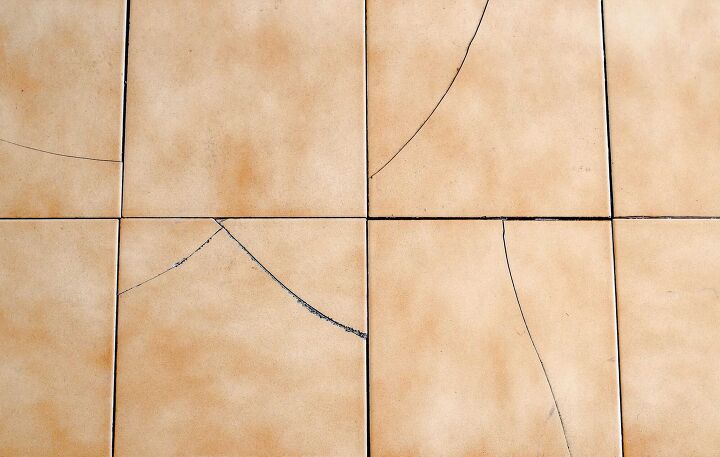
The first step in fixing cracked bathroom tiles is to assess the extent of the damage. Minor cracks may only require simple repairs, while larger cracks or tiles that are completely broken may need to be replaced entirely. Use a putty knife or similar tool to gently probe the cracked tile and determine its stability. If the tile is loose or wobbly, it will need to be removed and replaced. However, if the crack is minor and the tile is still firmly in place, it may be possible to repair it without removing it.

Once you have assessed the damage, the next step is to remove the damaged tile if necessary. Use a grout saw or rotary tool with a tile-cutting bit to carefully remove the grout surrounding the cracked tile. Be sure to wear safety goggles and gloves to protect yourself from flying debris. Once the grout has been removed, use a chisel or pry bar to carefully pry the cracked tile away from the substrate. Take care not to damage the surrounding tiles or the underlying substrate during this process.
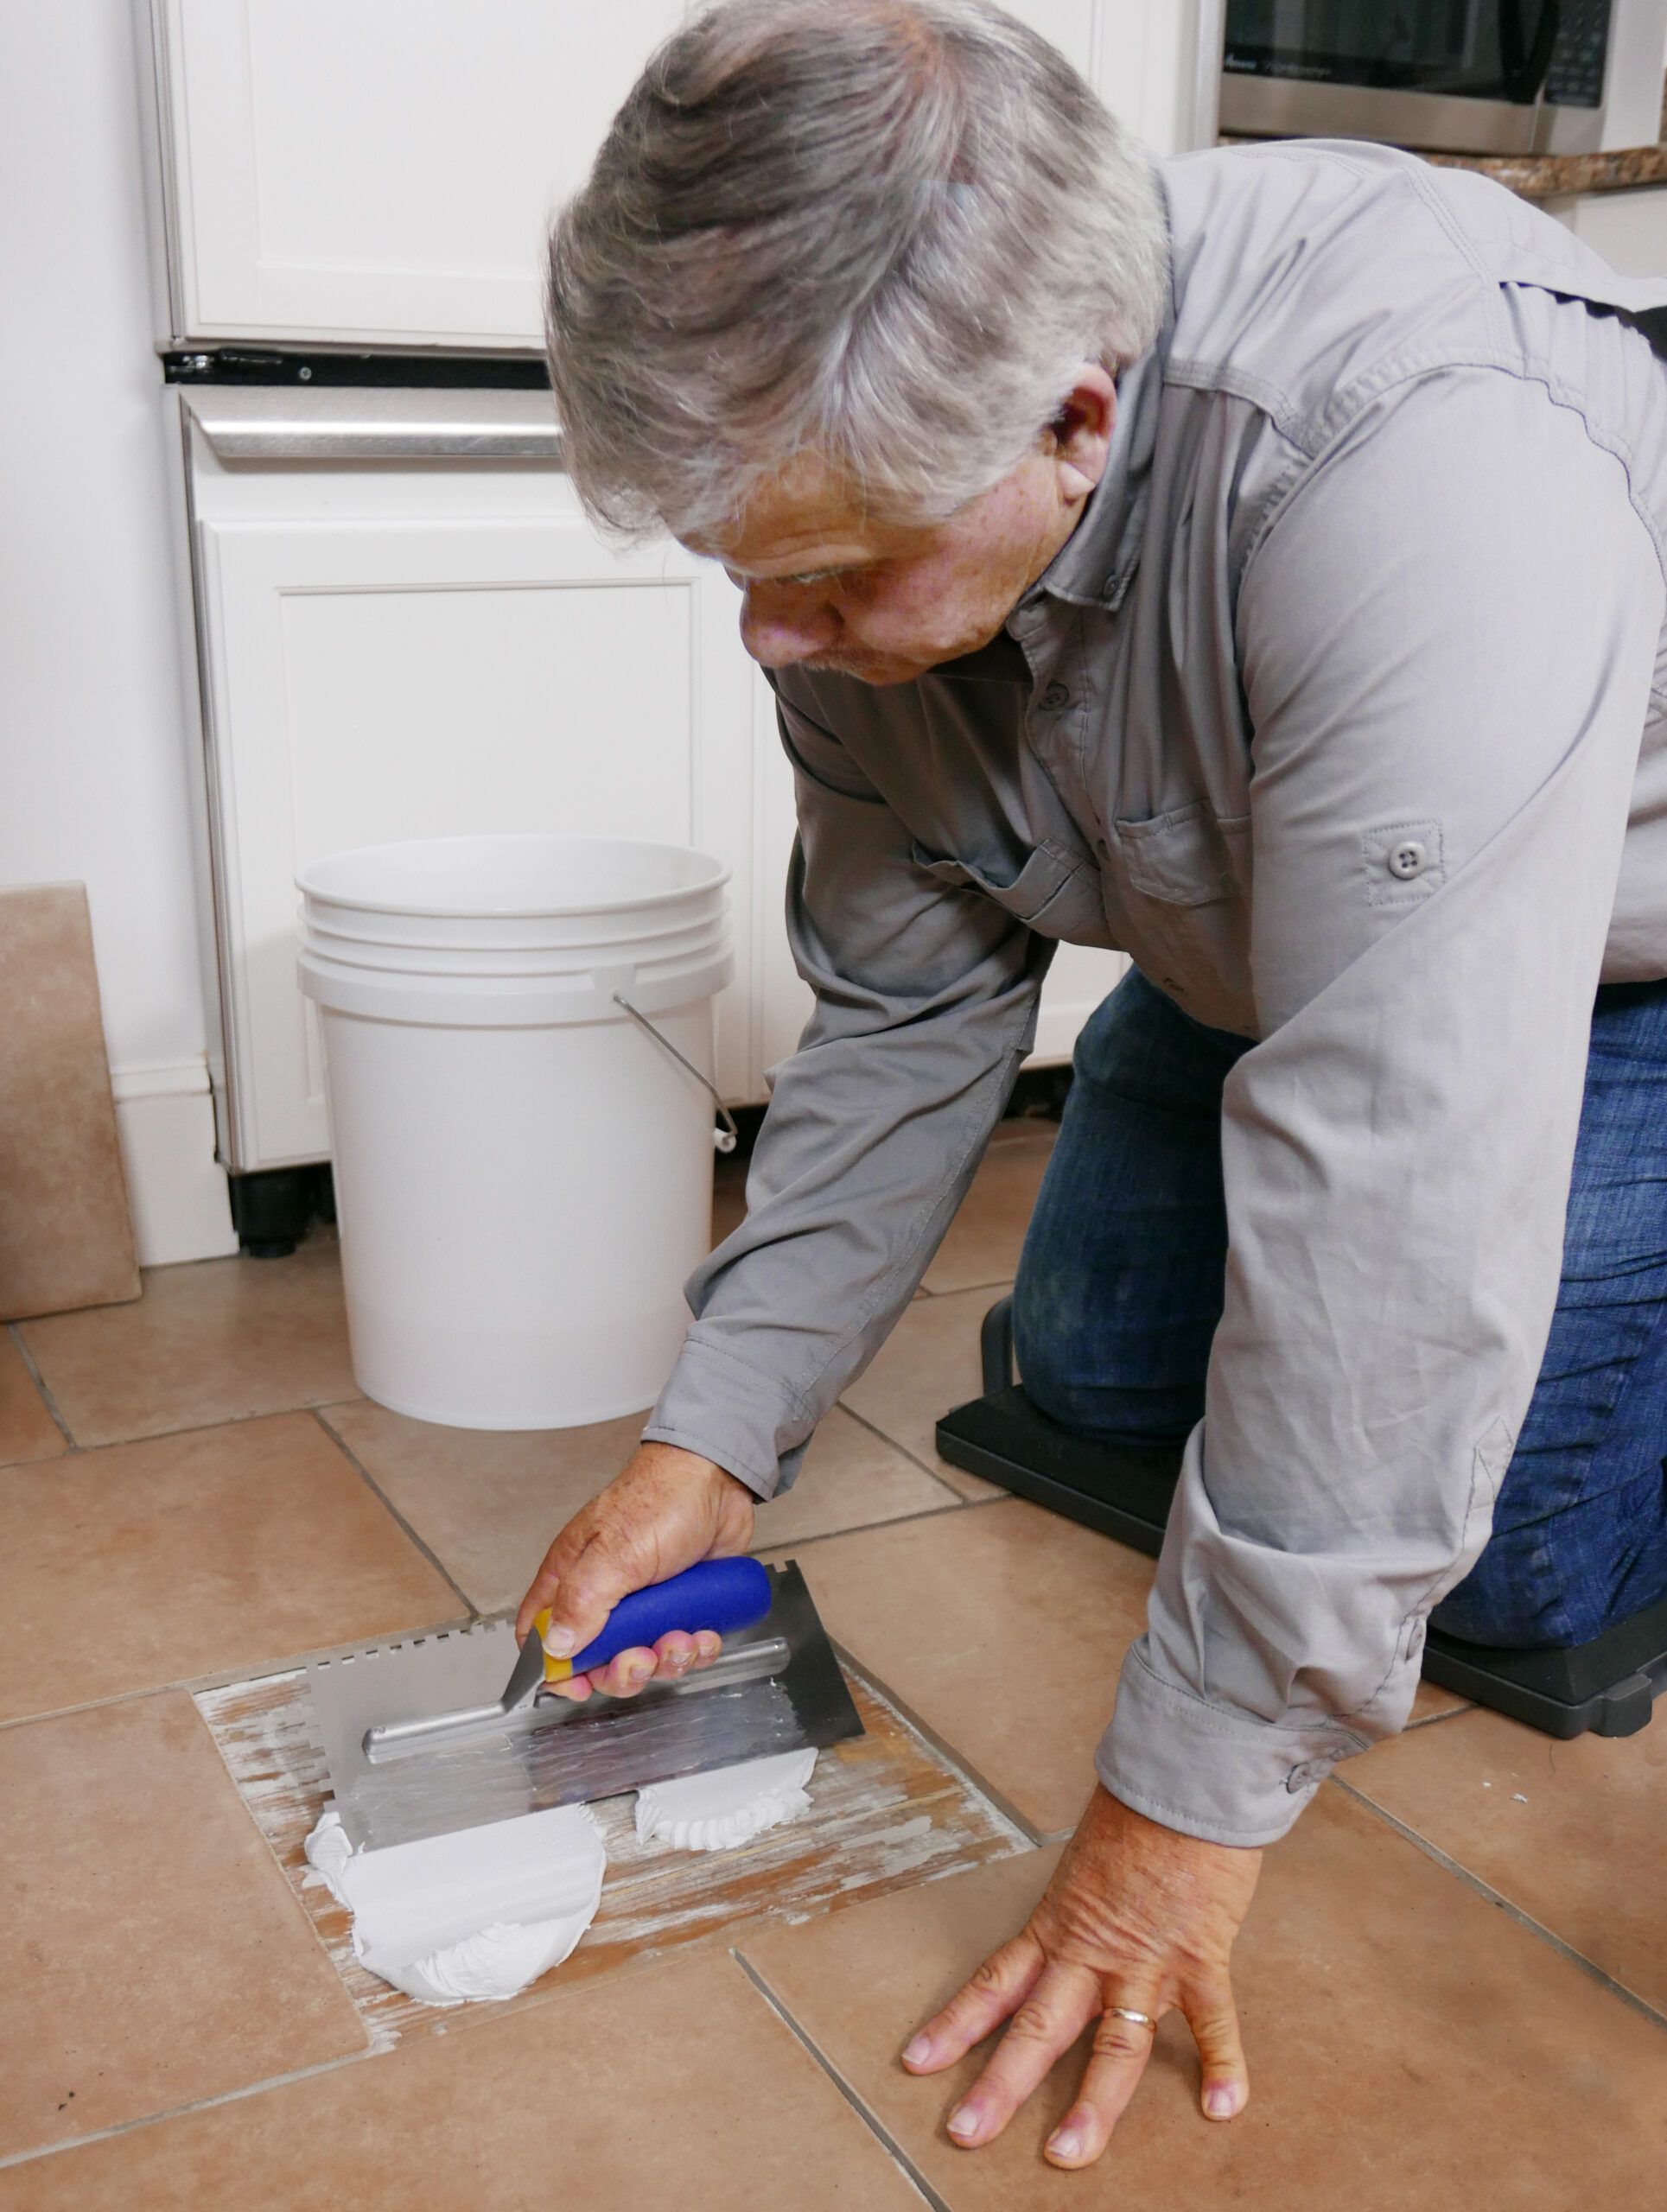
After removing the damaged tile, the next step is to prepare the surface for the replacement tile. Use a putty knife or scraper to remove any adhesive or mortar residue from the substrate, ensuring that the surface is clean and smooth. If necessary, use a patching compound or filler to level any uneven areas or repair minor imperfections in the substrate. Allow the patching compound to dry completely before proceeding to the next step.
Once the surface is prepared, you can proceed to replace the cracked tile with a new one. If you have saved any leftover tiles from the original installation, you can use one of these to replace the cracked tile. Alternatively, you can purchase a new tile that matches the size, style, and color of the existing tiles. Apply a thin layer of tile adhesive to the back of the replacement tile, then press it firmly into place on the substrate. Use tile spacers to ensure even spacing between the replacement tile and the surrounding tiles, then allow the adhesive to cure according to the manufacturer’s instructions.
After the adhesive has dried, you can proceed to grout the replacement tile. Mix the grout according to the manufacturer’s instructions, then use a grout float to press the grout into the joints surrounding the replacement tile. Be sure to fill the joints completely and remove any excess grout from the surface of the tiles. Allow the grout to dry for the recommended amount of time, then use a damp sponge to wipe away any grout haze from the surface of the tiles.
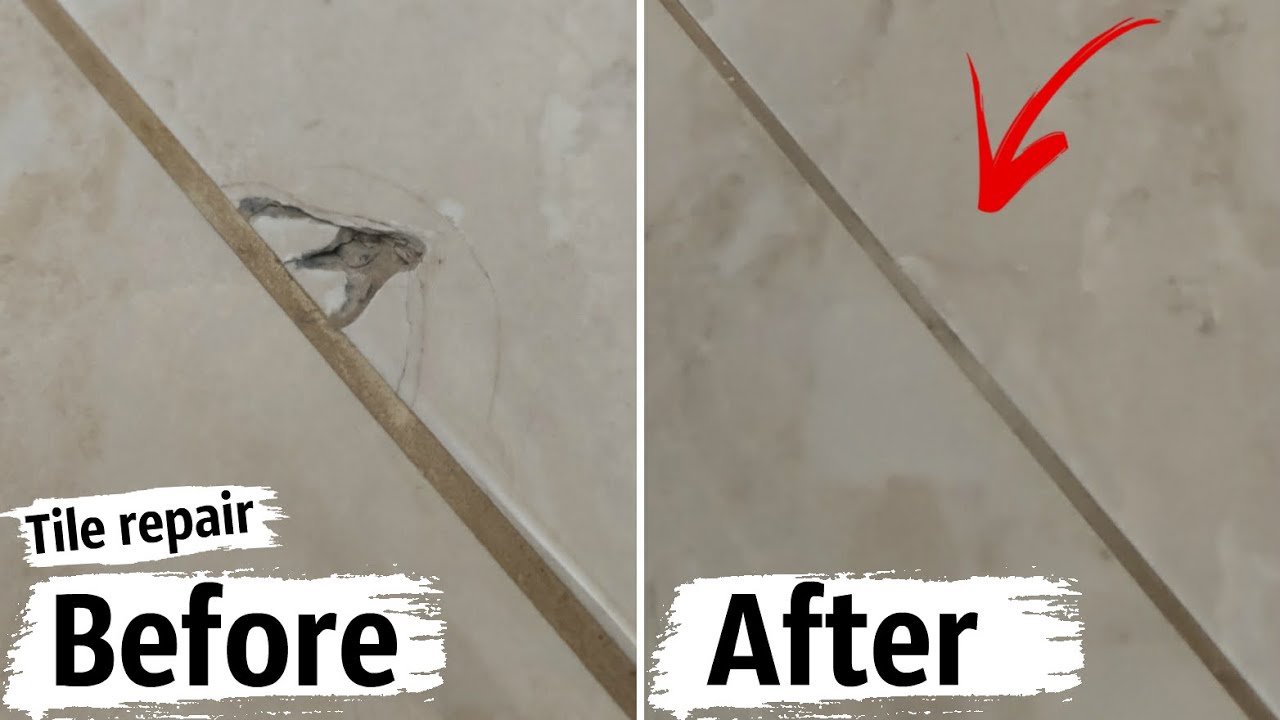
Fixing cracked bathroom tiles is a straightforward process that can help maintain the integrity and appearance of your bathroom. By carefully assessing the extent of the damage, removing the damaged tile if necessary, preparing the surface, and replacing the tile with a new one, you can effectively repair cracked tiles and prevent further damage to your bathroom. Whether you choose to tackle the repair yourself or hire a professional, addressing cracked tiles promptly is essential to ensure the long-term durability and aesthetic appeal of your bathroom.
HOME DZINE Bathrooms Fix chipped or cracked tiles
Repair Cracked Tile – Ceramic Tile Fix

How To Repair Hairline Crack in Shower Tile
How to Hide or Repair Cracked Tiles in Your Home
Quick Fix: Repair Cracked Bathroom Grout
How To Fix A Broken Tile Without Replacing It u2013 Upgraded Home
Tile repair. Restoration of cracks on a ceramic tile.
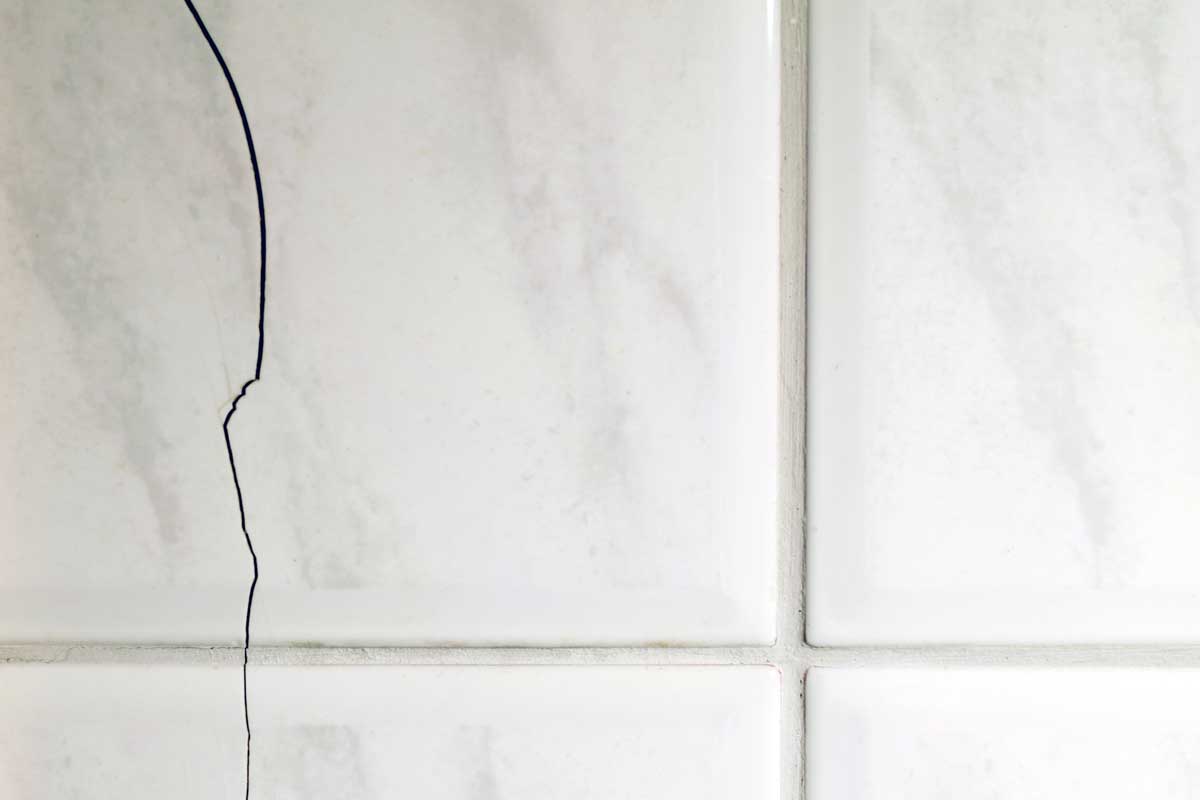
Cracked bathroom tile – runs almost entire length of the wall

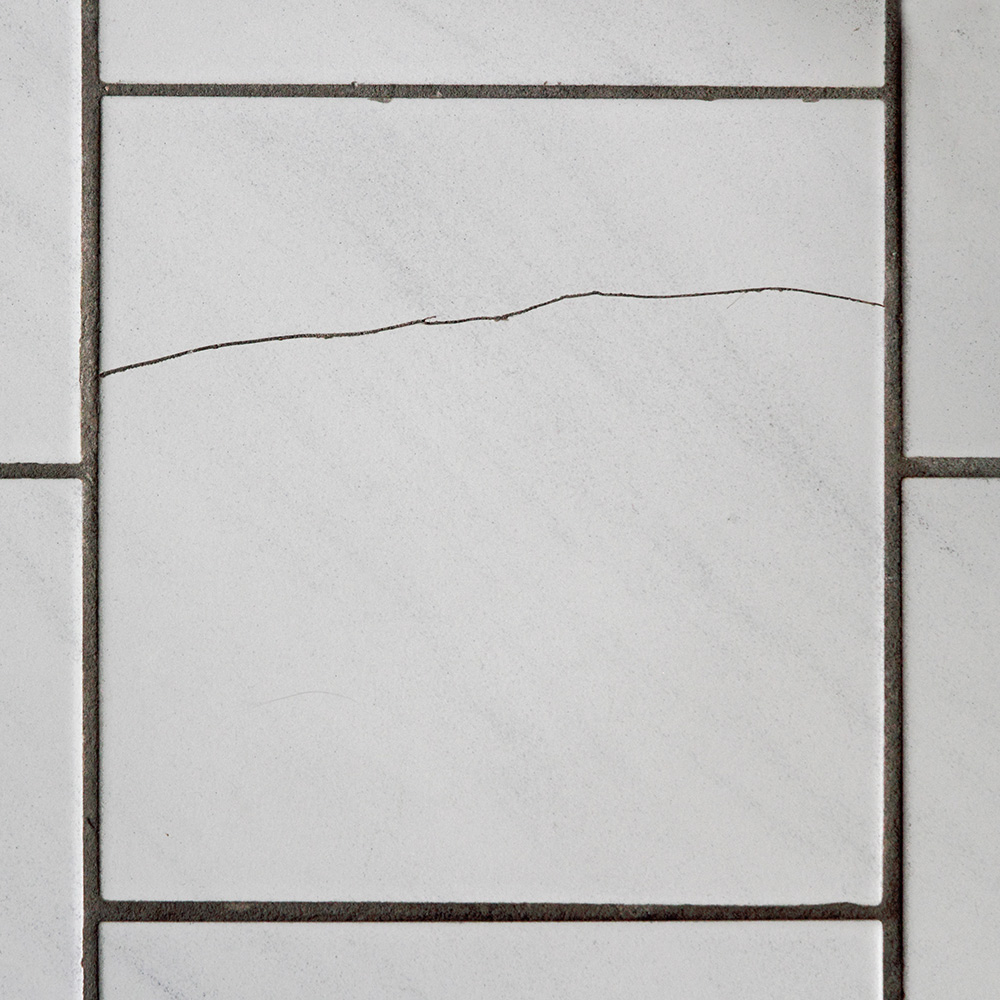
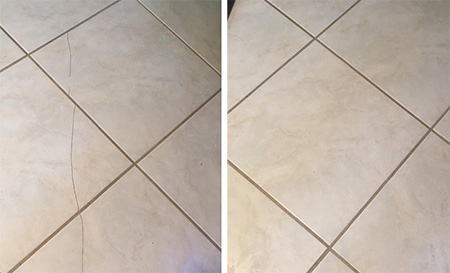
Fixing crack in bathroom tile floor

How To Fix Broken Tile Without Replacing
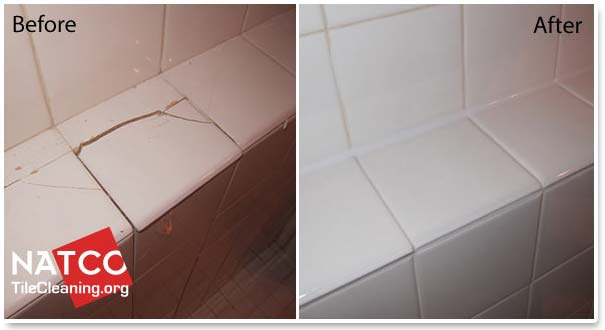
How To Fix Replace Cracked Bathroom Tiles
Related articles:
- Restore Old Bathroom Tile
- Rustic Bathroom Tile Designs
- Vertical Bathroom Tile Designs
- Bathroom Tile Makeover
- Modern Bathroom Tile Ideas
- Blue Glass Mosaic Bathroom Tiles
- Bathroom Tile Shower Design Ideas
- Modern Bathroom Tile Texture
- Modern Bathroom Tile Layout
- Bathroom Tiles Painted Over
Bathroom tiles are an essential part of our daily lives. They add beauty and functionality to our bathrooms. However, over time, cracks can develop on the surface of bathroom tiles due to wear and tear or other factors such as moisture and aging. A cracked tile not only looks unsightly but can also cause more damage to the surrounding area if left unattended. Fortunately, fixing cracked bathroom tiles is a relatively simple task that can be carried out without professional help. In this article, we will provide you with a step-by-step guide on how to fix cracked bathroom tiles.
Assess the Damage
Before you begin repairing your cracked bathroom tile, it’s important to assess the extent of the damage. If the crack is minor, you may be able to fix it yourself using some basic tools and materials. However, if the crack is severe or there are multiple cracks, you may need to replace the entire tile.
How do I know if my cracked bathroom tile needs to be replaced?
You should replace your cracked bathroom tile if it is severely damaged or there are multiple cracks that could compromise the integrity of the tile.
Can I fix large cracks in my bathroom tile?
Large cracks in your bathroom tile are best fixed by replacing the entire tile rather than attempting to repair them.
Gather Tools and Materials
Once you have assessed the damage, you need to gather all the necessary tools and materials for repairing your cracked bathroom tile. You will need:
– Safety goggles
– Dust mask
– Chisel
– Hammer
– Grout saw
– Tile adhesive
– Replacement tile (if necessary)
– Grout
Do I need special tools for repairing my cracked bathroom tile?
No, you don’t need any special tools for repairing your cracked bathroom tile. However, you will need basic tools such as a chisel, hammer, and grout saw.
Can I use any type of tile adhesive for repairing my cracked bathroom tile?
No, you should use a tile adhesive that is specifically designed for the type of tile you are repairing. Consult with a professional if you’re unsure.
Remove the Grout
The first step in repairing your cracked bathroom tile is to remove the grout around the damaged tile. This will allow you to remove the tile without damaging surrounding tiles. Use a grout saw to carefully remove the grout from around the cracked tile.
Do I need to remove all the grout around the damaged tile?
No, you only need to remove the grout around the damaged area to be able to remove the tile without damaging surrounding tiles.
Is it necessary to wear safety goggles and a dust mask when removing grout?
Yes, wearing safety goggles and a dust mask is essential when removing grout as it can cause eye and respiratory irritation.
Remove the Damaged Tile
Once you have removed the grout around the damaged tile, use a chisel and hammer to gently loosen and remove the damaged tile. Be careful not to damage surrounding tiles or injure yourself in the process.
How do I remove a damaged bathroom tile without damaging surrounding tiles?
Use a chisel and hammer to gently loosen and remove the damaged tile. Be careful not to damage surrounding tiles by using too much force.
Can I reuse the damaged tile after repairing it?
No, once a bathroom tile is cracked, it is best to replace it rather than attempting to repair it.
Clean and Prepare the Surface
After removing the damaged tile, clean and prepare the surface by removing any remaining adhesive or debris using a scraper or sandpaper. Make sure that the surface is clean and smooth before proceeding.
Do I need to clean the surface before installing a new tile?
Yes, it’s essential to clean and prepare the surface before installing a new tile to ensure that the adhesive sticks properly.
Can I use any type of scraper or sandpaper to remove debris from the surface?
No, you should use a scraper or sandpaper that is appropriate for the type of surface you are cleaning.
Install the New Tile
Apply a small amount of tile adhesive to the back of the replacement tile and carefully place it into position. Use spacers to ensure that the tile is aligned with surrounding tiles. Allow the Adhesive to dry according to the manufacturer’s instructions before proceeding.
How long should I wait for the adhesive to dry before proceeding?
The drying time will vary depending on the type of adhesive you are using. Consult with the manufacturer’s instructions for specific drying times.
Do I need to use spacers when installing a new bathroom tile?
Yes, using spacers will help ensure that the new tile is aligned properly with surrounding tiles and that there is enough space for grout.
Apply Grout
Once the adhesive has dried, remove the spacers and apply grout to the gaps between the tiles using a grout float. Use a damp sponge to wipe away any excess grout and smooth out the surface. Allow the grout to dry according to the manufacturer’s instructions before using your bathroom again.
What type of grout should I use?
You should use a grout that is appropriate for your specific type of tile. Consult with a professional if you’re unsure.
How long does it take for grout to dry?
The drying time will vary depending on the type of grout you are using. Consult with the manufacturer’s instructions for specific drying times.