This is due to the different kinds of bathroom tiles which are in the marketplace along with the many various varieties and designs. Not only must they be reflective and attractive of the personality of yours, these tiles should in addition be very functional. In case you have a little bathroom, you may use ceramic tiles which trimmed down to match into bathroom.
Here are Images about How To Fix Ugly Bathroom Tile
How To Fix Ugly Bathroom Tile
Granite tiles enjoy a high wear and tear threshold. The option is yours. They are okay to be used on floors and walls, but there are some quirks inherent with stone that will need to be conscious of in respect to fixing them as they’ve higher requirements than the regular ceramic or maybe porcelain tile types. In many cases, all of the tiles will be of the very same size.
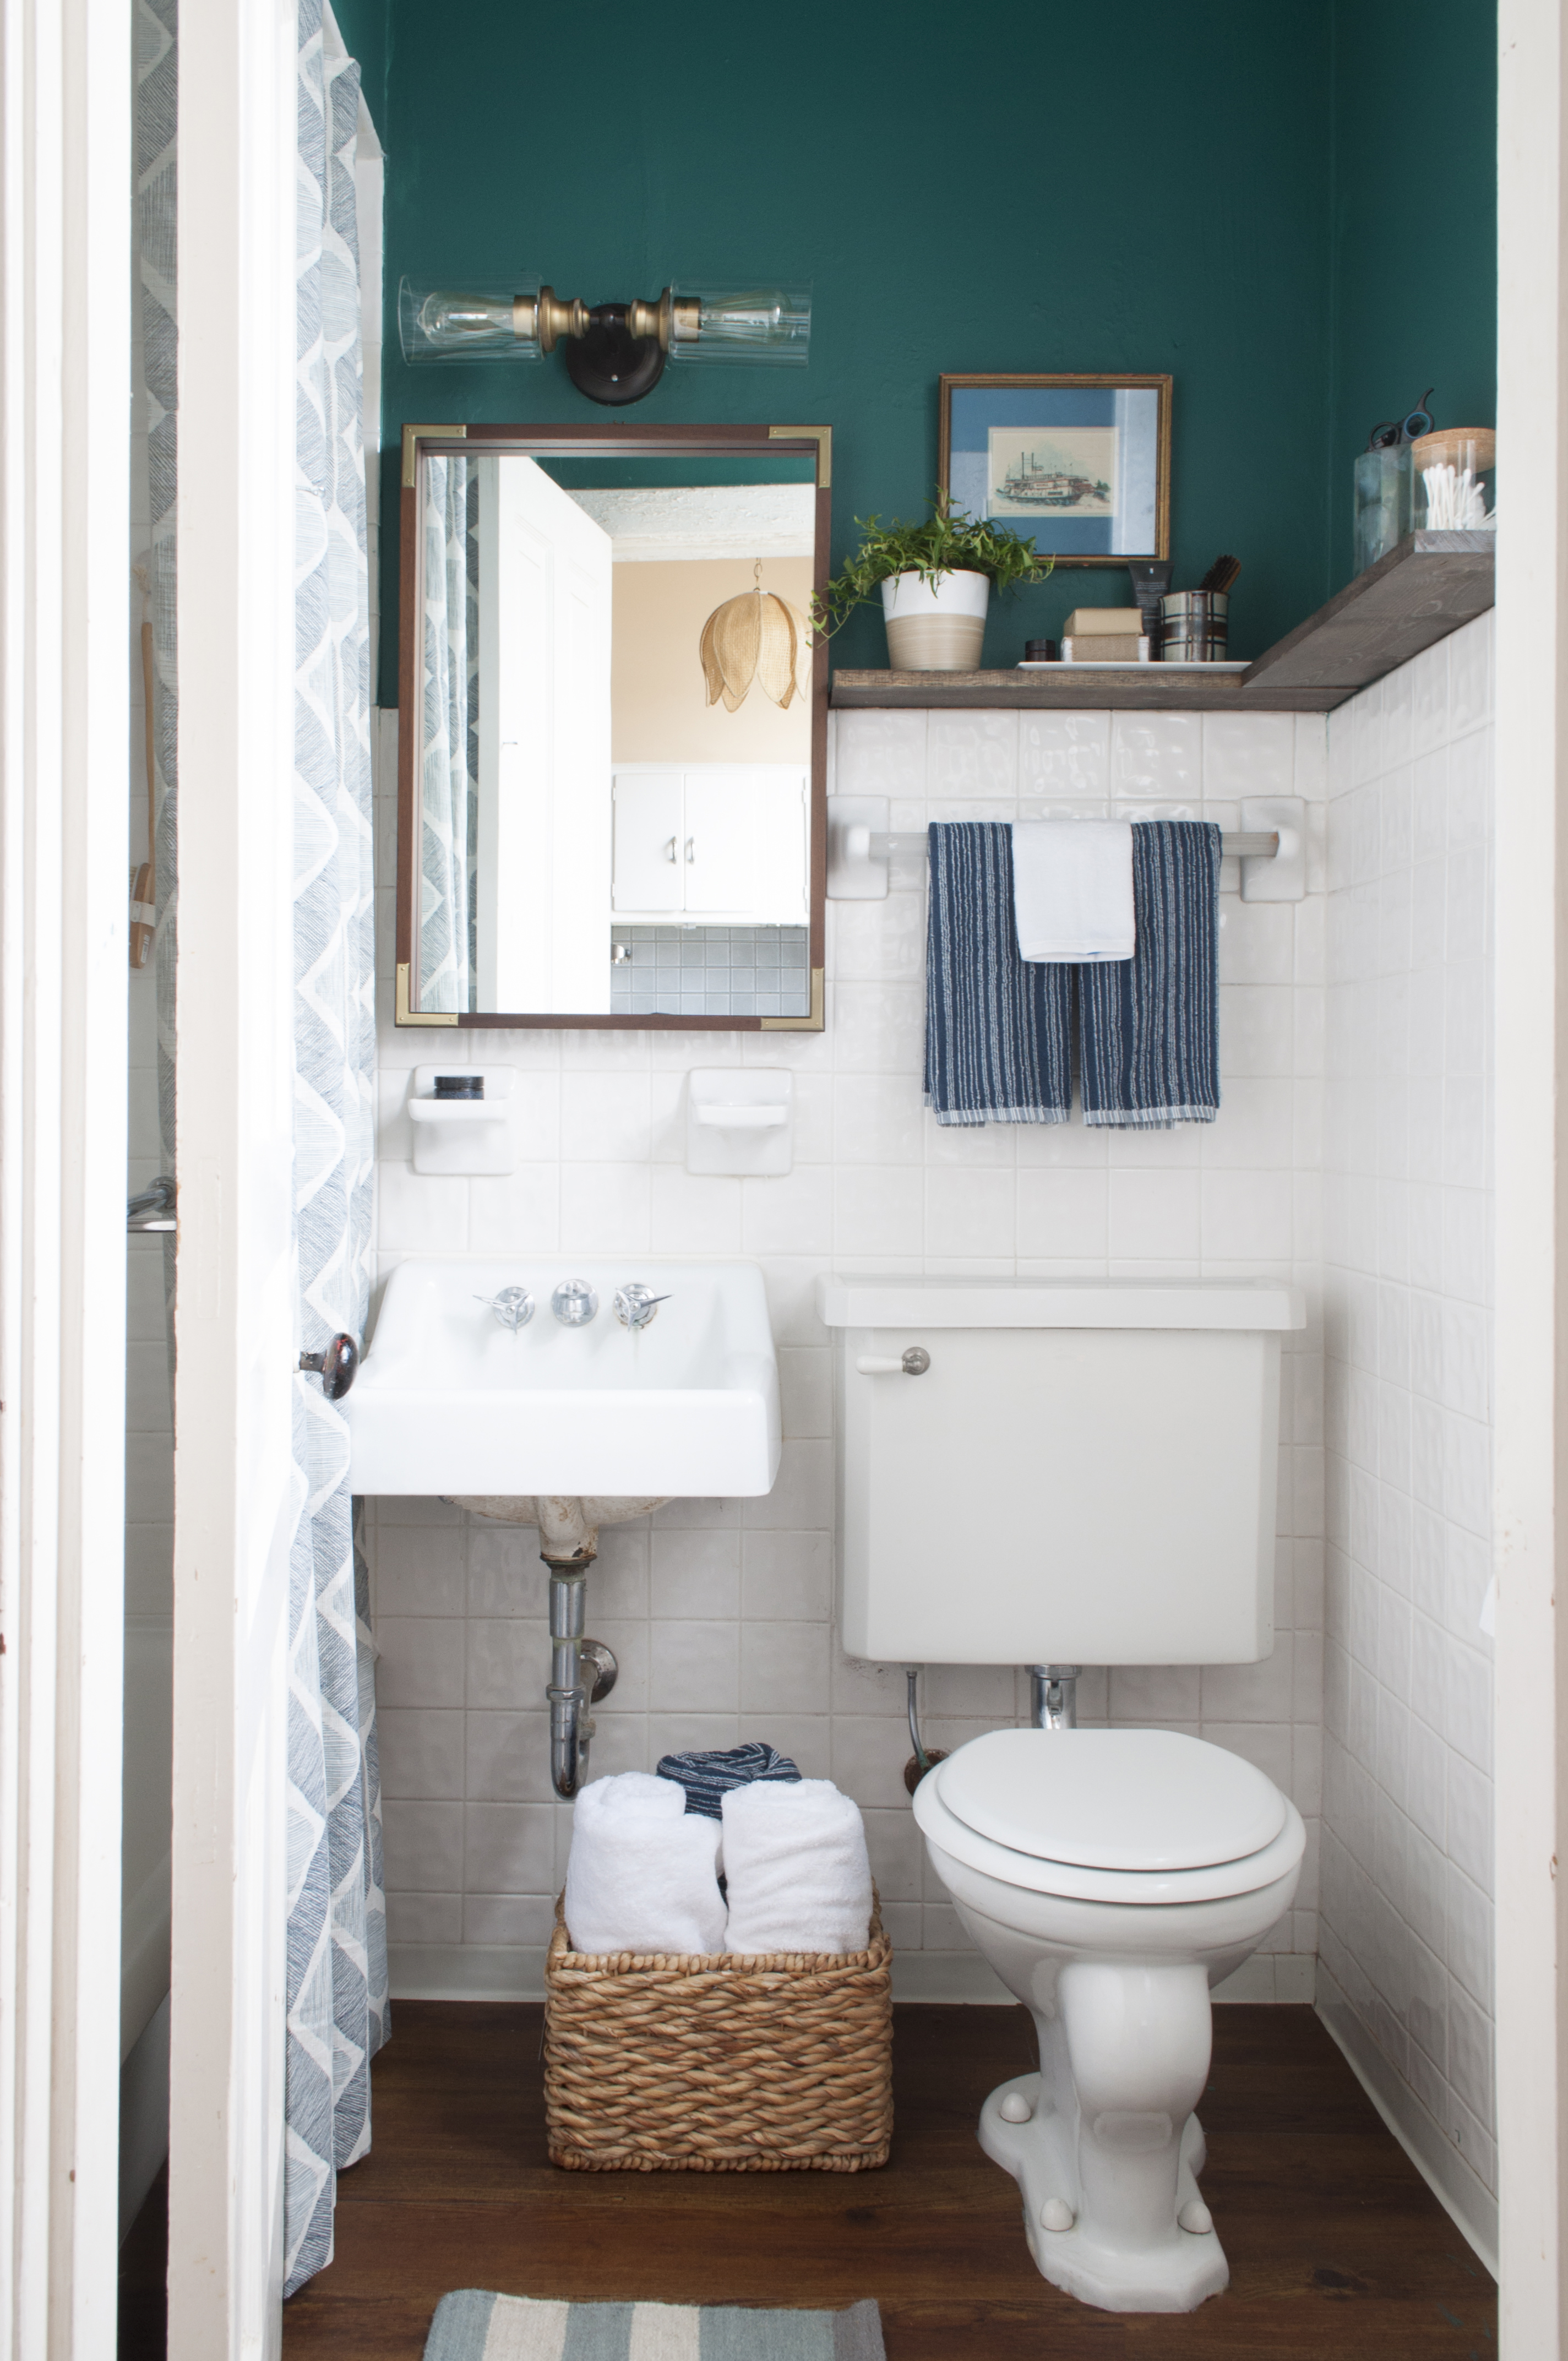
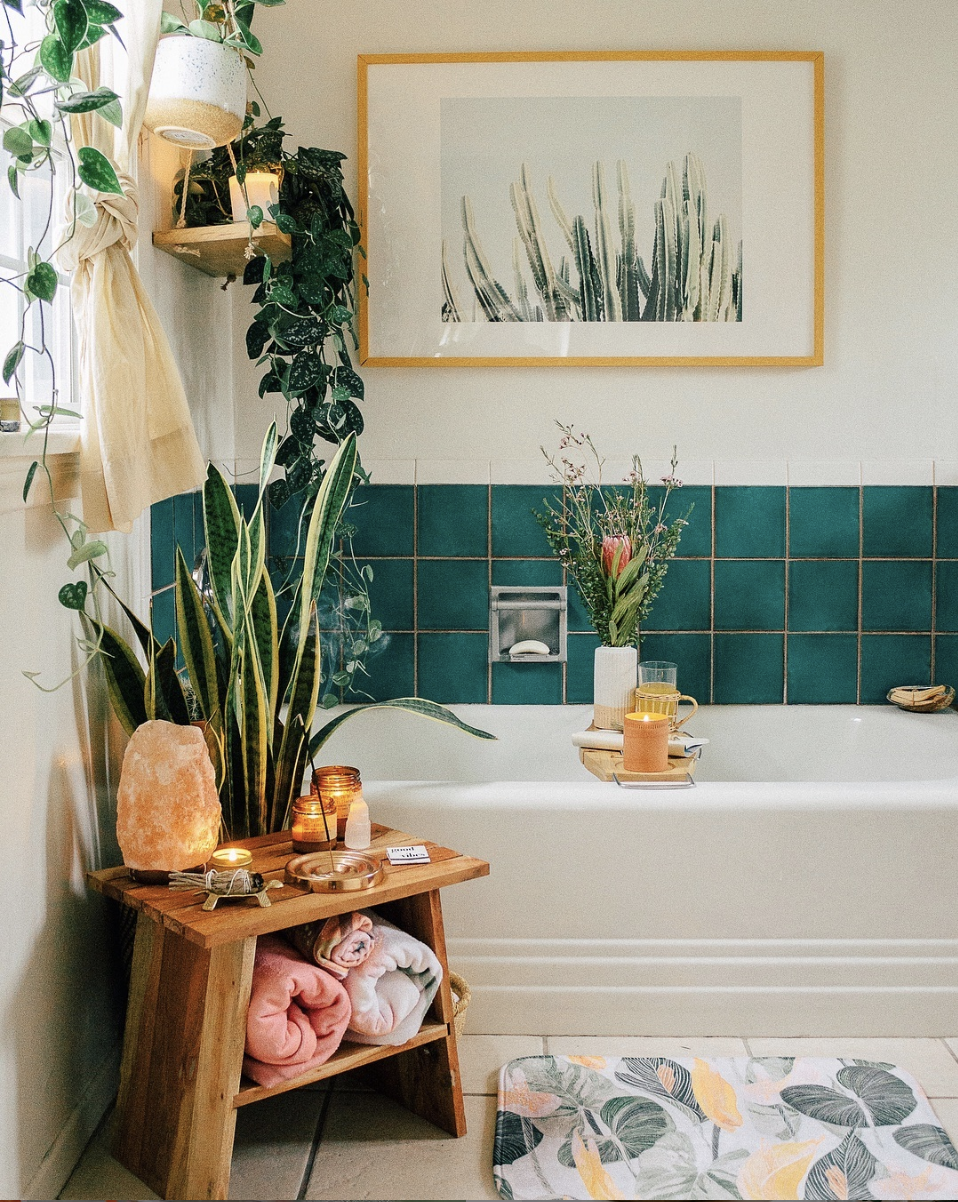
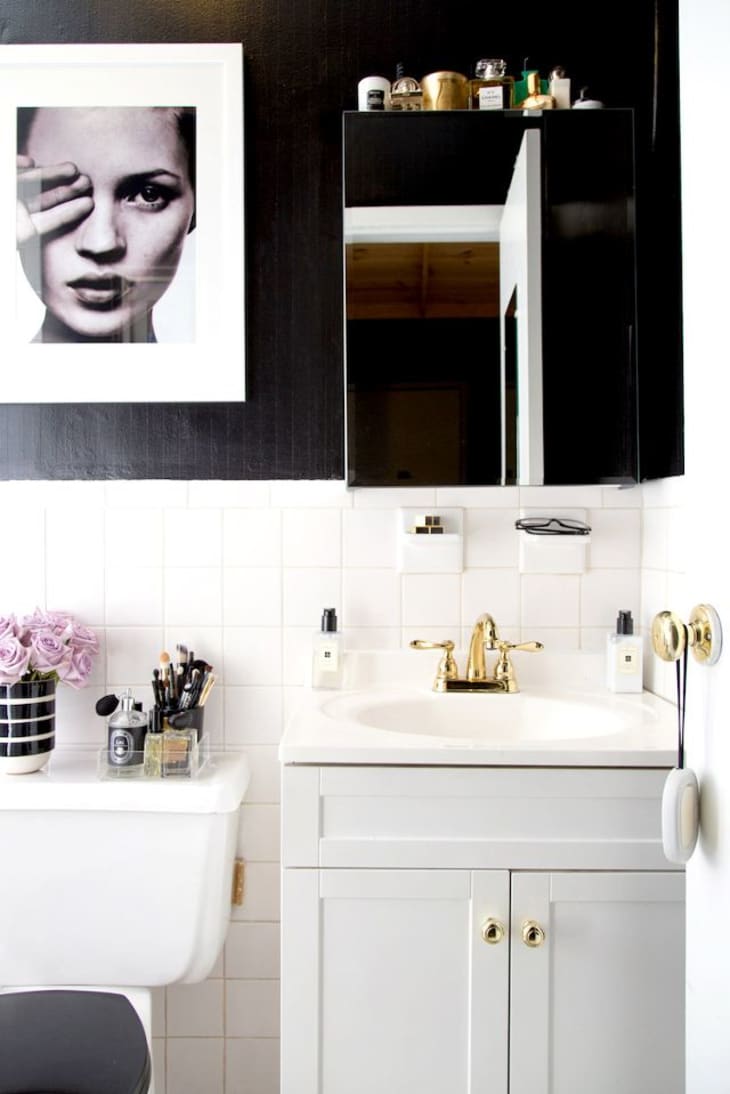
8 Stylish Solutions for Ugly Rental Bathrooms Apartment Therapy
Tiles that are hard to clean will give the bathroom of yours a tremendously unpleasant appearance. This suggests that you can make use of these tiles to creatively structure the bathroom of yours into your very own selection and design by suiting these tiles in the form of symbol, letters, pictures and words.
Images Related to How To Fix Ugly Bathroom Tile
8 Stylish Solutions for Ugly Rental Bathrooms Apartment Therapy
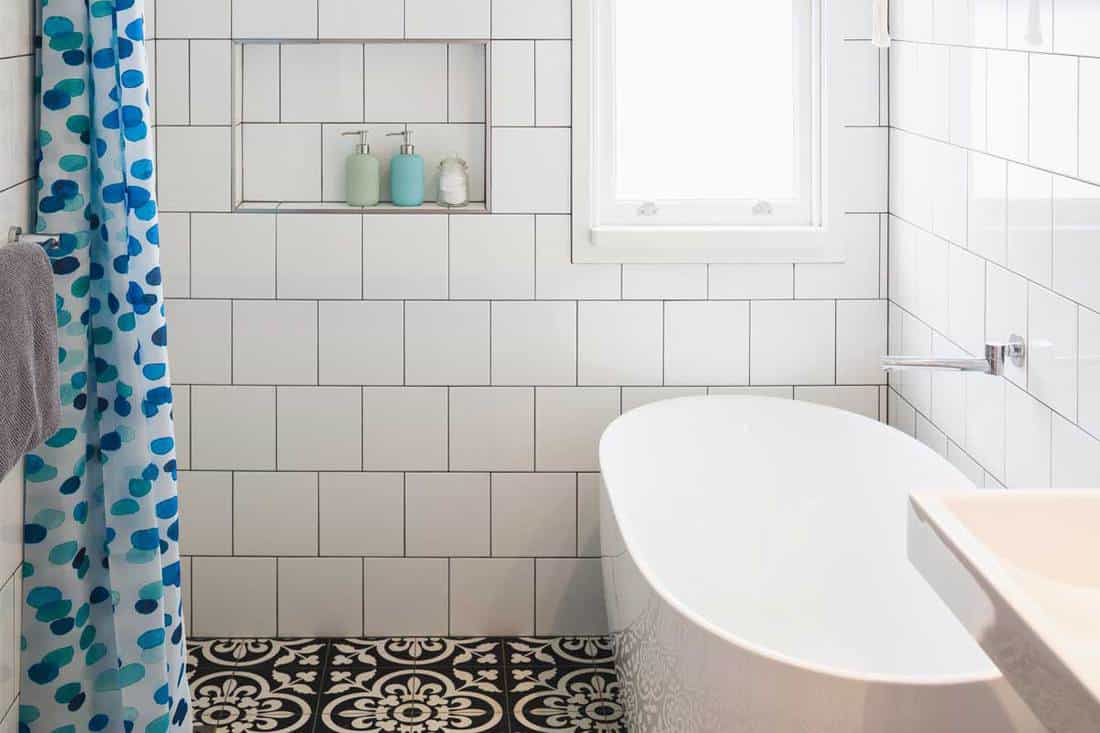
The tiles in the bathtub area might be of an alternative color or maybe pattern from that of the remainder of the bathroom. With regards to choosing bathroom tiles, all of it is dependent upon the dimensions of the bathroom of yours, the sort of tiles on the walls and the colour scheme for the whole room.
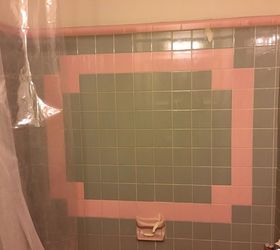
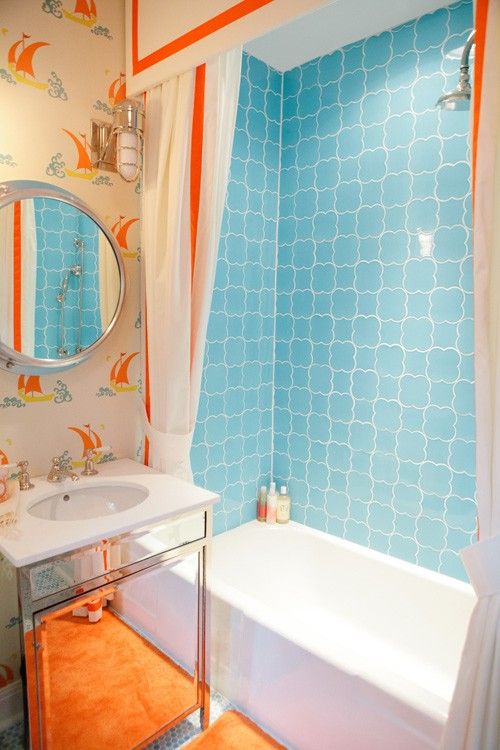
How can I cover my ugly pink bathroom tile Hometalk
8 Stylish Solutions for Ugly Rental Bathrooms Apartment Therapy
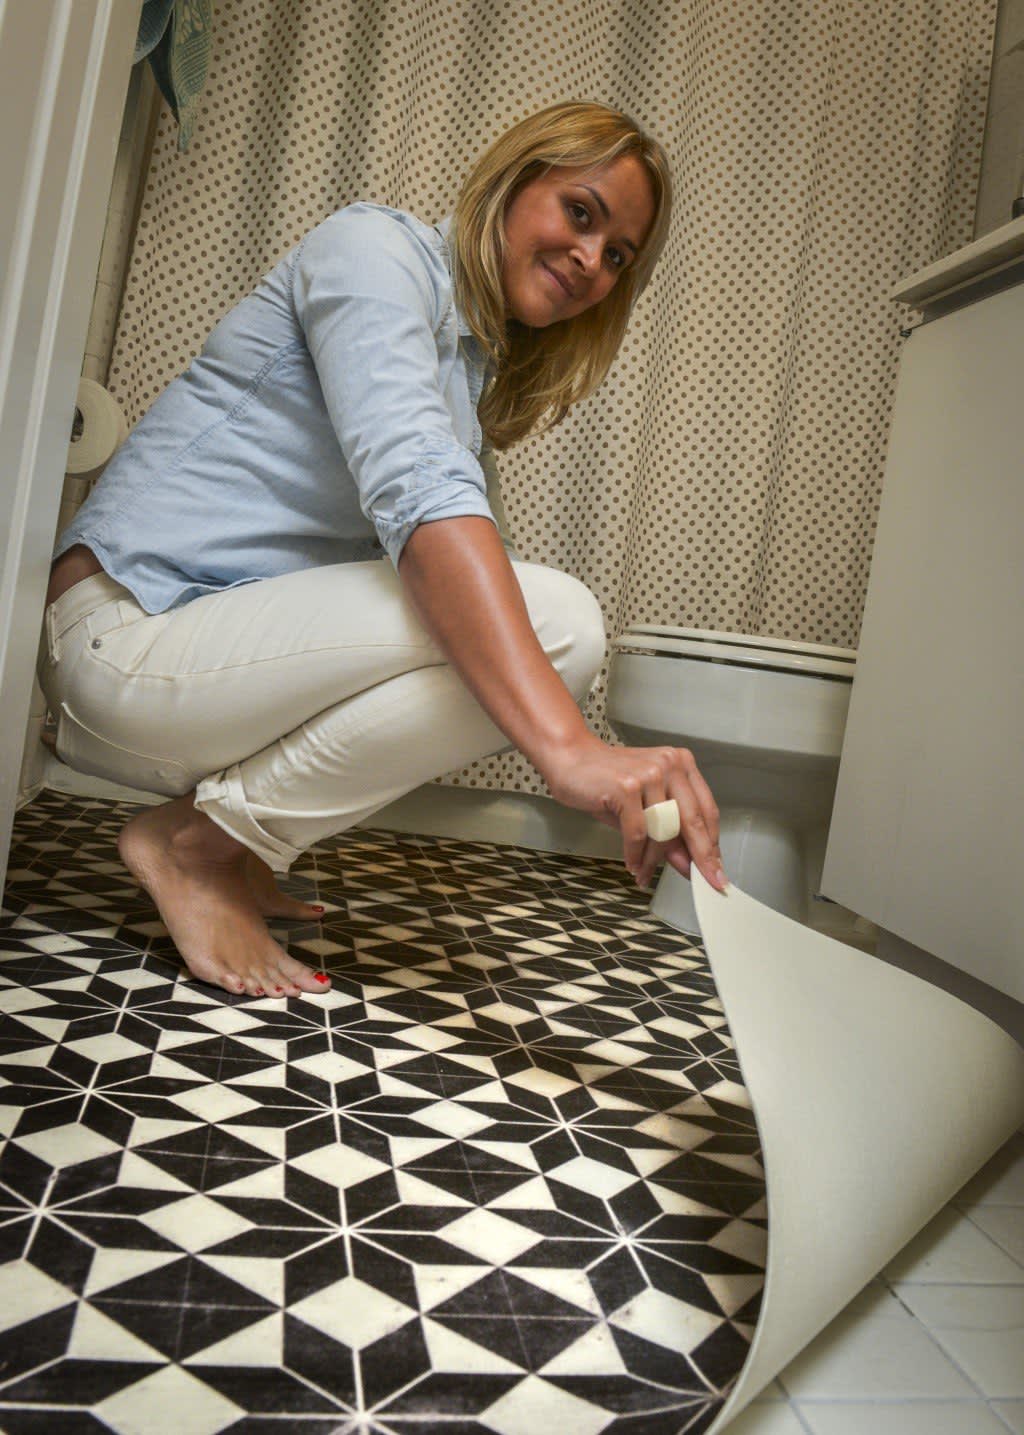
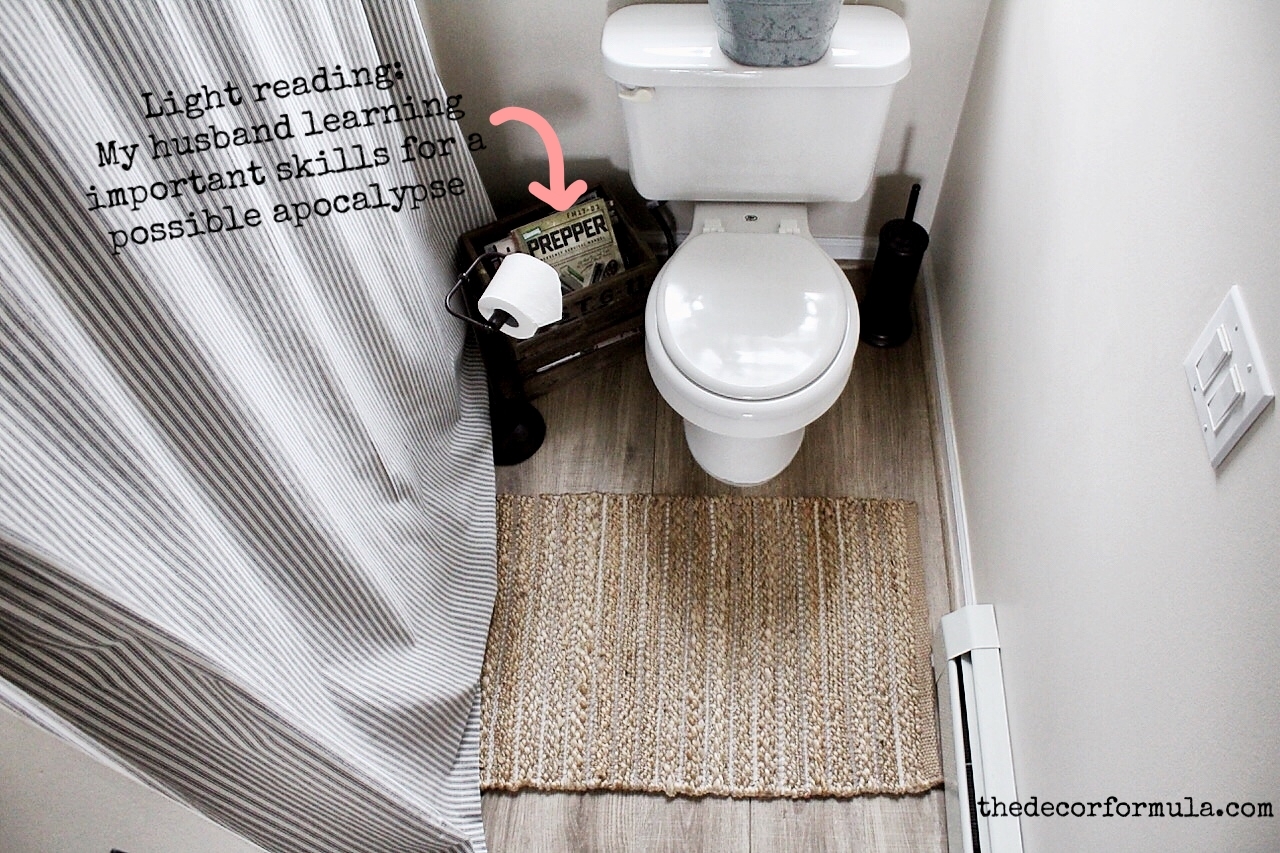
Ideas for Covering Up Tile Floors Without Removing It u2014 The Decor
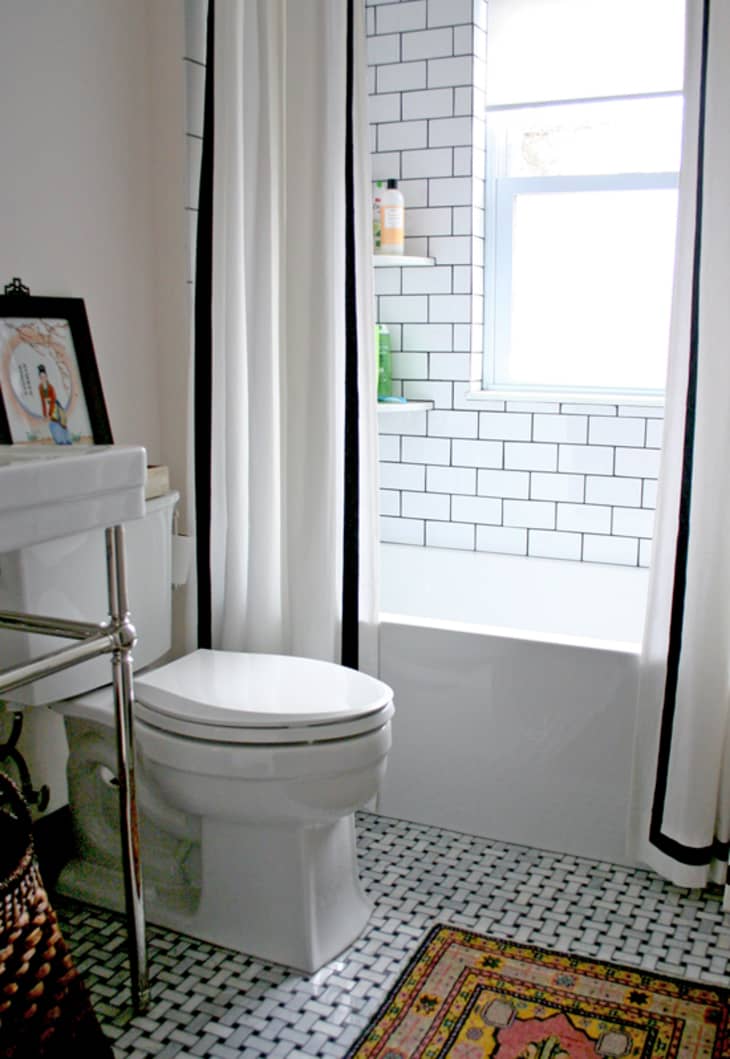
Peel and Stick Tiles Are The Easiest Fix for Ugly Rental Bathrooms
Best Fix for Ugly Tile in Bathrooms –
How To Rectify A Tragic Rental Bathroom – realestate.com.au

How To Cover Bathroom Wall Tiles [5 Easy Ways!] – Home Decor Bliss
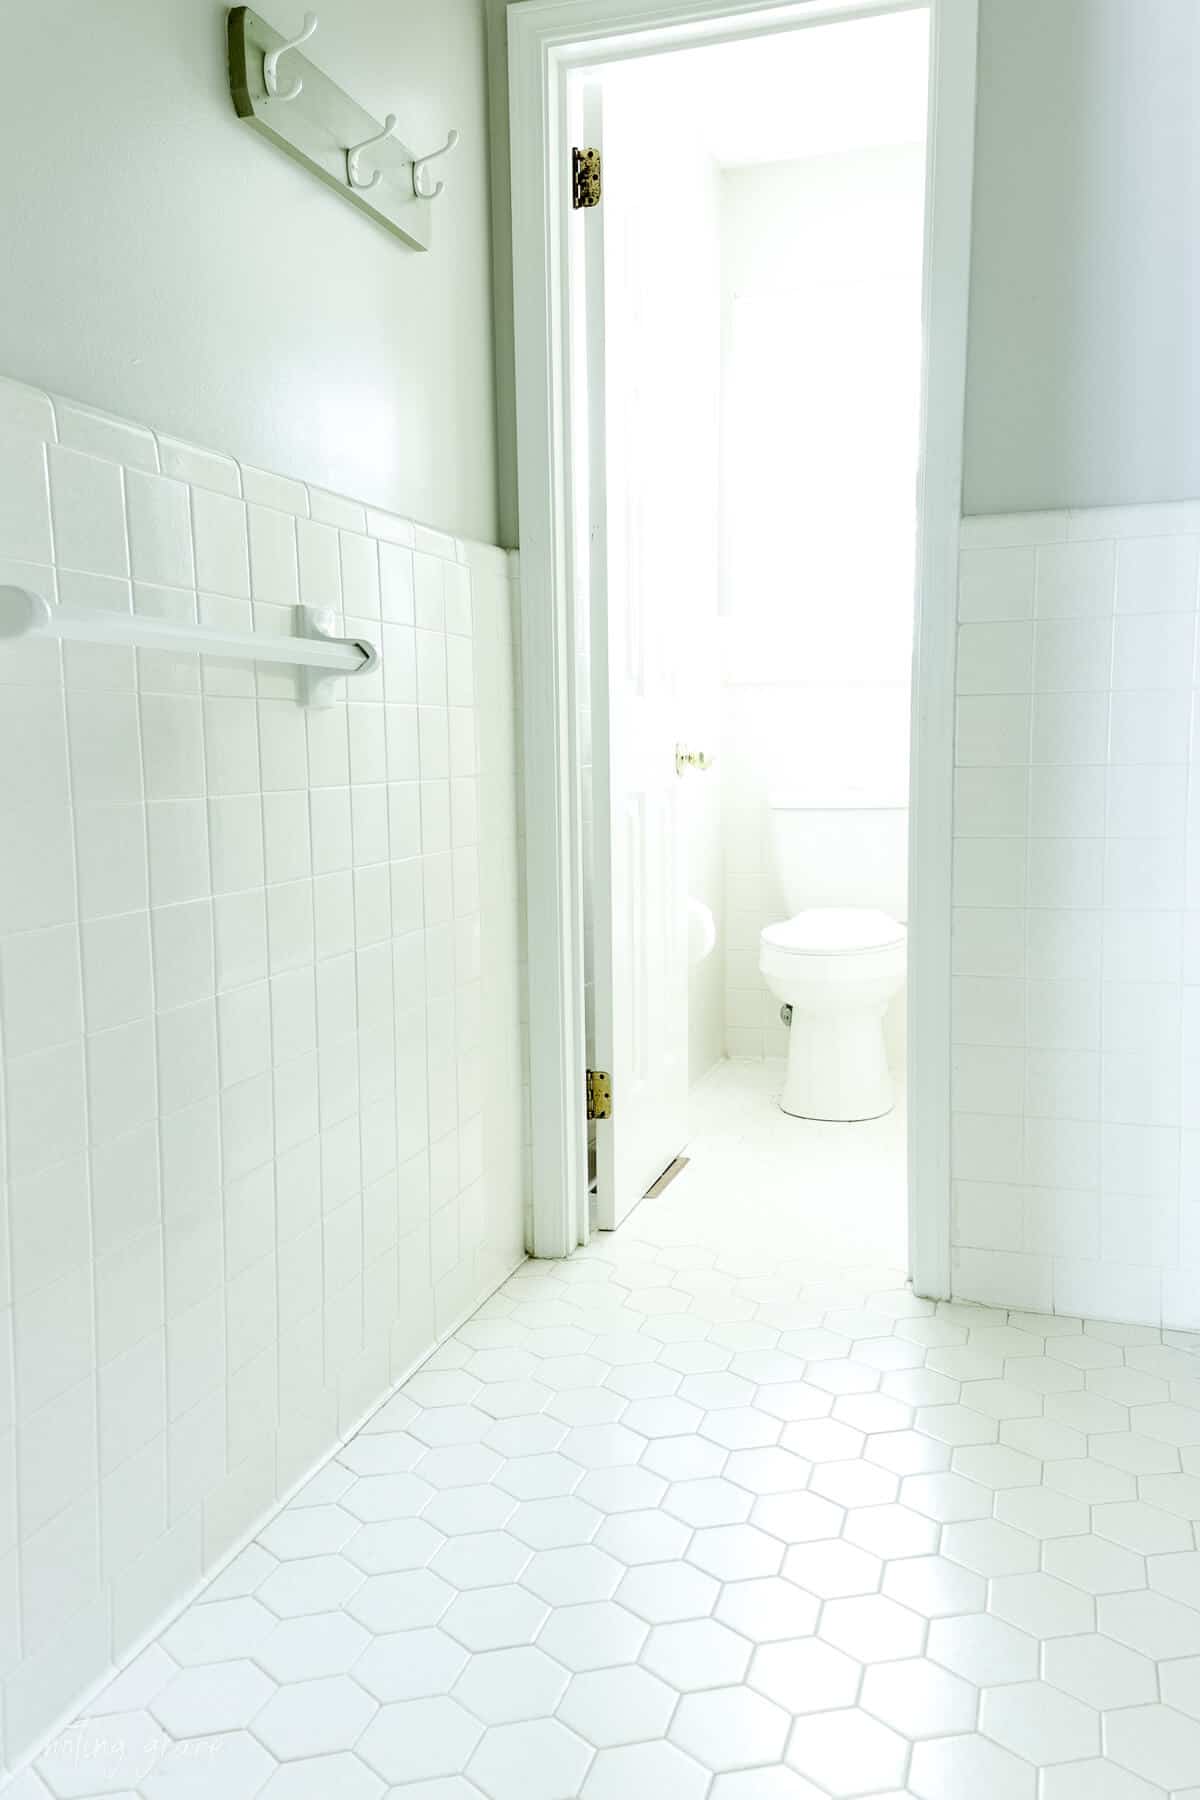
How we Changed our Bathroom Tile for $150 bucks – Noting Grace
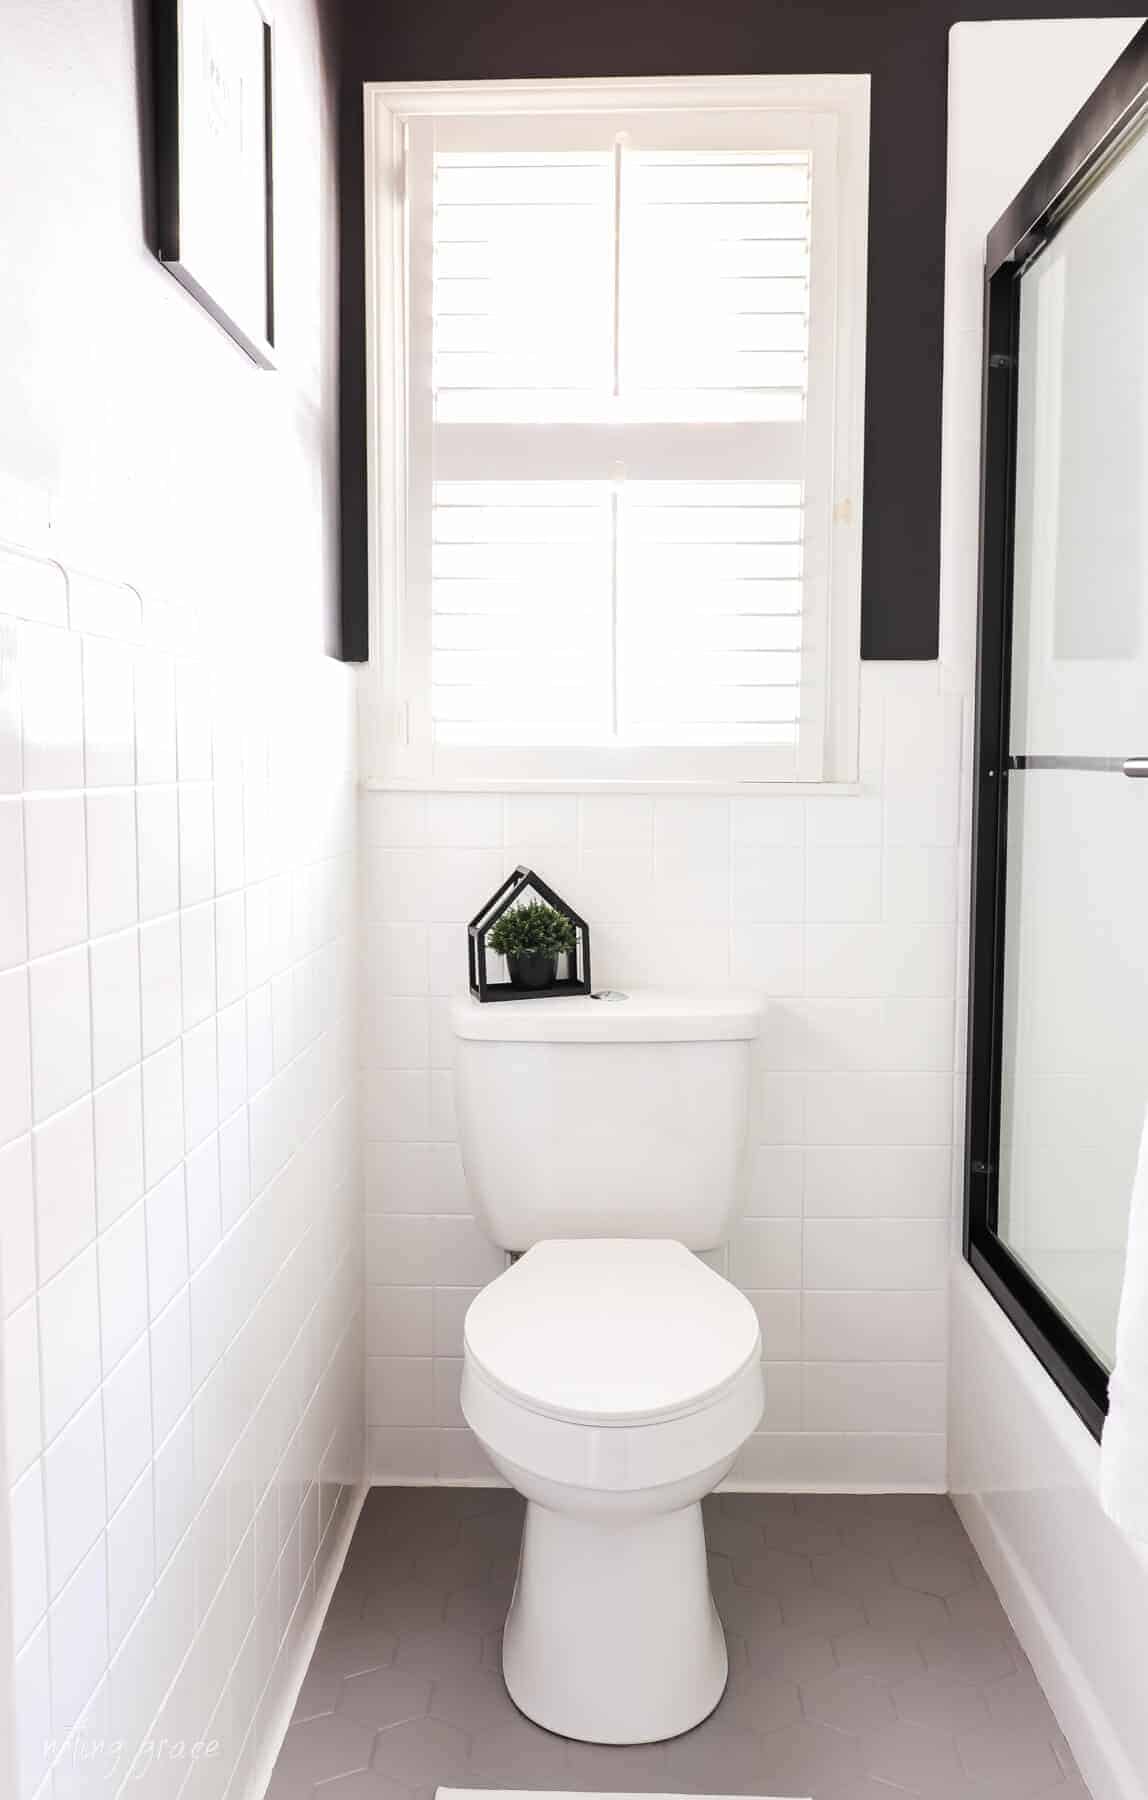
How we Changed our Bathroom Tile for $150 bucks – Noting Grace
8 Stylish Solutions for Ugly Rental Bathrooms Apartment Therapy
Ideas for Covering Up Tile Floors Without Removing It u2014 The Decor
Related articles:
- Restore Old Bathroom Tile
- Rustic Bathroom Tile Designs
- Vertical Bathroom Tile Designs
- Bathroom Tile Makeover
- Modern Bathroom Tile Ideas
- Blue Glass Mosaic Bathroom Tiles
- Bathroom Tile Shower Design Ideas
- Modern Bathroom Tile Texture
- Modern Bathroom Tile Layout
- Bathroom Tiles Painted Over
How To Fix Ugly Bathroom Tile
Getting rid of ugly bathroom tile is a job that requires patience and the right supplies. It can be a daunting task, but with careful preparation and attention to detail, it’s possible to do a professional-looking job. The following steps will help you fix ugly bathroom tile and give your bathroom an updated look.
Gather the Supplies You Need
Before starting this project, be sure to have all the necessary supplies on hand. You’ll need a hammer, chisel, grout saw, tile cutter, drill and bits, tile adhesive, grout bag and grout sealant. You may also want to pick up some tile spacers, tiles for replacement and a sponge for cleaning up any excess grout or adhesive.
Remove the Old Tile and Grout
The first step in fixing ugly bathroom tile is to remove the old tile and grout. Start by using a hammer and chisel to break up the old tiles. Once you’ve broken up most of the old tiles, use a grout saw to remove any remaining bits of grout from between the tiles. Be sure to wear safety glasses when breaking up the old tile and using the grout saw.
Clean Up Any Residue or Debris
Once you’ve removed all the old tile and grout, it’s important to clean up any residue or debris that may be left behind. Use a vacuum cleaner to pick up any dust or dirt that may have accumulated during the demolition process. It’s also important to ensure that any remaining pieces of tile are completely removed from the area before you begin laying new tiles.
Lay Out New Tiles
Now it’s time to lay out your new tiles in order to get an idea of how they will look once installed. Start by measuring out your area and then laying out your tiles accordingly. Be sure to leave enough room for expansion joints between each of your tiles so that they don’t crack over time due to moisture or changes in temperature. Be sure to use tile spacers so that your new tiles are evenly spaced apart from one another. You may also want to consider using contrasting colors for a contrasting look.
Cutting Tiles as Needed
Once you’ve laid out all your tiles, you may need to cut some of them in order for them to fit into their designated area properly. To do this, use a tile cutter or wet saw with diamond blade attachment. This will ensure that your cuts are precise and even so that there won’t be any gaps between each of your tiles when they are installed later on.
Drill Holes as Necessary
If you need to make any holes for fixtures such as towel racks or toilet paper holders, use a drill with appropriate bit attachment for drilling through ceramic tile. Be sure not to apply too much pressure when drilling through ceramic tiles as this could cause them to crack or break apart entirely. Also be sure that whatever fixtures you are attaching can accommodate the size hole that you drill into your new tiles; if not, you may need to buy larger fixtures or drill larger holes in order for them to fit properly.
Apply Adhesive
Once all of your cutting and drilling is done, it’s now time to start applying adhesive onto your new tiles so that they stick onto their designated areas properly when they are installed later on. Use an appropriate adhesive according to manufacturer instructions; many adhesives can be applied directly onto both wall surfaces as well as onto the backsides of each of your new tiles themselves before installation takes place. Allow ample drying time before continuing on with installation of each individual tile piece; this will help ensure proper adhesion later on when installing them into their designated areas in order for them not come loose over time due to moisture or other factors such as temperature fluctuations in the room itself over time.
Install Each Tile Piece
Once all of your adhesive has dried thoroughly (usually about 24 hours depending on type/brand used), it’s now Time to begin installing each of your new tile pieces one by one. Be sure to take your time and make sure that each piece is securely in place before continuing on with the next piece. You may also want to use a leveler or trowel to ensure that each piece is even and level before moving on with the installation process.
Apply Grout
The next step in fixing ugly bathroom tile is to apply grout between each of your newly installed tiles. Use a grout bag to fill in the spaces between each of your tile pieces; be sure to fill in all gaps completely so that there won’t be any air pockets left behind after the grout has dried completely. Allow ample drying time (usually about 24 hours) before continuing on with the next step.
Seal Grout
Once your grout has dried completely, it’s now time to seal it off in order for it to last for years to come without cracking or crumbling over time due to moisture or other factors such as temperature fluctuations. Use a grout sealant according to manufacturer instructions and allow ample drying time before using the area again.
Cleaning Up
Once all of your new tile pieces have been installed and sealed, it’s now time to clean up any excess grout or adhesive that may have accumulated during the installation process. Use a damp sponge or rag and warm water to wipe down any areas that may need cleaning up. Allow ample drying time before using the area again so that you don’t risk damaging any of your newly installed tiles or grout lines.