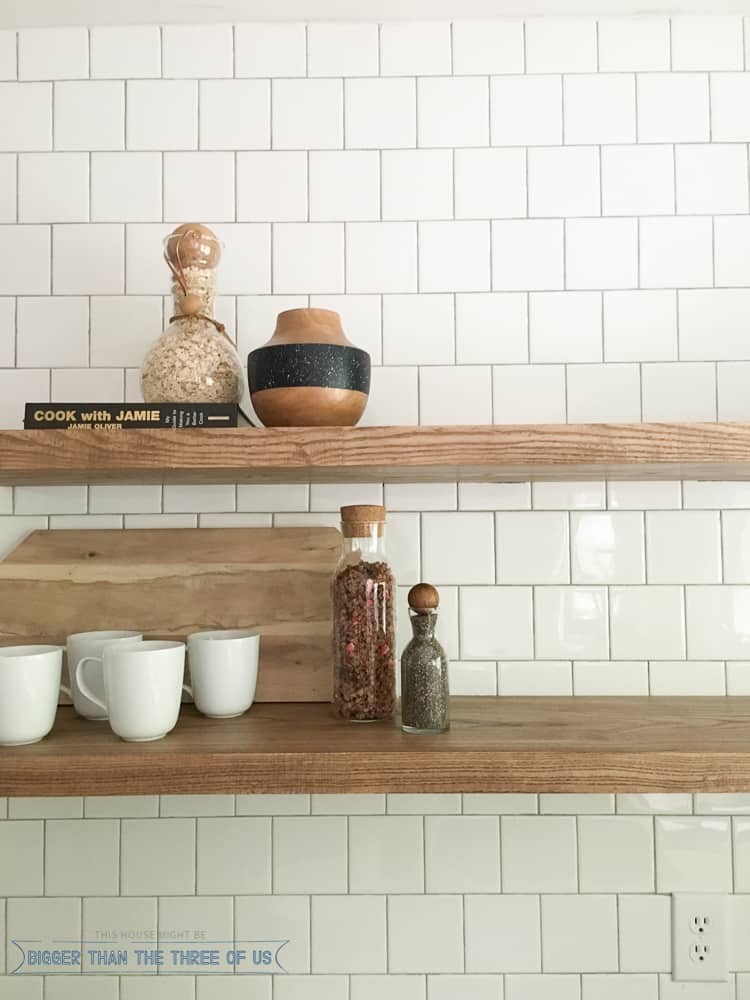
Installing floating shelves on a tile wall can be a straightforward process with the right tools, materials, and techniques. Floating shelves are a popular choice for adding storage and display space to bathrooms, kitchens, and other areas of the home, as they create a clean and modern look while maximizing wall space. Before beginning the installation process, it’s important to gather all the necessary tools and materials, including a drill, screws, wall anchors, a level, and a pencil.
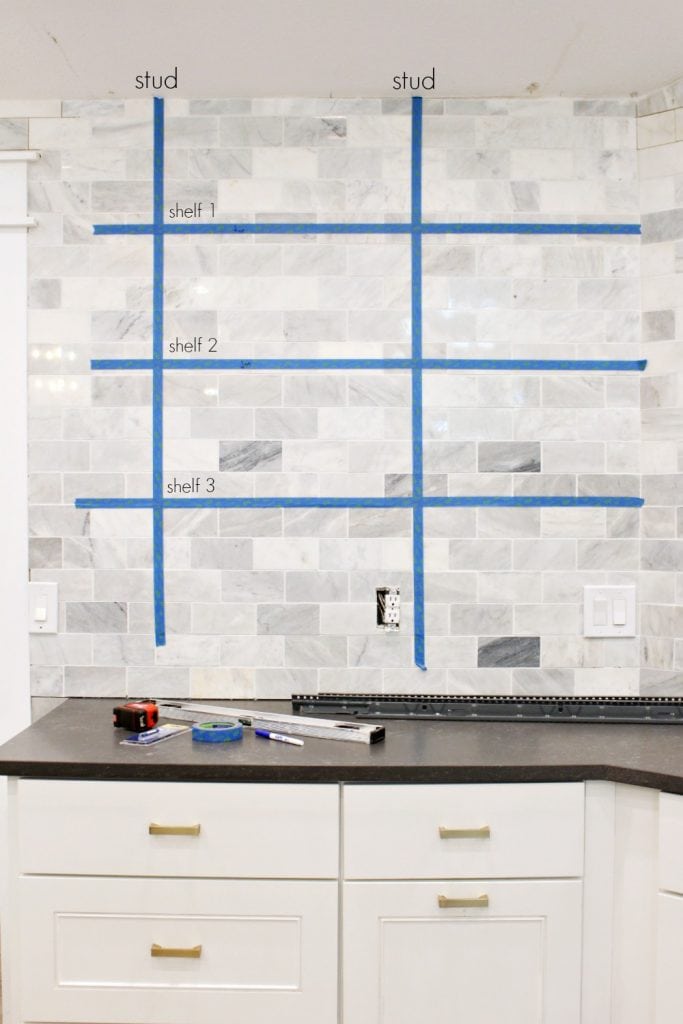
First, determine the desired location for the floating shelves on the tile wall. Use a pencil and a level to mark the position of each shelf on the wall, ensuring that they are evenly spaced and aligned. Take into account the weight-bearing capacity of the shelves and the items you plan to display on them when determining the spacing between shelves.
Next, use a drill with a masonry bit to create pilot holes for the screws that will secure the shelves to the tile wall. It’s important to use the correct size drill bit for the screws you’ll be using to ensure a secure fit. Place the drill bit on the marked position for each shelf and carefully drill into the tile wall, being mindful not to apply too much pressure to avoid damaging the tiles.
Once the pilot holes are drilled, insert wall anchors into each hole. Wall anchors are necessary for providing additional support and stability when attaching the shelves to the tile wall. Gently tap the wall anchors into the pilot holes using a hammer until they are flush with the surface of the tile wall.
Next, position the floating shelves over the wall anchors and align them with the marked positions on the wall. Use a screwdriver to insert screws through the pre-drilled holes in the shelves and into the wall anchors, securing the shelves in place. Be sure to tighten the screws securely to ensure that the shelves are properly anchored to the tile wall.
After the shelves are securely attached to the wall, use a level to double-check that they are straight and evenly aligned. Make any necessary adjustments to the positioning of the shelves to ensure that they are level and aligned with each other.
Finally, test the stability of the shelves by gently placing items on them and ensuring that they can support the weight without any signs of sagging or instability. Once you’re satisfied with the installation, your floating shelves are ready to use for displaying decorative items, toiletries, or kitchen essentials, adding both style and functionality to your space
DIY How To Install Floating Shelves On A Subway Tile Backsplash
How to install basic open kitchen shelves
How to Install Heavy Duty Floating Shelves – for the Kitchen
How To Install Floating Shelves Over Tile! Classy Clutter
How to Install Kitchen Floating Shelves – Daly Digs
How to Install Heavy Duty Floating Shelves – for the Kitchen
How to install basic open kitchen shelves (over tile a tile
How to Install Heavy Duty Floating Shelves u2013 for the Kitchen
How to Hang Open Shelving DIY Fresh Mommy Blog
Help! When tiling a wall and having open shelves
How to Install Floating Kitchen Shelves Over A Tile Backsplash
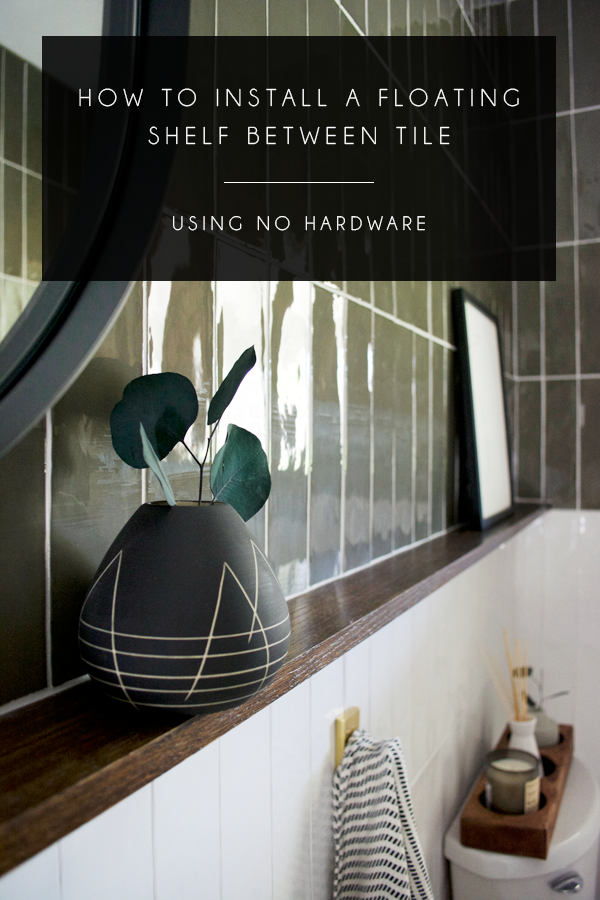
How to Install a Floating Shelf on a Tile Wall Without Using
Related articles:
- Bathroom Shelf with Towel Bar
- DIY Farmhouse Bathroom Shelf
- Bathroom Shelf Design Ideas
- DIY Small Bathroom Shelf
- Bathroom Corner Shelf DIY
- Bathroom Glass Wall Shelf Unit
- Bathroom Corner Holder Shelf
- Industrial Bathroom Shelf Unit
- Rustic Bathroom Shelf with Hooks
- Metal Free Standing Bathroom Shelf
How to Install Floating Shelves on a Tile Wall
Floating shelves are an attractive and practical way to add storage or display in any room. Installing them on a tile wall, however, can seem daunting. In this article, we’ll walk you through the steps of installing floating shelves on a tile wall. With the right tools and materials, and a little know-how, you can have your shelves up and ready to use in no time.
Gather Materials and Tools
The first step in installing floating shelves on a tile wall is to gather all the necessary materials and tools. You will need:
- Floating shelf brackets
- Toggle bolts
- Power drill
- Masonry drill bit
- Pencil
- Level
- Screwdriver
- Measuring tape
- Protective eyewear
- Dust mask (optional)
- Hex key (optional)
Once you have all the necessary tools and materials gathered, you’re ready to move on to the next step.
Mark and Drill Pilot Holes for Toggle Bolts
Using the measuring tape and pencil, mark the location of each toggle bolt on the tile wall. Make sure to measure carefully so that the shelf brackets are level with one another. Once you have marked the locations of where the toggle bolts will go, use a masonry drill bit to drill pilot holes into each mark. Make sure to wear protective eyewear when drilling into tile walls. If needed, you can also wear a dust mask to protect from dust particles.
Tip: It is best to use a power drill for this step as it will make drilling easier and faster.
Install Toggle Bolts into Pilot Holes
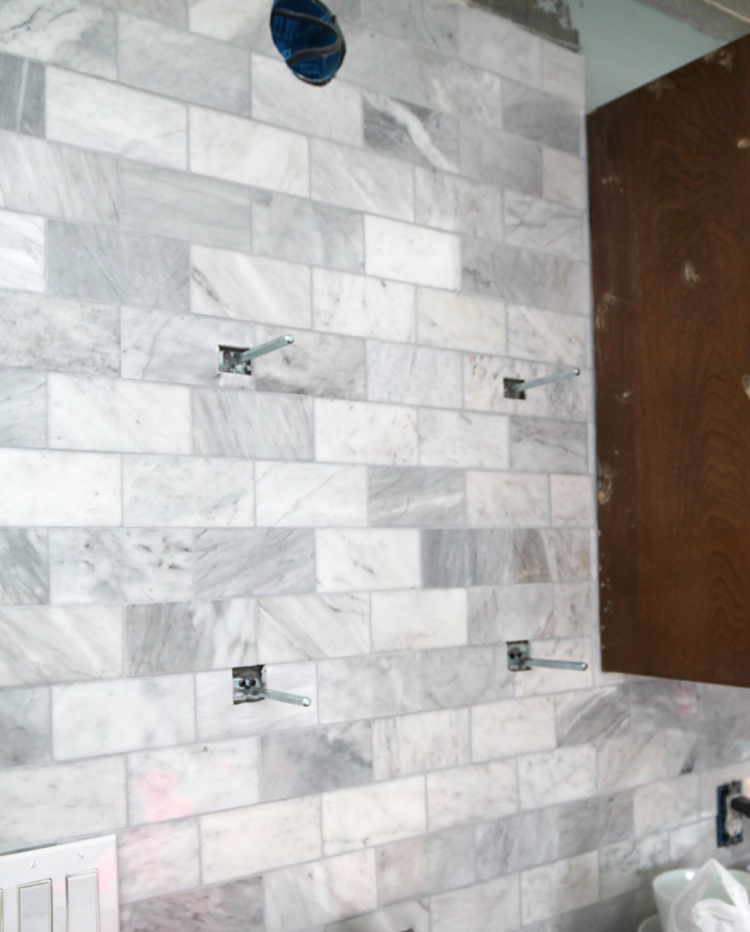
Once the pilot holes have been drilled, insert the toggle bolts into each hole. Make sure that they are secure and flush with the wall. Using a Phillips head screwdriver or hex key (depending on your toggle bolt type), tighten each bolt until it is secure in place. You may need an extra set of hands or a ladder while tightening these bolts as they can be difficult to reach if your ceiling is high. Tip: Be careful not to over-tighten these bolts as this could cause damage to your tiles or wall surface.
Attach Shelf Bracket(s) onto Toggle Bolts
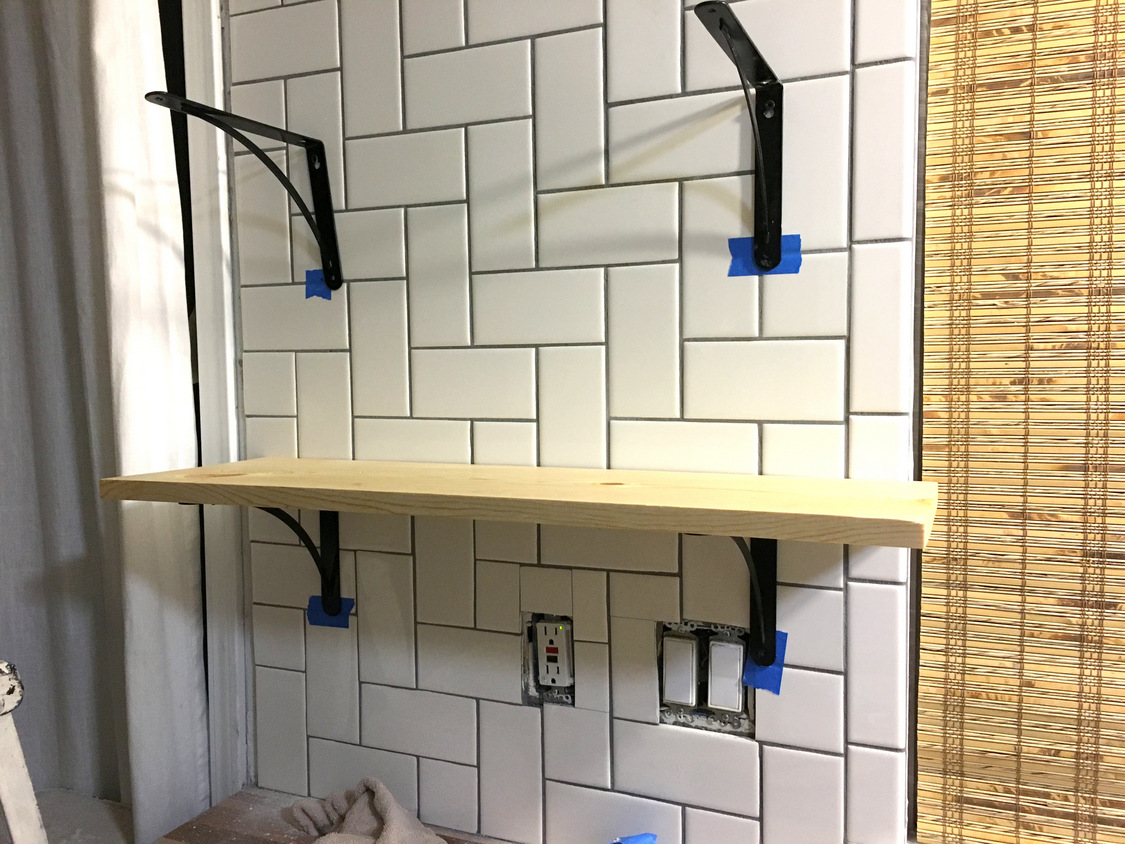
Now that the toggle bolts are securely in place, attach each shelf bracket to its respective toggle bolt using a screwdriver or hex key (depending on your bracket type). Make sure that each bracket is tightly secured onto its respective toggle bolt before proceeding further. Use a level to make sure that each bracket is properly aligned with one another at this stage as well. Once all brackets are securely attached, you’re ready for the next step! Tip: If possible, try using two people for this step as it will help ensure that each bracket is properly aligned with one another before proceeding further.
Secure Shelf onto Brackets
Finally, take your shelf/shelves and secure them onto their respective brackets using screws or hex keys (depending on your shelf type). Make sure that each shelf is tightly secured onto its respective bracket before proceeding further. Once all shelves are securely attached, it’s time for some fun! You now have successfully installed floating shelves onto your tile wall – congratulations! Tip: If possible, try using two people for this step as it will help ensure that each shelf is properly aligned with its respective bracket before proceeding further.
Can I install floating shelves by myself?
Yes! With the right tools and materials, you should be able to install floating shelves on a tile wall by yourself without much difficulty! Just make sure that you measure twice and cut once when marking pilot holes for toggle bolts, as well as make sure that each shelf is properly aligned with its respective bracket before proceeding further.
How do I make sure my floating shelves are level?
The best way to make sure your floating shelves are Level is to use a level while attaching each shelf bracket onto the toggle bolts. After that, you can use the same level to make sure that each shelf is properly aligned with its respective bracket before proceeding further.
What type of drill bit do I need to use for drilling into tile walls?
You will need a masonry drill bit for drilling into tile walls. Make sure to wear proper safety equipment (such as protective eyewear and dust mask) when drilling into tile walls.
What type of anchors are best for installing floating shelves on a tile wall?
The best type of anchors for installing floating shelves on a tile wall are toggle anchors. These anchors provide a secure hold in the tile and can support a large amount of weight. Additionally, they are easy to install and do not require drilling into the tile.
What type of drill bit do I need to use when installing floating shelves on a tile wall?
You will need to use a carbide-tipped masonry drill bit. These types of drill bits are specifically designed for drilling into hard materials like tile, brick, concrete, and stone.
