Creating a bathroom towel shelf can be a rewarding DIY project, adding both functionality and a personalized touch to your bathroom space. To get started, decide on the type of towel shelf you want to make. One popular and straightforward design involves repurposing wooden crates as shelves. Acquire wooden crates of the desired size, sand them down to ensure a smooth surface, and then paint or stain them to match your bathroom decor. Once the crates are prepared, mount them on the wall either horizontally or vertically to create sturdy and stylish towel storage.
If you prefer a more minimalist look, consider making a simple wooden ladder towel shelf. Use wooden dowels as the rungs of the ladder and longer pieces of wood for the sides. Sand the wood thoroughly, apply a finish or paint of your choice, and assemble the ladder by attaching the rungs to the sides. Lean the ladder against the bathroom wall, and you have a chic and practical towel storage solution that requires minimal effort.

Another creative idea is to make a floating towel shelf using plumbing pipes. This industrial-style shelf can add a unique flair to your bathroom. Gather the necessary plumbing pipes and fittings, ensuring they are clean and free of rust. Assemble the pipes to create the desired shelf size and configuration, then secure them to the wall with appropriate wall anchors. This DIY towel shelf not only serves its functional purpose but also introduces an industrial and contemporary aesthetic to the bathroom.
For a rustic and farmhouse-inspired towel shelf, repurpose an old wooden pallet. Disassemble the pallet carefully, sand the wood, and cut it to the desired size for your shelf. Arrange the pallet wood planks horizontally, leaving gaps for airflow. Attach a few smaller pieces of wood vertically to create a border around the shelf. Once assembled, stain or paint the pallet wood to achieve the desired finish. Mount the pallet shelf securely to the bathroom wall, and you’ll have a charming and rustic towel display.
When making a bathroom towel shelf, safety is paramount. Ensure that the shelf is securely anchored to the wall, especially if it will bear the weight of towels. Use appropriate wall anchors and screws to guarantee stability. Additionally, consider sealing or finishing the wood to protect it from moisture in the bathroom environment, ensuring the longevity of your DIY creation.
Making a bathroom towel shelf is a creative and budget-friendly way to enhance your bathroom decor while providing practical storage. Whether repurposing wooden crates, constructing a ladder shelf, using plumbing pipes for an industrial look, or repurposing an old pallet for a rustic vibe, these DIY projects allow you to customize your towel storage to match your style and preferences.

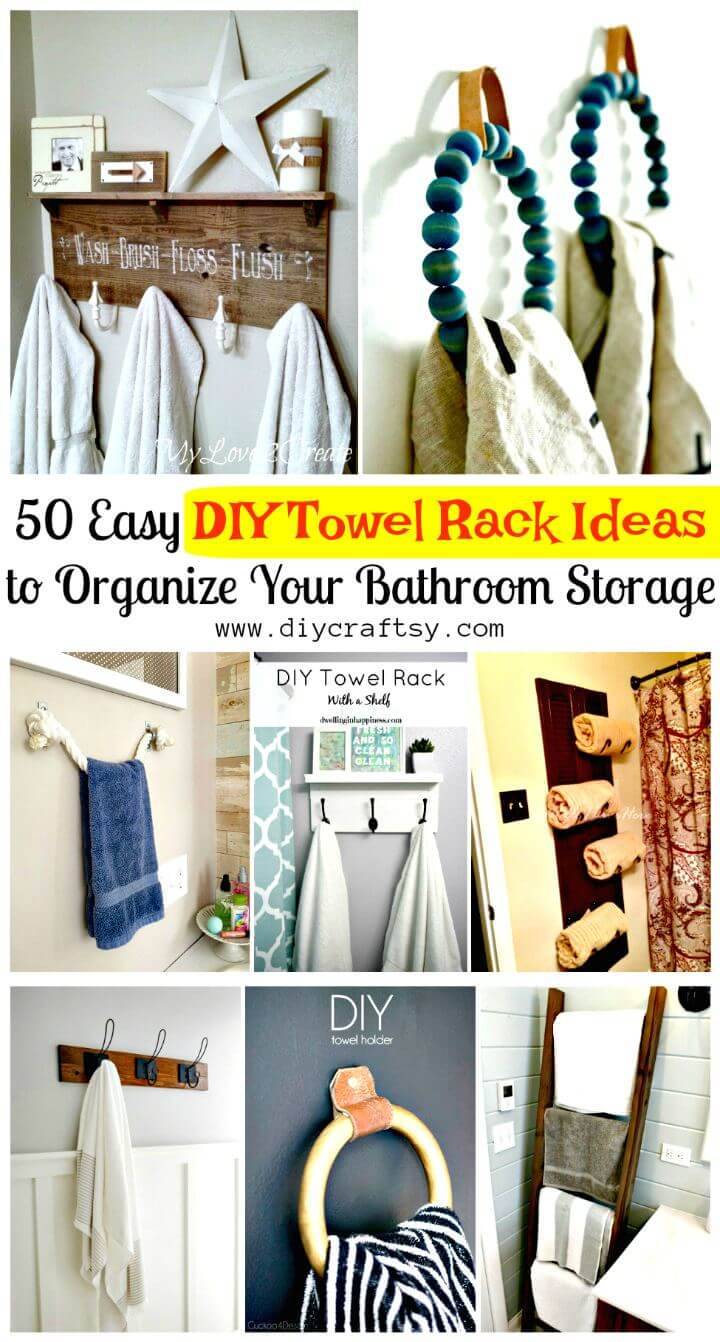
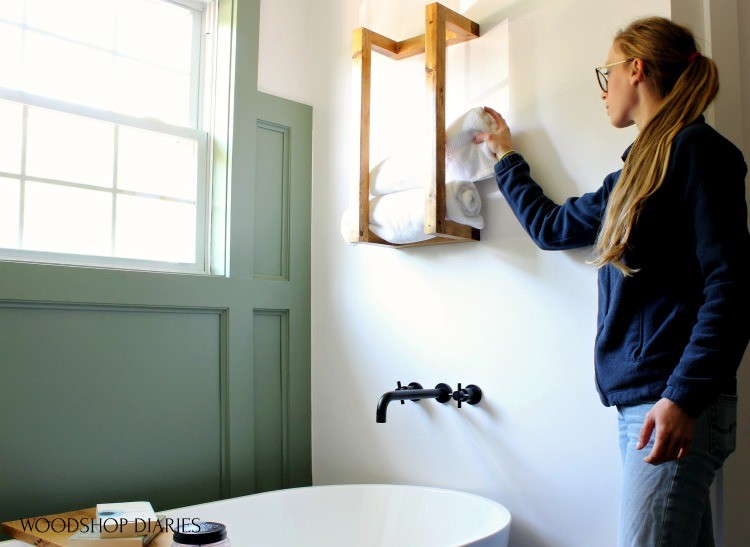
Great Bathroom Towel Storage Ideas For Your Next Weekend Project

Scrap Wood Towel Rack–{3 EASY Steps to Build Your Own!}
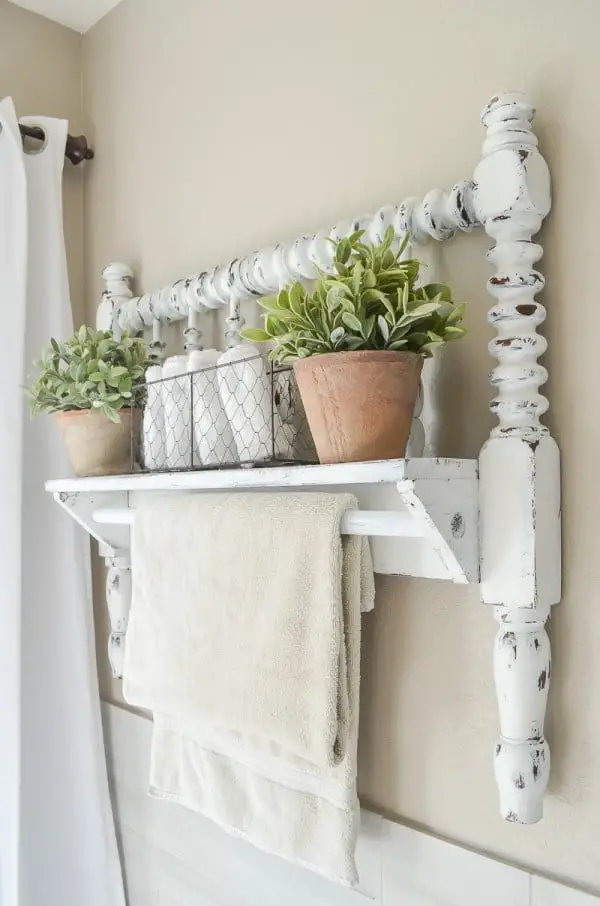
Genius DIY Towel Rack Ideas – The Handymanu0027s Daughter

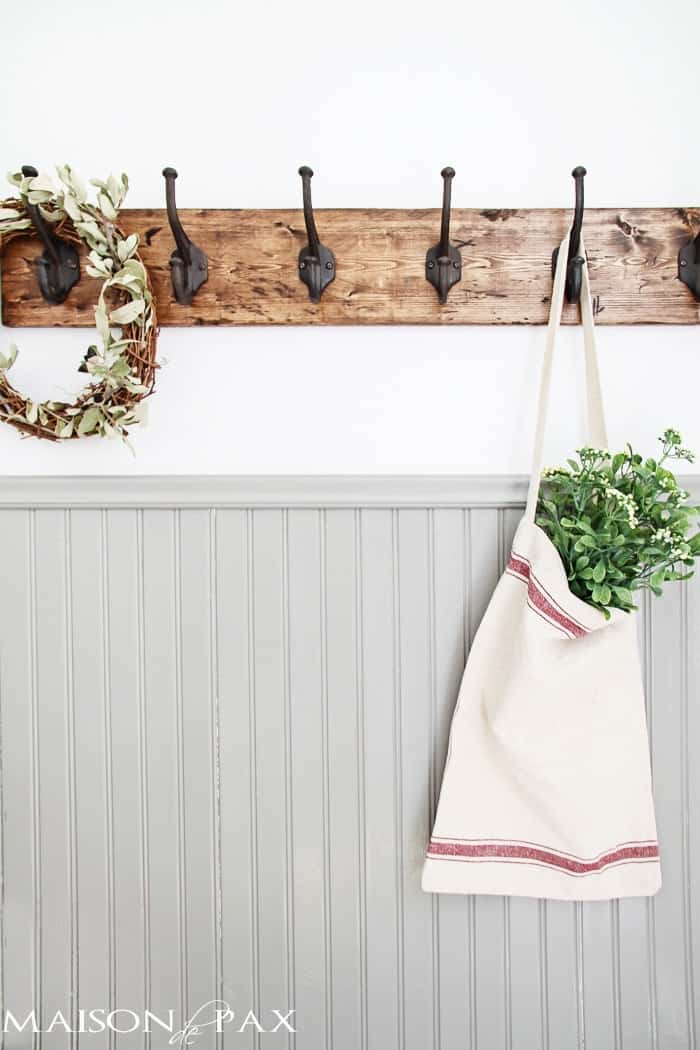
A Collection of Fabulous Farmhouse DIY Towel Racks – The Cottage

DIY Bathroom Towel Rack
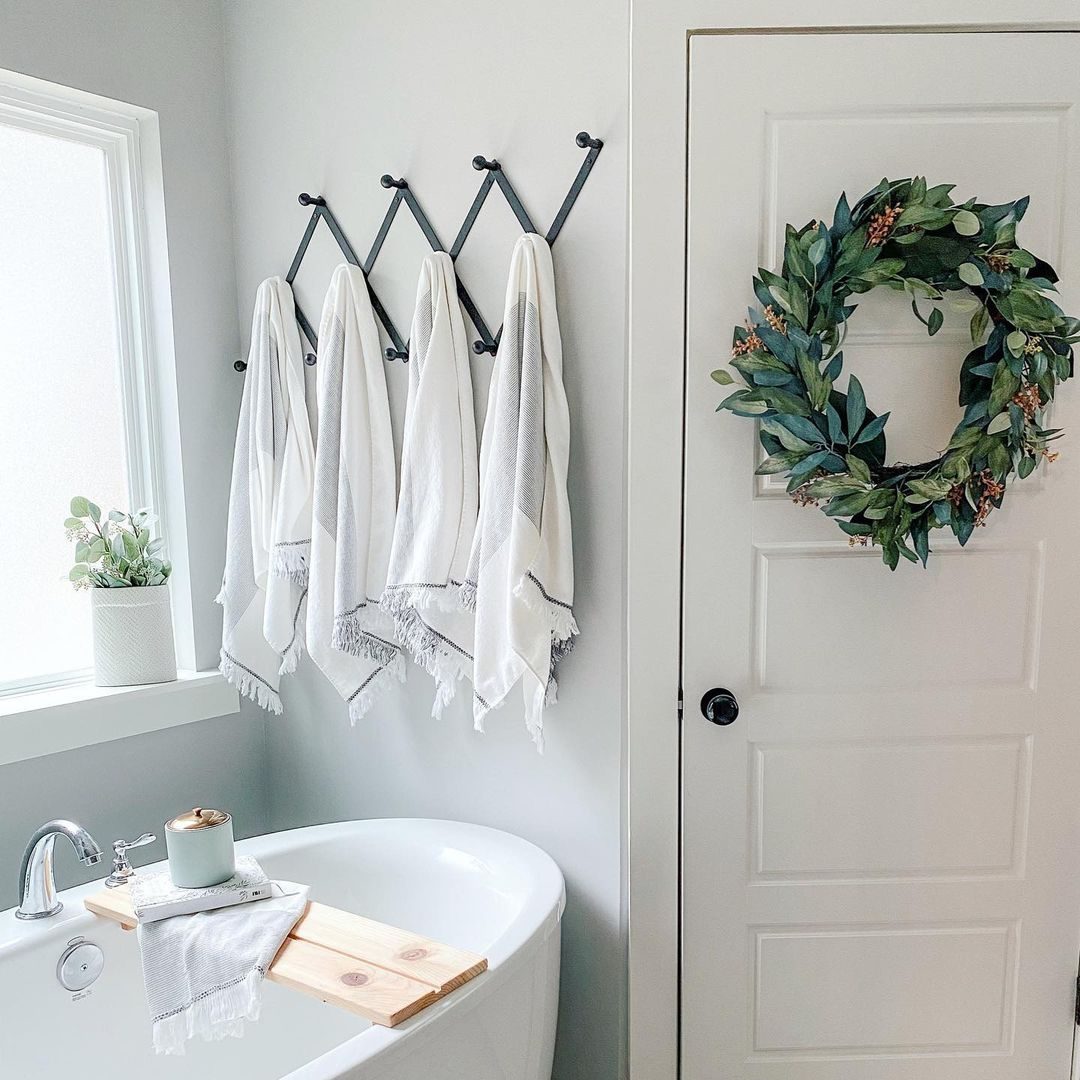
Creative DIY Towel Rack Ideas
Scrap Wood Towel Rack–{3 EASY Steps to Build Your Own!}
DIY Towel Rack Ideas for Your Spa Bathroom The Family Handyman
Epic & Stylish DIY Towel Rack Ideas to Upgrade your Room
Creative DIY Towel Rack Ideas
Related articles:
- Bathroom Shelf with Towel Bar
- DIY Farmhouse Bathroom Shelf
- Bathroom Shelf Design Ideas
- DIY Small Bathroom Shelf
- Bathroom Corner Shelf DIY
- Bathroom Glass Wall Shelf Unit
- Bathroom Corner Holder Shelf
- Industrial Bathroom Shelf Unit
- Rustic Bathroom Shelf with Hooks
- Metal Free Standing Bathroom Shelf
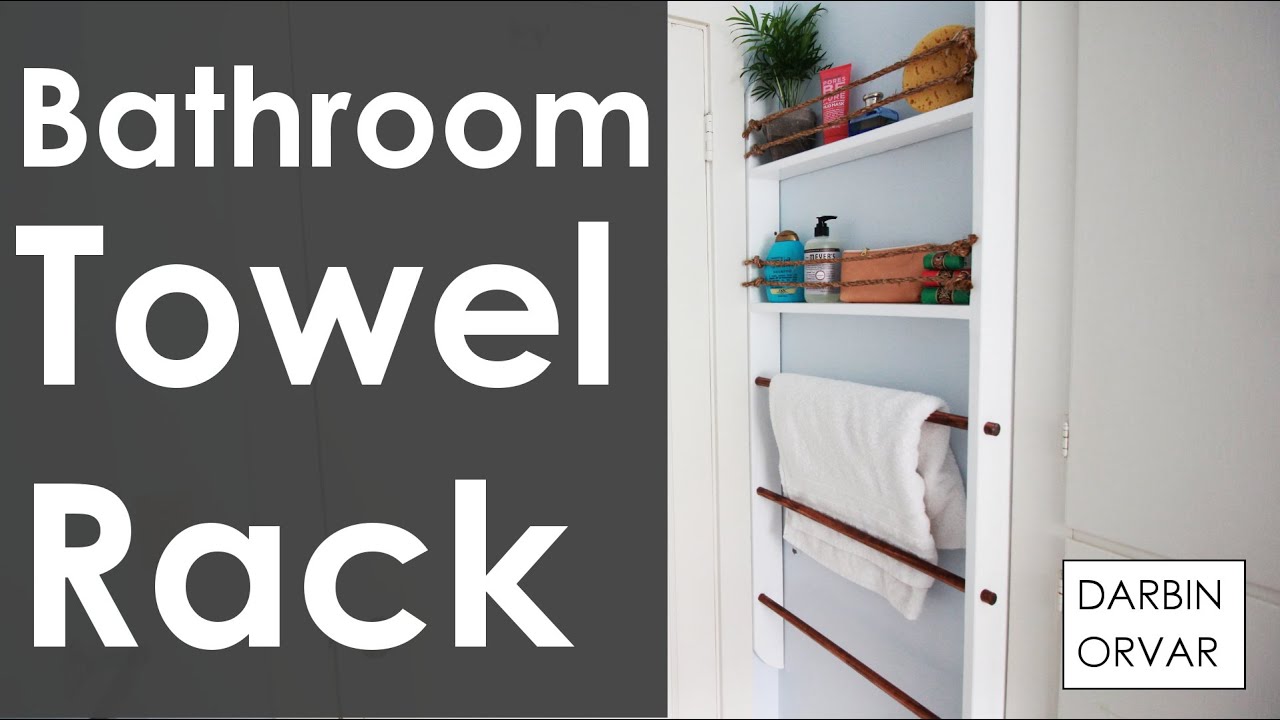
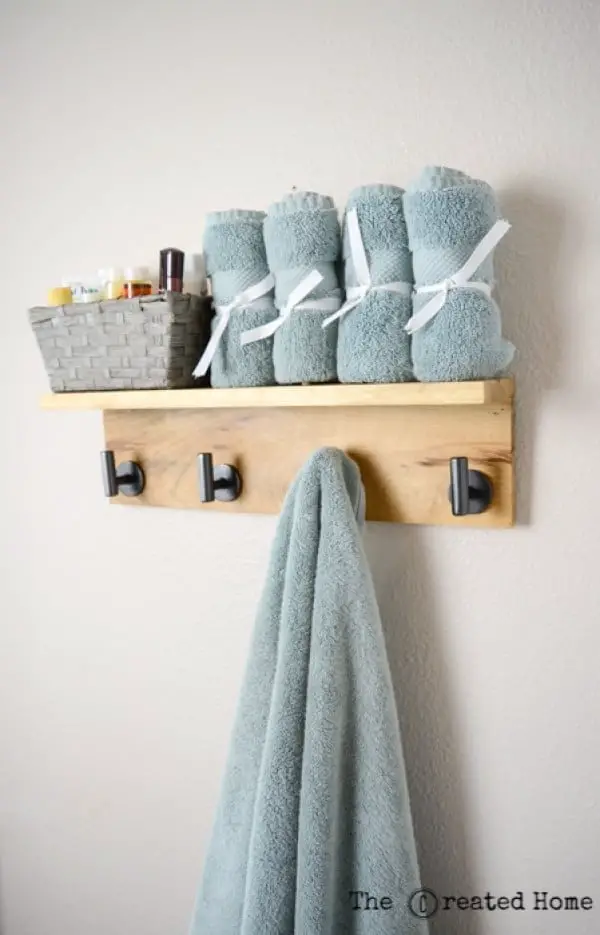
How to Make a Bathroom Towel Shelf
A towel shelf is a perfect addition to any bathroom as it provides an excellent storage solution for towels and other bathroom essentials. If you’re looking to make your own towel shelf, this guide will take you through the process step by step.
Materials Needed:
- Two 1x6x6 pieces of lumber
- Sandpaper (120 grit and 220 grit)
- Wood glue
- Finishing nails
- Stain or paint (optional)
- Saw
- Drill
- Measuring tape
- Level
Step 1: Measure and Cut the Lumber
The first step in making a bathroom towel shelf is to measure and cut the lumber. Begin by measuring the length of the space where you want to install the shelf. Once you have the measurement, cut two pieces of lumber to that length using a saw.
What type of wood should I use for my towel shelf?
It’s best to use hardwood such as oak, maple, or cherry as they are more durable and can withstand moisture better than softwood.
Step 2: Sand the Lumber
Once you have cut the lumber, sand both pieces with 120 grit sandpaper to remove any rough edges or splinters. After that, use 220 grit sandpaper to smooth out the surface, ensuring that it’s ready for staining or painting.
Can I skip sanding if I’m going to paint my towel shelf?
No, it’s essential to sand the wood regardless of whether you plan to stain or paint it. Sanding creates a smooth surface that allows paint or stain to adhere better.
Step 3: Assemble the Shelf
Next, apply wood glue along one side of each piece of lumber and press them together. Use finishing nails to secure the two pieces together, making sure they are level. Repeat this process for each end of the lumber to create a rectangular frame.
Can I use screws instead of nails to secure the lumber?
Yes, you can use screws, but finishing nails are often preferred as they are less visible and easier to conceal.
Step 4: Add Support Strips
To add support to the towel shelf, cut two pieces of lumber to the width of the shelf. Apply wood glue along one side of each piece and attach them to the bottom of the shelf frame. Use finishing nails to secure them in place.
How many support strips do I need for my towel shelf?
It depends on the length of your shelf. For a longer shelf, it’s best to add more support strips for added stability.
Step 5: Stain or Paint the Shelf (Optional)
If you want to add some color to your towel shelf, now is the time to stain or paint it. Choose a color that matches your bathroom décor and apply it evenly across the surface using a brush or roller. Let it dry completely before moving on to the next step.
Can I leave my towel shelf unfinished?
You can, but it’s not recommended as unfinished wood can absorb moisture and lead to warping or rotting over time.
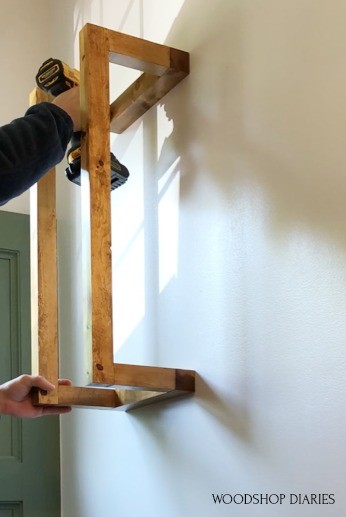
Step 6: Install the Shelf
The final step is to install your new towel shelf in your bathroom. Use a level to ensure that it’s straight and then drill pilot holes through the back of the shelf into your wall studs. Secure with screws, and you’re done!
What if I don’t have wall studs where I want to install my towel shelf?
You’ll need to use toggle bolts or other anchors that are suitable for your wall type. Consult with a hardware store professional for help in selecting the right type of anchor.
Making a bathroom towel shelf is an easy DIY project that can be completed in just a few hours. With a few basic materials and tools, you can create a functional and stylish storage solution that will keep your towels organized and easily accessible. Follow these steps, and you’ll have a beautiful towel shelf that will enhance the look of your bathroom while providing an excellent storage solution for years to come.
Can I customize the size and design of my towel shelf?
Yes, you can! This tutorial serves as a basic guide, but feel free to adjust the dimensions and style to fit your specific needs and preferences. Get creative and make it your own!