Putting a shelf on a wall is a relatively straightforward DIY project that can add both functionality and style to any room. Whether you’re looking to display decorative items, organize books and collectibles, or create additional storage space, installing a shelf is a practical and versatile solution. Before getting started, it’s important to gather the necessary tools and materials and carefully plan the placement of the shelf to ensure a successful installation.
The first step in putting a shelf on a wall is to select the appropriate shelf and determine the desired location for installation. Choose a shelf that fits the dimensions of the wall space and complements the existing decor of the room. Consider factors such as the weight-bearing capacity of the shelf, the type of wall material, and any obstructions such as electrical outlets or light switches that may impact the installation process.

Once you’ve selected the shelf and determined the location, use a stud finder to locate the wall studs. Wall studs provide sturdy support for heavy shelves and should be used whenever possible to ensure a secure installation. Mark the position of the studs on the wall using a pencil or masking tape.
Next, use a level to mark a horizontal line on the wall at the desired height for the shelf. This line will serve as a guide for aligning the shelf during installation. Use a measuring tape to ensure that the line is level and evenly spaced from the floor or ceiling.

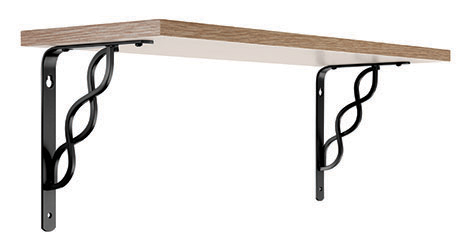
After marking the location of the studs and the horizontal line, it’s time to install the shelf brackets. Position the brackets along the horizontal line, making sure to align them with the wall studs whenever possible. Use a drill and screws to attach the brackets to the wall, driving the screws into the wall studs for added stability. Be sure to check that the brackets are level and evenly spaced before securing them in place.
Once the brackets are installed, it’s time to attach the shelf to the brackets. Place the shelf on top of the brackets, making sure that it is centered and level. Depending on the type of shelf and brackets, you may need to use screws or hardware provided with the shelf to secure it to the brackets. Use a screwdriver or drill to tighten the screws and secure the shelf in place.

Finally, take a step back and inspect the shelf to ensure that it is securely installed and leveled. Test the stability of the shelf by placing items on it and gently applying pressure to ensure that it can support the weight. If necessary, make any adjustments to the shelf or brackets to ensure a secure and level installation.
Putting a shelf on a wall is a simple and rewarding DIY project that can enhance the functionality and aesthetics of any room. By carefully selecting the shelf, planning the installation location, and following proper installation techniques, you can create a stylish and functional storage solution that meets your needs and complements your decor. Whether you’re installing a shelf in the living room, bedroom, or bathroom, following these steps will help you achieve a successful and secure installation.
Ways to Hang Shelves Without Studs

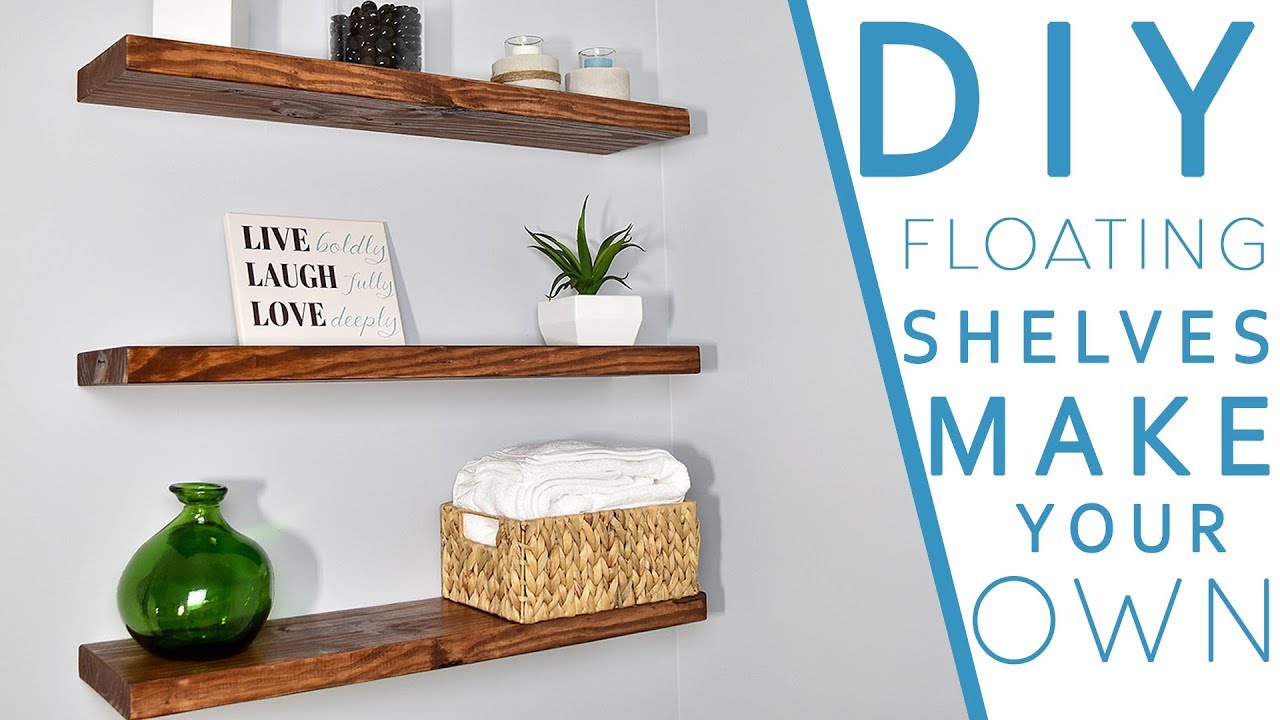
Easy DIY FLOATING SHELVES No bracket DIY CREATORS
Build a simple wall to wall shelves TwoFeetFirst

How to Attach Heavy Shelves to Walls

How To Hang Floating Shelves On A Plasterboard Wall

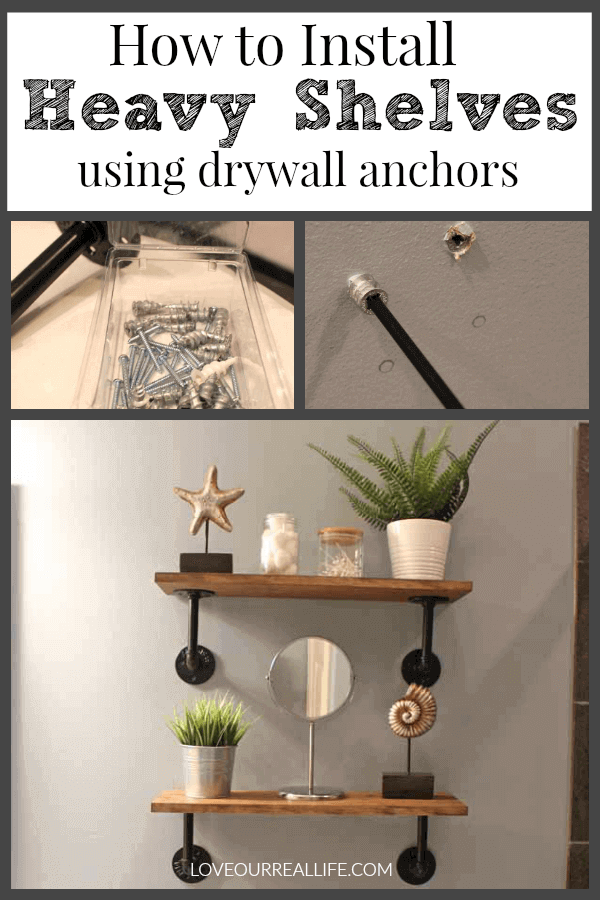
Installing Heavy Duty Shelves Using Dry Wall Anchors ⋆ Love Our
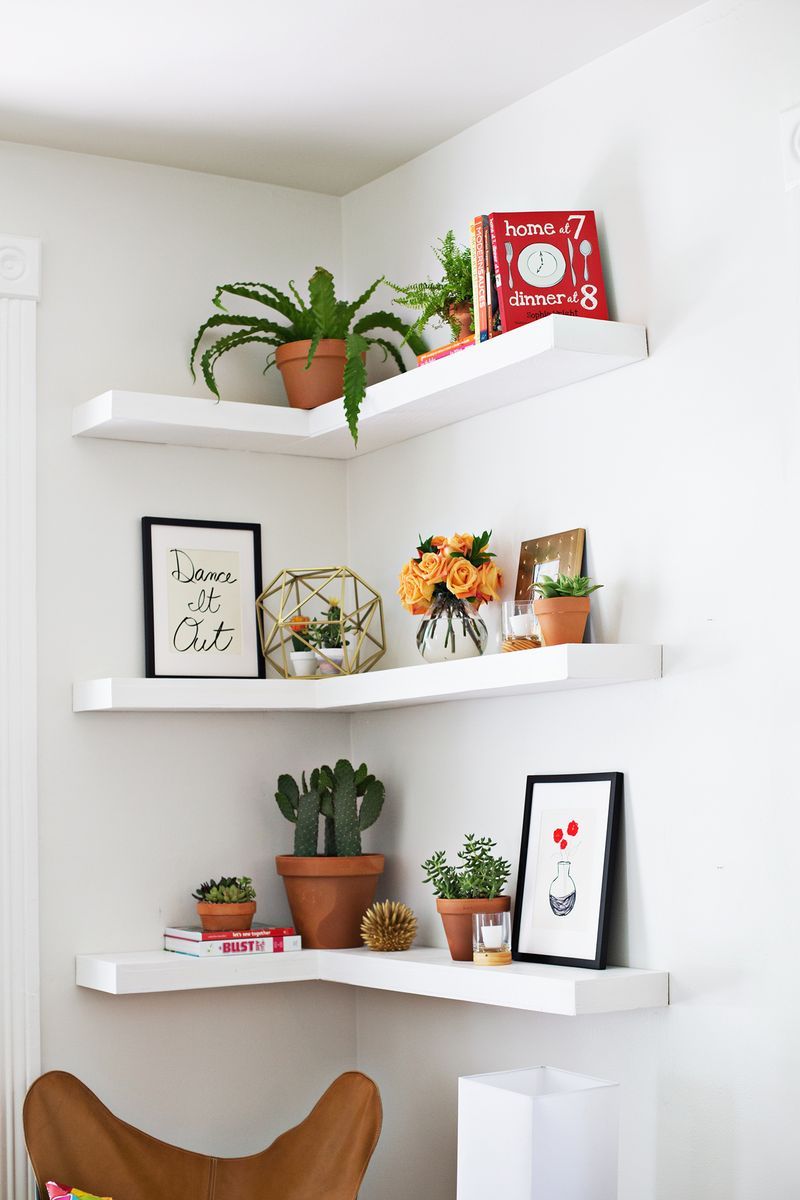
Ideas for Floating Shelves – Floating Shelf Styles
How to Hang Shelves
How to Hang Shelves Family Handyman

Related articles:
- Bathroom Shelf with Towel Bar
- DIY Farmhouse Bathroom Shelf
- Bathroom Shelf Design Ideas
- DIY Small Bathroom Shelf
- Bathroom Corner Shelf DIY
- Bathroom Glass Wall Shelf Unit
- Bathroom Corner Holder Shelf
- Industrial Bathroom Shelf Unit
- Rustic Bathroom Shelf with Hooks
- Metal Free Standing Bathroom Shelf
Putting a shelf on a wall can be a great way to add storage space to your home while also creating an eye-catching display for your books, pictures, and other decorative items. However, if you’ve never done this type of DIY project before, it can seem daunting. But don’t worry – with the right tools and a little bit of know-how, you can easily put up a shelf on your own. In this article, we’ll take you through the steps involved in putting up a shelf on a wall so that you can confidently tackle this project and enjoy the finished result.
Step 1: Choose Your Shelf
The first step in putting up a shelf is to choose the right one for your needs. Consider the size of the space where you want to hang the shelf, as well as what items you plan to place on it. You’ll also want to think about the style of the shelf and how it will fit in with your existing decor. Once you’ve chosen the perfect shelf, make sure to read any assembly instructions that came with it before getting started.
FAQ: Can I Hang Any Type of Shelf on My Wall?
No, not all shelves are created equal when it comes to hanging them on a wall. Some shelves are designed specifically for wall mounting and come with hardware included, while others are meant to sit on top of furniture or be freestanding. Make sure that the shelf you choose is suitable for wall mounting and that you have all of the necessary hardware before starting.
Step 2: Gather Your Tools and Materials
Before you start hanging your shelf, make sure that you have all of the tools and materials that you need. Here’s what you’ll typically need:
– A drill
– Screws
– Anchors (if needed)
– A level
– A pencil
– A measuring tape
FAQ: What Size Screws Should I Use?
The size of screws that you’ll need will depend on the weight of your shelf and the type of wall that you’re mounting it on. In general, you’ll want to use screws that are at least 2 inches long and have a diameter between 1/8 and 1/4 inch. If you’re not sure what size to use, check the instructions that came with your shelf or consult with a hardware store expert.
Step 3: Locate Studs or Use Anchors
Next, you’ll need to decide whether you’re going to hang your shelf directly on studs or if you’ll be using anchors to attach it to the wall. If your shelf is heavy or if you plan to place a lot of items on it, it’s usually best to hang it on studs. You can use a stud finder tool to locate the studs in your wall, or you can try tapping on the wall with a hammer until you hear a solid sound (which indicates that there’s a stud behind that section of wall).
If there aren’t any studs where you want to hang your shelf, or if you prefer not to drill into them, you can use anchors instead. Anchors are plastic or metal devices that go into the wall and provide extra support for the screws. Follow the instructions that came with your anchors carefully to ensure proper installation.
FAQ: Can I Hang a Shelf Without Studs or Anchors?
It’s generally not recommended to hang a heavy shelf without either attaching it directly to studs or using anchors. However, if your shelf is very lightweight and you don’t plan to place anything heavy on it, you may be able to get away with using smaller screws and drilling directly into drywall. Keep in mind that this method is less secure than attaching to studs or using anchors and could result in damage if the shelf falls.
Step 4: Mark Placement of Shelf
Once you’ve decided where you want your shelf to go and whether you’ll be attaching it to studs or using anchors, it’s time to mark the placement. Use a pencil and a level to create a straight line where the bottom of the shelf will be. If you’re hanging multiple shelves, measure and mark each one individually to ensure that they’re evenly spaced.
FAQ: How High Should I Hang My Shelf?
The height at which you should hang your shelf will depend on what you plan to put on it and the overall design of your room. Generally speaking, shelves are usually hung between 4 and 6 feet off the ground. If you’re planning to store books, for Example, you may want to hang the shelf higher to accommodate their height. Take into consideration any furniture that the shelf will be placed above or near, and make sure that you leave enough space for both the shelf and any items that will be displayed on it.
Step 5: Drill Holes and Attach Shelf
Using your drill, make holes where you’ve marked the placement of your shelf. If you’re attaching the shelf to studs, make sure that you drill into the center of each stud for maximum support. If you’re using anchors, follow the instructions carefully to ensure proper installation.
Once all of your holes have been drilled, it’s time to attach the shelf. Hold the shelf in place and use screws to secure it to the wall. Make sure that the screws are tight and even, but be careful not to over-tighten them as this could damage the shelf or wall.
FAQ: How Many Screws Should I Use?
The number of screws you should use will depend on the size and weight of your shelf. As a general rule, use at least two screws for small shelves and up to six screws for larger shelves or those that will hold heavy items. Make sure that you distribute the screws evenly across the length of the shelf for optimal support.
Step 6: Test Stability of Shelf
After attaching your shelf, give it a gentle tug to make sure that it’s secure and stable. You can also place some lightweight items on it to test its weight-bearing capacity before adding heavier items.
Congratulations! You’ve successfully hung a shelf on your wall. With these steps and some basic tools, you can easily add functional and stylish storage to any room in your home.