You might likewise have some minor drawers on the side of the shelves in which you are able to put little items such as soaps, shampoos, and other toiletries. There’s been a marked improvement in the recent past, not simply in bathroom vanities, however in cabinets and racks as well. Match the shelves to the decoration of the bathroom.
Here are Images about How to Put Shelves in Tiled Shower
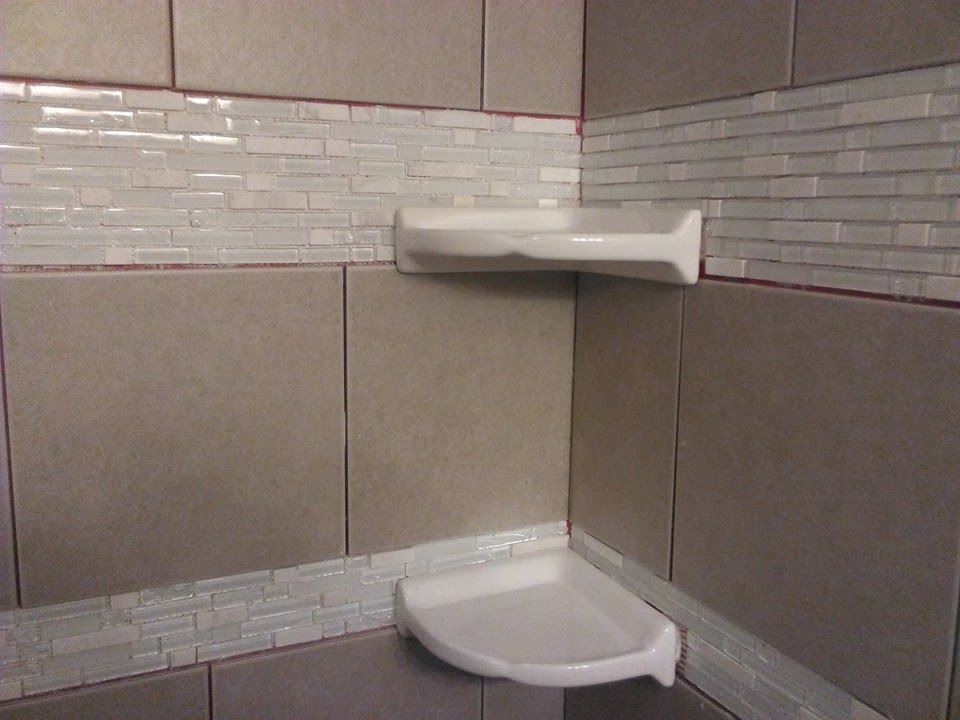
How to Put Shelves in Tiled Shower
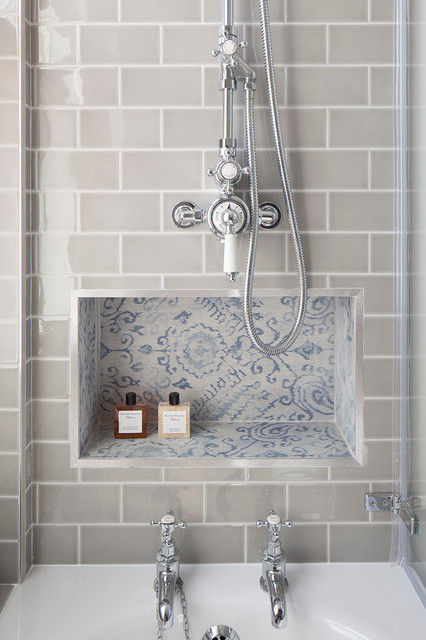
You can find everything up off the sink and out of the area of splashing water and up holding a shelf. Using bathroom shelving can eliminate some of this mess by taking the storage of yours vertical. Most likely the best thing about shelves is their price. The stone shelves in addition make a the necessary old world charm in the bathrooms of yours and add a resplendent appeal.
6 Ways to Install a Shower Corner Shelf – wikiHow

Washroom glass racks will certainly give you the impression of even more room while effectively keeping or showing your individual products. If you have no specific rate of interest in what the wall racks resemble, after that purchase something that fits your spending plan and also is constructed from high quality. Wood shower room shelves always appear to be the most straight-forward, straightforward and also clean option.
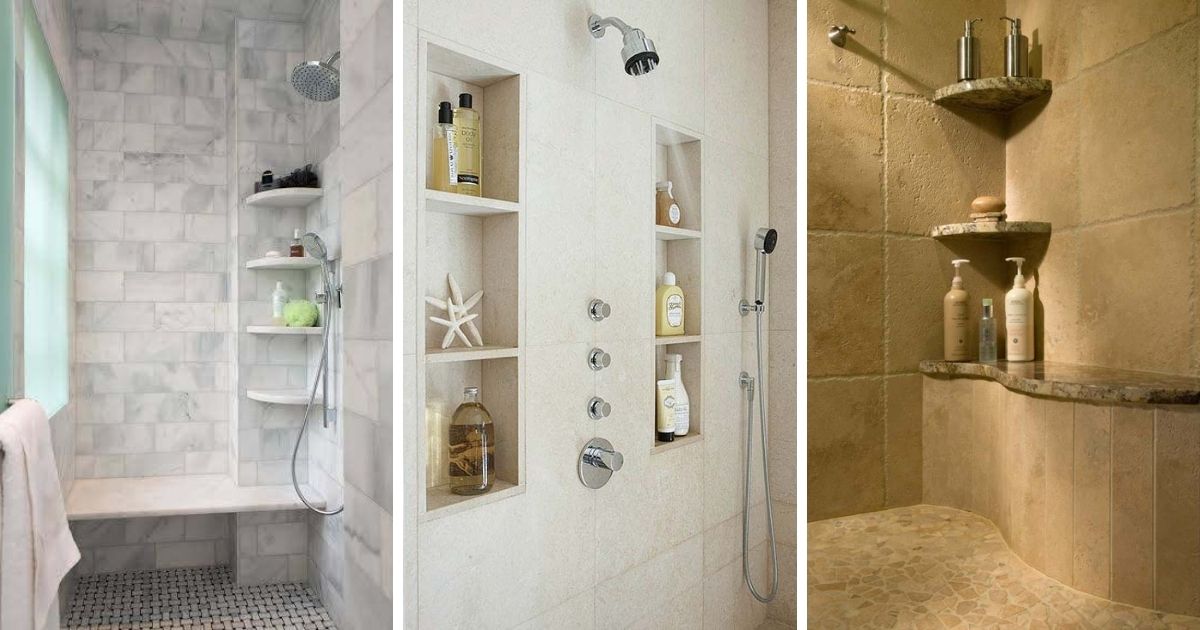
Images Related to How to Put Shelves in Tiled Shower
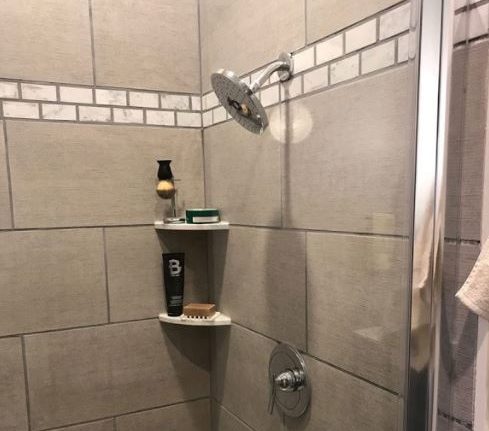
10 Best Tile Shower Shelf Ideas To Add Even More Storage To Your
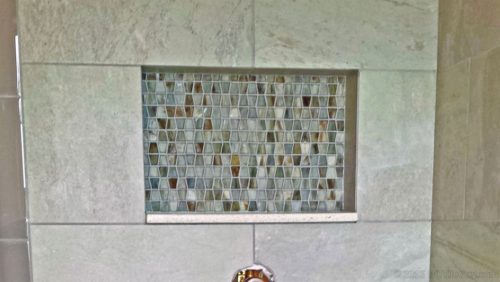
How to Build a Recessed Shampoo Shelf DIYTileGuy
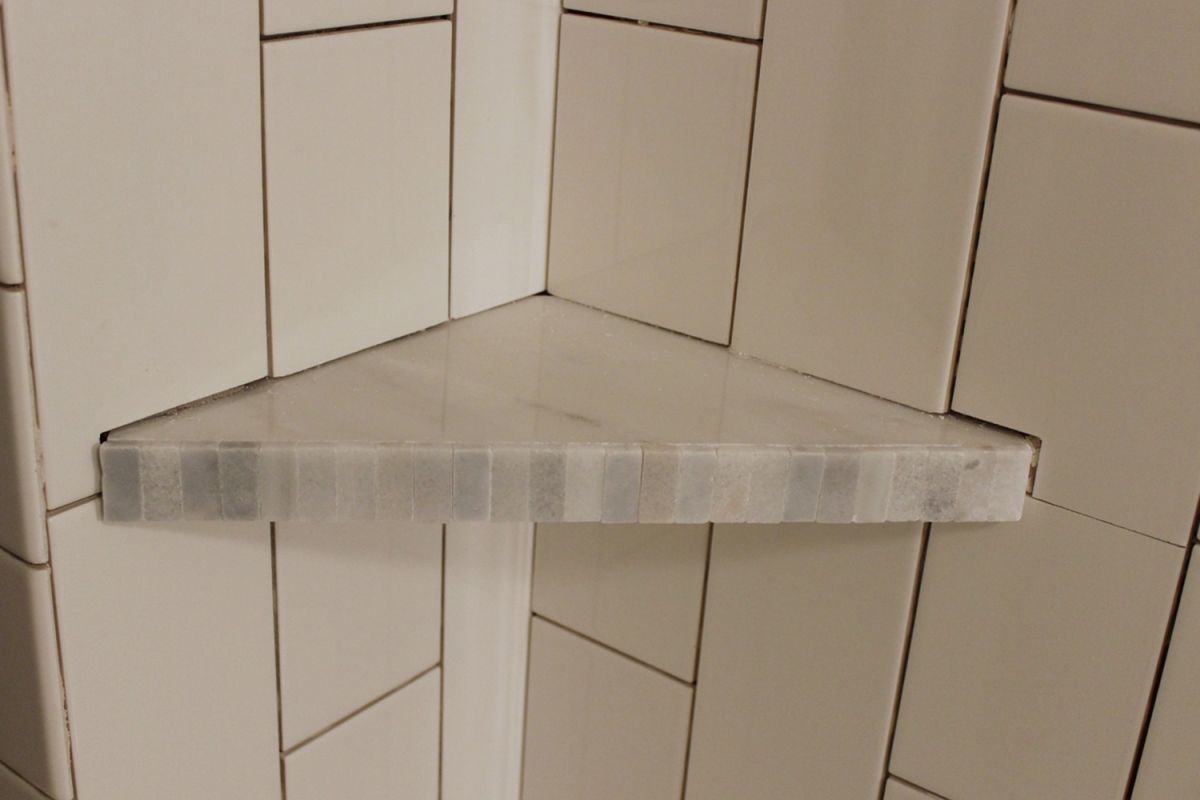
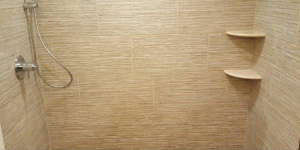
Building a corner shelf for your shower The Floor Elf

How to Install a Tile Shower Corner Shelf

How to Install a Tile Shower Corner Shelf
10 Nifty Ways to Fit a Shelf in Your Shower
Install Our Shower Shelf on an Already Tiled Wall – GoShelf™
Quick Tip: How to Install a Shower Shelf Over Glass or Ceramic

How to Install a Tile Shower Corner Shelf

Need a Shampoo Holder for Tiled Shower? GoShelf Is Quick and Easy
Shower Corner Shelf-Install a Tile Soap Dish icreatables.com
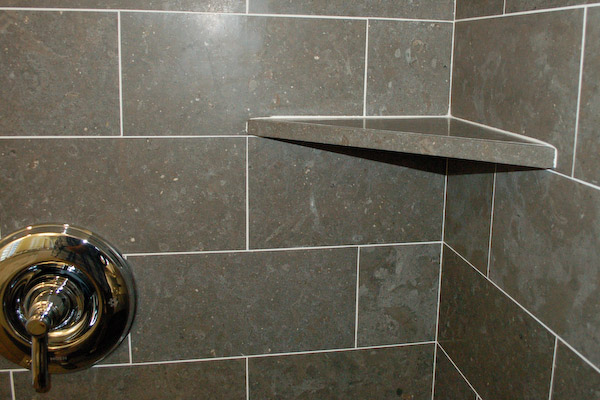
DIY shower tiling: Installing floating corner shelves
Related articles:
- Bathroom Shelf with Towel Bar
- DIY Farmhouse Bathroom Shelf
- Bathroom Shelf Design Ideas
- DIY Small Bathroom Shelf
- Bathroom Corner Shelf DIY
- Bathroom Glass Wall Shelf Unit
- Bathroom Corner Holder Shelf
- Industrial Bathroom Shelf Unit
- Rustic Bathroom Shelf with Hooks
- Metal Free Standing Bathroom Shelf
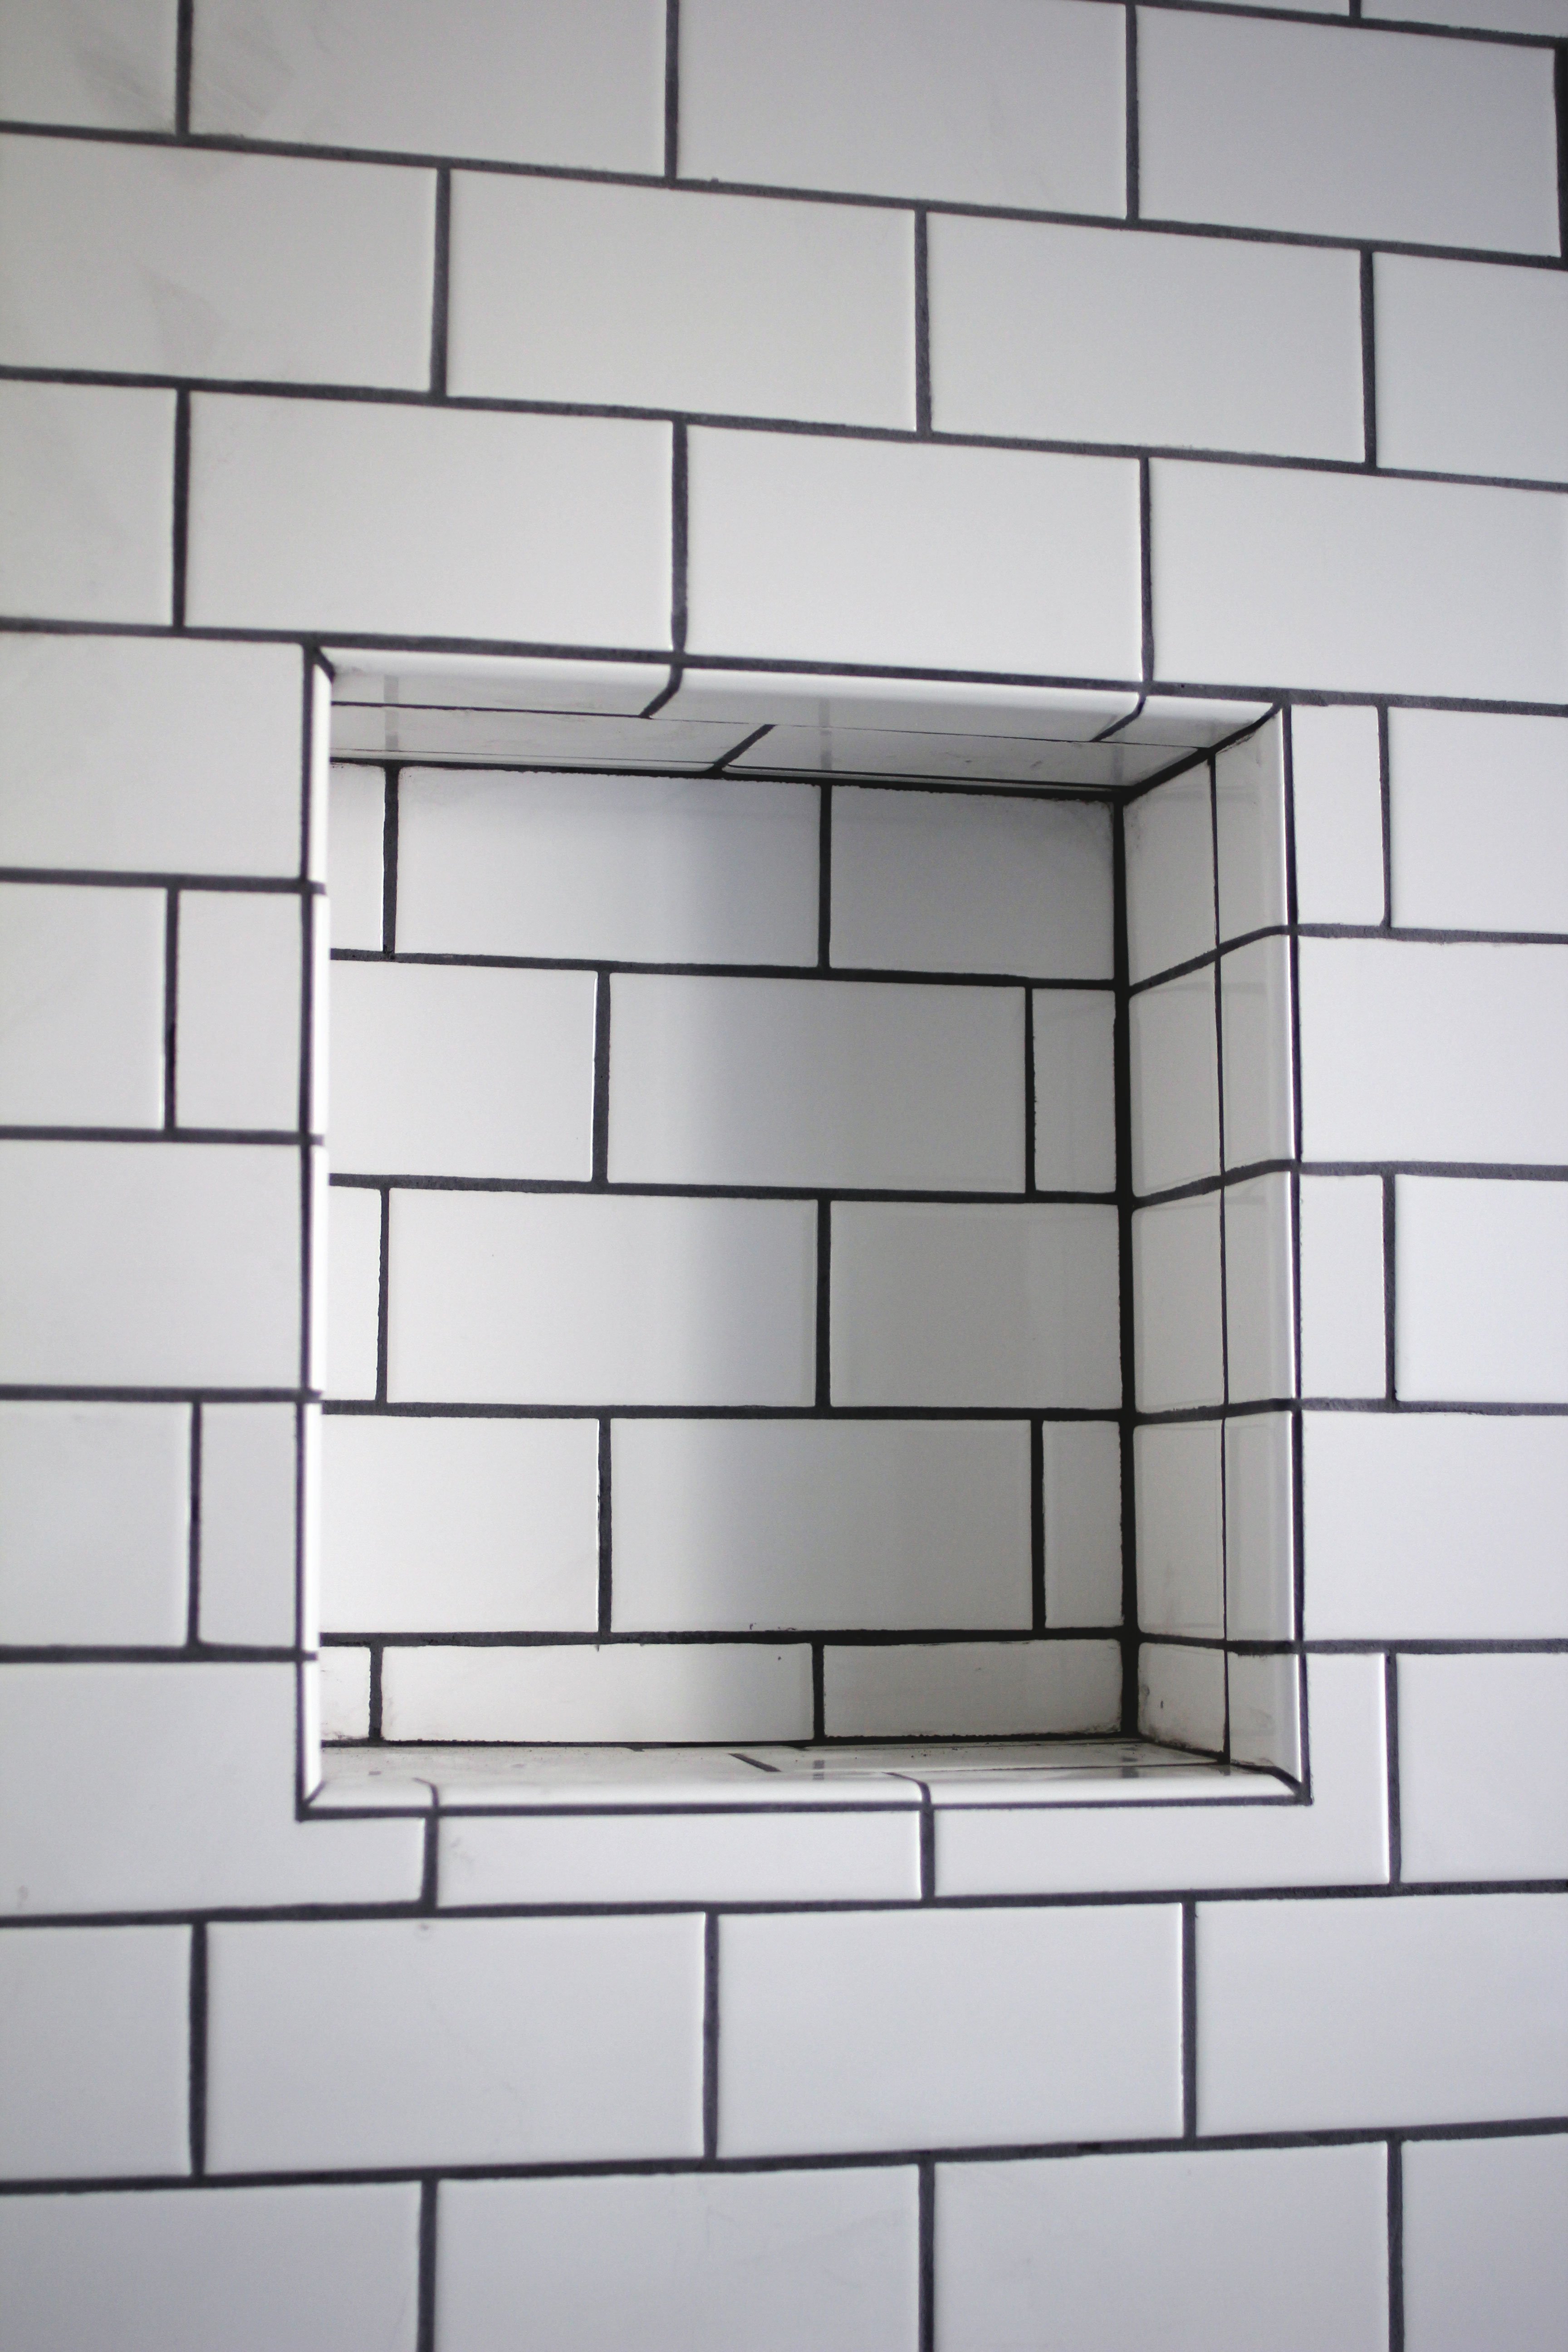
How to Put Shelves in a Tiled Shower
Adding shelves to your shower can be a great way to organize your bathroom and add some visual interest to the space. But installing these shelves on tile can be tricky. Read on for tips and tricks on how to add shelves in a tiled shower.
Gather the Supplies You’ll Need
Before you begin, make sure you have all the supplies you’ll need for the project. You’ll need tile adhesive, grout, spacers, a drill, screws, anchors, and of course the shelf or shelves you plan to install. Additionally, you may need a tiling saw or other cutting tools depending on the shape of your shower and the size of shelves you’re planning to install.
Clean and Prep Your Surface
Once you have all the supplies collected, it’s time to prep your surface. Start by cleaning the wall where you will be installing the shelf with mild soap and water. Make sure it is completely dry before moving on to the next step. If there is any existing tile near where you’ll be installing the shelf, make sure that it is firmly adhered to the wall. You don’t want it coming loose when you start drilling or hammering into the wall. If any loose tiles are found, use tile adhesive to secure them back in place.
Mark Your Spots
Once your surface is prepped and ready, it’s time to mark off where your shelf will go. Measure and mark off where your shelf will go with a pencil or marker so that when you start drilling or hammering into the wall, you know exactly where each hole should go. This will also help ensure that your shelf is level when installed.
Drill Holes in Tiles
Now that your spots are marked off, it’s time to drill holes into the tiles. It’s important to use a drill bit that is specifically designed for drilling into ceramic tiles as regular drill bits can cause damage to them. Start slowly and increase speed as needed until you reach your desired depth. If needed, use a tiling saw or other cutting tools to cut tiles if they are too large for one hole.
Install Anchors
Once all of your holes are drilled or cut out, it’s time to install anchors in each hole that will secure your shelf in place. Use an anchor specifically designed for ceramic tile as this will help ensure that it stays securely in place without causing any damage to the tile itself. Follow manufacturer instructions for installation of each anchor.
Attach Shelf
Now that all of your preparations are complete, it’s time to attach your shelf! Using screws that are long enough for both the anchor and shelf combined, attach each screw through anchor and into shelf making sure they are tightly secured in place so they do not come loose over time due to vibrations from showers or other activities occurring in bathroom area. Once all screws have been tightened down, make sure everything is level before moving onto next step.
Grout Around Shelf
Once everything is level and secure, it’s time to grout around shelf! Mix grout according manufacturer instructions then spread evenly around edges of shelf using a putty knife or similar tool making sure there are no gaps between grout and tile edges or between grout and edges of shelf itself. Allow grout plenty of time to dry before using shower again– typically 24-48 hours– then enjoy new shelving addition!
FAQs About Putting Up Shelves in Tiled Showers
Q: What kind of drill bit do I need?
A: For best results when drilling into ceramic tiles, use a drill bit specifically designed for ceramic tiles such as carbide tipped masonry drills bits available at most hardware stores or online retailers selling home improvement supplies like Amazon or Home Depot . Regular drill bits can easily cause damage if used instead so always make sure correct bit is being used for job!
Q: Can I skip using anchors?
A: No – using anchors is essential for ensuring shelves stay securely in place without causing any damage over time due vibrations from shower activities occurring in bathroom area so always make sure anchors are installed prior attaching shelves!
Q: How long does gr Out need to dry before I can use the shower again?
A: Typically, grout needs 24-48 hours to completely dry before you can use the shower again. This allows time for grout to harden and ensure shelves are securely in place.
What type of shelves can be used in a tiled shower?
Shelves that are designed for use in tiled showers typically have a waterproof seal and are made of a material that is resistant to rust, such as stainless steel or plastic. Be sure to check the manufacturer’s instructions for installation and use in order to make sure that the shelf is suitable for use in your tiled shower.
What is the best type of shelves to use in a wet area such as a tiled shower?
The best type of shelves to use in a wet area such as a tiled shower is one that is waterproof and rust-resistant, such as stainless steel or aluminum. Plastic or wood shelves are not suitable for wet areas, as they will eventually warp and rot.