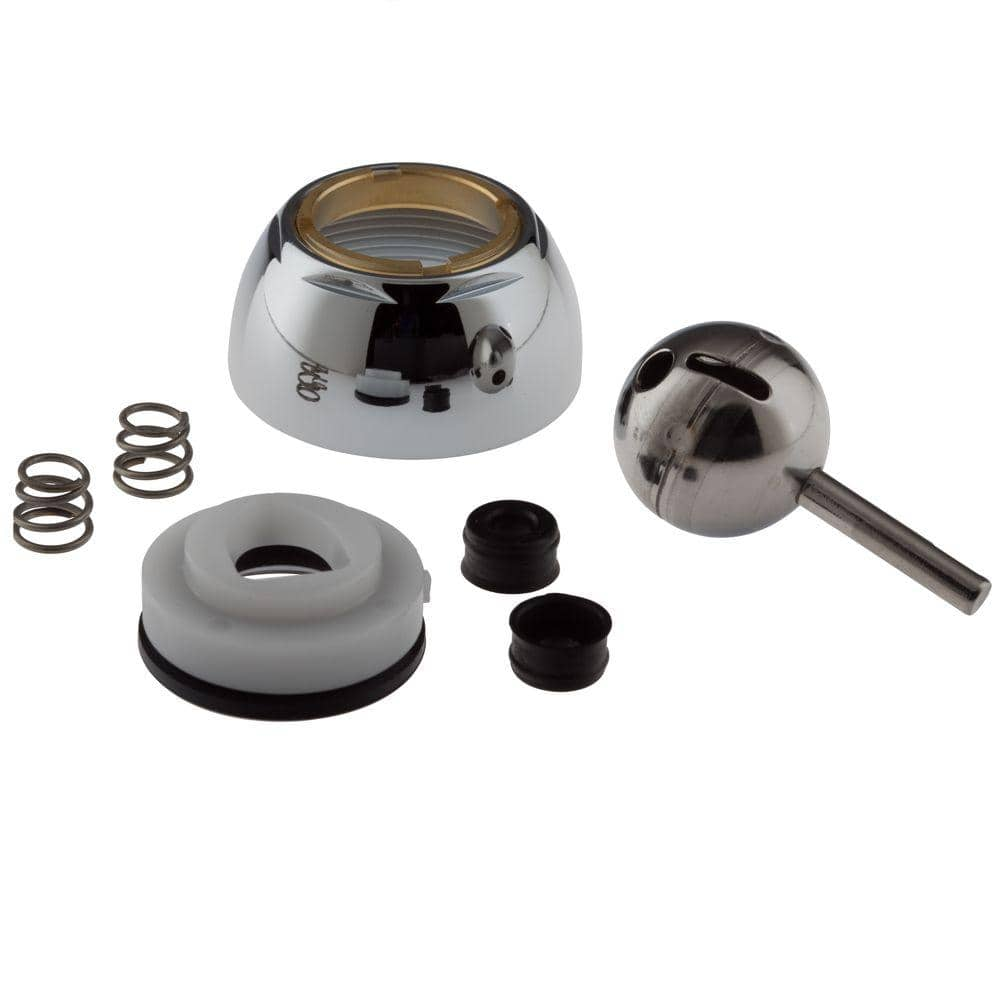
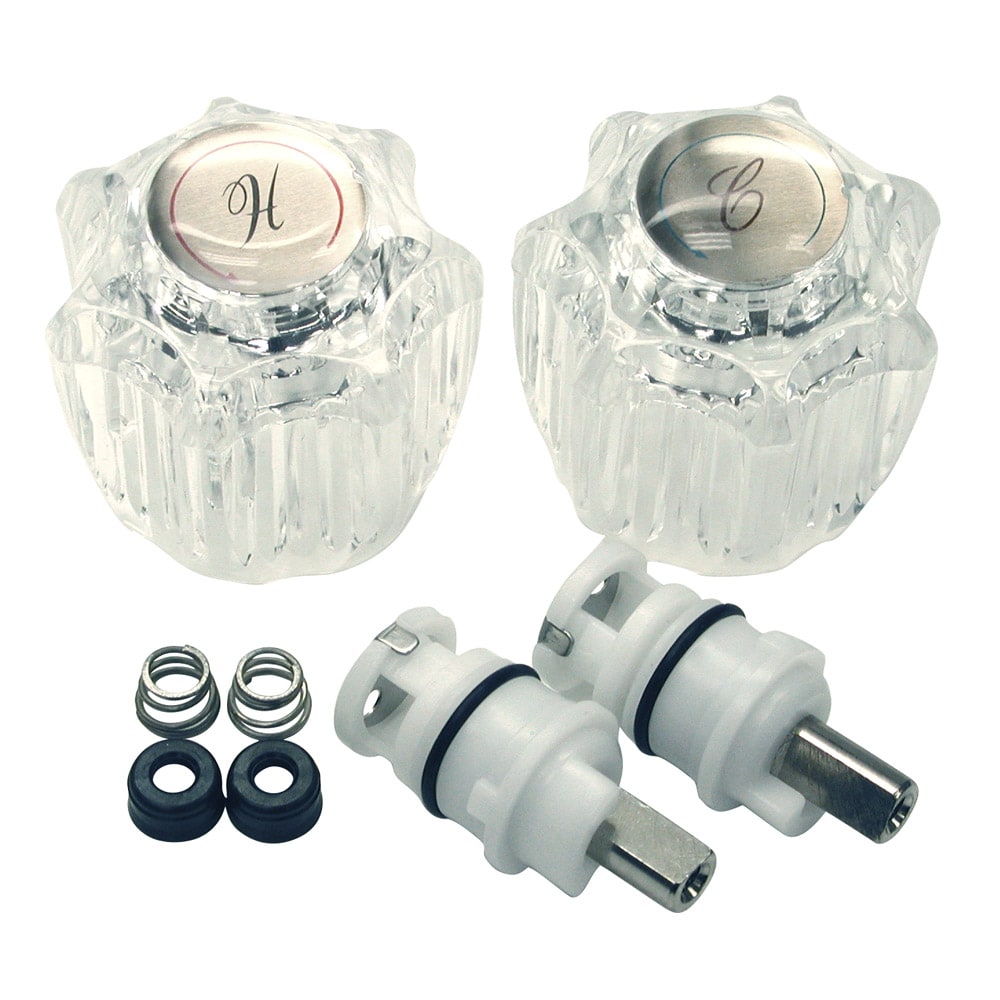
Replacing a washer in a Delta bathroom faucet is a relatively simple and cost-effective solution to address a common plumbing issue—dripping faucets. A dripping faucet not only wastes water but can also be an annoying source of noise and increase water bills. Fortunately, with a few basic tools and some guidance, you can fix this problem by replacing the washer. Here’s a step-by-step guide on how to replace a washer in a Delta bathroom faucet.
Turn Off the Water Supply: The first step in any plumbing repair is to turn off the water supply. Locate the shutoff valves beneath your sink and close them to stop the flow of water to the faucet. If your faucet doesn’t have shutoff valves, you may need to turn off the main water supply to your home temporarily. It’s essential to ensure there’s no water flowing through the faucet before proceeding.

Disassemble the Faucet: Remove the faucet handle, which is usually attached with a screw beneath a decorative cap or with a set screw on the side. Once the handle is off, you’ll see the faucet stem, which houses the washer. Use a wrench or pliers to carefully remove the stem from the faucet body.
Replace the Washer: Inspect the old washer. If it’s worn, damaged, or causing the leak, it’s time to replace it. Remove the old washer and install a new one in its place. Be sure to use a washer that matches the size and type of the old one. Delta faucet repair kits often come with the necessary replacement parts.

Reassemble the Faucet: After replacing the washer, reassemble the faucet in the reverse order of disassembly. Tighten the stem back into place, and then reattach the handle. Make sure everything is securely in position.
Turn On the Water: Open the shutoff valves or main water supply to restore water to the faucet. Turn on the faucet to check for any leaks. If you’ve replaced the washer correctly, the dripping issue should be resolved.
Replacing a washer in a Delta bathroom faucet can save you money on water bills and eliminate an annoying dripping sound. This repair is typically straightforward and doesn’t require extensive plumbing experience. However, if you encounter any challenges or if the issue persists, it’s always a good idea to consult a professional plumber to ensure that the faucet is properly fixed and that there are no underlying issues with the plumbing.
How to fix a leaky dripping Delta faucet

With this, you may be ready to create an elegant bathroom within reach, without spending more than the budget of yours. Think about spout height. Each handle does not have its own feed pipe connection. These are just some of the crucial elements that you have to think about before buying bathroom faucets.
Delta Bathroom Faucet Repair: Seats and Springs, Serramar HOA
Delta Bathroom Faucet Leaks-Extract the old seat and spring
Delta Faucet – Cartridge Faucet Repair
Delta Faucet Repair Kit-RP44123 – The Home Depot
BrassCraft SLD0180 Faucet Repair Kit for Delta Faucet – 2 Handle Faucets
How To Fix Leaky Bathroom Handle Delta Faucet (Model 4530 Series
Tutorial: Delta Faucet Cartridge Replacement
Danco Metal Faucet Repair Kit Delta/Delex
Related articles:
- Brass And Crystal Bathroom Faucets
- Replace Delta Bathroom Faucet
- Install Bathroom Faucet Drain
- Pegasus Bathroom Faucets Installation Instructions
- Kohler Fairfax Single Handle Bathroom Faucet
- Moen Single Handle Bathroom Faucet Cartridge Replacement
- Bathroom Faucets That Light Up
- Kohler Fairfax Bathroom Faucet Parts
- Antique Brass Single Lever Bathroom Faucet
- Price Pfister Bathroom Faucet Manual
How To Replace A Washer In A Delta Bathroom Faucet
Replacing a washer in a Delta bathroom faucet can be a relatively simple and straightforward task. However, it is important to follow the right steps in order to ensure that the job is done properly and safely. With the right tools and supplies, it is possible to replace the washer in your Delta faucet within a few minutes. Read on to find out how you can replace the washer in your Delta bathroom faucet quickly and easily.
Tools and Supplies Needed
Before you start replacing the washer in your Delta bathroom faucet, make sure that you have all of the necessary tools and supplies on hand. You will need an adjustable wrench, a screwdriver, pliers, silicone grease, and a replacement washer. It may also be helpful to have a rag or cloth on hand for cleaning up any mess that may occur during the process.
Turn Off The Water Supply
The first step in replacing the washer in a Delta bathroom faucet is to turn off the water supply. This is an essential part of the process and should not be skipped. Depending on the type of water supply that you have, this may involve turning off a shutoff valve or turning off the main water supply. Make sure that you turn off both hot and cold water supplies before proceeding with this project.
Remove The Handle
Once you have turned off the water supply, it is time to remove the handle from your Delta bathroom faucet. This will involve unscrewing the decorative cap at the top of the handle using either an adjustable wrench or a screwdriver, depending on what type of cap you have. Once this cap has been removed, you should be able to pull out the handle and expose the stem underneath.
Remove The Stem
Once you have exposed the stem underneath your handle, it is time to remove it from your Delta bathroom faucet. To do this, use either an adjustable wrench or pliers to loosen and remove any screws or bolts that are holding it in place. Once these screws or bolts have been removed, simply pull out the stem from your faucet.
Replace The Washer
Now that you have exposed the stem of your Delta bathroom faucet, it is time to replace the washer inside it. To do this, use pliers to remove any old washers that may be inside your stem and then insert your replacement washer into its place. Make sure that it fits securely before moving onto the next step of reassembling your faucet.
Reassemble The Faucet
Once you have replaced the washer inside your stem, it is time to reassemble your Delta bathroom faucet. Start by inserting your stem back into its original position inside your faucet body and then use either an adjustable wrench or pliers to secure any screws or bolts that were used to hold it in place previously. Be sure not to overtighten these screws or bolts as this can cause damage to both your faucet body and stem.
Reattach The Handle
The final step when replacing a washer in a Delta bathroom faucet is to reattach its handle back onto its body. To do this, simply slide your handle back into its original position atop your stem before using either an adjustable wrench or screwdriver to reattach its decorative cap at its top end. Before doing so however, make sure to apply some silicone grease around both parts as this will help ensure that they stay securely attached together over time without any problems arising due to corrosion or wear and tear issues caused by moisture buildup inside them.
FAQs:
Q: How do I know what size washer I need for my Delta bathroom faucet?
A: You should check with your manufacturer’s instructions for specific information about what size washer is recommended for use with their products as different models may require different sizes for optimal performance and safety reasons. You can also measure the diameter of both ends of your current washer with a ruler in order to determine an approximate size for use when purchasing replacement parts from hardware stores or online retailers if Necessary.
What tools are needed to replace a washer in a Delta bathroom faucet?
To replace a washer in a Delta bathroom faucet, you will need a flathead screwdriver, an adjustable wrench or a basin wrench, and a new replacement washer of the appropriate size.
What type of wrench is needed to replace a washer in a Delta bathroom faucet?
A 7/64 inch hex wrench is typically used to replace a washer in a Delta bathroom faucet.
What type of tool is used to remove the handle on a Delta bathroom faucet?
A hex wrench or Allen wrench is typically used to remove the handle from a Delta bathroom faucet.
What type of wrench is needed to remove the handle on a Delta bathroom faucet?
A 7/64″ hex wrench is typically used to remove the handle on a Delta bathroom faucet.
What size wrench is needed to remove a Delta bathroom faucet handle?
The size of wrench needed to remove a Delta bathroom faucet handle will depend on the type of faucet you have. Many Delta faucets require a 9/16 inch hex wrench, but it is best to consult your owner’s manual or contact Delta directly for exact instructions.


