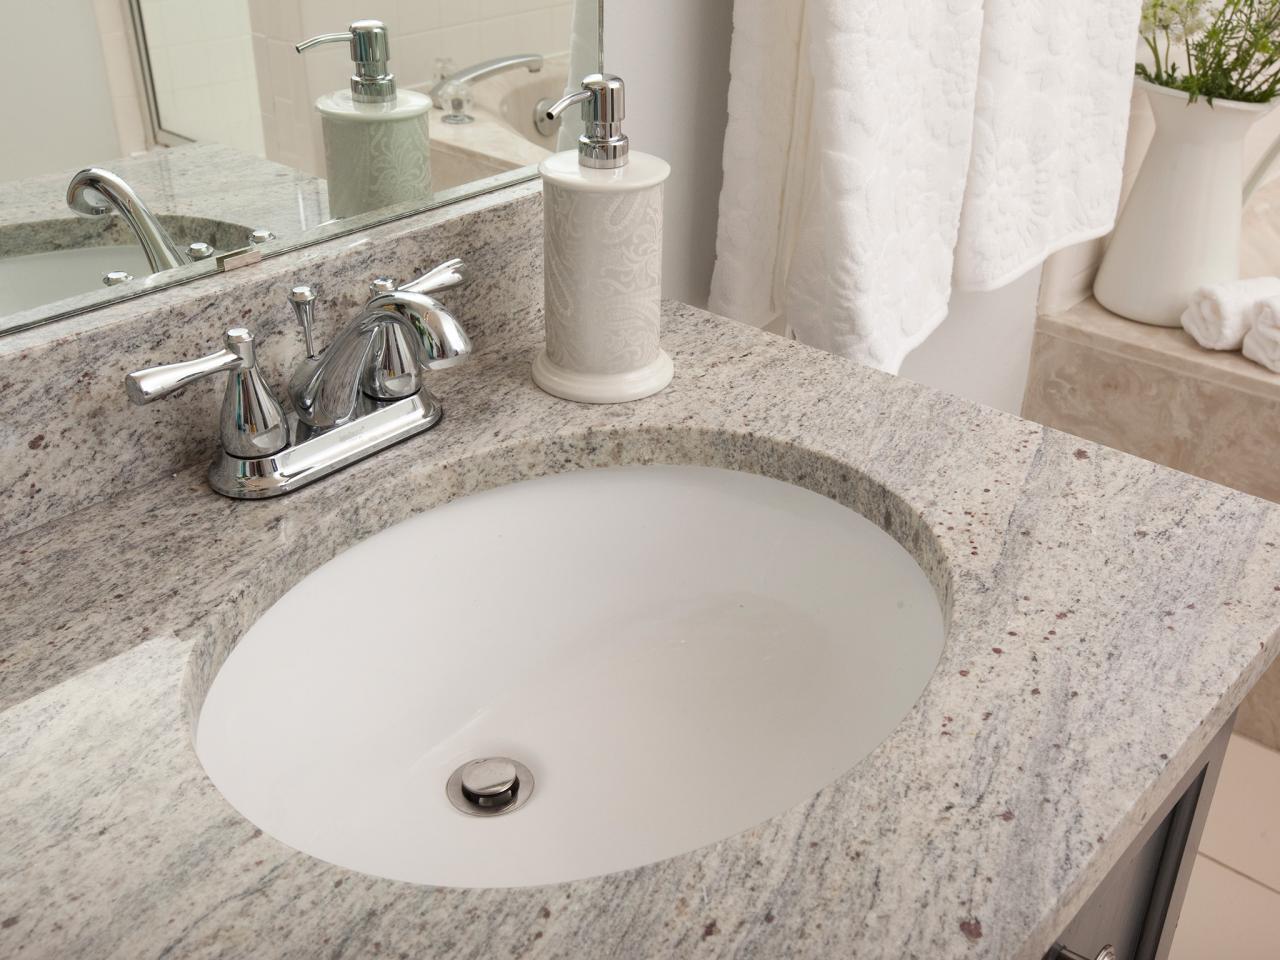
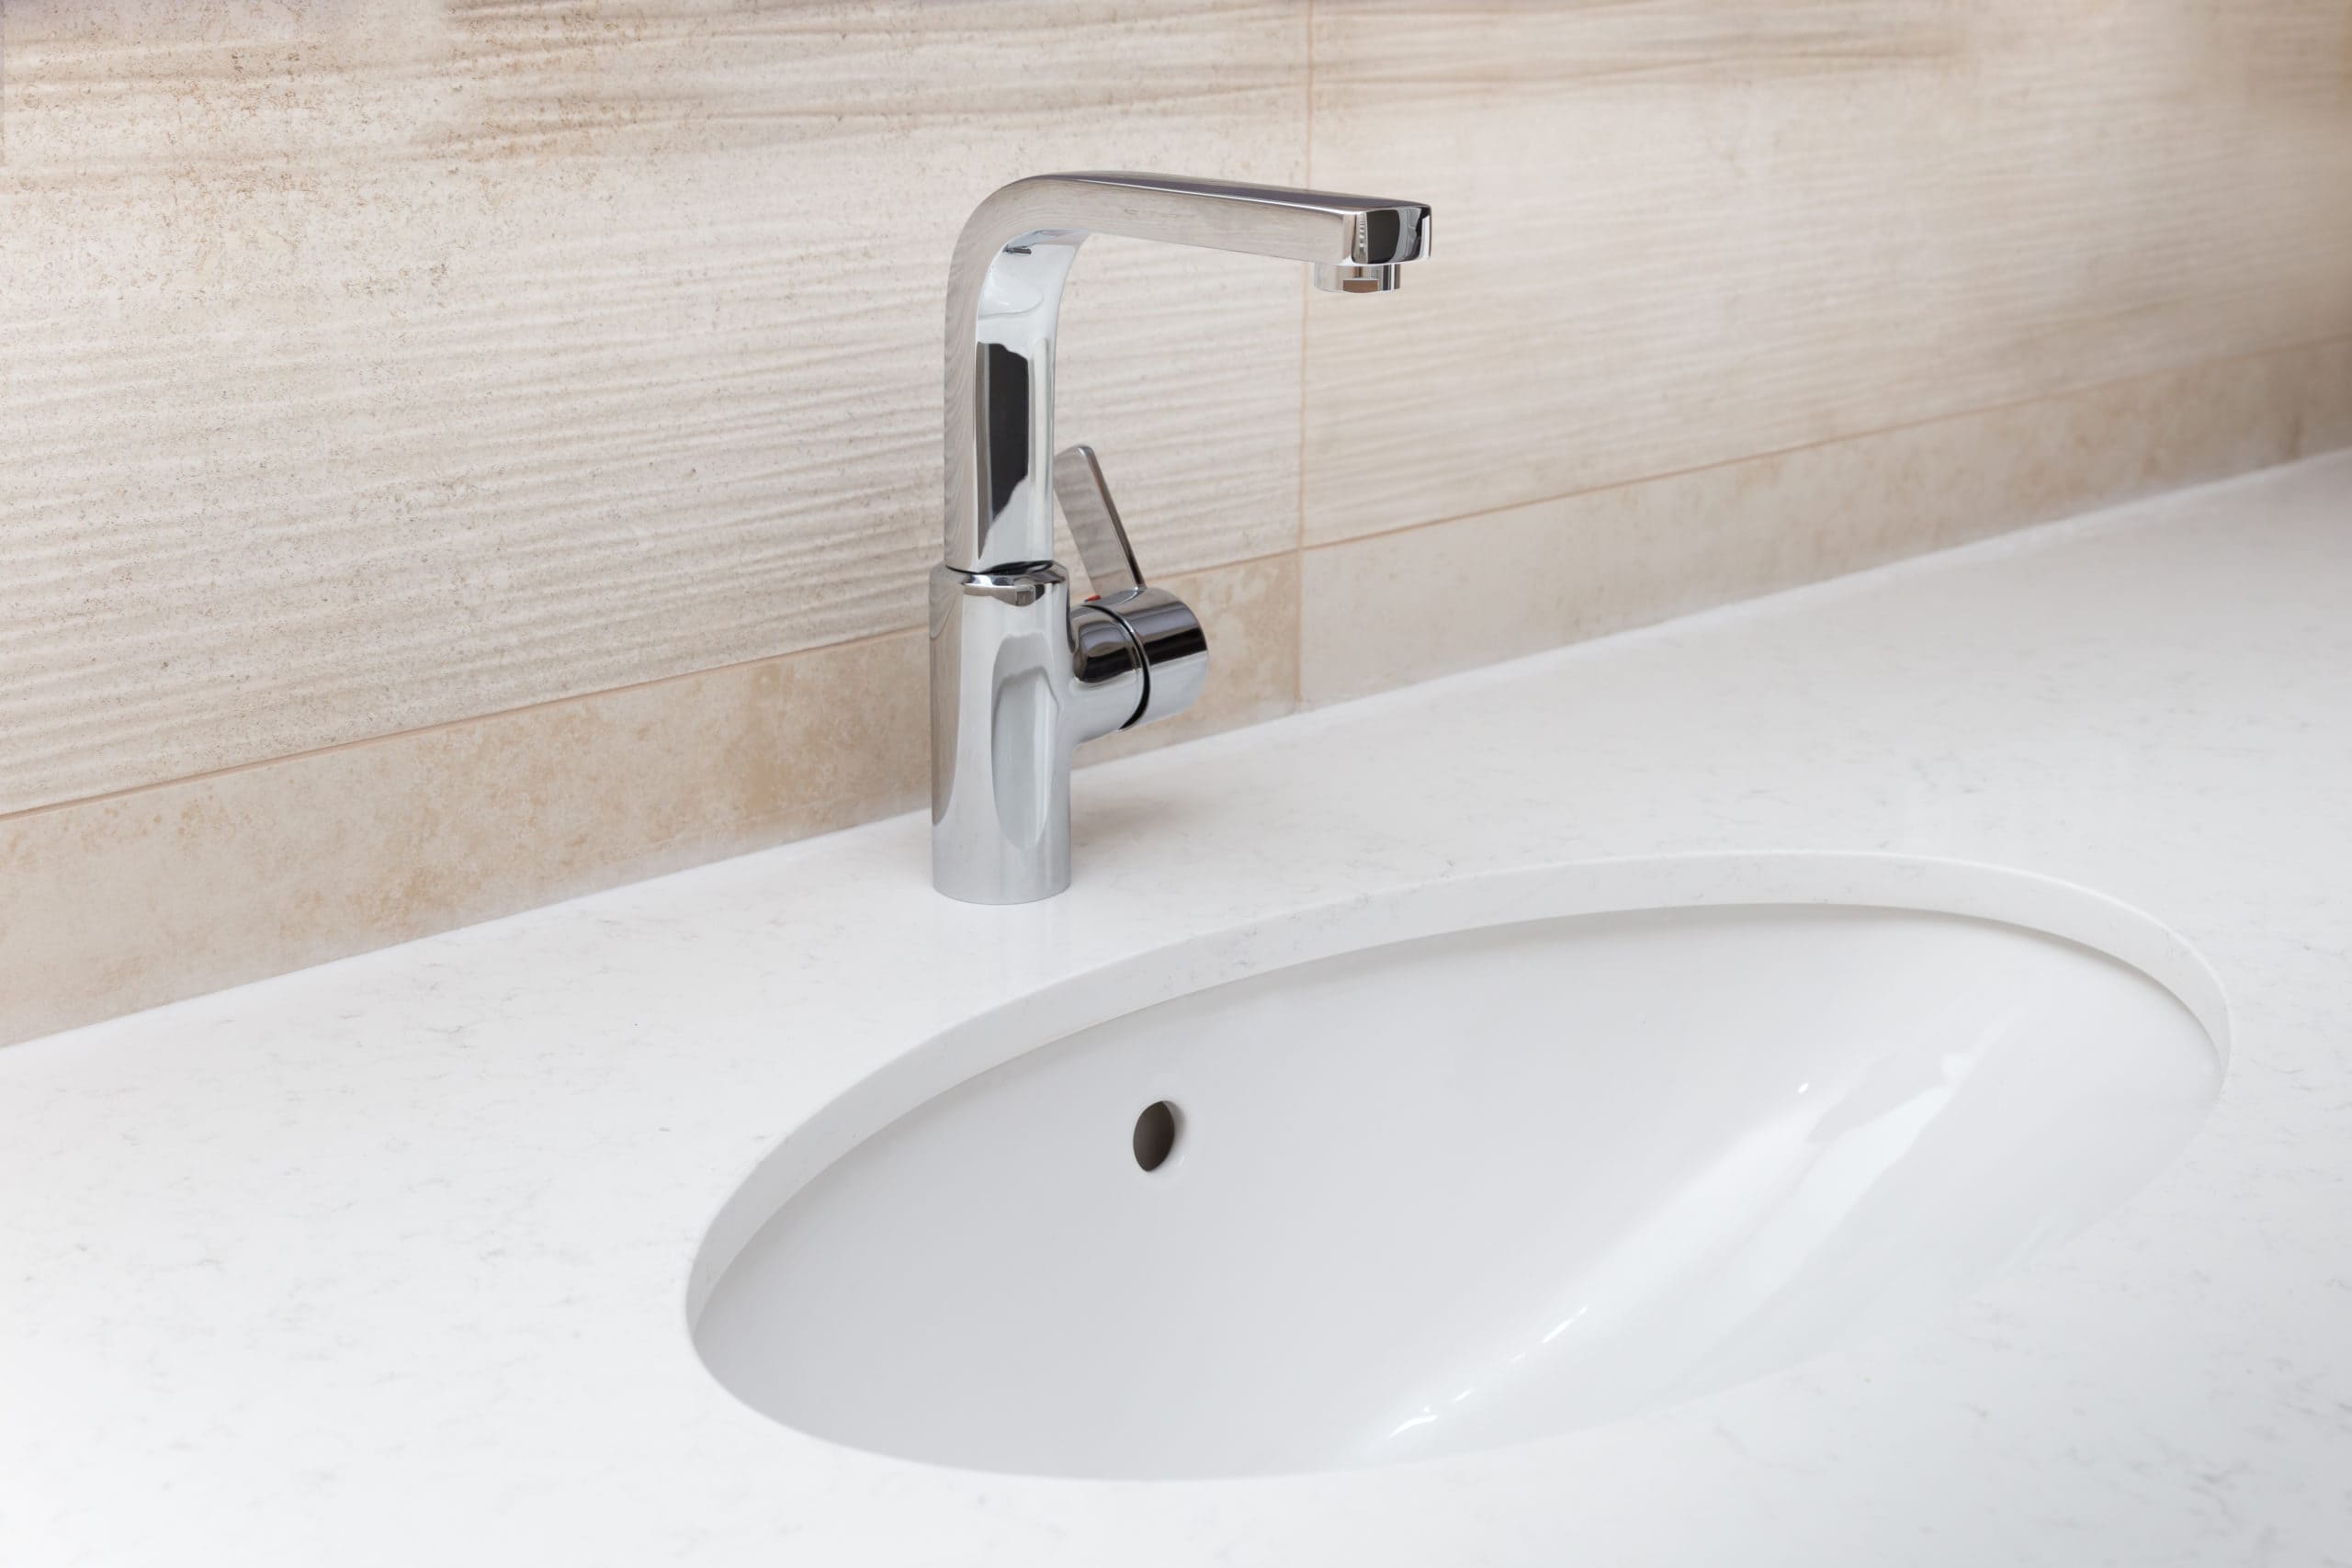
Installing an undermount bathroom sink is a fantastic way to upgrade the look and functionality of your bathroom. This style of sink is mounted underneath the countertop, creating a seamless and modern appearance. The process of installing an undermount sink involves careful planning and precision to ensure a secure and aesthetically pleasing outcome.
First and foremost, proper measurement is crucial when considering an undermount bathroom sink installation. Accurate measurements of the sink’s dimensions and the countertop opening are essential to guarantee a seamless fit. The precise fit not only enhances the visual appeal of the sink but also prevents any potential water leakage issues in the long run. It’s advisable to consult with a professional or follow the manufacturer’s guidelines to ensure accurate measurements.
Choosing the right materials for the installation is another critical aspect. Undermount sinks are typically installed with a solid surface or stone countertop, such as granite or quartz, for a clean and polished look. The choice of materials should not only align with your aesthetic preferences but also provide durability and longevity, considering the constant exposure to water and daily use in a bathroom setting.
The installation process itself involves securing the sink to the underside of the countertop. This is often done using a combination of adhesive and additional mechanical fasteners, ensuring a stable and secure fit. It’s important to follow the manufacturer’s instructions carefully and, if needed, seek professional assistance to guarantee a proper installation. Additionally, proper sealing is essential to prevent water seepage and protect the surrounding countertop material.

One of the significant advantages of undermount bathroom sinks is the ease of cleaning. The seamless design eliminates the raised edges that are common in traditional top-mount sinks, reducing the chances of dirt and grime accumulation. This not only contributes to a more hygienic environment but also simplifies the cleaning process, making it more convenient for homeowners.
The installation of an undermount bathroom sink can significantly enhance the overall look and functionality of your bathroom. From meticulous measurements to the careful selection of materials and a precise installation process, every step contributes to the success of the project. With proper planning and execution, an undermount sink can become a stylish focal point in your bathroom, offering both aesthetic appeal and practical benefits for years to come.
How to Install an Undermount Sink

How to Install an Undermount Sink
Undermount Bathroom Sinks HGTV
How To Install An Undermount Sink

How to Glue Undermount Sink for Bathroom Vanity Countertop – Bath and Granite 4 Less
How to Install an Undermount Sink

3 Simple Ways to Install an Undermount Sink – wikiHow

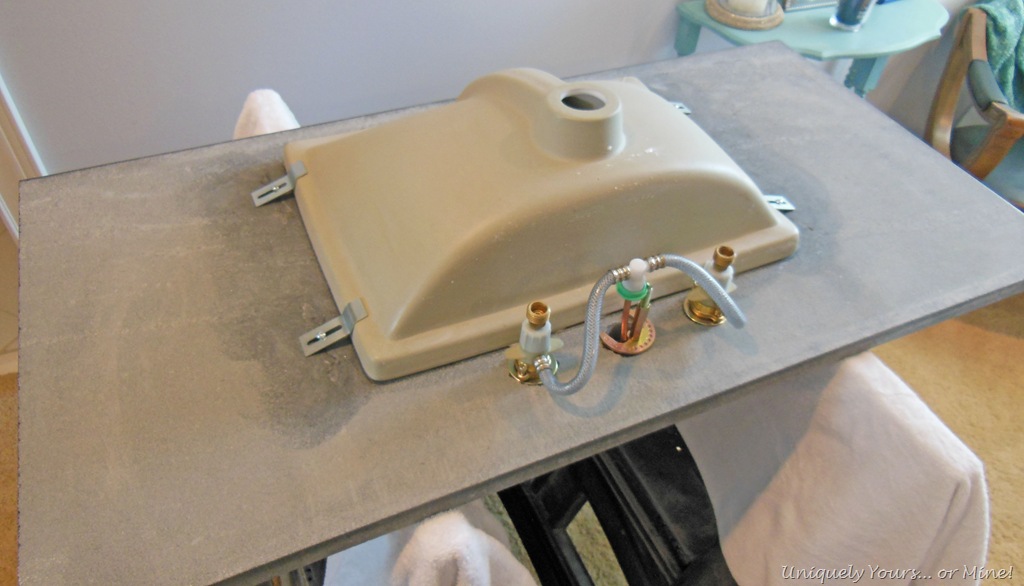
Princess Bathroom Updates Uniquely Yours or Mine!
Undermount Bathroom Sink Styles, Installation, Pics u0026 More
How To Install An Undermount Sink

How to Install an Undermount Sink to a Granite Countertop – M2B

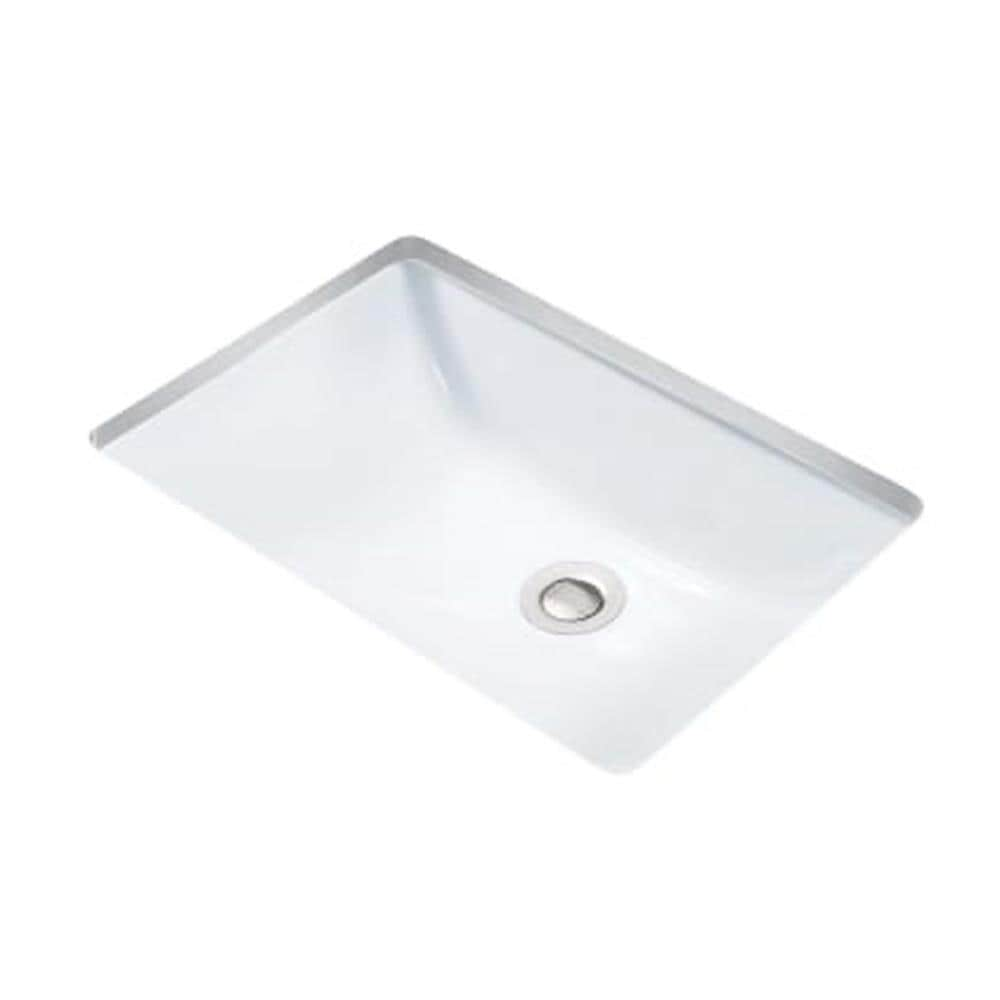
Miseno Bright White Undermount Rectangular Bathroom Sink with
Related articles:
- Square Bathroom Sink Bowls
- Bathroom Sink Vent Pipe
- Bathroom Sink Splashback Tiles
- Bathroom Sink Plumbing Vent
- Bathroom Sink Overflow Hole Cover
- Small Bathroom Sink And Toilet
- Bathroom Sink Clogged With Black Stuff
- Bathroom Sink Ideas Vessels
- Bathroom Sink Legs Chrome
- P Trap Size For Bathroom Sink
Installing an undermount bathroom sink can be a simple and cost-effective way to give your bathroom a fresh look. With the sink installed underneath the countertop, it provides a seamless and clean appearance that is easy to maintain. This article will guide you through the steps to install an undermount bathroom sink, including necessary tools, preparation, installation, and finishing touches.
Tools Required
Before beginning the installation process, it is essential to gather all the necessary tools. Some of the essential tools include:
- Measuring tape
- Screwdriver
- Adjustable wrench
- Silicone adhesive or epoxy
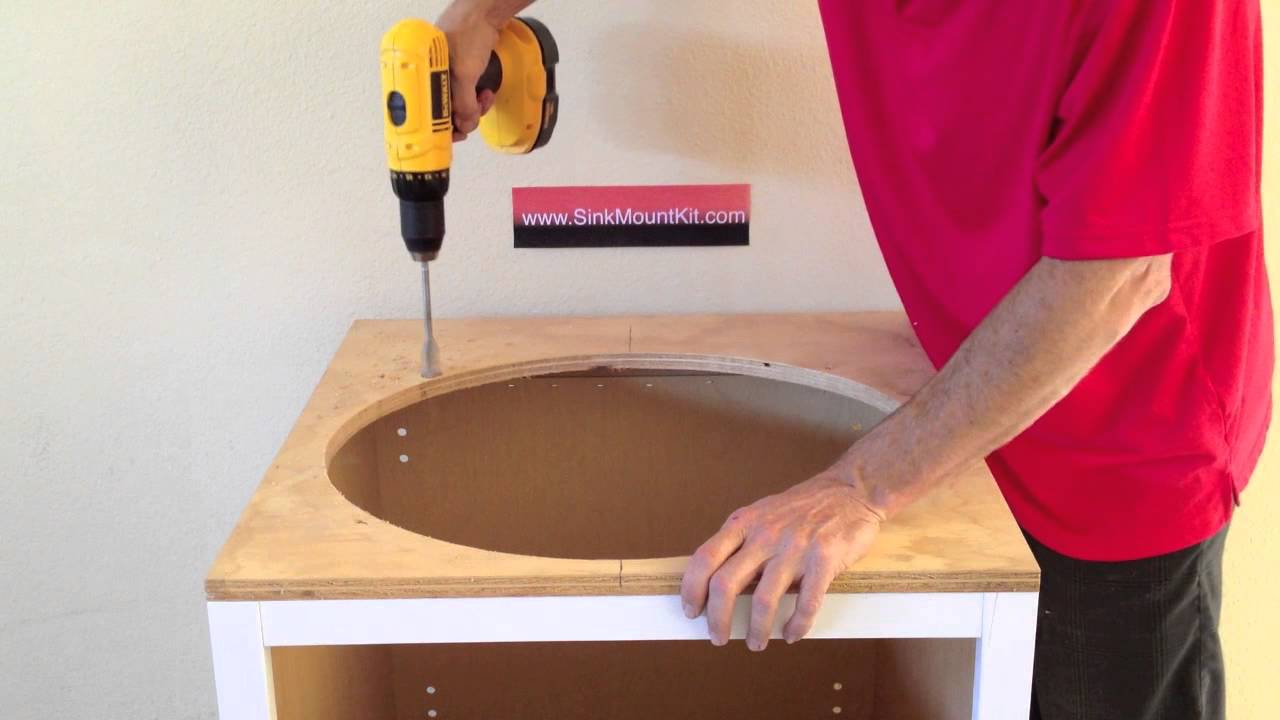
- Drill with a hole saw bit
- Pencil
- Safety goggles or glasses
Preparation
Start by measuring the size of your sink and countertop. Ensure that the measurements match and that your sink will fit correctly. If your new sink is larger than the existing cutout, you may need to create a new one by cutting into the countertop.
Next, turn off the water supply valves under the sink and disconnect any plumbing connections. Remove the old sink from underneath the countertop by loosening any screws or brackets holding it in place.
Installation
Once you have prepared your workspace and gathered all necessary tools, you can begin installing your undermount bathroom sink.
Step 1: Apply adhesive around the rim of your undermount sink bowl. Be sure to apply enough adhesive to ensure adequate support for your new sink.
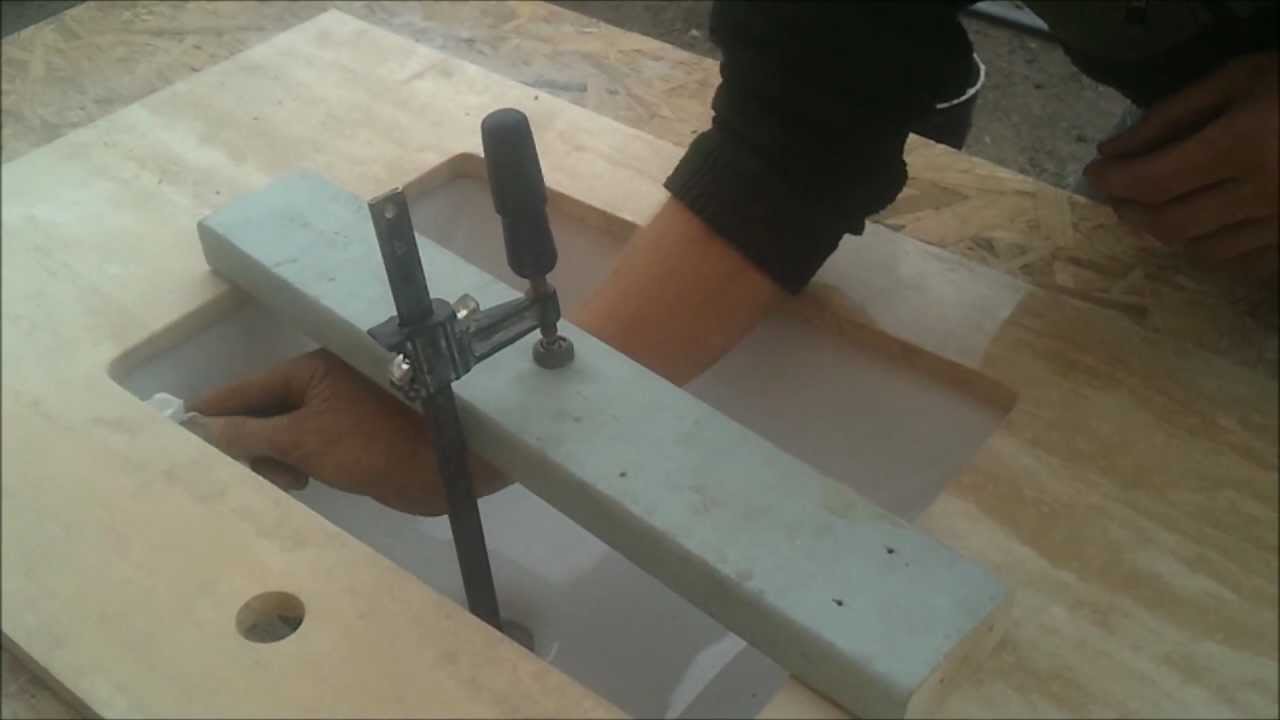
Step 2: Carefully position your new sink underneath the countertop, aligning it with any existing holes or cutouts in your counter space.
Step 3: Securely attach mounting brackets or clips to hold your new sink in place. Depending on the type of sink you have purchased, some models may require additional hardware for installation.
Step 4: Reconnect any plumbing connections that you removed earlier and turn on water supply valves once again.
Finishing Touches
Once your new undermount bathroom sink is securely installed, you can apply a bead of silicone caulk around the edge of the sink to create a watertight seal. This will help prevent any leaks or water damage.
Can I install an undermount bathroom sink myself?
Yes, installing an undermount bathroom sink can be done by a DIYer with basic plumbing knowledge and proper tools.
What type of adhesive should I use for installation?
You may choose between silicone adhesive or epoxy. Both are strong enough to hold your new sink in place, but silicone adhesive is easier to work with and more readily available.
Do I need to remove my countertop to install an undermount sink?
No, removing the countertop is not necessary as long as you have access to the underside of the counter space.
Can I install an undermount sink on any countertop material?
Yes, undermount sinks can be installed on various surfaces such as granite, marble, quartz, concrete, and even laminate countertops.
Installing an undermount bathroom sink can be a simple DIY project that can significantly enhance the look and functionality of your bathroom. With the right tools and preparation, you can easily install your new sink and enjoy a sleek and seamless appearance in no time! Just remember to measure and prepare your workspace correctly, apply enough adhesive, and secure your sink with mounting brackets or clips before reconnecting any plumbing connections. Finally, finish off by applying a bead of silicone caulk around the edge of the sink to create a watertight seal. If you have any questions or concerns, don’t hesitate to consult with a professional plumber for guidance. Happy DIY-ing!