Another cabinet type are those with inclusive shaver sockets, which would again assist with the early morning routine. By an installation perspective, freestanding cabinets are classified as the quicker to place of the two different cabinet sorts. Whatever, cabinet style you pick, it’s no secret that the internal storage offered through shelving to the cabinet permits them to be essentials for just about any cluttered bathroom room.
Here are Images about DIY Bathroom Cabinet Refinishing
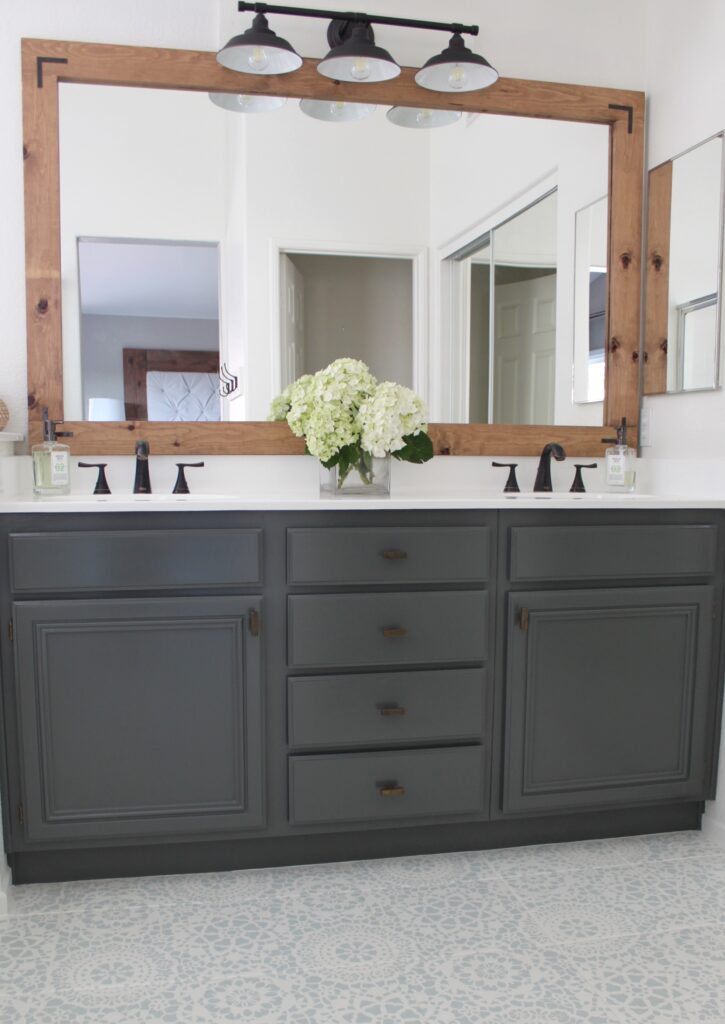
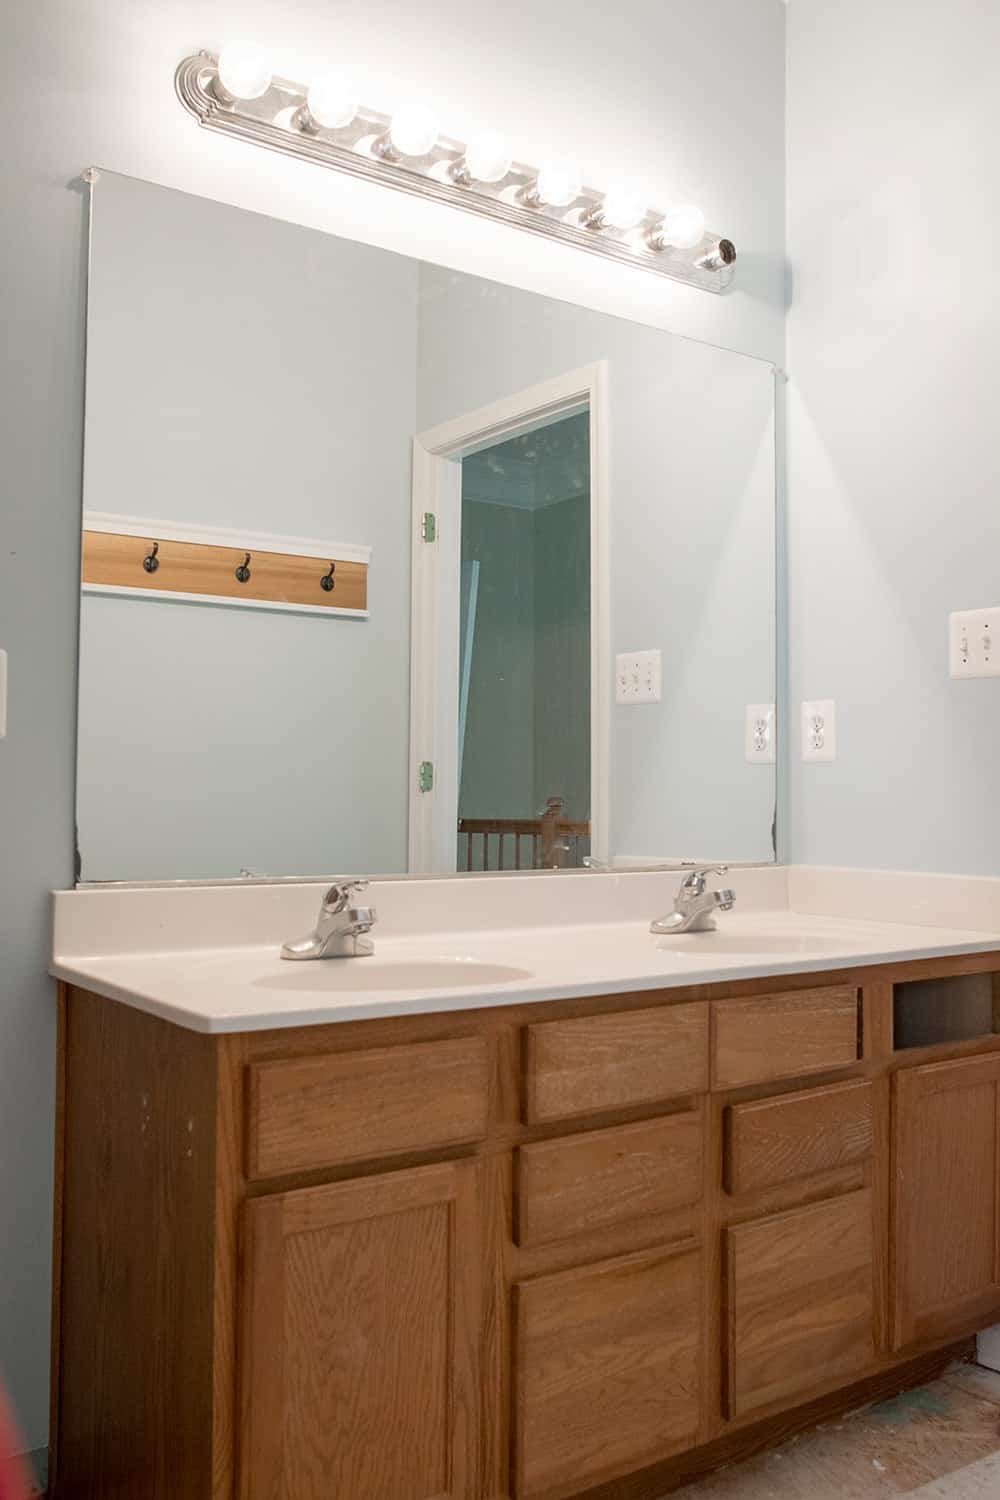
DIY Bathroom Cabinet Refinishing
Traditionally cabinets come over the sink, typically with a mirror over the doorstep. For anyone seeking to add very ornamental flair on to the bathroom, popular cabinet options are products which happen to have further shelves on the outside of the cabinet too. But there are 2 other kinds you are able to remodel into newer and fresher white colored bathroom cabinets.
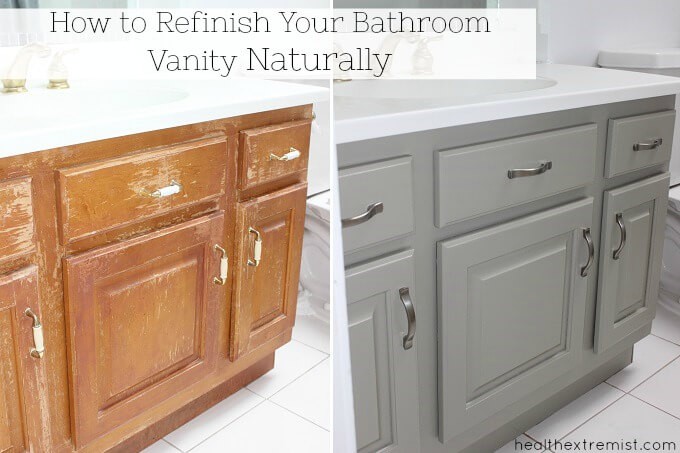
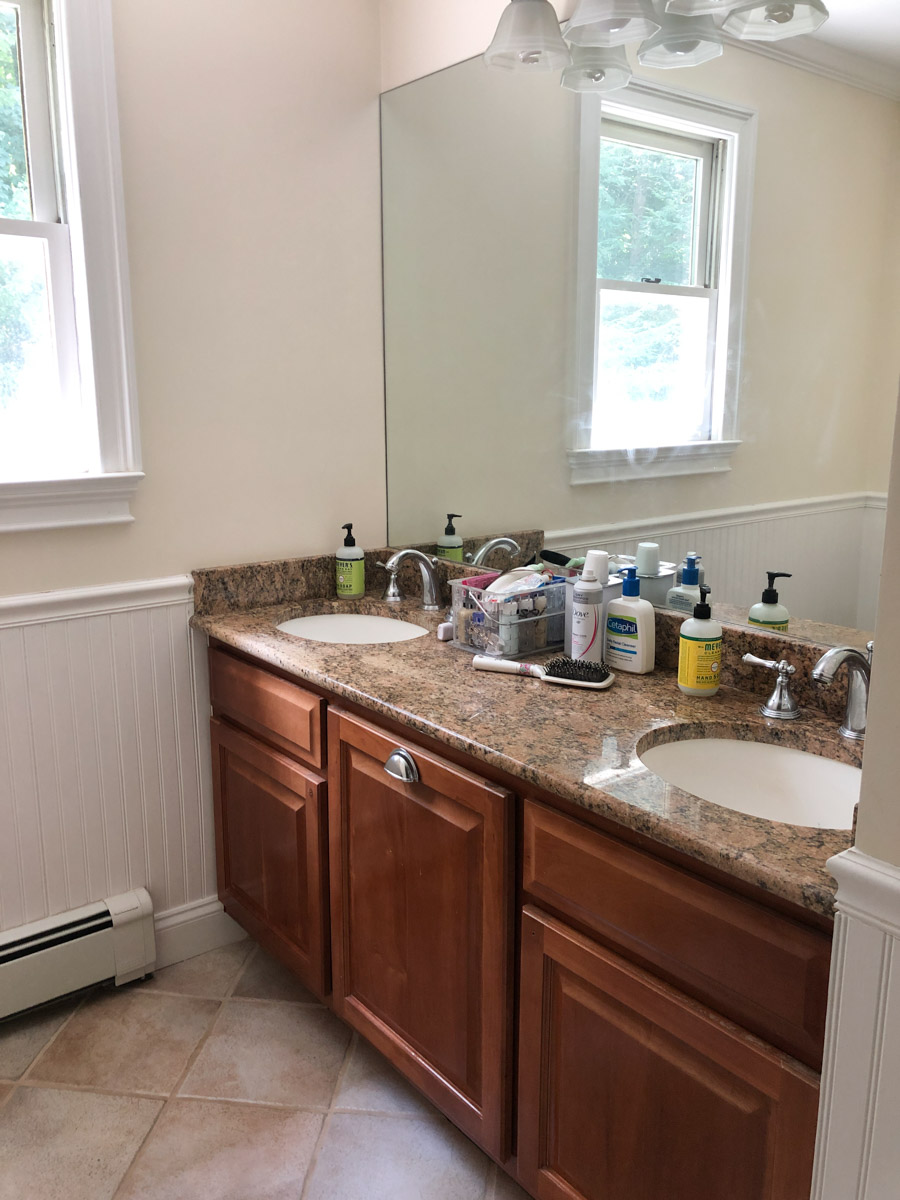
How to Refinish a Bathroom Vanity Naturally, No VOCs – Treasured Tips
Cabinets really are a storage solution for any bathroom but as they are available in wall structure mounted as well as freestanding options, you will probably find it difficult in choosing the correct cabinet type to complement your existing bathroom suite. Wooden bathroom cabinets boast good cabinets and craftsmanship are on hand in a number of different finishes.
Images Related to DIY Bathroom Cabinet Refinishing
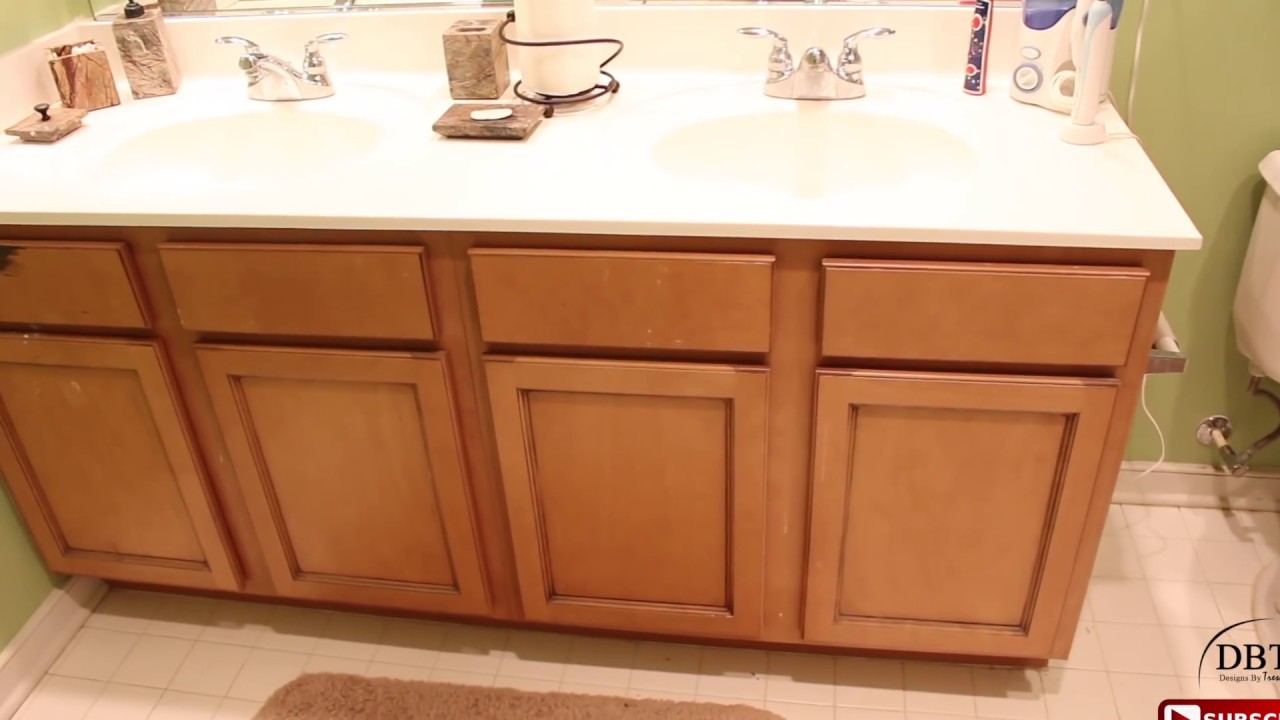
Major Tips To Transform Your Bathroom Cabinets If It Looks Like This
Make do with the area in your cabinet. Almost certainly probably the most modern choices in bathroom cabinet design at the second are lit bathroom cabinets. Using the right type of bathroom cabinets achieve all your needs in the bathroom of yours and elevates the splendor of the important room.
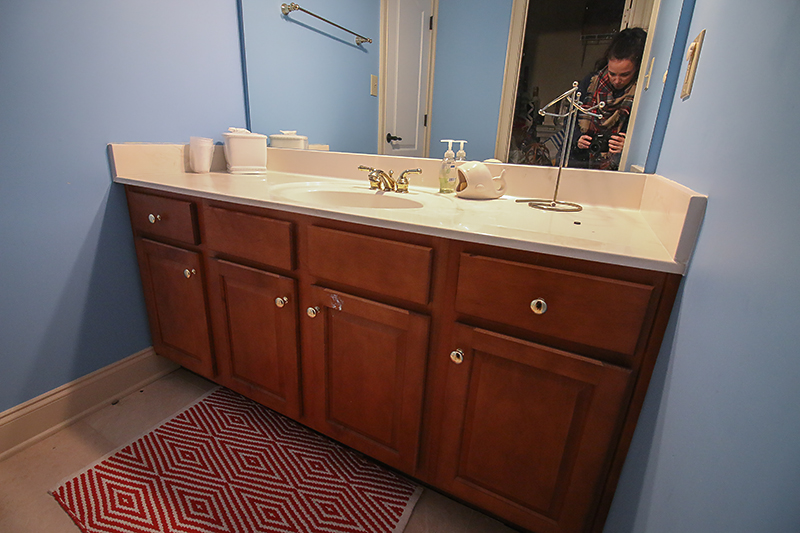
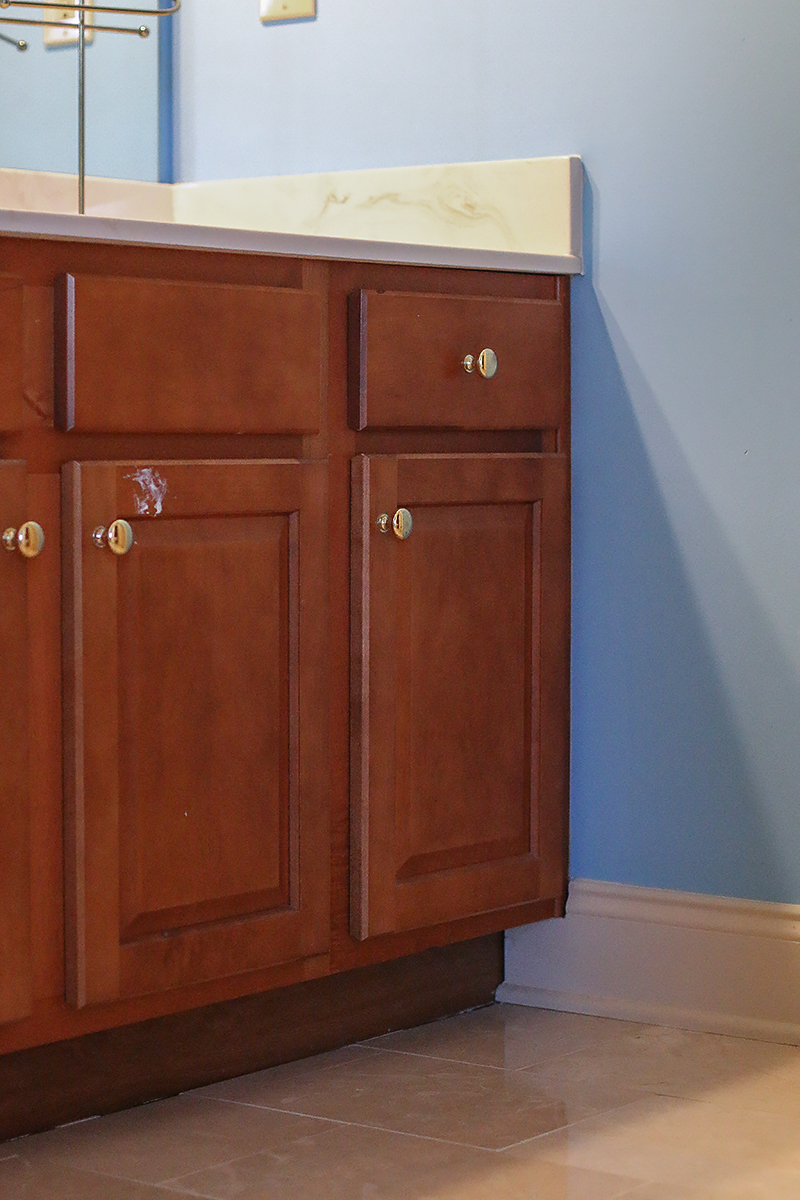
How to Refinish a Bathroom Vanity – Bower Power
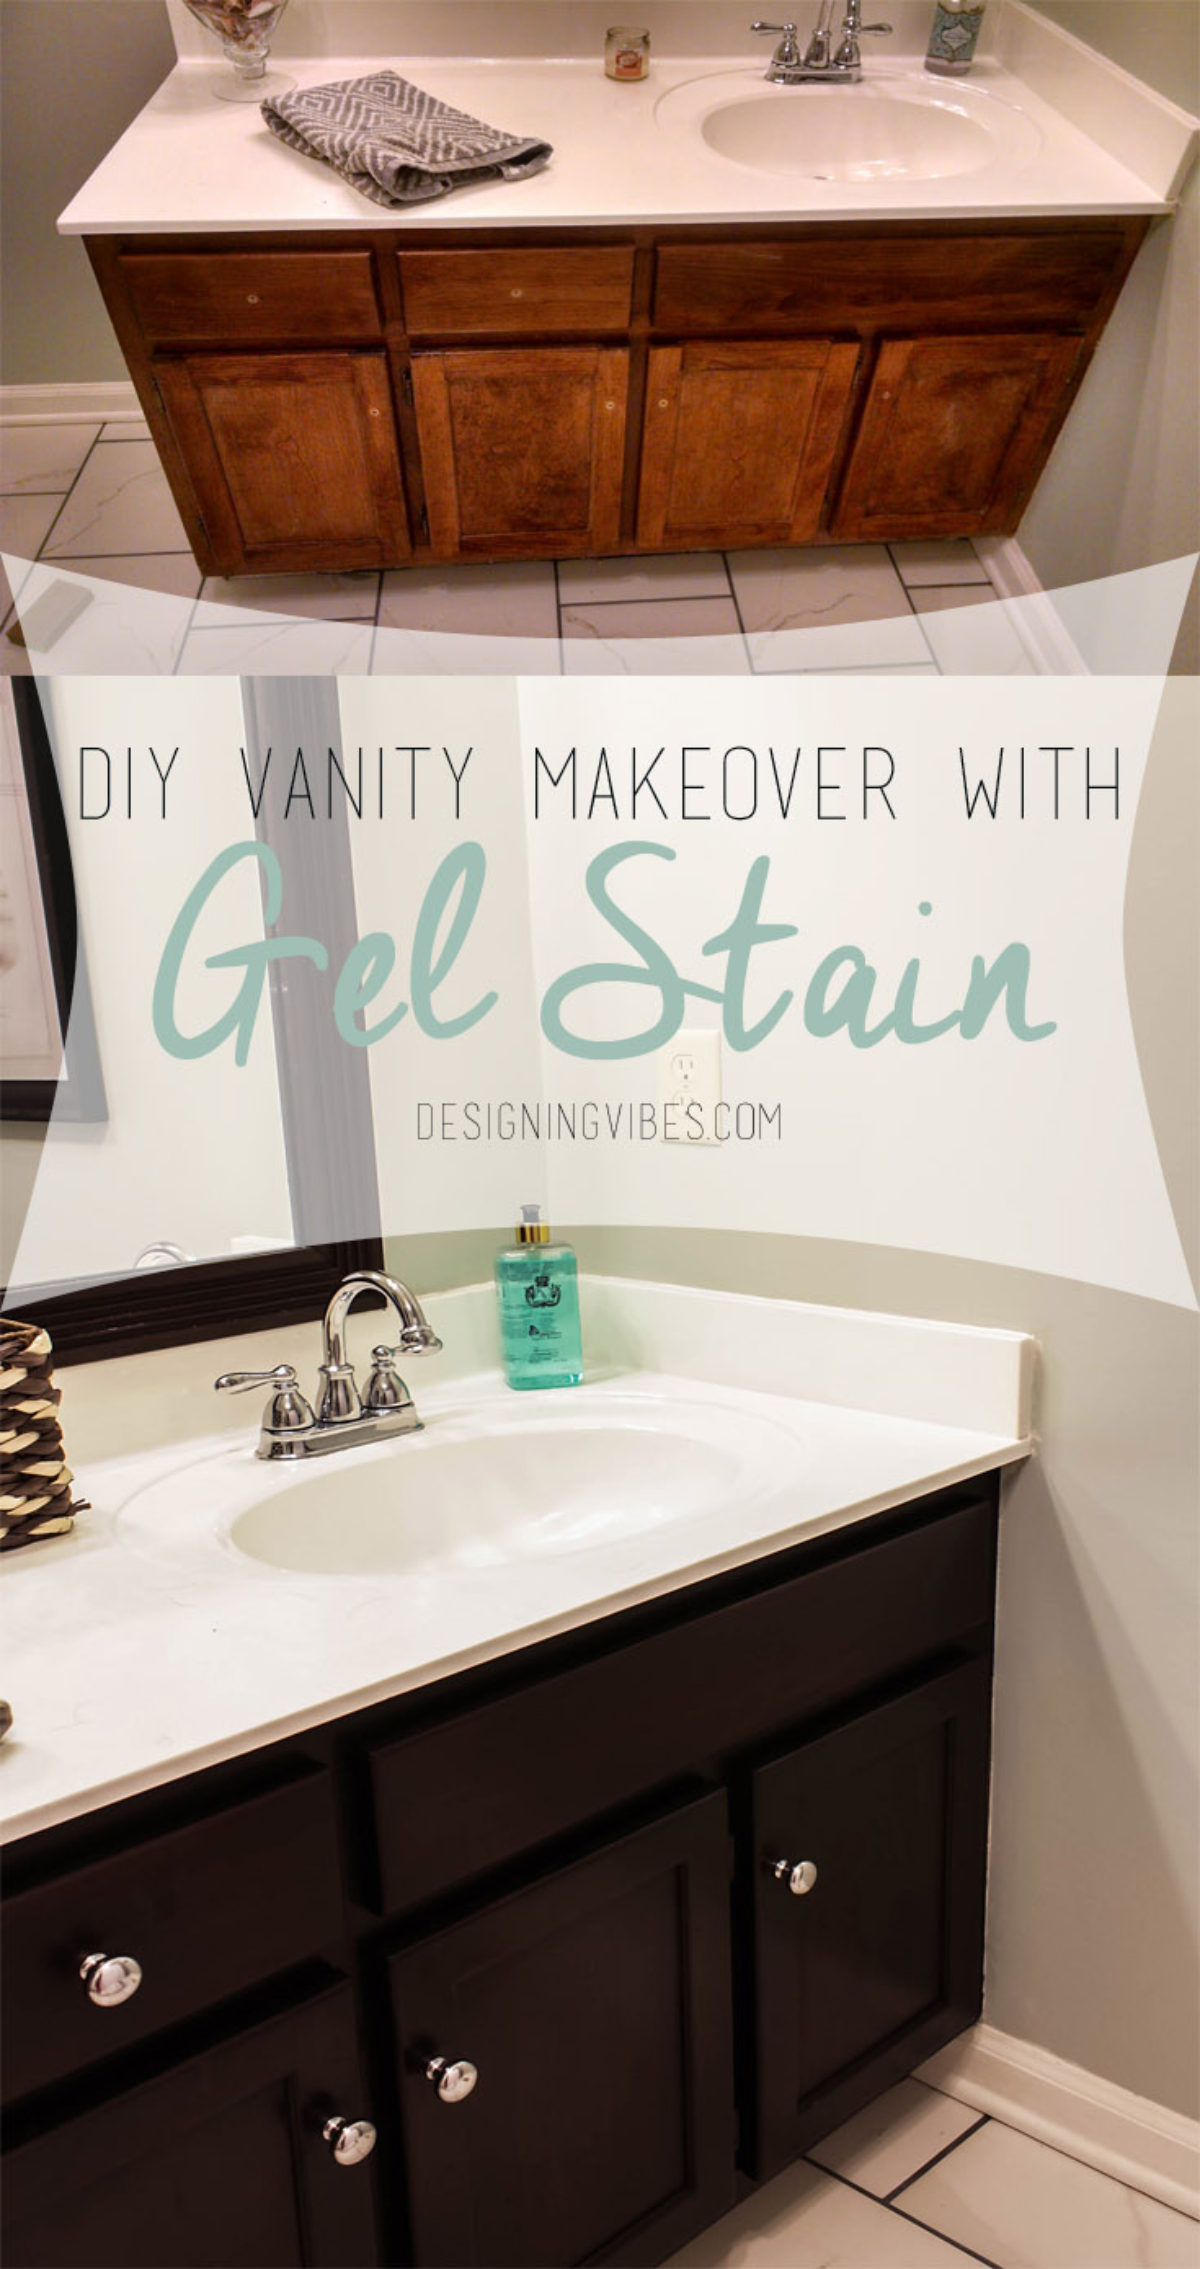
Transforming Bathroom Vanity with Gel Stain- Java Gel Stain
How to Refinish Bathroom Vanity Top with DIY Epoxy Resin – TheDIYPlan

Painting Bathroom Cabinets: A Beginneru0027s Guide – Chrissy Marie Blog

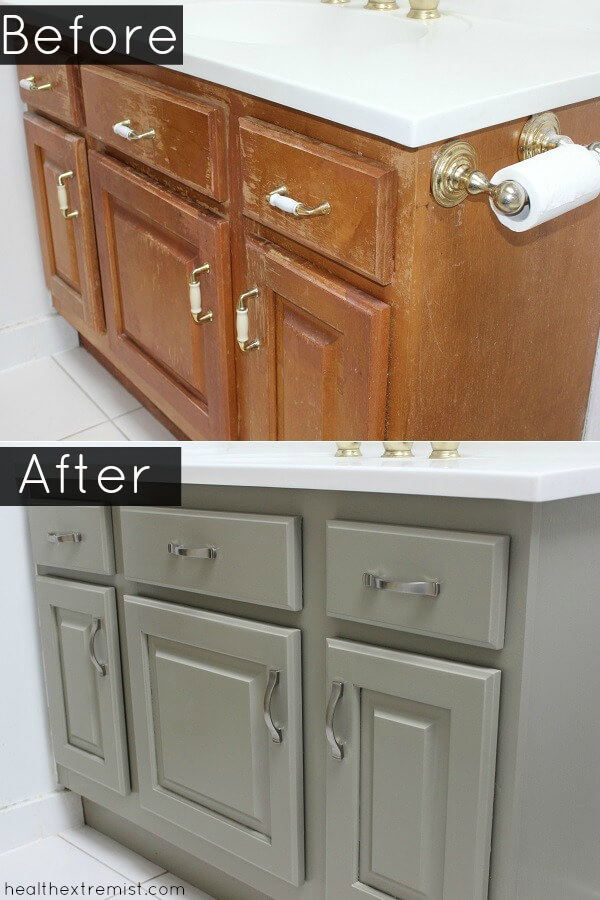
Our Painted Bathroom Vanity: The “Before” u0026 “After” and How-to
How to Refinish a Bathroom Vanity – Bower Power
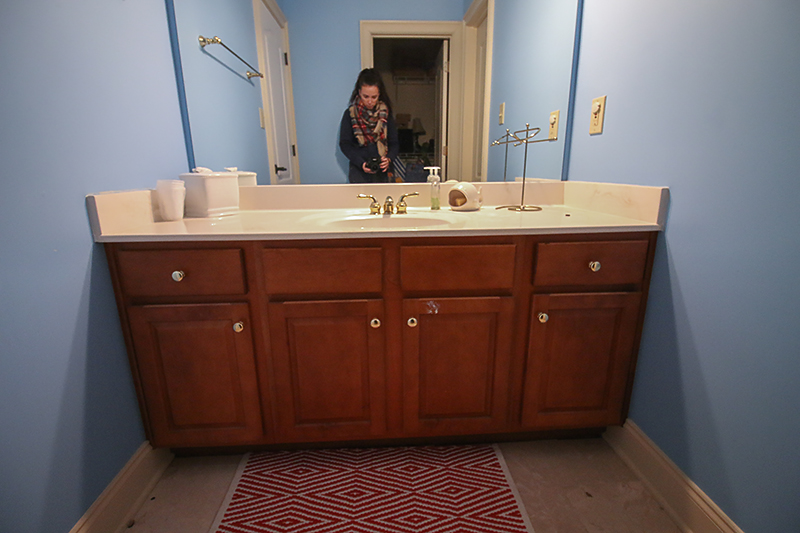
How to Refinish a Bathroom Vanity – Bower Power
How to Paint a Bathroom Cabinet the Easy Way u2022 Craving Some Creativity
How to Refinish a Bathroom Vanity Naturally, No VOCs – Treasured Tips
Refinishing a Wood Bathroom Vanity (Part 1): Preparation u0026 Stripping

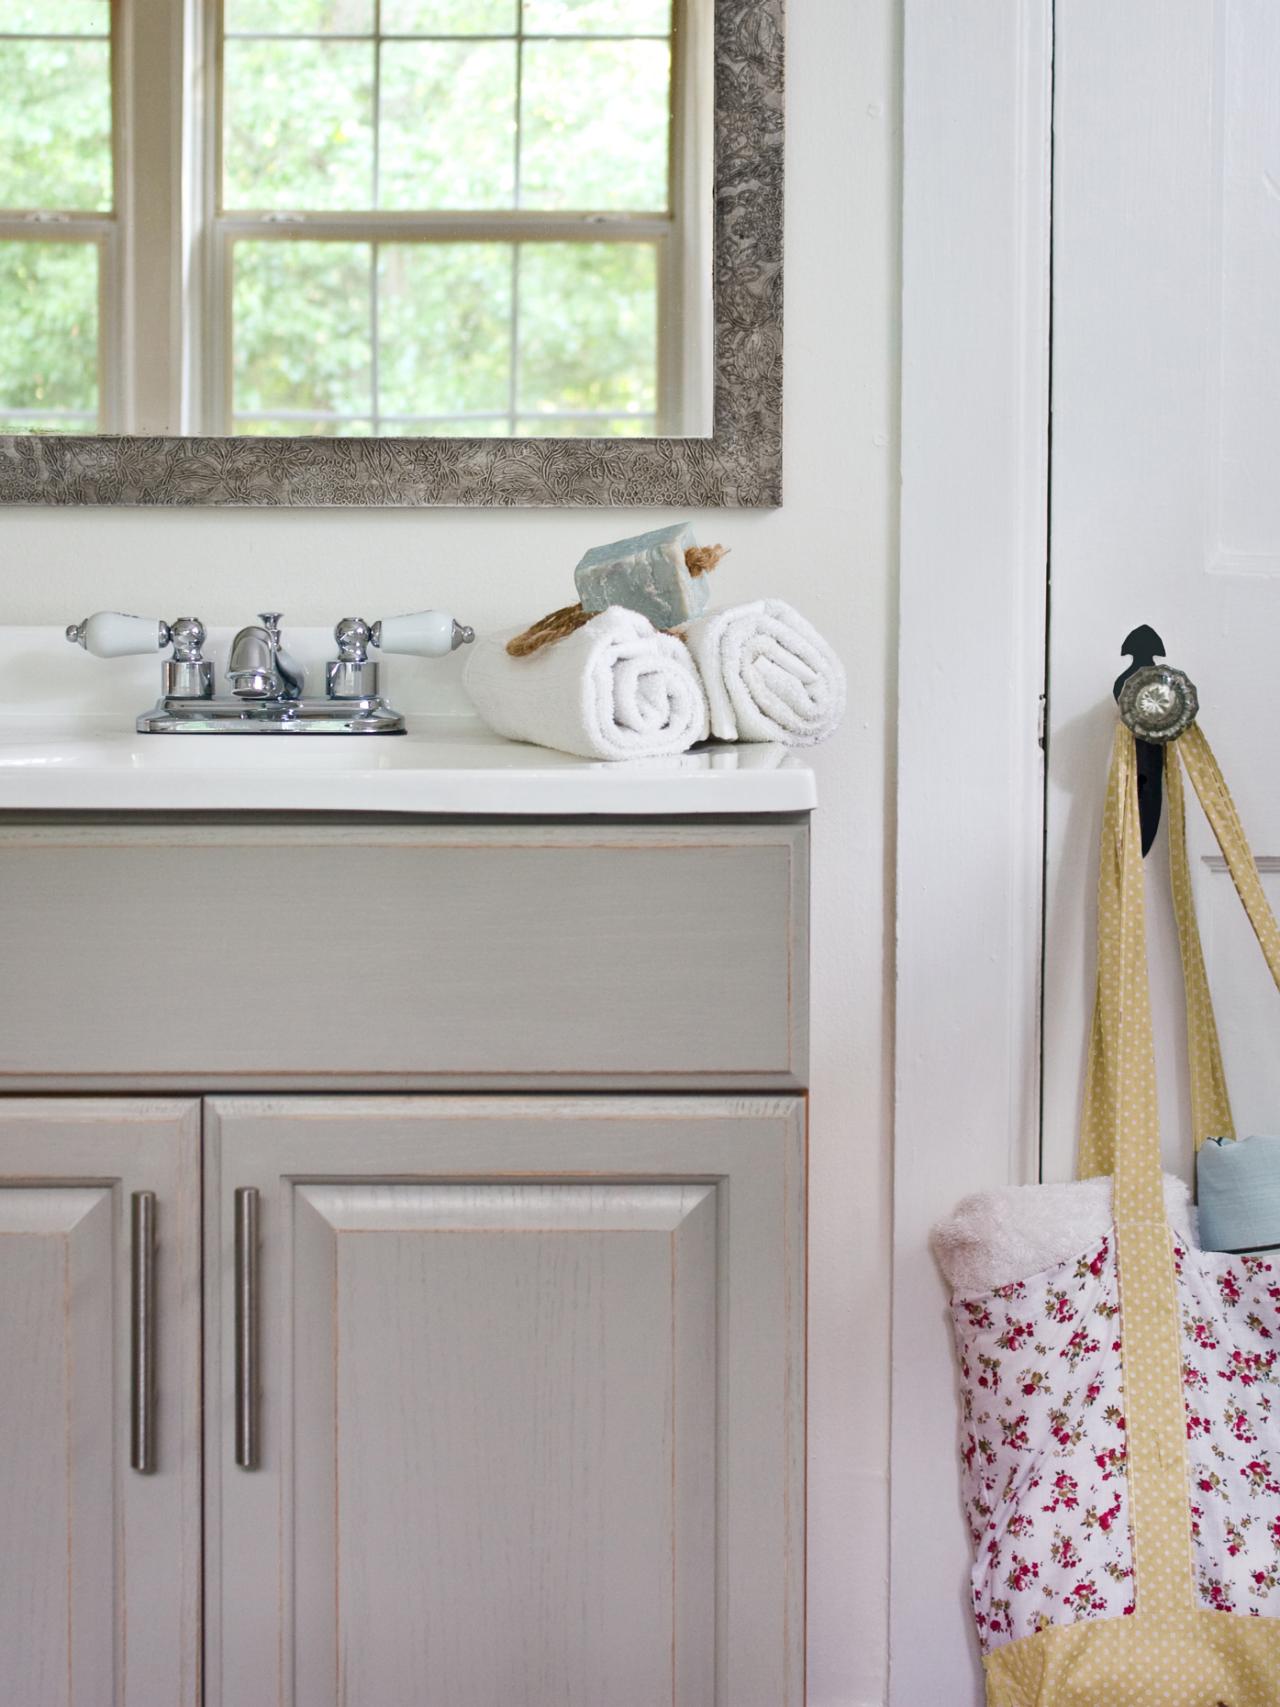
Updating a Bathroom Vanity HGTV
Related articles:
- Under Sink Bathroom Cabinet
- Bathroom Cabinet Design Ideas
- Bathroom Cabinets With Storage
- Farmhouse Bathroom Cabinet Ideas
- Bathroom Cabinet Paint Color Ideas
- Bathroom Cabinets With Linen Tower
- Bathroom Cabinet Makeover DIY
- Small Bathroom Cabinet Design Ideas
- Bathroom Cabinets Black Gloss
- Small Oak Bathroom Cabinet
DIY Bathroom Cabinet Refinishing: A Comprehensive Guide
Bathroom cabinets can be a great way to add both style and storage to your bathroom. However, over time, the wear and tear of everyday use can take its toll on them. This is why refinishing bathroom cabinets is an important task that should not be overlooked. In this article, we will discuss how you can make your bathroom cabinets look brand new again with a DIY refinishing project. We will cover the supplies needed, step-by-step instructions, tips for success, and more.
What Supplies You Will Need
Before you begin your DIY bathroom cabinet refinishing project, you will need ensure that you have the right supplies on hand. The following is a list of the supplies you will need to complete this project:
– Sandpaper
– Paint or stain
– Primer
– Paintbrush or roller
– Putty knife
– Wood filler
– Safety glasses and gloves
Step-by-Step Instructions
1. Start by removing all of the hardware from your cabinets. This includes hinges, handles, and any other pieces that may be attached to the cabinets. Set these aside in a safe place so they do not get lost or damaged during your project.
2. Use sandpaper to lightly sand the entire surface of each cabinet door and drawer front. Make sure to use even strokes in order to create a smooth finish. If there are any especially rough areas, make sure to sand those more thoroughly until they are smooth.
3. Once the surfaces have been sanded, it is time to apply primer to all surfaces. This will help ensure that your paint or stain adheres properly and has a professional look. Make sure to use even strokes when applying the primer and allow it to dry for at least 24 hours before moving on to the next step.
4. Once the primer has dried, it is time to apply paint or stain to all surfaces of the cabinet doors and drawers fronts. Use either a brush or roller for this step depending on your preference and desired finish. Be sure to apply multiple coats until you achieve your desired look and allow each coat to dry completely before moving on to the next one.
5. When all coats of paint or stain have been applied and allowed to dry completely, it is time to reattach any hardware that was removed from your cabinets earlier in the process. This includes handles, hinges, etc., making sure they are all securely fastened in place before moving onto the next step.
6. Finally, use a putty knife and wood filler to fill in any gaps or cracks in your cabinets that may have occurred during the refinishing process. Allow this filler to dry completely before admiring your newly refinished cabinets!
7. Congratulations! Your DIY bathroom cabinet refinishing project is complete! Now sit back and admire your handy work!
Tips for Success
Refinishing bathroom cabinets can be tricky if you do not know what you are doing but with these tips for success, you can ensure that your project turns out just as you had hoped! Here are some tips for success for when tackling this DIY project:
– Always use proper safety equipment such as gloves and safety glasses when sanding or working with any chemicals such as primer or paint/stain remover.
– Take your time when sanding each cabinet door/drawer front in order to ensure a smooth finish before painting/staining them.
– When painting/staining each cabinet door/drawer front, be sure to apply multiple coats until you achieve your desired look before allowing them each coat of paint/stain dry completely between coats..
– Before reattaching any hardware (e.g., hinges), make sure that everything fits together properly first so that there are no surprises once everything is put back together again!
– Finally, always fill any cracks or gaps in the cabinets with wood filler before admiring your newly refinished cabinets!
By following these tips for success, you can rest assured knowing that your DIY bathroom cabinet refinishing project will turn Out just as you had envisioned!
What type of paint is best for refinishing a bathroom cabinet?
Oil-based paint is best for refinishing a bathroom cabinet, as it provides a hard, durable finish that won’t chip or peel easily. Water-based paints may also be used, however they are not as durable and may require more frequent touch-ups.
What type of paint should I use to refinish a wood bathroom cabinet?
For the best results, use a high-quality, water-based semi-gloss paint specifically designed for cabinets. Make sure to properly prepare the surface before painting and use two coats for a smooth finish.
What type of primer should I use to refinish a wood bathroom cabinet?
For refinishing a wood bathroom cabinet, you should use a water-based wood primer. This type of primer will help seal the wood and provide an even base for your paint or stain.
What kind of paint should I use to refinish a wood bathroom cabinet?
You should use a water-based polyurethane paint for best results. This type of paint is designed to be durable, easy to clean, and resistant to moisture.