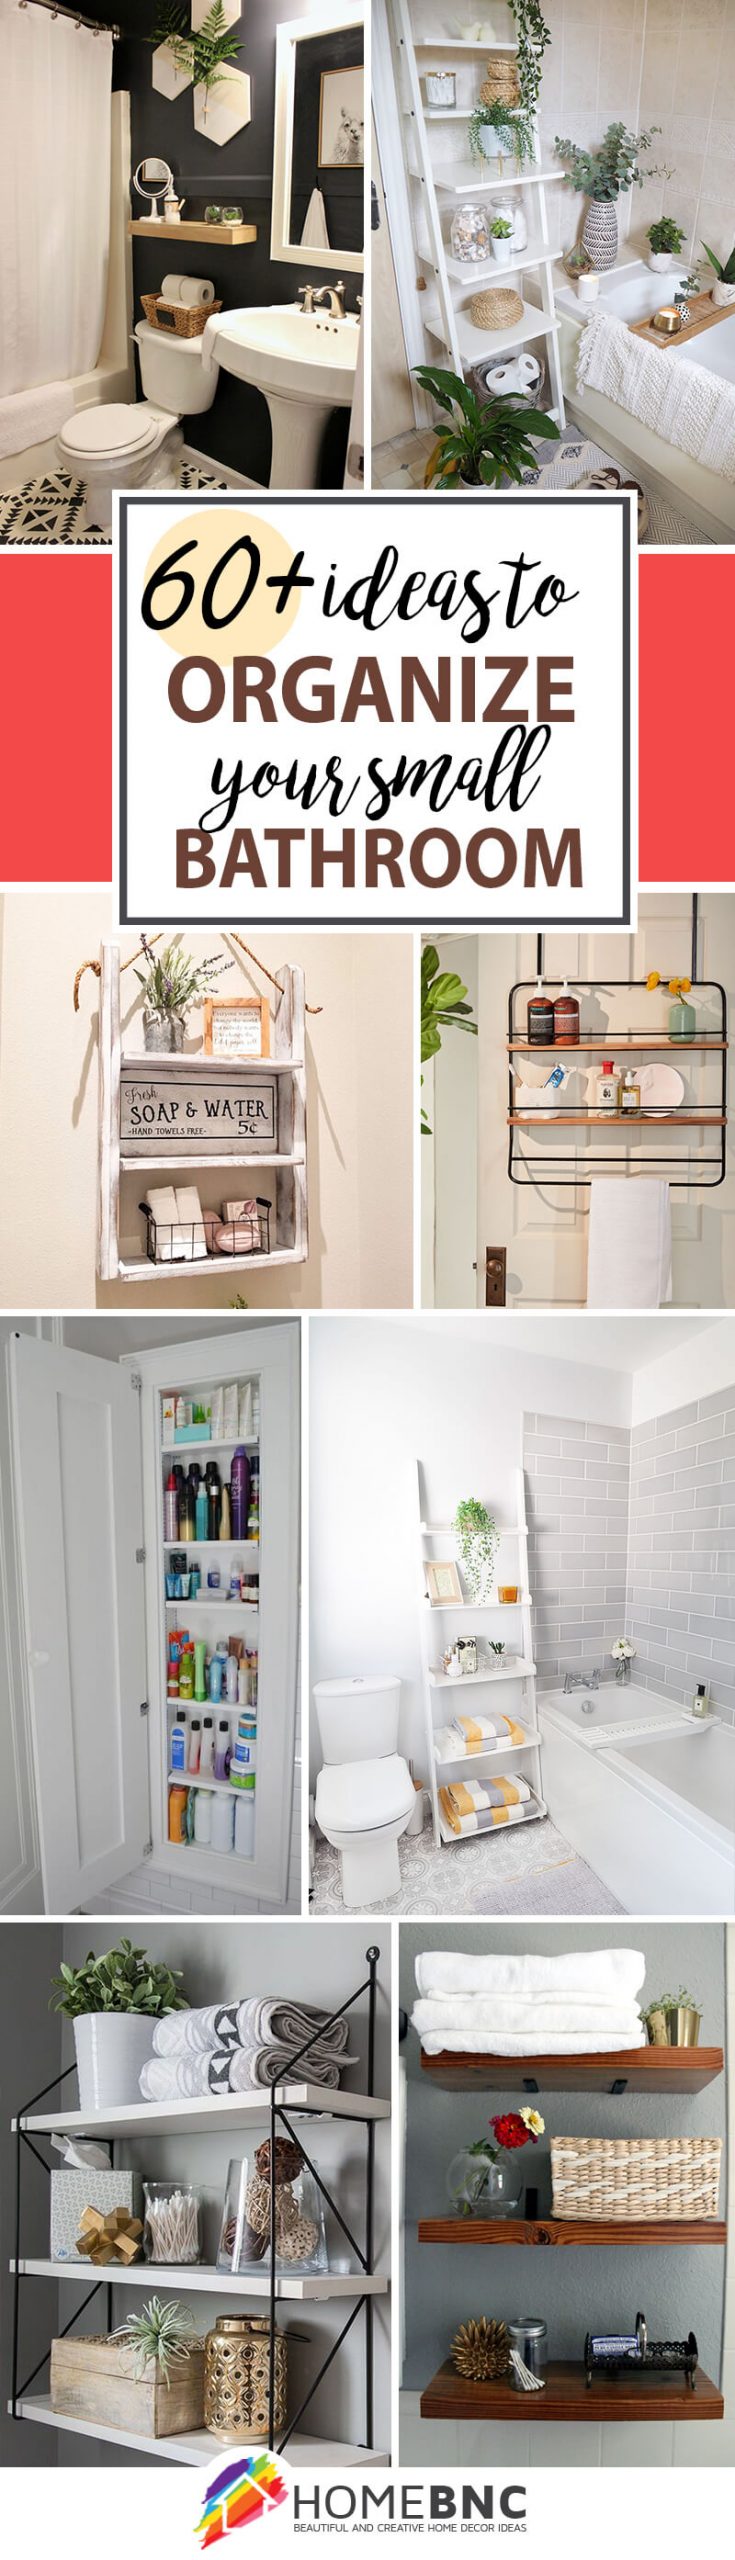
Creating DIY bathroom storage solutions is a practical and creative way to maximize space and maintain organization in one of the most used areas of the home. Bathrooms often have limited space, making it essential to find efficient storage methods that can accommodate toiletries, towels, and other essentials. DIY solutions not only provide cost-effective alternatives to store-bought items but also offer the opportunity to customize storage to fit specific needs and styles. Whether you have a small powder room or a spacious master bath, innovative storage ideas can transform cluttered spaces into orderly and functional environments.
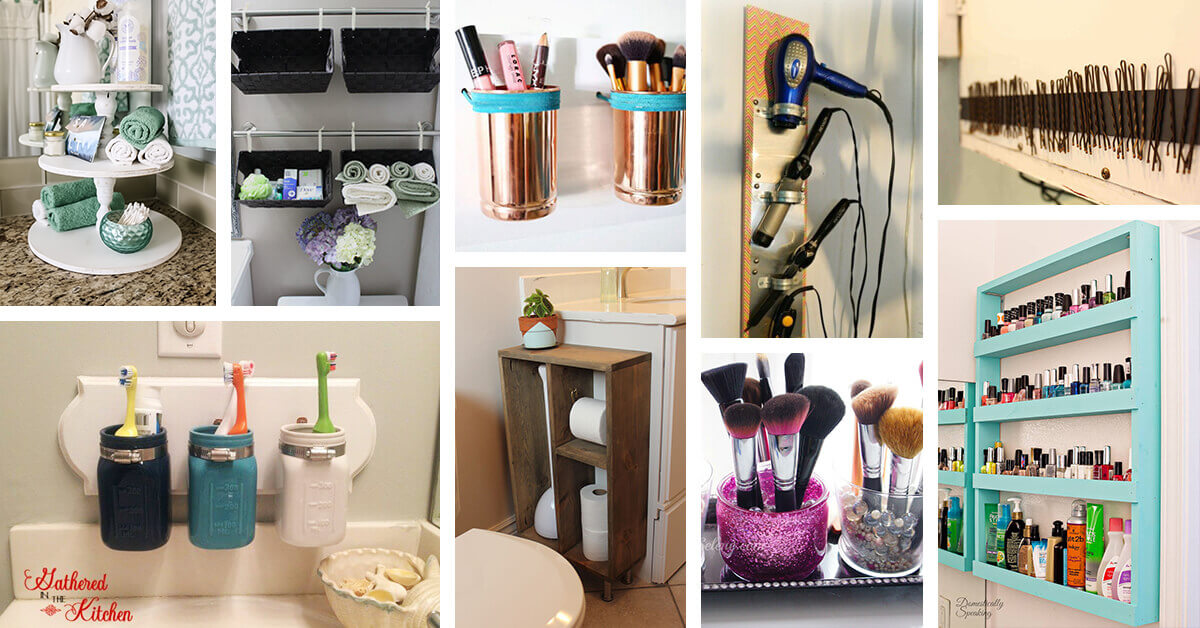
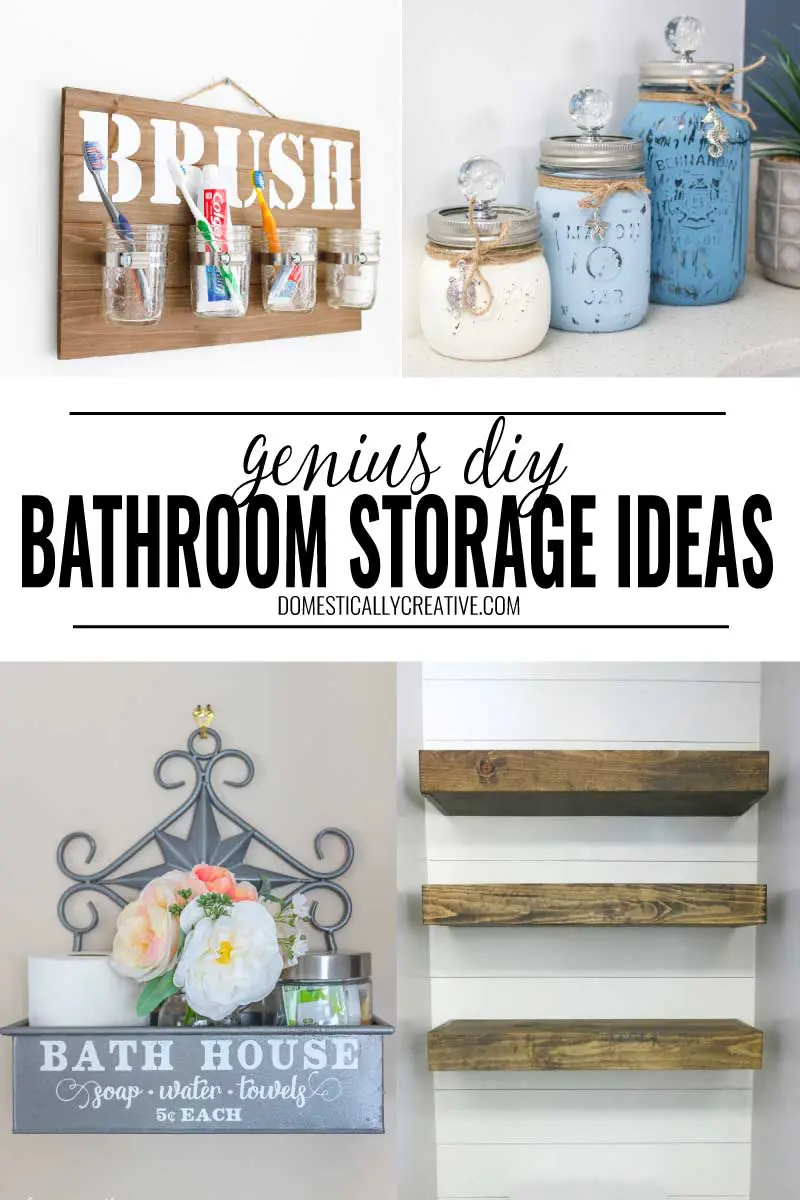
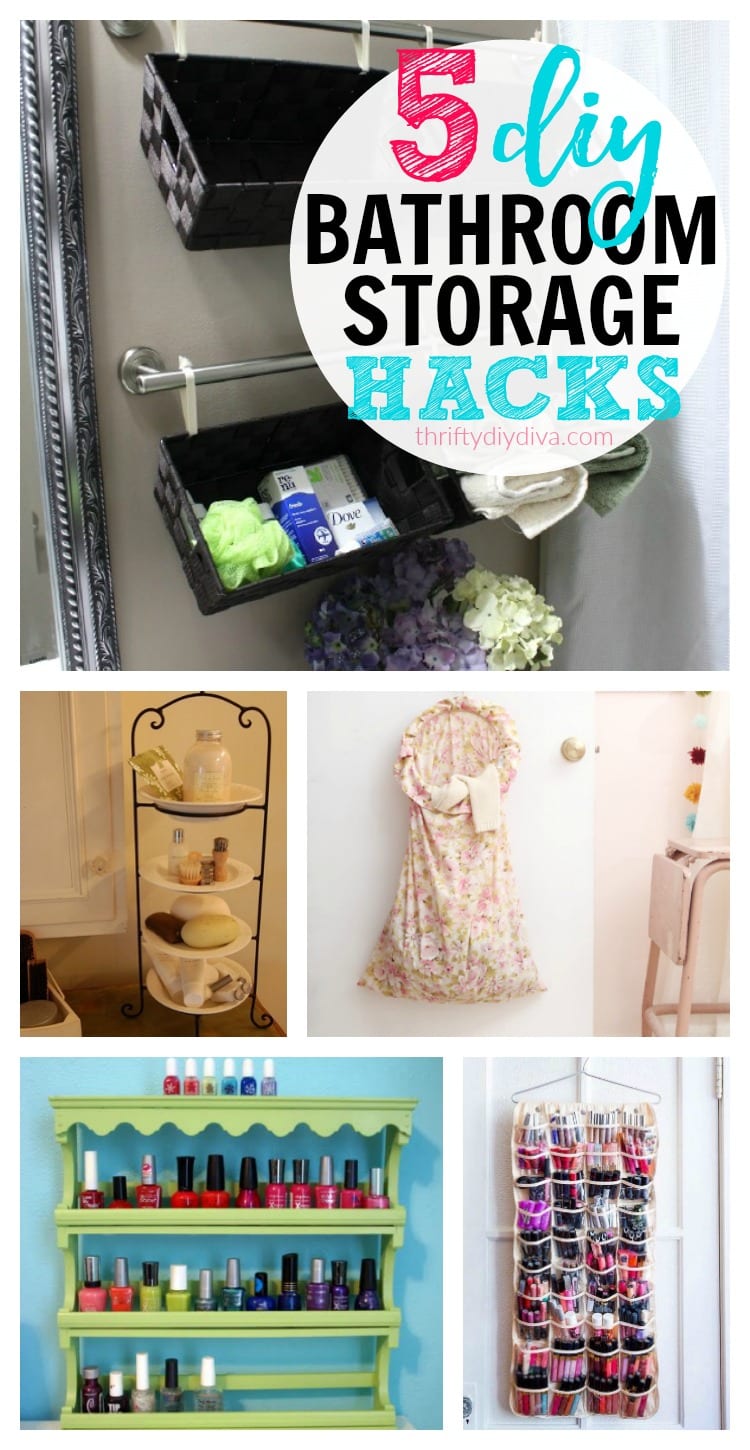
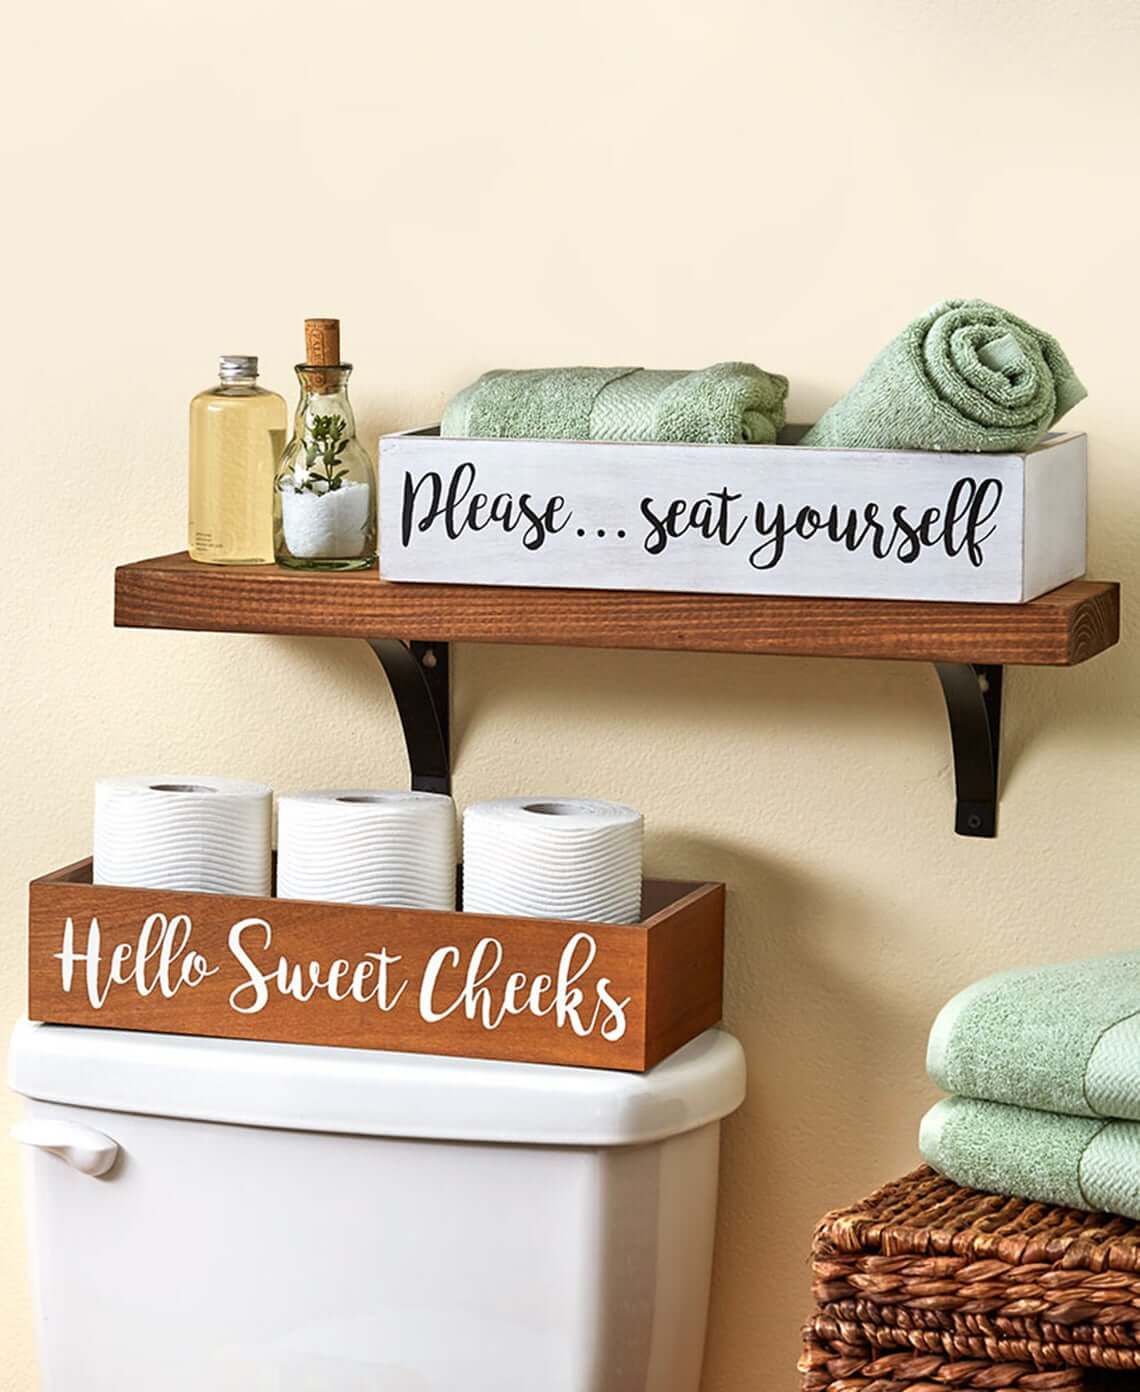
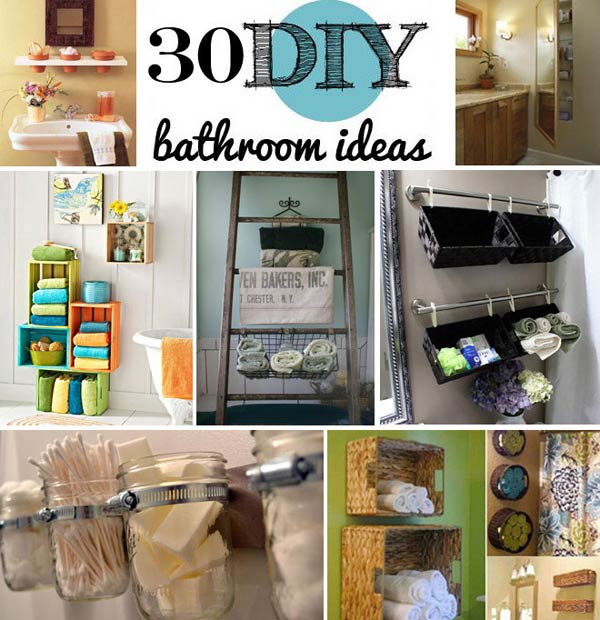
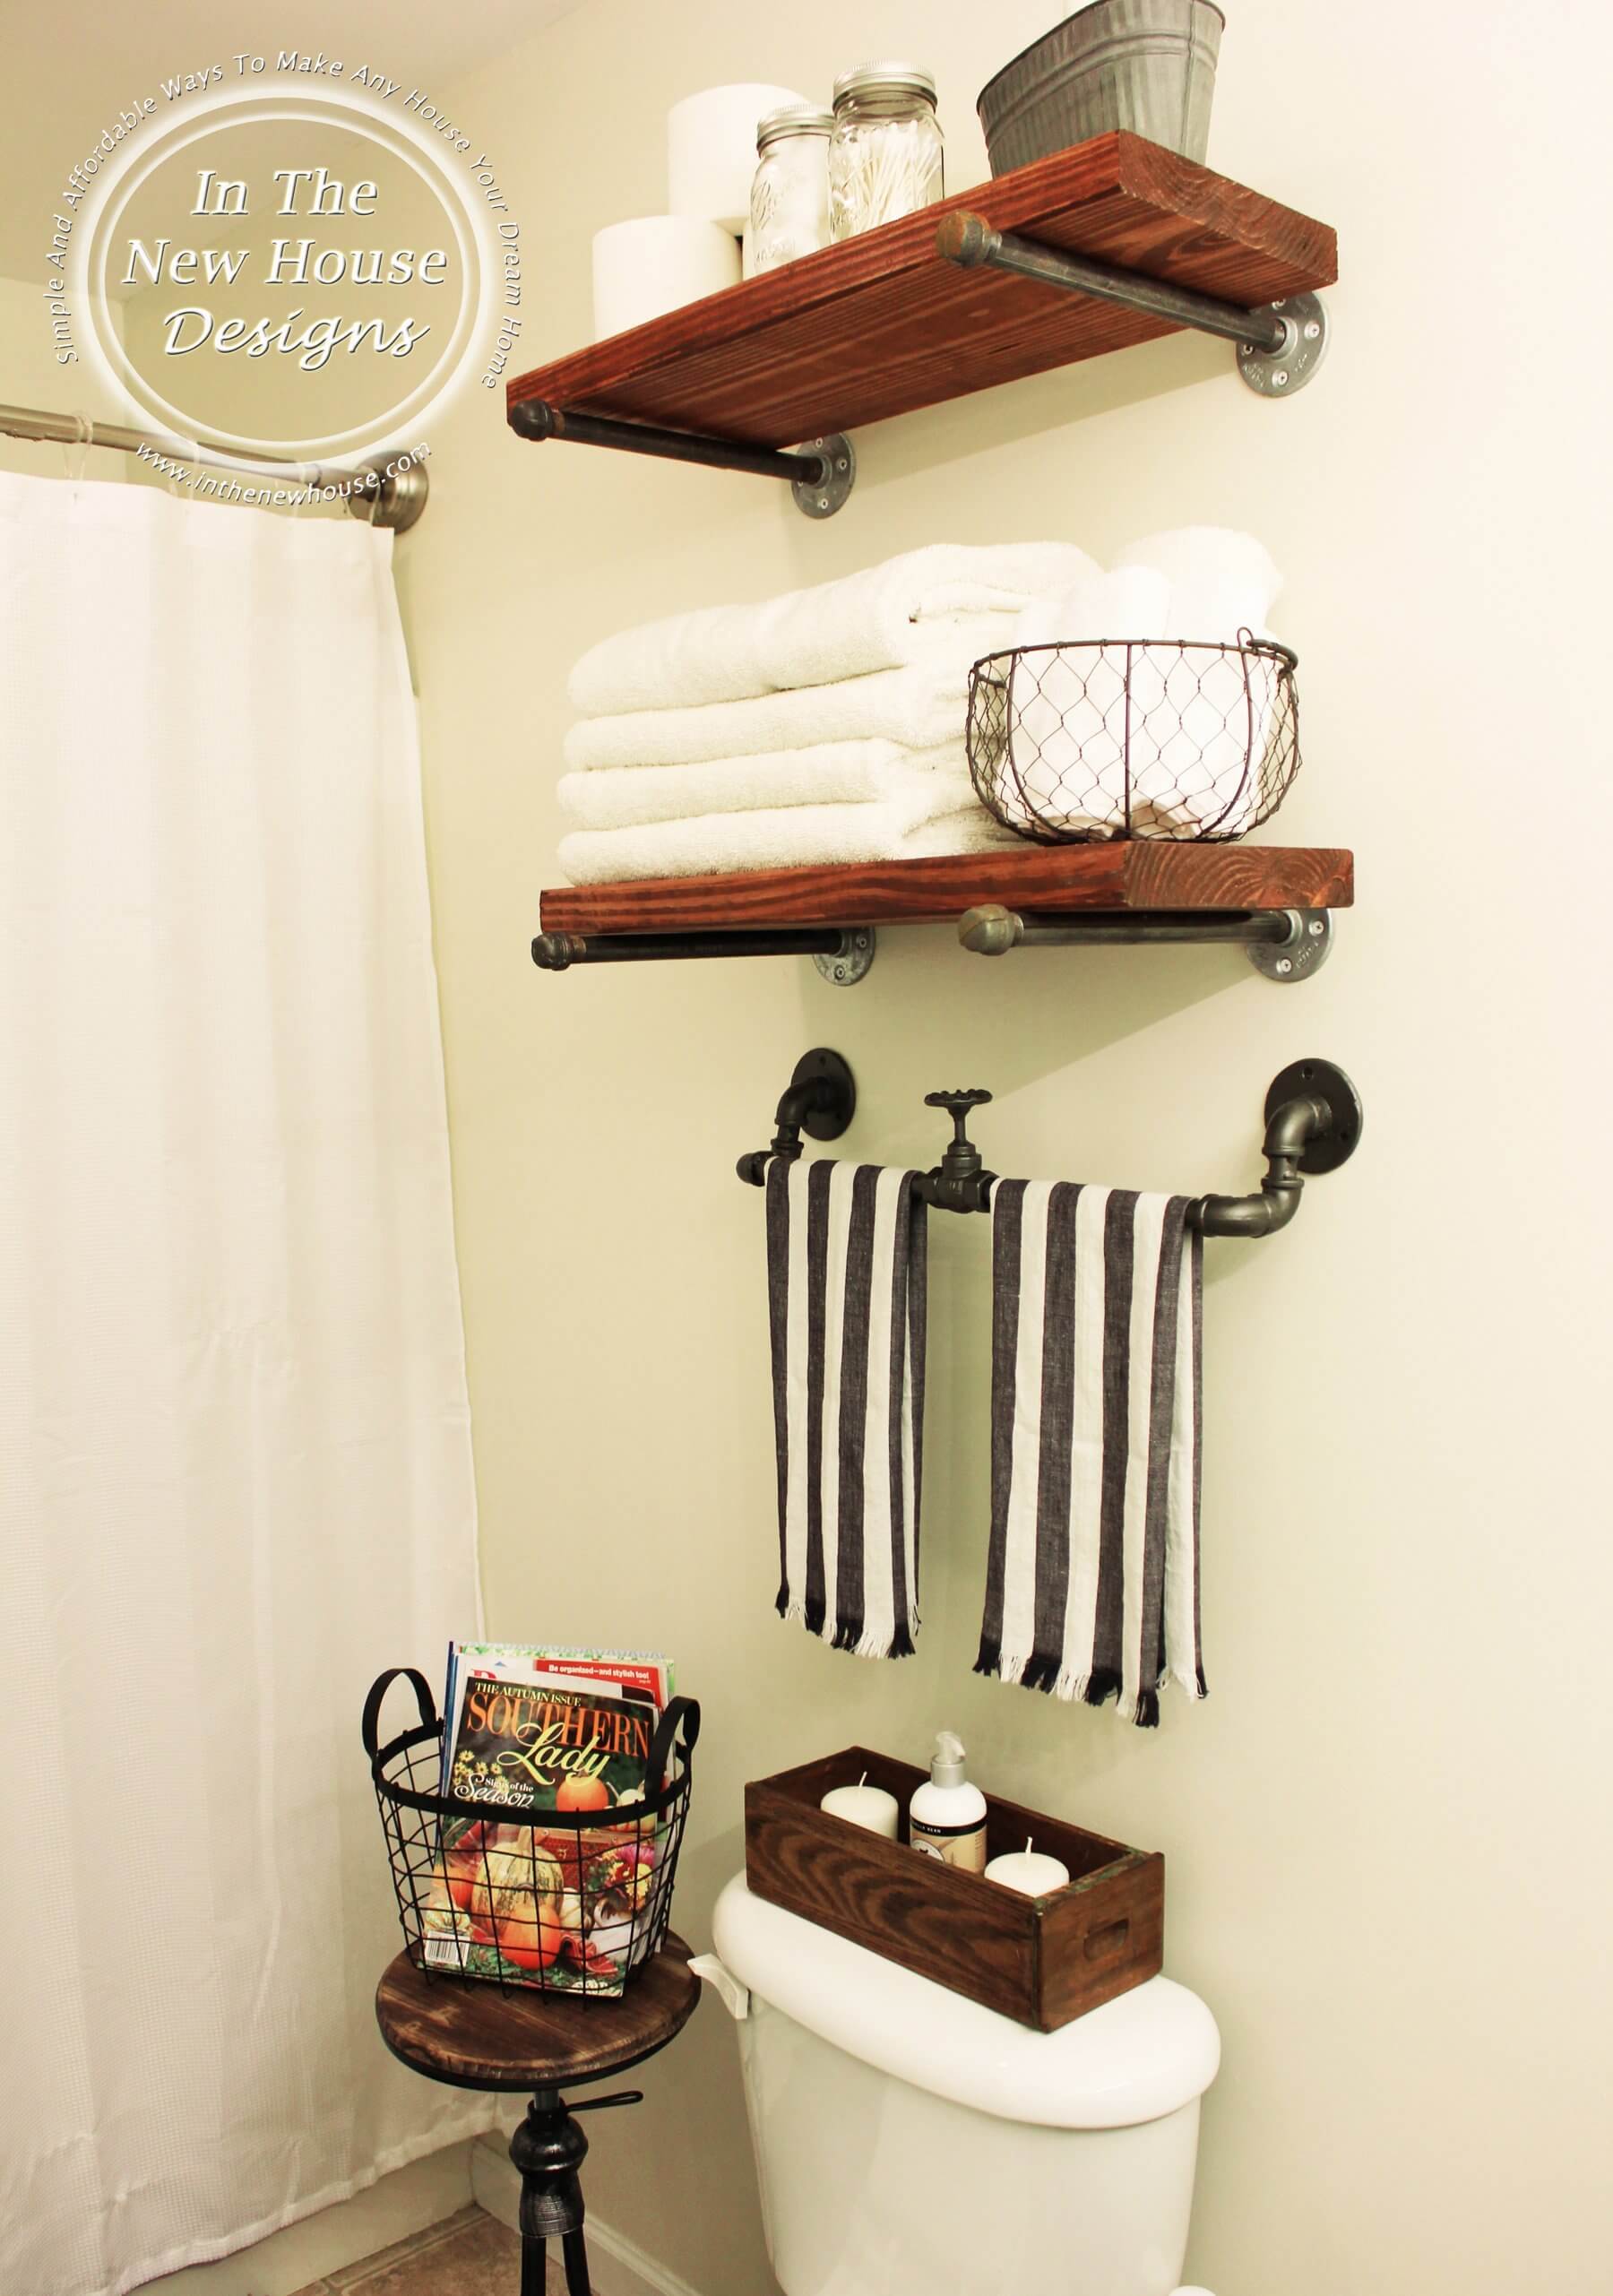
One effective DIY storage solution is the use of repurposed materials. For instance, old wooden crates or wine boxes can be mounted on the wall to create rustic shelving units. These shelves can hold items like towels, toilet paper, and decorative elements, adding both storage and a touch of charm to the bathroom. Similarly, vintage ladders can be repurposed as towel racks or shelving units. Leaning a ladder against the wall provides multiple rungs to hang towels or baskets for additional storage, combining functionality with an aesthetic appeal.
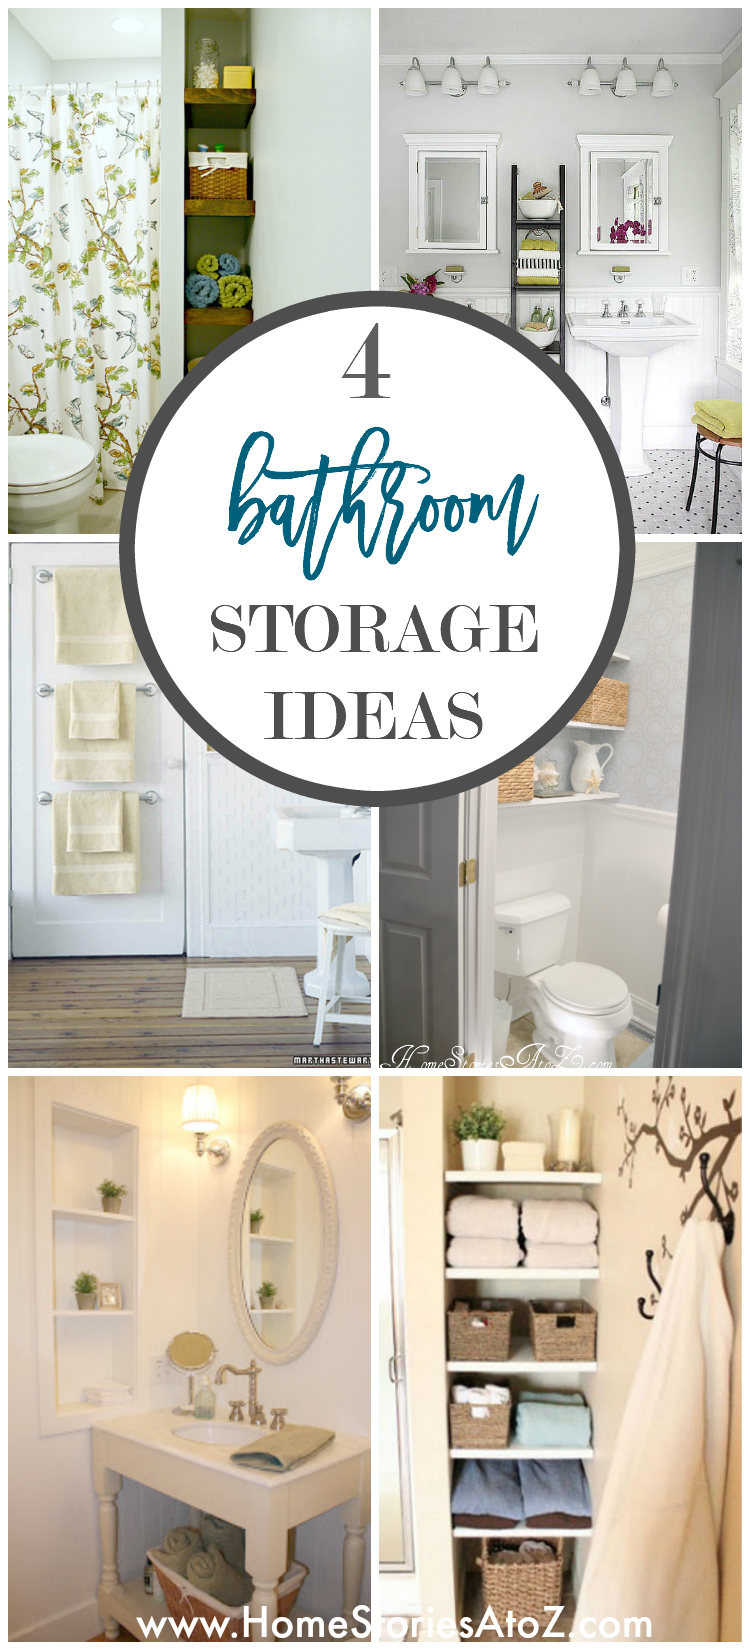
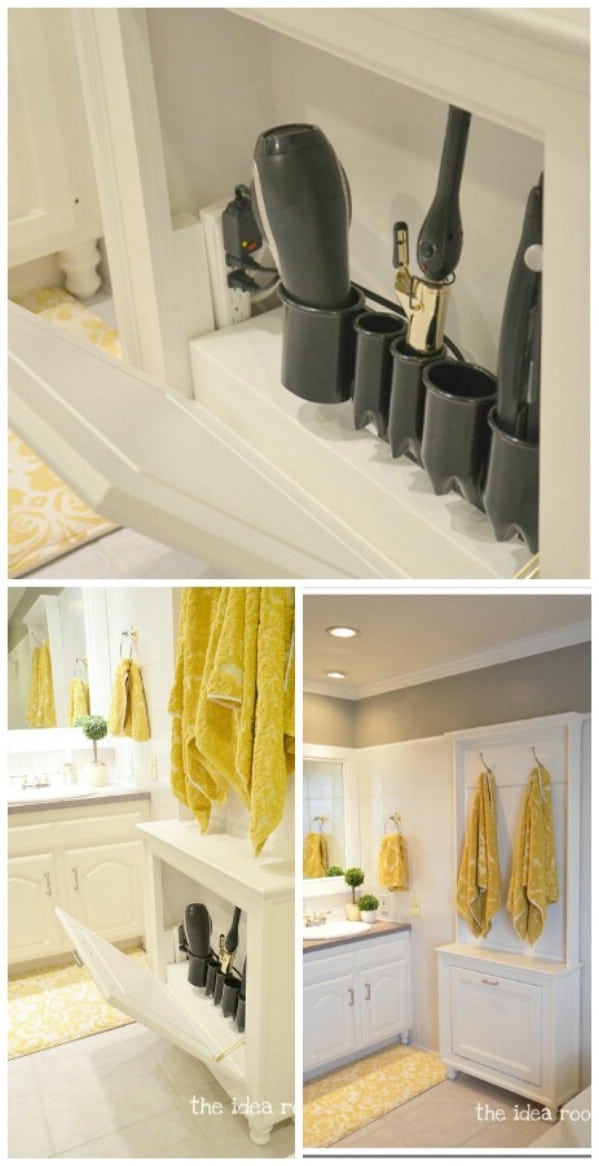
Vertical storage is another crucial aspect of maximizing bathroom space. Installing shelves above the toilet or along empty wall spaces can significantly increase storage capacity. Floating shelves are particularly useful as they provide storage without taking up floor space. These shelves can be styled with bins or baskets to keep smaller items like hair accessories, skincare products, and cleaning supplies neatly organized. Additionally, incorporating hooks or pegboards into wall designs allows for the easy hanging of items such as robes, loofahs, or hairdryers, making frequently used items accessible and tidy.
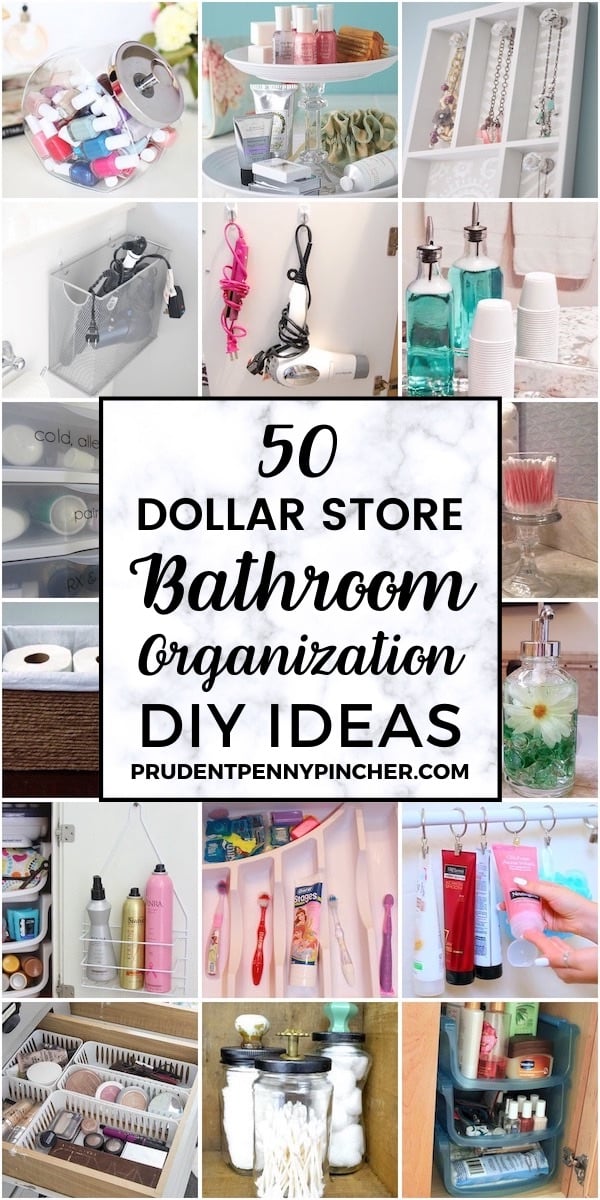
For those with limited counter space, creating under-sink storage solutions can be highly beneficial. Adding sliding drawers or wire baskets inside vanity cabinets can help organize cleaning products, extra toiletries, and other necessities. Tension rods are another clever addition for under-sink areas, allowing for the hanging of spray bottles or small baskets. This not only optimizes space but also ensures that items are easy to find and retrieve, reducing the clutter that often accumulates in these hidden areas.
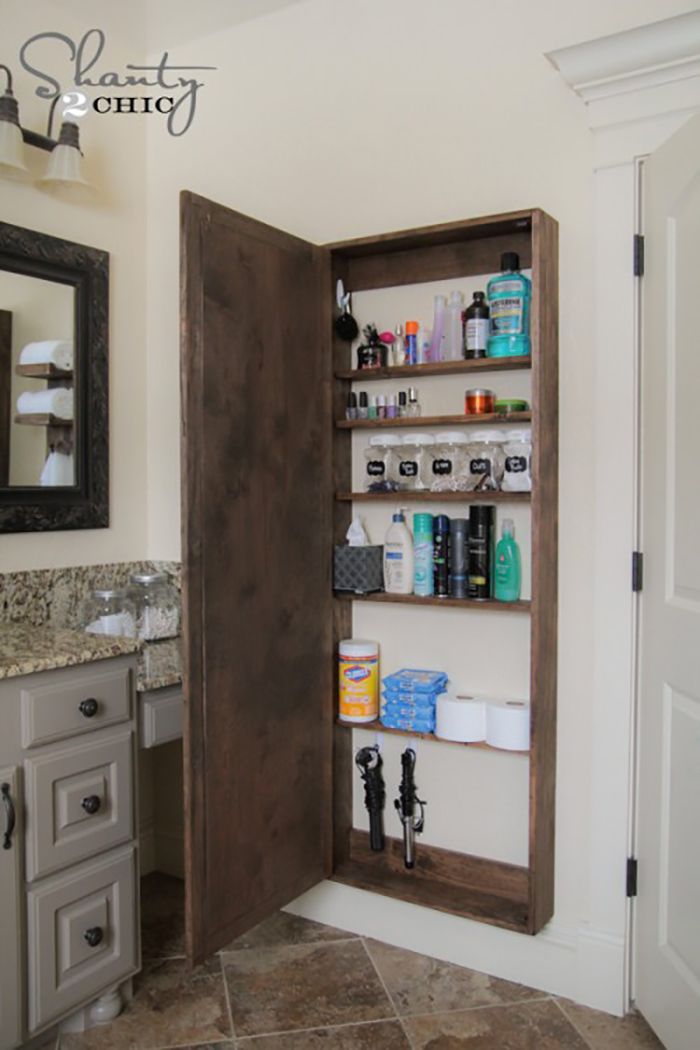
Mirrored storage solutions can serve a dual purpose by providing both a mirror and concealed storage. Medicine cabinets are a classic example, but modern designs have expanded this concept. DIY mirrored cabinets can be created using framed mirrors attached to shallow shelves or boxes, providing a sleek look while hiding storage behind the mirror. These cabinets can hold daily essentials like toothpaste, medicines, and grooming tools, keeping them out of sight but easily accessible.
Last, personalizing storage solutions to suit individual needs and styles can enhance both the functionality and aesthetic of a bathroom. Using labeled containers or color-coded bins can help family members quickly locate their items, reducing the morning rush. Incorporating decorative elements like plants, artwork, or patterned liners inside drawers and shelves can add a touch of personality and make the space feel more inviting. Custom-built storage units, such as recessed shelves in the shower or a built-in vanity, can also be tailored to fit the specific dimensions and decor of the bathroom, providing a seamless and cohesive look.
DIY bathroom storage solutions offer a blend of practicality and creativity, allowing homeowners to make the most of their space while expressing their personal style. From repurposing materials and utilizing vertical spaces to customizing under-sink storage and incorporating mirrored units, there are countless ways to improve bathroom organization. By taking the time to design and implement these solutions, it’s possible to create a bathroom that is both efficient and aesthetically pleasing, enhancing the overall functionality and enjoyment of the space.
Best DIY Bathroom Storage and Organizing Ideas
Genius Bathroom Organization Ideas – Domestically Creative
Small Bathroom Storage Ideas and Tips
Bathroom Storage Ideas To Get You Organized

Cheap DIY Bathroom Storage Ideas
Pin on A Organized Nest

DIY Bathroom Storage and Organizing Idea
Brilliant Bathroom Organization and Storage DIY Solutions – DIY
Brilliant DIY Bathroom Storage Ideas – Amazing DIY, Interior
Dollar Store Bathroom Organization Ideas – Prudent Penny Pincher
Best Bathroom Storage Ideas in 2024

Best DIY Bathroom Storage and Organizing Ideas for 2024
Related articles:
- Small Bathroom Storage Ideas
- Bathroom Storage Design Ideas
- Bathroom Storage Cabinet Farmhouse
- Small Bathroom Storage Ideas
- Tiny Bathroom Storage Ideas
- White Bathroom Storage Unit
- Bathroom Storage Ideas Modern
- Rustic Bathroom Storage Cabinet
- Plastic Bathroom Storage Containers
- DIY Bathroom Storage Solutions
DIY Bathroom Storage Solutions: Maximizing Space and Style
The bathroom is one of the most functional, yet often overlooked, spaces in any home. From the daily routine of getting ready to the occasional soak in the tub, this room plays a crucial role in our daily lives. However, with so many toiletries, towels, and other necessities to store, it can quickly become cluttered and disorganized. Thankfully, there are many DIY bathroom storage solutions that can help you maximize space and style while keeping everything you need within reach.
1. Utilize Vertical Space with Shelving
When it comes to bathroom storage, one of the most common challenges is finding enough space to store everything you need without taking up too much floor space. One solution is to utilize vertical space with shelving. From floating shelves to built-in units, there are plenty of options for adding extra storage to your walls.
Floating shelves are an excellent choice for small bathrooms or those with limited floor space. These shelves can be mounted directly onto the wall without taking up any valuable floor real estate. They’re perfect for storing items like towels, spare toilet paper rolls, or decorative pieces like plants or candles.
Built-in shelving is another option for adding storage to your bathroom walls. This type of shelving is typically installed during a bathroom renovation or remodel but can also be added as a DIY project. Built-in shelves provide ample storage space while also adding a stylish touch to your bathroom decor.
FAQs:
Q: How do I install floating shelves?
A: To install floating shelves, you’ll need to locate the studs in your wall and mark where you want to mount the brackets. Use a drill to make pilot holes for the screws, then attach the brackets using screws and wall anchors if necessary. Once the brackets are securely in place, slide the shelf onto them and secure it with screws from underneath.
Q: Can I install built-in shelving myself?
A: While it’s possible to install built-in shelving yourself, it can be a challenging project if you don’t have experience with carpentry or construction. It’s best to consult with a professional contractor or handyman to ensure that the shelving is properly installed and structurally sound.
2. Get Creative with Repurposed Items
Another way to add storage to your bathroom is to repurpose items from around your home. From vintage crates to mason jars, there are plenty of everyday items that can be transformed into stylish and functional storage solutions.
One popular DIY bathroom storage solution is using a vintage ladder as a towel rack. This unique piece adds character and charm to any bathroom while providing plenty of space to hang towels or other linens. Another option is repurposing old wooden crates as shelves or storage bins. These versatile pieces can be painted or stained to match your bathroom decor and used for everything from storing toiletries to holding extra towels.
FAQs:
Q: Can I use any type of ladder as a towel rack?
A: It’s best to use a sturdy, wooden ladder for this type of project. Metal or plastic ladders may not be strong enough to support the weight of towels or linens.
Q: How do I attach wooden crates to the wall?
A: To attach wooden crates to the wall, you’ll need screws and wall anchors. First, mark where you want the crate to go and drill pilot holes into the crate. Then, insert the wall anchors into the wall and screw the crate onto them.
3. Use Over-the-Toilet Storage
Over-the-toilet storage units are another popular DIY bathroom storage solution. These units typically consist of shelves or cabinets that fit over the toilet tank, providing extra storage without taking up any additional floor space.
There are many different types of over-the-toilet storage units available, from simple wire racks to more elaborate cabinets with doors and drawers. When choosing an over-the-toilet storage unit, consider the size and style of your bathroom, as well as the types of items you need to store.
FAQs:
Q: How do I install an over-the-toilet storage unit?
A: Installing an over-the-toilet storage unit is typically a simple process that involves attaching the unit to the wall using screws or brackets. Follow the manufacturer’s instructions carefully and make sure that the unit is securely attached before adding any items to it.
Q: Can I use an over-the-toilet storage unit with a low-flow toilet?
A: It’s important to make sure that The over-the-toilet storage unit is compatible with your toilet before purchasing it. Some low-flow toilets may have a different design or size that may not accommodate certain types of over-the-toilet storage units.
4. Utilize Drawer Dividers
Drawer dividers are a simple and effective way to maximize storage space in your bathroom drawers. These dividers can be purchased at most home goods stores or online, or you can make your own using materials you already have at home.
To make your own drawer dividers, measure the inside of your drawer and cut pieces of cardboard or foam board to fit. Then, use a ruler and a utility knife to cut slots into the cardboard or foam board, creating individual compartments for your items.
FAQs:
Q: What materials can I use to make my own drawer dividers?
A: You can use materials such as cardboard, foam board, or even scrap wood to make your own drawer dividers. Just make sure that the material is sturdy enough to hold up to regular use.
Q: How do I measure for drawer dividers?
A: To measure for drawer dividers, first measure the width, length, and depth of your drawer. Then, divide the width and length measurements by the number of compartments you want to create. Use these measurements to cut pieces of cardboard or foam board to fit inside the drawer.