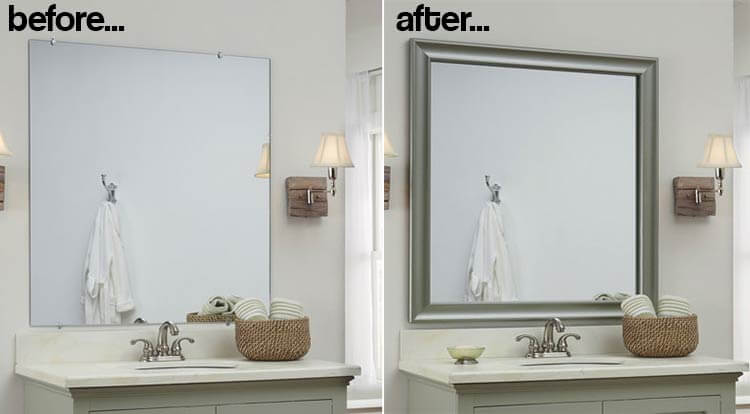
Framing a bathroom mirror with metal clips is a cost-effective and straightforward DIY project that can enhance the aesthetics of the bathroom while providing a more finished look to the mirror. Metal clips are a popular choice for securing mirrors to the wall due to their simplicity and durability. Framing a bathroom mirror with metal clips involves attaching decorative framing material, such as wood or molding, to the edges of the mirror using metal clips to create a polished and custom look.
To begin the process of framing a bathroom mirror with metal clips, gather the necessary materials and tools, including the mirror, metal clips, framing material (such as wood or molding), adhesive, a level, a measuring tape, a pencil, and a saw. Start by measuring the dimensions of the mirror and marking the placement of the metal clips on the wall. It’s important to ensure that the clips are evenly spaced and aligned to provide adequate support for the mirror.

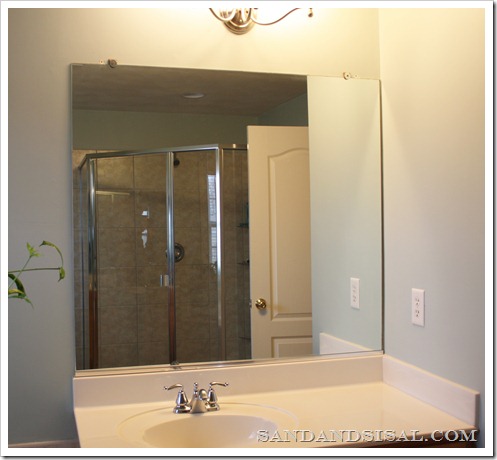
Next, attach the metal clips to the wall using screws or adhesive, following the marked placement. The clips should be positioned along the edges of the mirror, with enough space between each clip to accommodate the framing material. Once the clips are securely attached to the wall, place the mirror on top of the clips and adjust it as needed to ensure it is level and centered.
With the mirror in place, it’s time to frame the edges using the chosen framing material. Cut the framing material to the appropriate lengths using a saw, making sure to miter the corners for a seamless finish. Apply adhesive to the back of the framing material and press it firmly onto the edges of the mirror, covering the metal clips. Be sure to hold the framing material in place for a few moments to allow the adhesive to bond securely to the mirror.
Once the framing material is attached, use a level to ensure that it is straight and evenly aligned with the edges of the mirror. Make any necessary adjustments before allowing the adhesive to dry completely. Once the adhesive has cured, the framed mirror is ready to be installed in the bathroom.
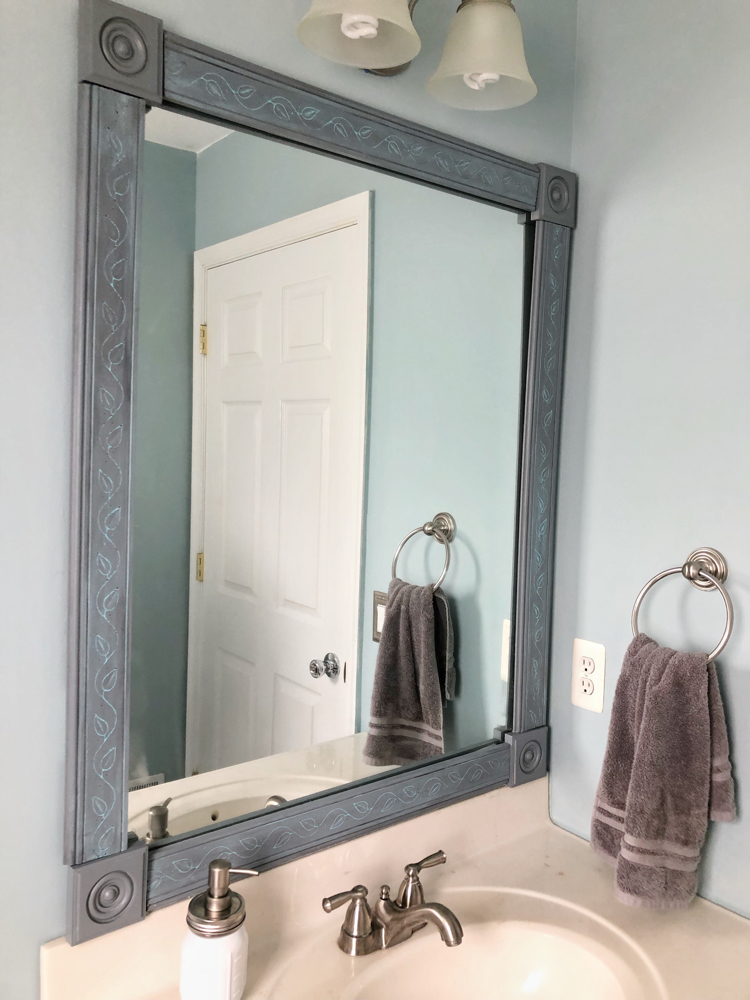
Framing a bathroom mirror with metal clips offers a customizable and budget-friendly alternative to traditional framing methods. Metal clips provide a secure and stable support system for the mirror while allowing for easy installation and removal. Additionally, framing the mirror with decorative molding or wood adds a stylish and personalized touch to the bathroom decor, creating a more cohesive and finished look.
Framing a bathroom mirror with metal clips is a DIY project that can enhance the aesthetics of the bathroom while providing a more polished and custom look to the mirror. With the right materials, tools, and techniques, homeowners can easily create a framed mirror that adds style and personality to their bathroom decor. Whether using decorative molding, wood, or other framing materials, framing a bathroom mirror with metal clips offers a cost-effective and customizable solution for adding a finishing touch to any bathroom space.

How to Frame a Mirror – Sand and Sisal
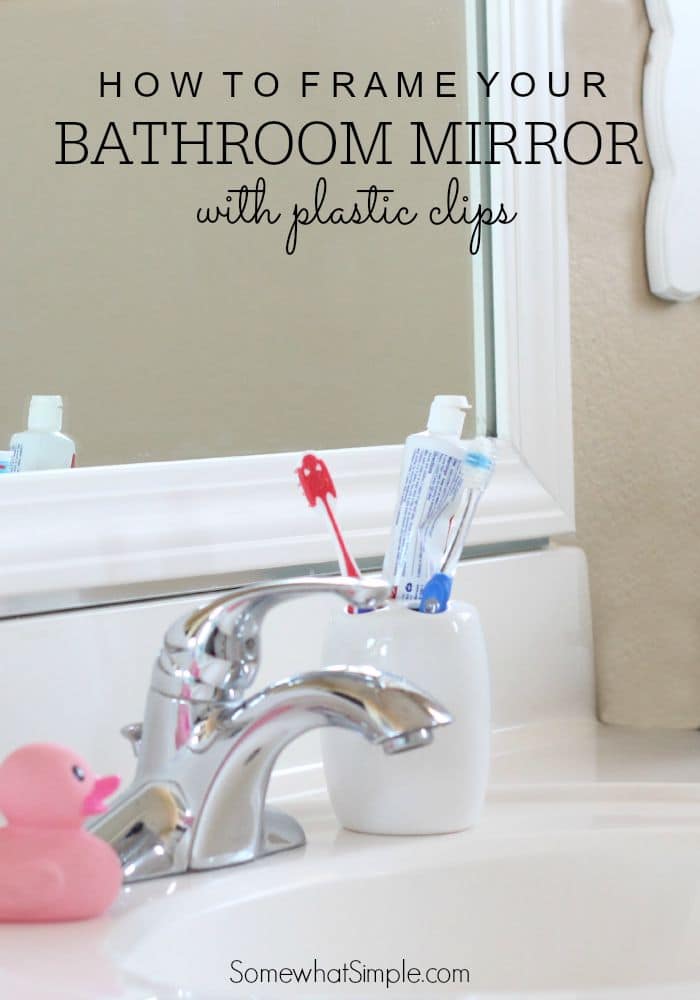
How To Frame A Bathroom Mirror Over Plastic Clips Somewhat Simple
How To Frame A Bathroom Mirror Over Plastic Clips Somewhat Simple
How to Make an Easy DIY Bathroom Mirror Frame – momhomeguide.com
Bathroom mirror frames – 2 easy-to-install sources + a DIY
How to Frame a Bathroom Mirror – Budget Friendly DIY Project

How To Frame A Bathroom Mirror Over Plastic Clips Somewhat Simple
Bathroom mirror frames – 2 easy-to-install sources + a DIY
How to Build a DIY Frame to Hang over a Bathroom Mirror ⋆ Love
DIY Bathroom Mirror Frame (Without Removing Mirror Clips!) – Her

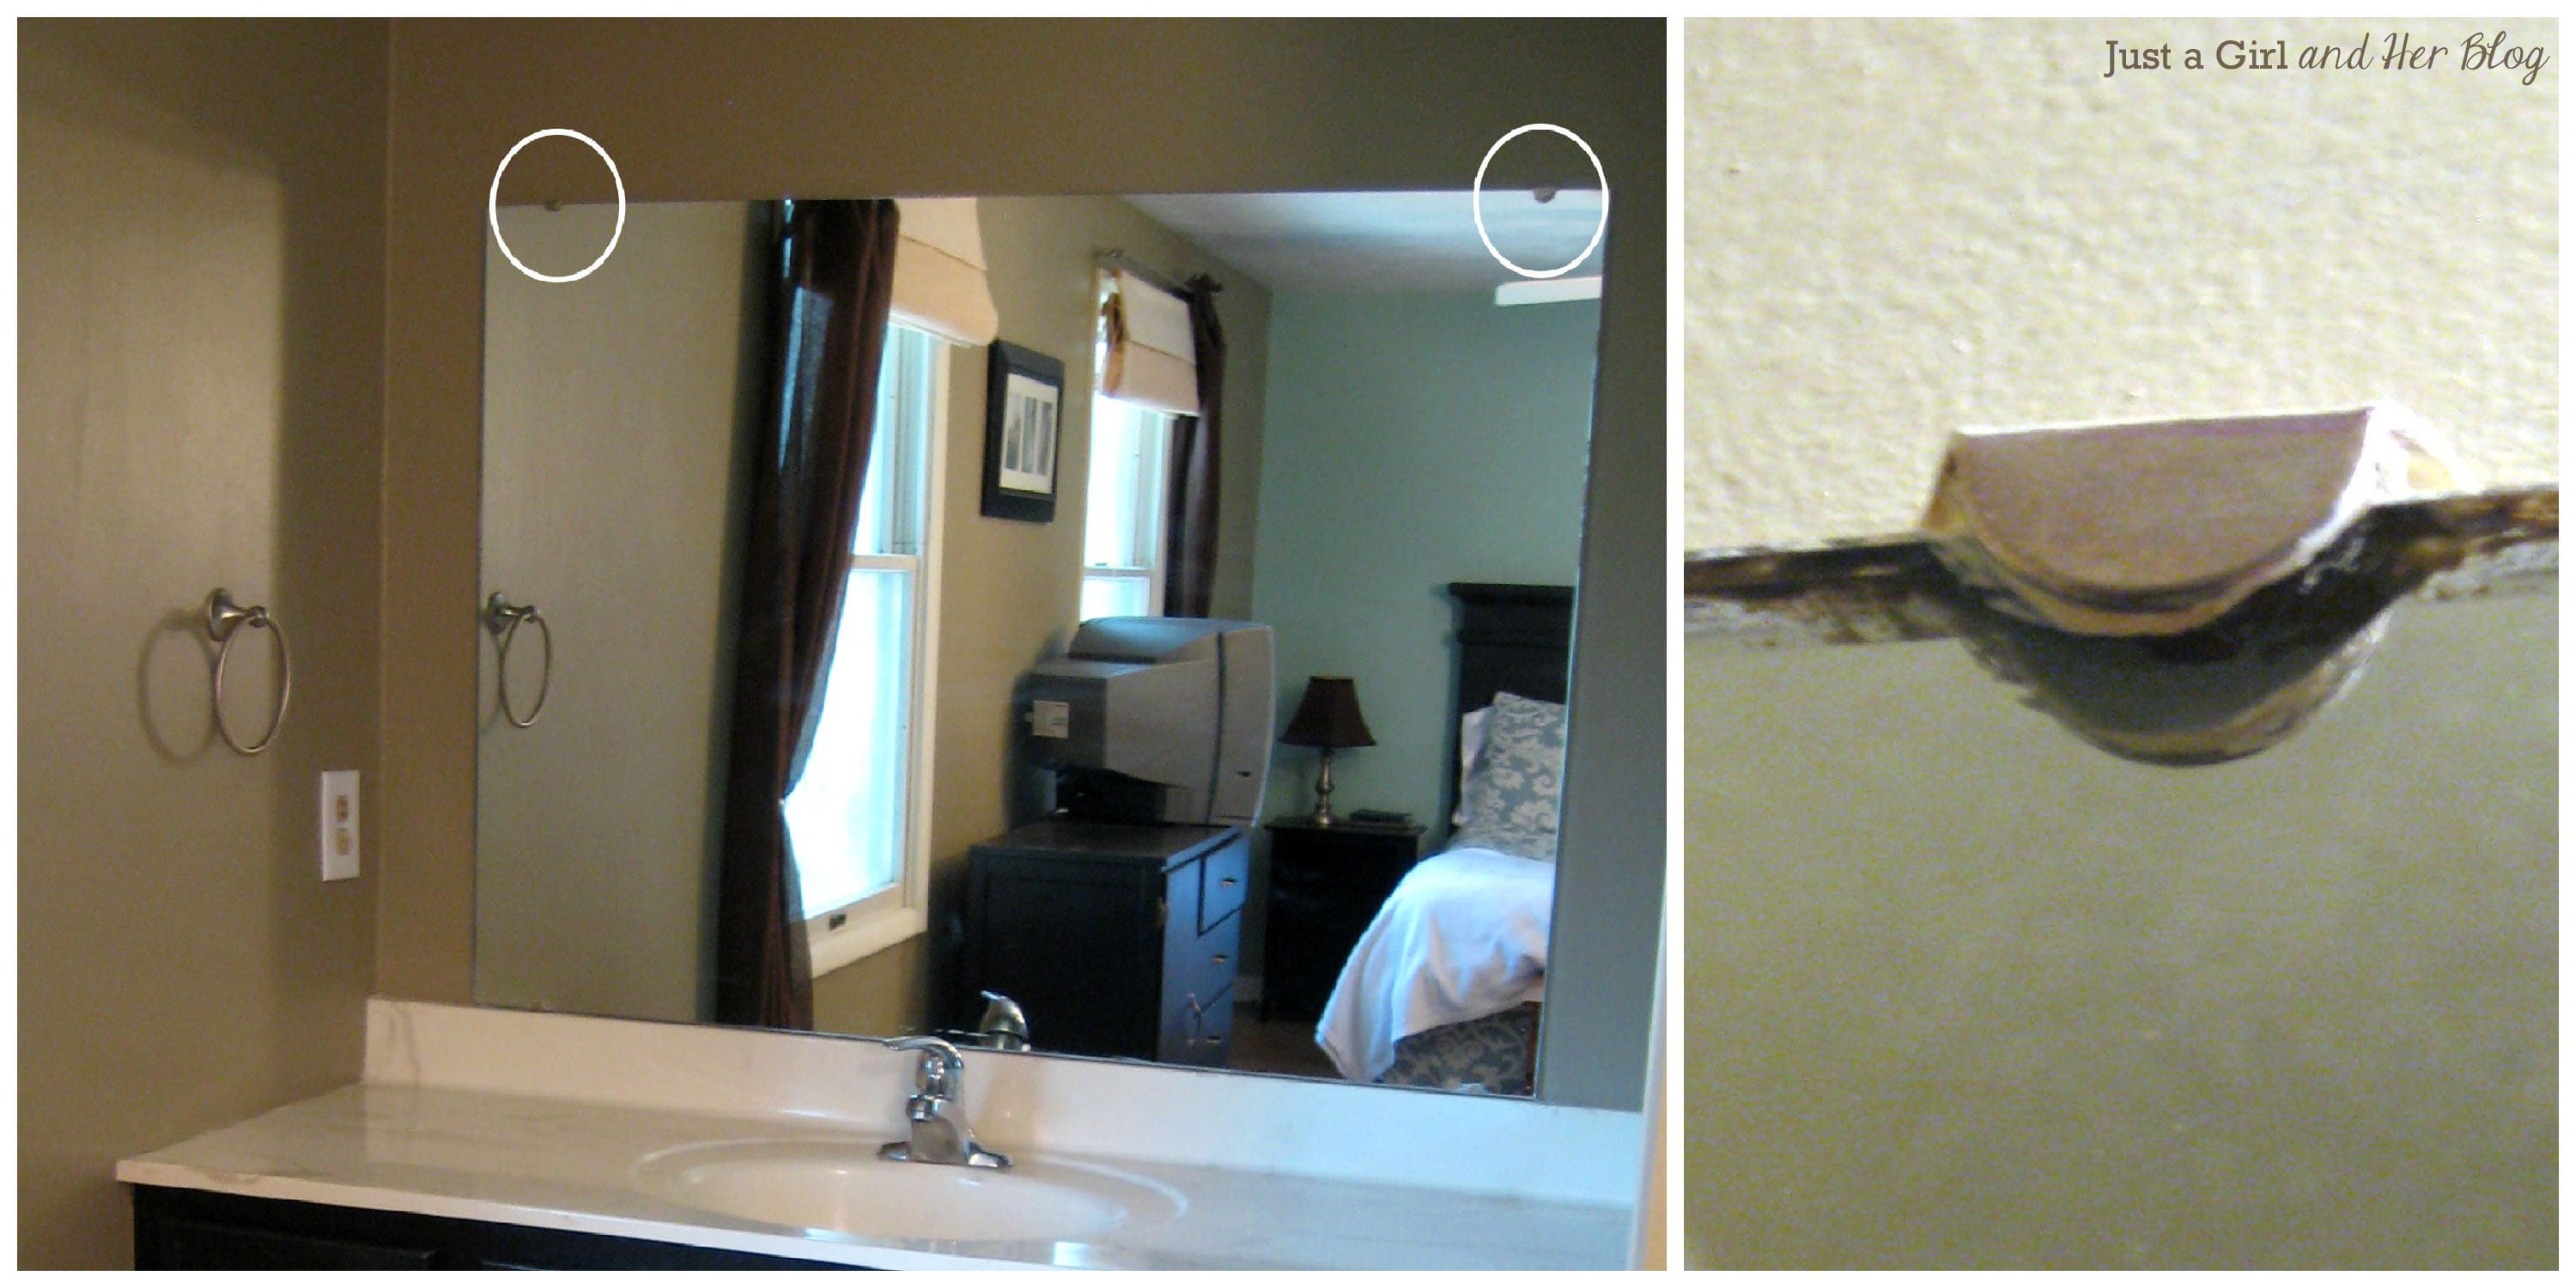
Removing a Bathroom Mirror Mounting Clips or Brackets
Related articles:
- Bathroom Mirrors Large Rectangular
- Narrow Bathroom Mirror Cabinet
- Bathroom Mirror Over Pedestal Sink
- Bathroom Mirrored Wall Cabinets With Lights
- Bathroom Mirrors Vanity Bathroom Mirrors
- Shabby Chic Bathroom Mirror With Shelf
- What Size Bathroom Mirror
- Wall Mounted Swivel Bathroom Mirror
- Zeus Illuminated Bathroom Mirror Cabinet
- Chrome Framed Bathroom Mirrors For Sale
Framing A Bathroom Mirror With Metal Clips
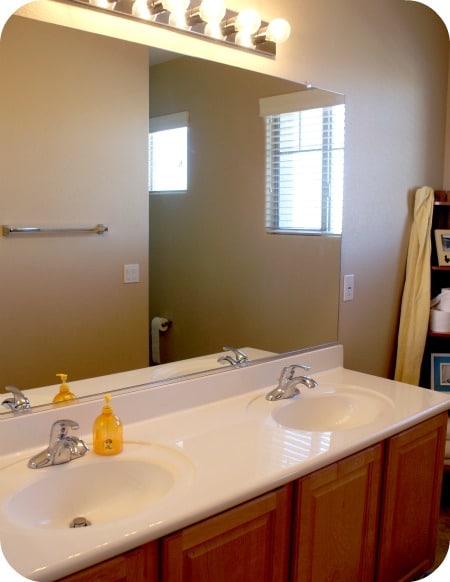
Bathroom mirrors are essential components of any bathroom, and they come in various sizes and shapes. However, plain mirrors can be uninspiring and lack character. One way to add style and personality to your bathroom is by framing your mirror with metal clips.
Framing a bathroom mirror with metal clips is an affordable DIY project that requires minimal tools and expertise. It is also an excellent way to update the look of your bathroom without having to replace the entire mirror.
In this article, we will walk you through the steps involved in framing a bathroom mirror with metal clips. We will also provide answers to some frequently asked questions about this DIY project.
Materials Needed
Before starting your project, ensure you have all the necessary materials. Here is a list of what you will need:
– Metal clips
– Measuring tape
– Pencil
– Saw or miter saw
– Sandpaper or sanding block
– Adhesive (optional)
– Paint (optional)
Step-by-Step Guide
Measure Your Mirror
Start by measuring your mirror’s dimensions using a measuring tape. Measure both the length and width of the mirror and write down the measurements. Note that if your mirror has rounded edges, measure from the longest points on each edge.
Cut Your Frame Material
Next, cut your frame material to fit the measurements you took in step 1. You can use wood or MDF board for your frame material. If you’re using wood, choose a type that’s resistant to moisture like cedar or teak.
Use a saw or miter saw to cut four pieces of equal length for each side of the mirror frame. Make sure that each piece is angled at 45 degrees at both ends so that they can fit together seamlessly at the corners.
Sand Your Frame Material
After cutting your frame material, use sandpaper or a sanding block to smooth out any rough edges or splinters. You may also want to apply a coat of primer to the frame material before painting it.
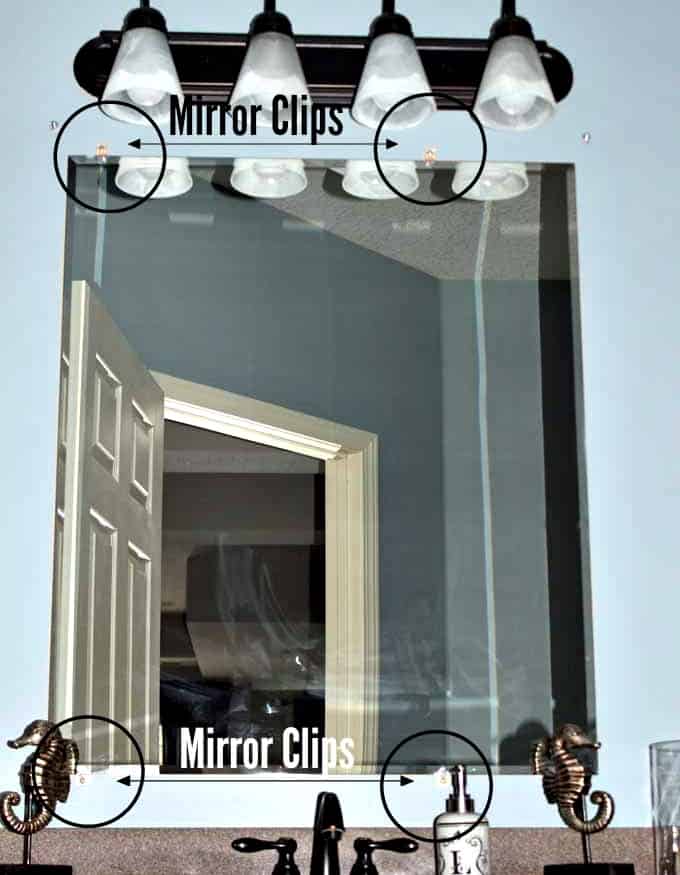
Attach Your Metal Clips
Now it’s time to attach the metal clips to your mirror. Measure and mark where you want to place the clips on each side of the mirror. You should have two clips per side, spaced evenly apart.
Attach the metal clips to the mirror by drilling screws into the wall through the holes in the clips. Make sure that the clips are level and straight.
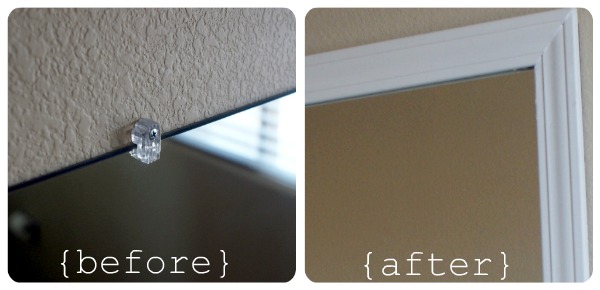
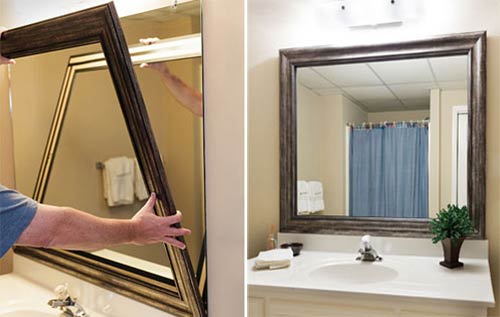
Attach Your Frame
Once your metal clips are securely attached to your mirror, you can now attach your frame material to them. Start by applying adhesive (if you choose to use it) along the back of one of your frame pieces.
Press the frame piece onto its corresponding metal clip, making sure that it is level and flush against the mirror. Repeat this process for each side of your frame until all four pieces are attached.
Finish Your Frame
Finally, you can finish your frame by painting or staining it to match your bathroom decor. Allow it to dry completely before hanging anything on it or using your bathroom mirror.
Can I use other materials besides wood or MDF for my frame?
Yes, you can use other materials like metal or PVC board for your frame as long as they are strong enough to support the weight of the mirror.
Do I have to use adhesive when attaching my frame?
No, you do not have to use adhesive if you prefer not to. However, using adhesive can help make your frame more secure and stable.
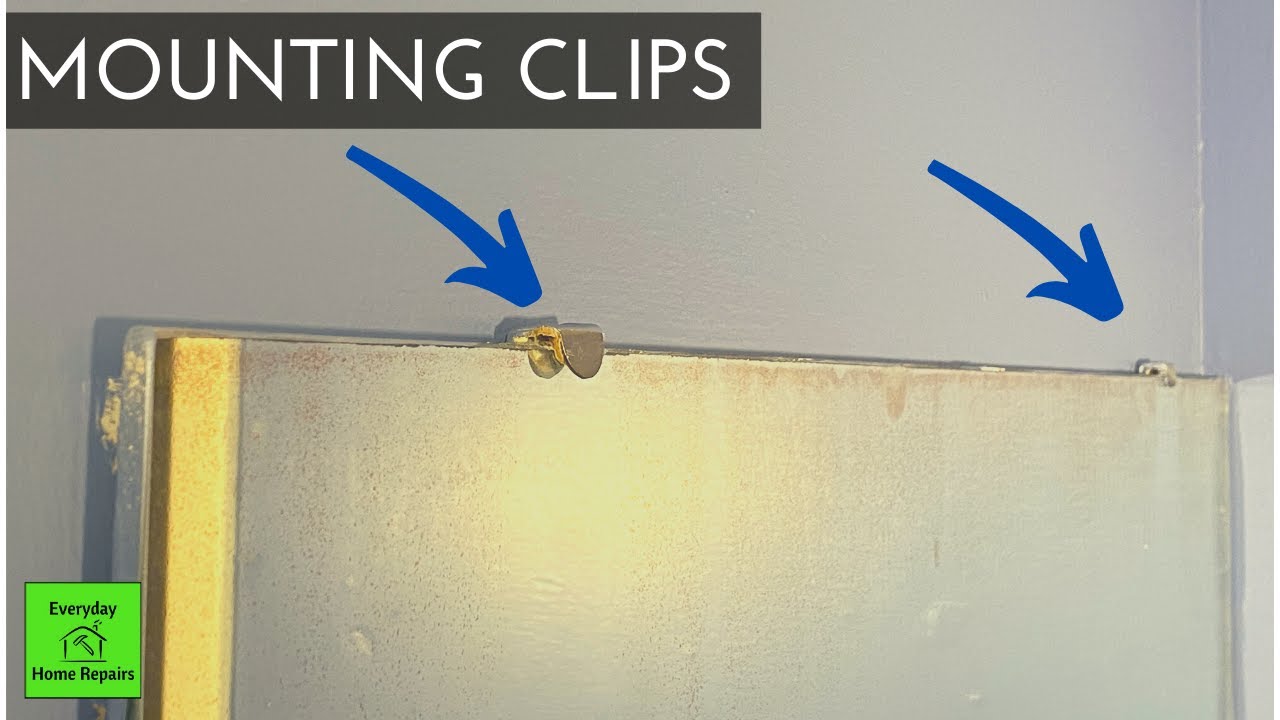
How do I remove metal clips from my mirror if I need to replace them?
To remove metal clips from your mirror, unscrew them from the wall using a screwdriver. If they are stuck on with adhesive, use a hairdryer or heat gun to soften the adhesive before removing them.
Framing a bathroom mirror with metal clips is an easy and affordable DIY project that can transform the look of your bathroom. With just a few materials and some basic tools, you can create a stylish and functional mirror frame that will enhance the overall aesthetic of your space.
We hope this guide has helped provide you with step-by-step instructions on how to frame your bathroom mirror with metal clips. If you have any further questions or comments, please feel free to reach out to us. Happy DIY-ing!