Do-it-yourself bathroom faucet repair can be a cost-effective and rewarding way to address common issues such as leaks, drips, and low water pressure without the need for professional plumbing services. Understanding the basics of faucet anatomy and repair techniques can empower homeowners to tackle minor faucet problems on their own, saving both time and money. Before beginning any repair work, it’s important to turn off the water supply to the faucet by shutting off the main water valve or the specific valve under the sink to prevent accidents and water damage.
One of the most common issues with bathroom faucets is leaking, which can waste water and lead to higher utility bills if left unaddressed. Leaks often occur due to worn-out or damaged components such as O-rings, washers, or seals within the faucet assembly. To repair a leaking faucet, start by disassembling the faucet and inspecting each component for signs of wear or damage. Replace any worn-out parts with new ones, making sure to use the correct size and type of replacement parts for your faucet model. Reassemble the faucet carefully, ensuring all components are properly aligned and tightened to prevent leaks.
Another common problem with bathroom faucets is dripping, which can be caused by a variety of factors including worn-out washers, loose components, or mineral deposits buildup. To fix a dripping faucet, begin by turning off the water supply and disassembling the faucet to access the internal components. Inspect the washers, O-rings, and other parts for signs of wear or damage, and replace any damaged components with new ones. Clean any mineral deposits or debris from the faucet assembly using a mixture of vinegar and water or a commercial descaling solution. Reassemble the faucet and test it to ensure the dripping has stopped.
Low water pressure is another issue that homeowners may encounter with bathroom faucets, which can be caused by various factors such as clogged aerators, sediment buildup in the faucet, or issues with the water supply line. To improve water pressure, start by removing the aerator from the faucet and cleaning it thoroughly to remove any debris or sediment buildup. If the water pressure issue persists, check the water supply line for any kinks, leaks, or obstructions that may be affecting water flow. Repair or replace any damaged components as needed to restore proper water pressure to the faucet.

In some cases, a malfunctioning cartridge or valve assembly may be causing issues with the bathroom faucet, such as difficulty turning the handle or inconsistent water temperature. To repair a faulty cartridge or valve assembly, start by turning off the water supply and disassembling the faucet to access the internal components. Remove the cartridge or valve assembly and inspect it for signs of damage or wear, such as cracks, corrosion, or mineral deposits. Replace the cartridge or valve assembly with a new one if necessary, ensuring it is compatible with your faucet model. Reassemble the faucet carefully, making sure all components are properly aligned and tightened to prevent leaks or other issues.
It’s important to note that while many bathroom faucet repairs can be done by DIY enthusiasts with basic plumbing skills and tools, some issues may require professional assistance. If you’re unsure about how to repair a specific problem or if the issue persists after attempting DIY repairs, it’s best to consult a licensed plumber for further assistance. Additionally, regular maintenance and preventive measures such as cleaning aerators, inspecting supply lines, and addressing leaks promptly can help prevent costly repairs and extend the lifespan of your bathroom faucet.
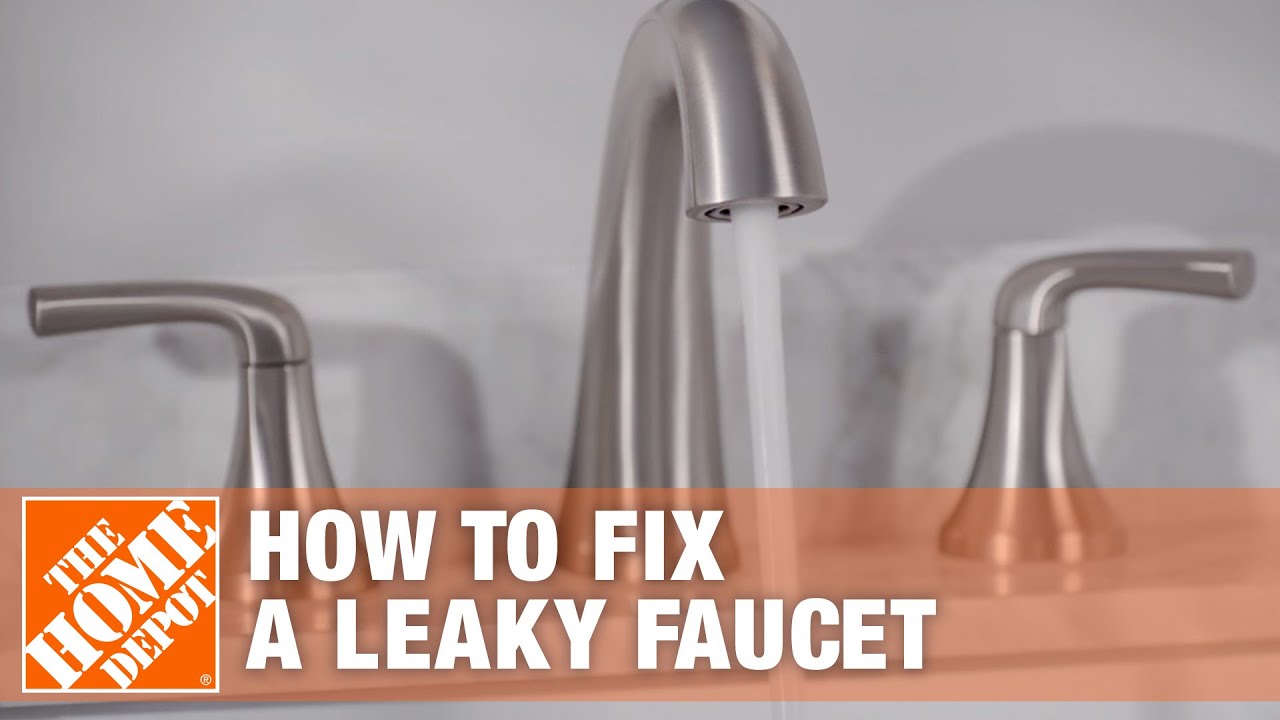
How to Fix a Leaky Faucet
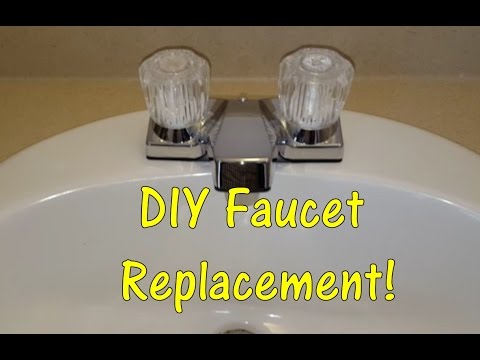
DIY: How To Replace a Bathroom Sink Faucet (remove u0026 replace / install)
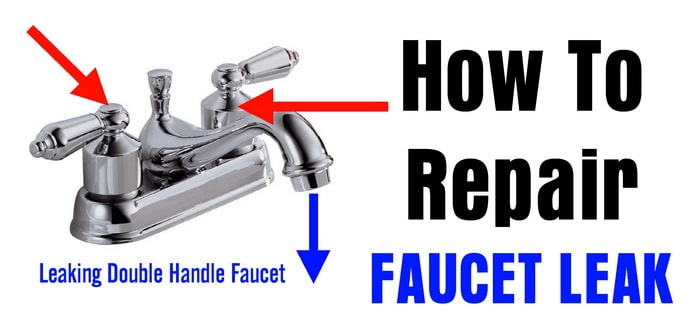
How To Repair A Leaking Double Handle Faucet
Quickly Fix a Leaky Faucet Cartridge (DIY) Family Handyman

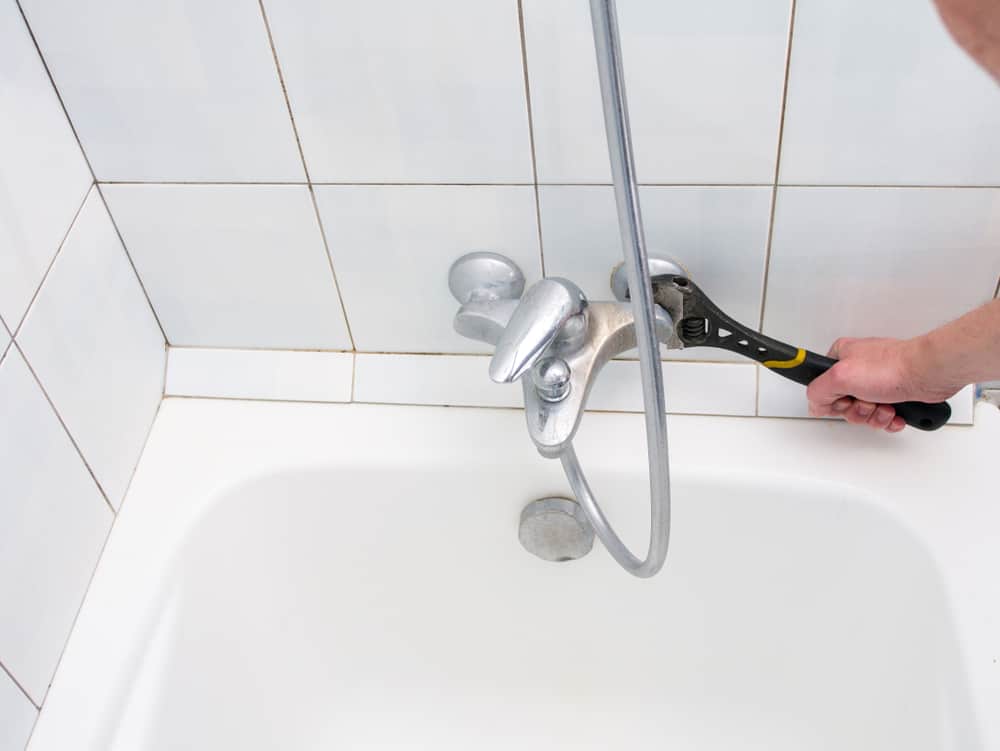
Easy Steps to Fix a Leaky Bathtub Faucet
The DIY Girlu0027s Guide for How to Update u0026 Change a Bathroom Faucet

Do It Yourself or Not: Replace a bathroom faucet Do It Yourself

How to Replace a Bathroom Faucet (13 Step DIY Guide) – Sensible Digs
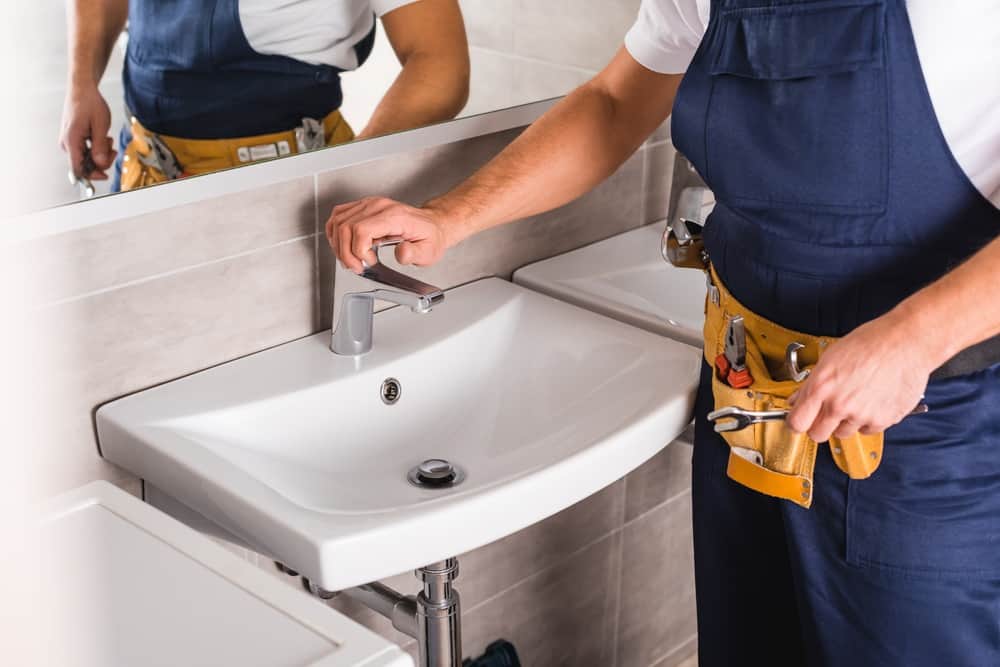
How to Replace a Bathroom Faucet
DIY – Bathtub Faucet Repair
Related articles:
- Black Finish Bathroom Faucets
- Replace Valve Stem Bathroom Faucet
- 2 Tone Bathroom Faucets
- How To Fix A Leaky Moen Single Handle Bathroom Faucet
- Black Waterfall Bathroom Faucet
- Delta Mandara Bathroom Faucet
- Antique Brass Bathroom Faucets Single Handle
- Bathroom Faucet Installation Guide
- Crane Bathroom Faucet Parts
- Jado Bathroom Faucet Replacement Parts
Do It Yourself Bathroom Faucet Repair: A Comprehensive Guide
Bathroom faucets, just like any other plumbing fixture in your home, can experience wear and tear over time. The constant use of the faucets can cause leakages, looseness, or even breakages. Such issues can lead to wastage of water and an increase in your water bill. If you have a leaky or faulty faucet, it is essential to repair it as soon as possible. Instead of calling a plumber to fix the issue, you can do it yourself and save some money. Here’s a comprehensive guide on how to repair your bathroom faucet.
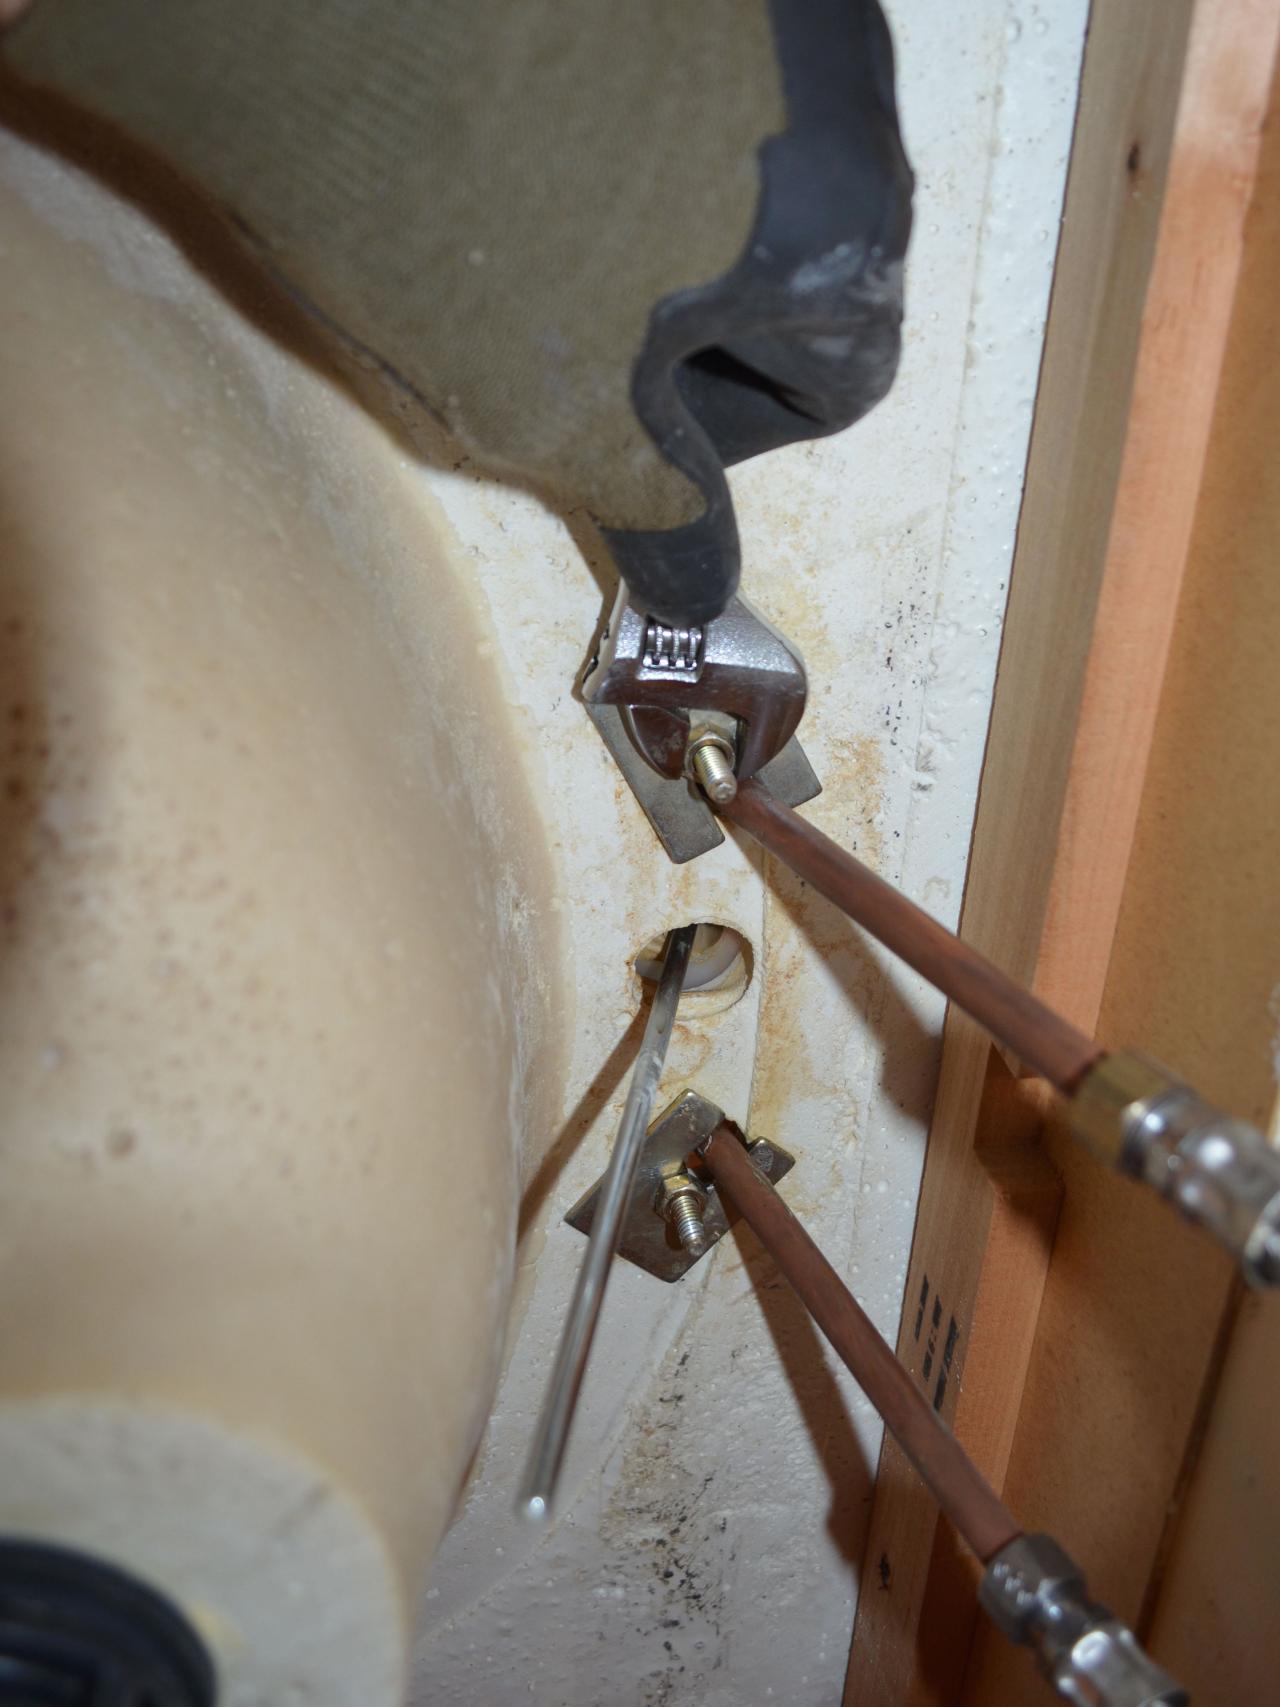
Tools and Materials Needed
Before you start repairing your bathroom faucet, you need to have the necessary tools and materials. Having these items at hand will make the process smoother and faster. Here are some of the things that you need:
– Screwdriver
– Adjustable wrench
– Allen wrench
– Replacement parts (depending on the issue)
– Plumber’s tape
– Towels or rags
How to Fix a Leaky Faucet
A leaky faucet is one of the most common problems experienced in bathrooms. The constant dripping sound can be annoying and lead to a waste of water. Luckily, fixing a leaky faucet is not complicated, and you can do it yourself without any professional help.
Step 1: Turn off the Water Supply
Before you start fixing the faucet, turn off the water supply to prevent any water from flowing out during the repair process. You can turn off the valve under the sink or shut off the main water supply valve.
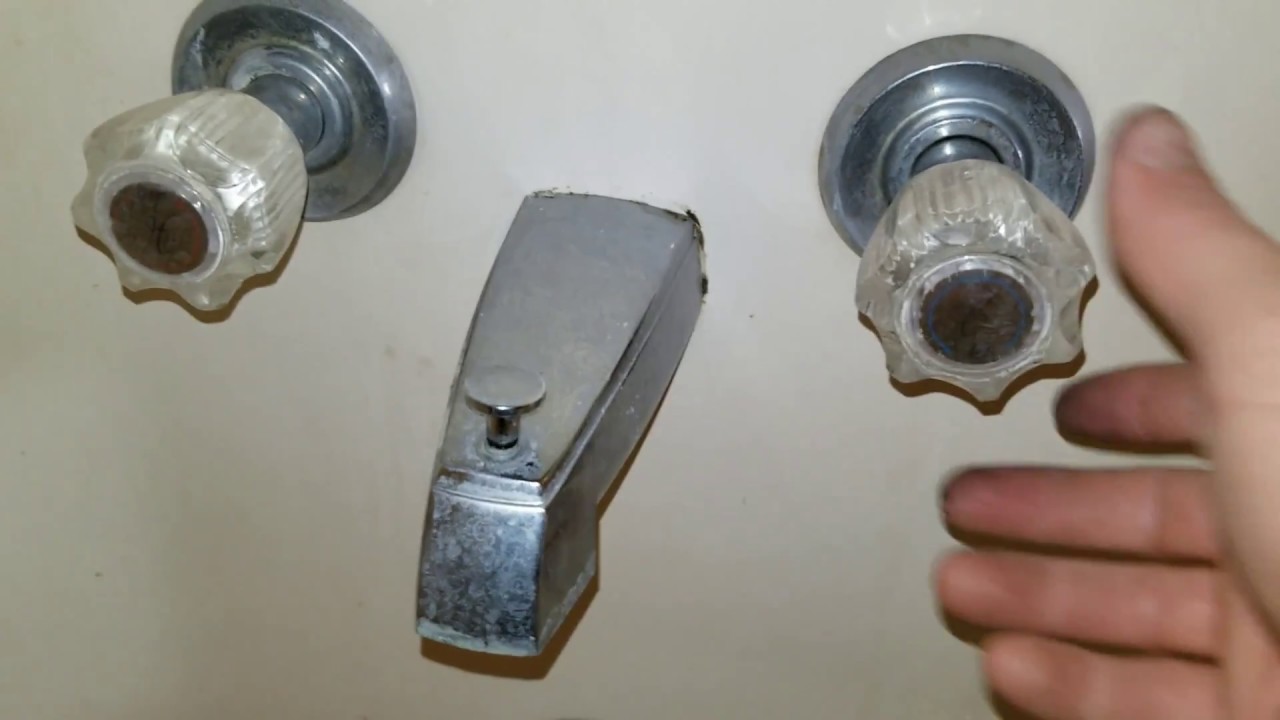
Step 2: Remove the Faucet Handle
To access the cartridge or valve responsible for causing leakage, you need to remove the handle of the faucet. Use a screwdriver to remove any screws on top of the handle or underneath it. Once all screws are removed, gently lift off the handle from its base.
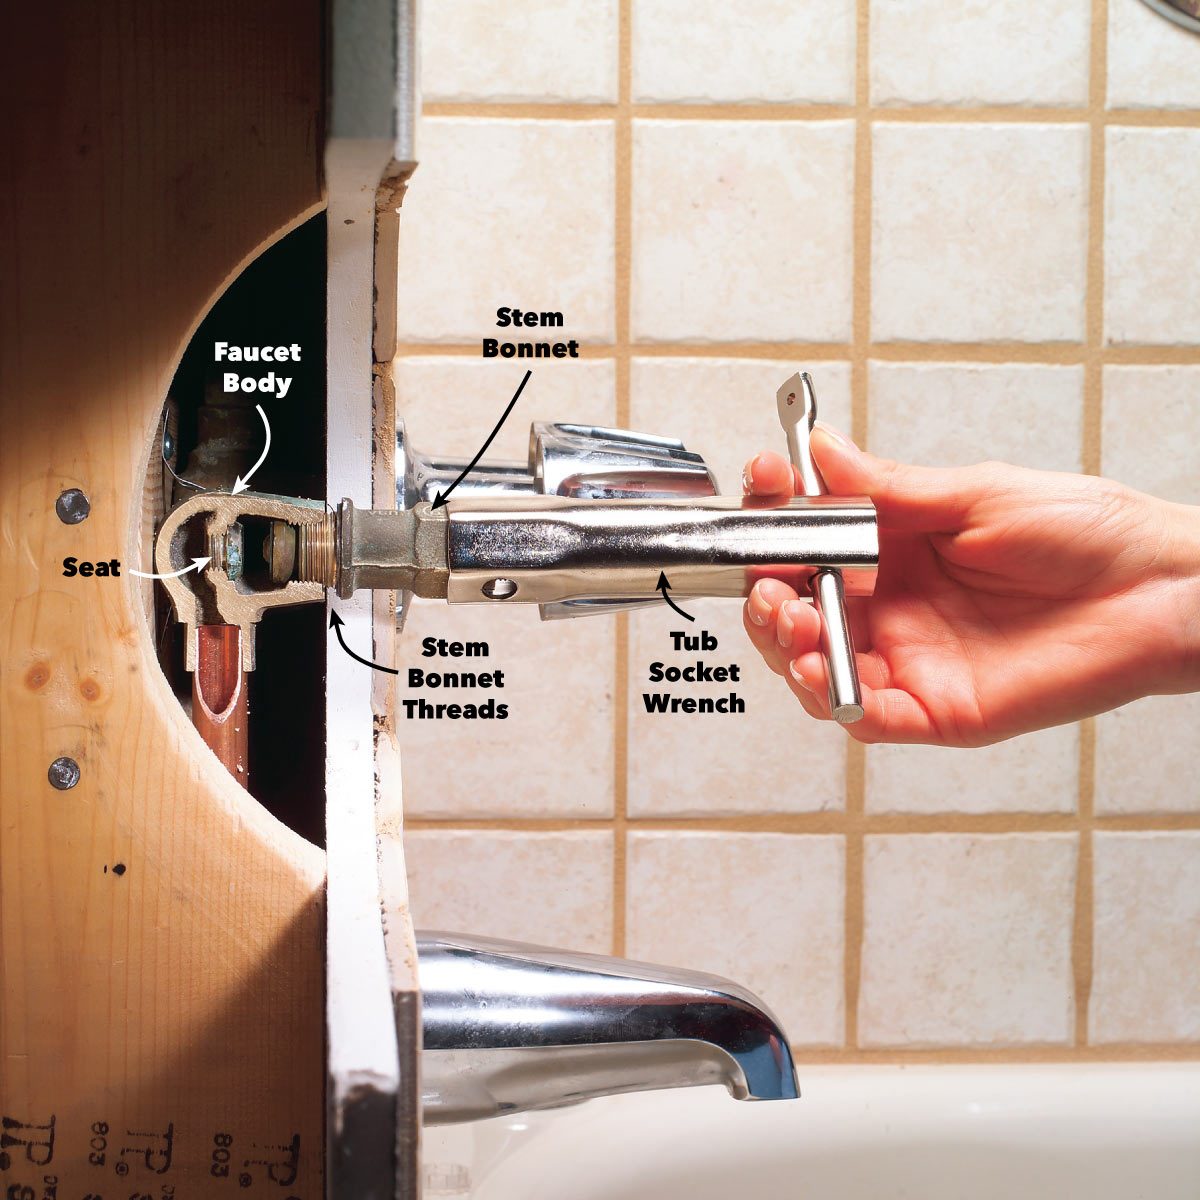
Step 3: Remove the Cartridge or Valve
After removing the handle, you can access the cartridge or valve that is causing the leakage. Use an adjustable wrench to loosen and remove the cartridge or valve from its housing.
Step 4: Replace the Cartridge or Valve
Replacing the faulty cartridge or valve is the most crucial part of fixing a leaky faucet. You need to match the replacement part with the one you removed to ensure compatibility. Follow the manufacturer’s instructions to install the new cartridge or valve, and reassemble all parts in reverse order.
Step 5: Reassemble and Test
Once you have completed all repairs, reassemble all parts in reverse order. Turn on the water supply and test your faucet for any leaks. If there are no leaks, congratulations! You have successfully fixed your bathroom faucet.
What causes a leaky faucet?
A leaky faucet can be caused by various issues such as worn-out cartridges, damaged valves, loose components, corroded pipes, or improper installation.
How much does it cost to repair a leaky faucet?
The cost of repairing a leaky faucet varies depending on several factors such as the severity of damage, location of the leak, and type of faucet. On average, it can cost between $100 to $200 for professional plumbing services.
Can I use any replacement part for my faucet?
No. You need to match the replacement part with your specific faucet model and brand to ensure compatibility.
How to Fix a Loose Faucet
A loose faucet can be caused by various reasons such as worn-out washers or nuts, loose mounting screws, or a damaged O-ring. A loose faucet can be annoying and even dangerous if left unattended as it can lead to water damage under your sink. Here’s how to fix a loose bathroom faucet.
Step 1: Turn off Water Supply
As with any repair, the first step is to turn off the water supply to prevent any water from flowing out.
Step 2: Remove the Faucet Handle
Remove the faucet handle using a screwdriver and set it aside.
Step 3: Tighten Mounting Screws or Nuts
Use an adjustable wrench to tighten any loose mounting screws or nuts found at the base of the faucet. Check if the faucet is still loose and proceed to the next step if it is.
Step 4: Replace Washers or O-rings
If tightening the screws or nuts doesn’t solve the problem, you may need to replace worn -out washers or O-rings. Remove the mounting screws or nuts and lift off the faucet from its base. Replace any damaged washers or O-rings with new ones of the same size and reassemble all parts in reverse order.
Step 5: Test and Reassemble
Turn on the water supply and test your faucet to ensure it is no longer loose. If there are no issues, reassemble all parts in reverse order.
Can a loose faucet cause water damage?
Yes, a loose faucet can cause water damage if left unattended as it can cause water to leak under your sink.
How often should I check for a loose faucet?
It’s recommended to check for a loose faucet every six months to prevent any potential damage.
Can I fix a loose faucet without professional help?
Yes, you can fix a loose faucet by following the steps outlined above. However, if you’re not confident in your abilities, it’s best to seek professional help to avoid causing further damage.