Repairing a Moen bathroom faucet with two handles is a common DIY task that can save you time and money. Whether your faucet is leaking, dripping, or has other issues, here’s a step-by-step guide to help you get your Moen two-handle faucet working like new. Start by turning off the water supply to the faucet. This can typically be done by shutting off the water valves located under the sink. After turning off the water, open the faucet to release any remaining water in the lines.

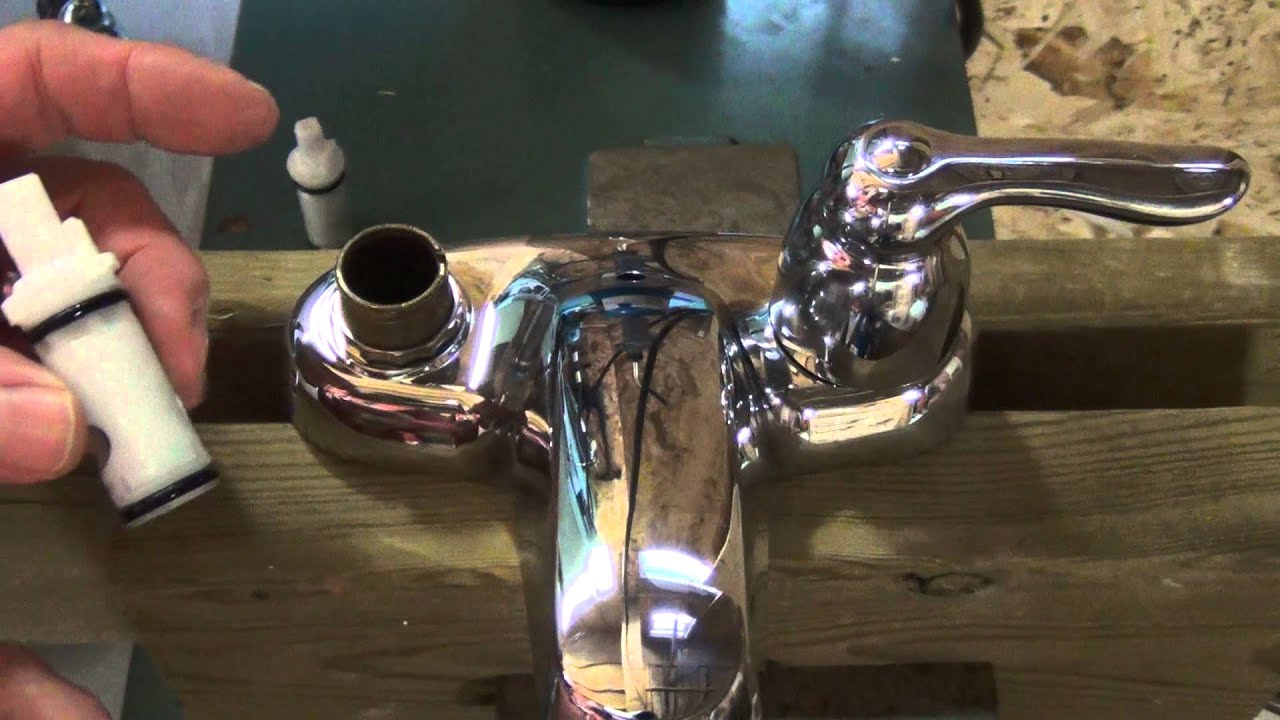
Next, you’ll need to disassemble the faucet. Moen faucets are known for their durability, but over time, the O-rings, washers, and cartridges inside may wear out and cause leaks. Begin by removing the decorative caps on the handles, which can usually be pried off with a flat-head screwdriver. Underneath, you’ll find screws that hold the handles in place. Remove these screws and carefully lift off the handles. Once the handles are removed, you’ll have access to the cartridges, which are a common source of leaks. Moen provides replacement cartridges specific to your faucet model, and you can easily find them at hardware stores or online. Gently pull out the old cartridge and insert the new one, making sure it’s seated properly. Reassemble the faucet by following the disassembly steps in reverse order, and turn on the water supply. Check for leaks and ensure the handles operate smoothly. If your Moen bathroom faucet still has issues, you may need to replace the spout or other components, and it might be a good idea to consult a professional plumber for more advanced repairs.

Repairing a Moen bathroom faucet with two handles can be a manageable DIY project if you follow the right steps and have some basic plumbing knowledge. By turning off the water supply, disassembling the faucet, and replacing worn-out components like cartridges, you can address common issues such as leaks and drips. However, for more complex problems or if you’re unsure about the repair process, it’s advisable to seek the expertise of a professional plumber. Regular maintenance and prompt repairs can extend the life of your Moen faucet and keep it functioning smoothly for years to come, saving you both time and money in the long run.
Images Related to How To Repair Moen Bathroom Faucet Two Handle
Moen 4570 Handle Fell Off. But Then I Fixed It. Hereu0027s How.
And when you feel as if renovating or redecorating your comfort space, one of the key components to take into consideration is the faucet which you’re planning to work with. And last but not the very least, brass faucets absolutely include class to your bathroom, giving you much more reason to showcase your bathroom’s facelift to friends as well as guests.
How to repair a set of leaky 2 handle Moen washerless faucets. Easiest faucet repair! Plumbing Tips!
Fixing a Leaking Moen Bathroom Faucet
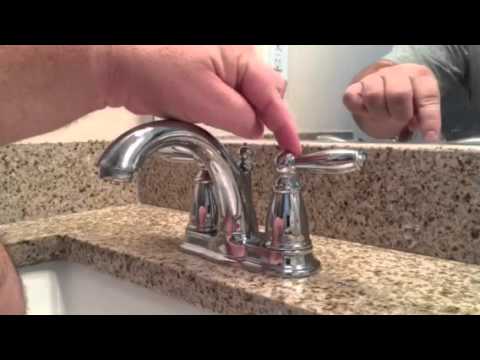
Tighten a Loose Lever on Moen Brantford Faucet
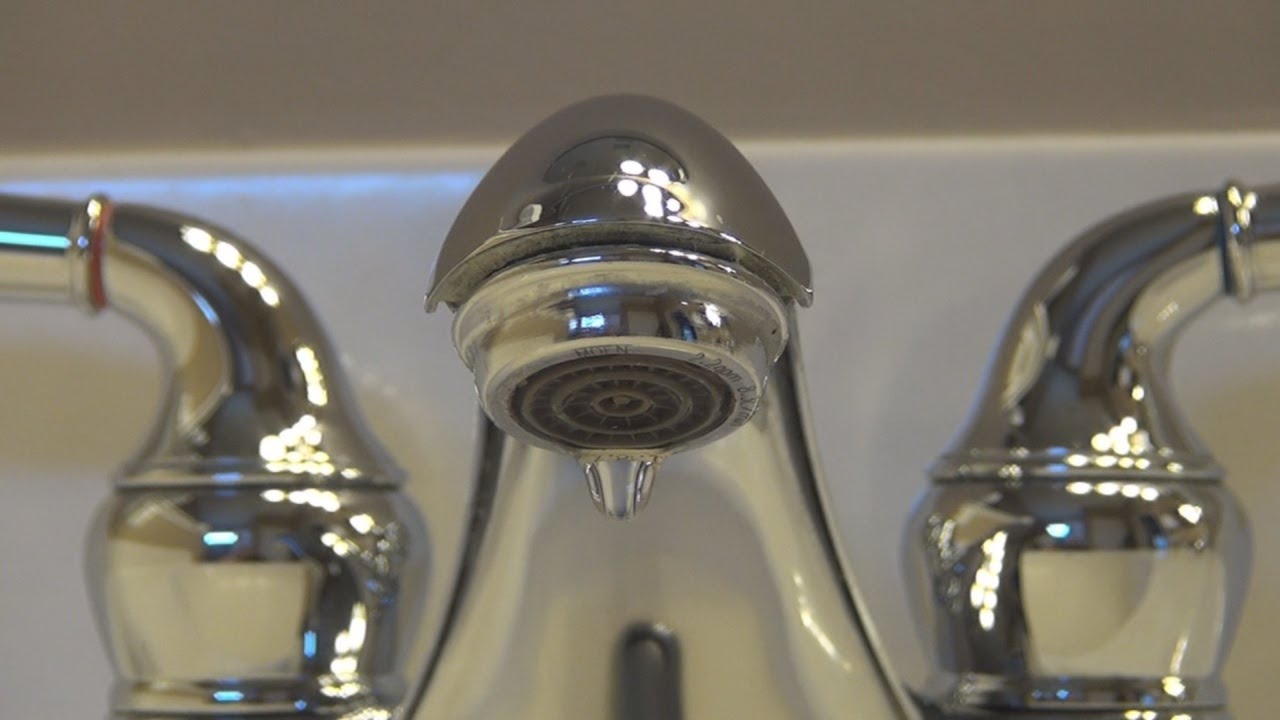
How To Fix a Dripping Moen Faucet (HowToLou.com)

How To Replace A Leaky Moen Faucet

MOEN 1224 Replacement Faucet Cartridge Kit Fits Most Double Handle
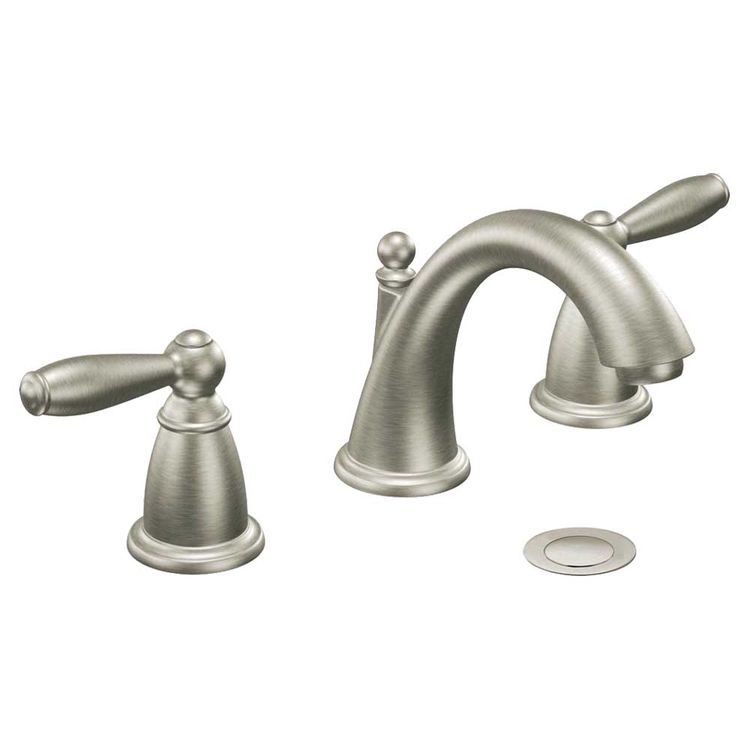
Moen T6620BN Two-Handle High Arc Bathroom Faucet, Brushed Nickel
MOEN 66411 Chrome Two-Handle Bathroom Faucet

Related articles:
- How To Repair Bathroom Faucet Leak
- Antique Nickel Bathroom Faucet
- Best Modern Bathroom Faucets
- Brass Gold Bathroom Faucets
- Bathroom Faucets For Pedestal Sinks
- Oil Rubbed Brass Bathroom Faucets
- Bathroom Faucet Polished Nickel
- Bathroom Faucets Double Handle
- How To Fix A Leaking Bathroom Faucet Handle
- Modern Brass Bathroom Faucets
How To Repair Moen Bathroom Faucet Two Handle
A Moen two-handle bathroom faucet is a popular choice for many homeowners. Its easy installation and simple design make it a great option for bathrooms of all sizes. Unfortunately, like any plumbing fixture, it can develop leaks and other problems over time. If you’re having trouble with your Moen two-handle bathroom faucet, don’t worry – it’s relatively easy to repair.
In this guide, we’ll walk you through the steps to repair your Moen two-handle bathroom faucet. With the right tools and a bit of patience, you can get your faucet back up and running in no time.
Getting Started: Gathering the Necessary Tools
Before attempting to repair your Moen two-handle bathroom faucet, you need to make sure you have all the necessary tools and supplies on hand. Here is a list of what you’ll need:
• Adjustable wrench or pliers
• Phillips head screwdriver
• Flathead screwdriver
• Replacement parts (as needed)
• Teflon tape
• Container to catch water
Now that you have everything ready, you can begin the repair process.
Step 1: Shut off the Water Supply
The first step in repairing your Moen two-handle bathroom faucet is to shut off the water supply. This will prevent any water from leaking out while you are working on the faucet. To do this, locate the shutoff valves underneath your sink and turn them clockwise until they are completely closed. Once this is done, open both handles of the faucet to release any remaining water pressure in the lines.
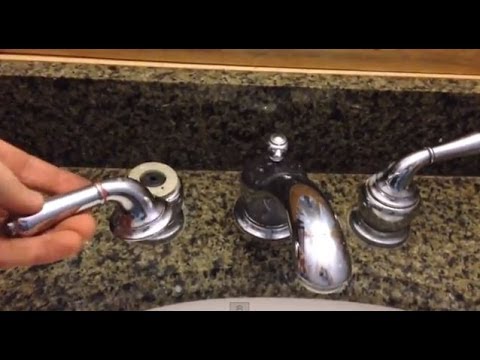
Step 2: Remove the Handles
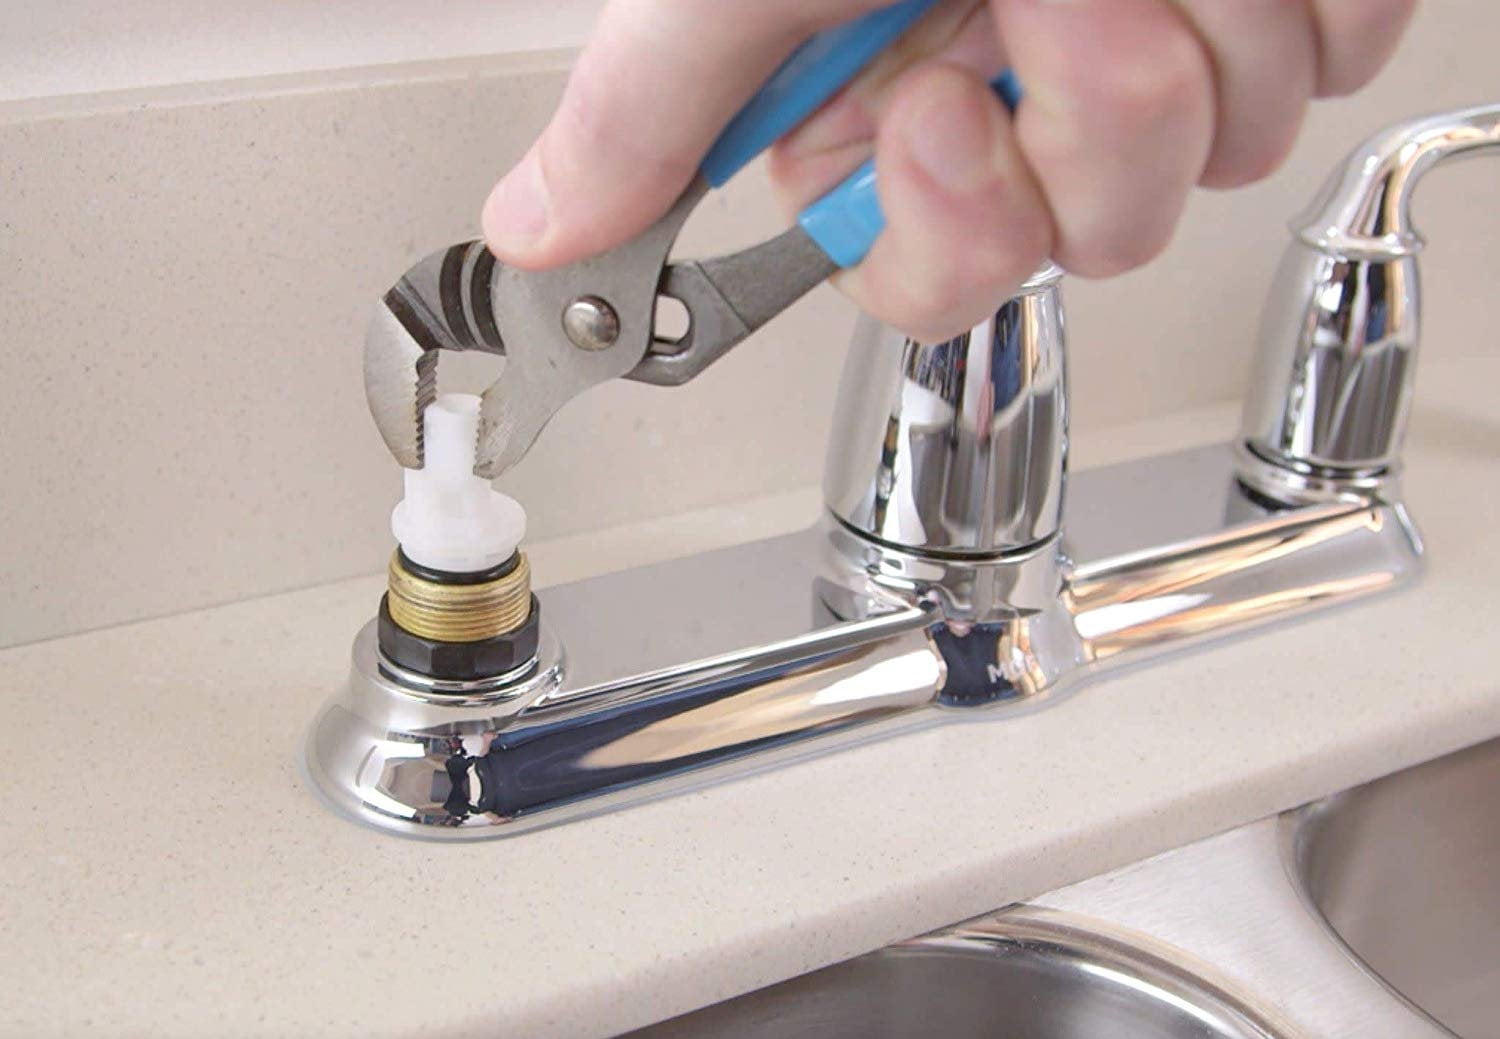
Next, use an adjustable wrench or pliers to remove the handles from the faucet. You may need to use a flathead screwdriver to loosen any screws that are holding them in place. Once they are loose, gently pull them away from the valve body and set them aside.
Step 3: Inspect for Leaks or Damage
Once you have removed the handles from your Moen two-handle bathroom faucet, inspect for any signs of damage or leaking. Look for signs of corrosion on the valve body or gaskets, as well as any evidence of water damage on nearby surfaces. If there is any visible damage or leaking present, replace all affected parts with new ones before continuing.
Step 4: Remove the Valve Body
Once you have inspected for leaks and damage, use an adjustable wrench or pliers to remove the valve body from the faucet base. You may need to use a flathead screwdriver to loosen any screws that are holding it in place before attempting to remove it. Once it is loose, gently pull it away from the base and set it aside. Step 5: Inspect Valve Body Gaskets
Now that you have removed the valve body from your Moen two-handle bathroom faucet, inspect its internal gaskets for any signs of damage or wear. If there is any visible damage present, replace all affected gaskets with new ones before continuing. Step 6: Reassemble Fixture
Once you have inspected and replaced all damaged parts on your Moen two-handle bathroom faucet, it is time to reassemble everything together again. Start by applying a small amount of Teflon tape to each threaded connection before attaching them together with an adjustable wrench or pliers. Make sure each connection is tightened securely before moving onto the next one. Step 7: Test Fixture
Once you have reassembled all parts of your Moen two-handle bathroom faucet, test it out by turning on both handles simultaneously and checking for any leaks or problems with its operation. If everything seems to be functioning properly, then congratulations – you have successfully repaired your Moen two-handle bathroom faucet! FAQs About Repairing Moen Bathroom Faucets Two Handle Q1: What type of tools do I Need to repair a Moen two-handle bathroom faucet?
A1: You will need an adjustable wrench or pliers, a Phillips head screwdriver, a flathead screwdriver, replacement parts (as needed), Teflon tape, and a container to catch water.
Q2: How do I know if I need to replace any parts on my Moen two-handle bathroom faucet?
A2: To determine if any parts need to be replaced, carefully inspect the valve body and gaskets for any signs of damage or leaking. If there is visible damage present, replace all affected parts with new ones before reassembling the faucet.
What tools are needed to repair a Moen bathroom faucet two handle?
Tools needed to repair a Moen bathroom faucet two handle include: adjustable wrench, flathead and Phillips head screwdrivers, needle-nose pliers, small bucket or container, and possibly a basin wrench. Additionally, you will need replacement parts (if necessary), Teflon tape, and possibly a shut-off valve.
What type of Moen faucet do I need to repair a two handle bathroom faucet?
The type of Moen faucet you need to repair a two handle bathroom faucet depends on the model of your current faucet. You can find the specific model number of your faucet by looking for a small metal tag located near the water supply lines. Once you have the model number, you can use it to determine which Moen replacement parts you need to repair the faucet.