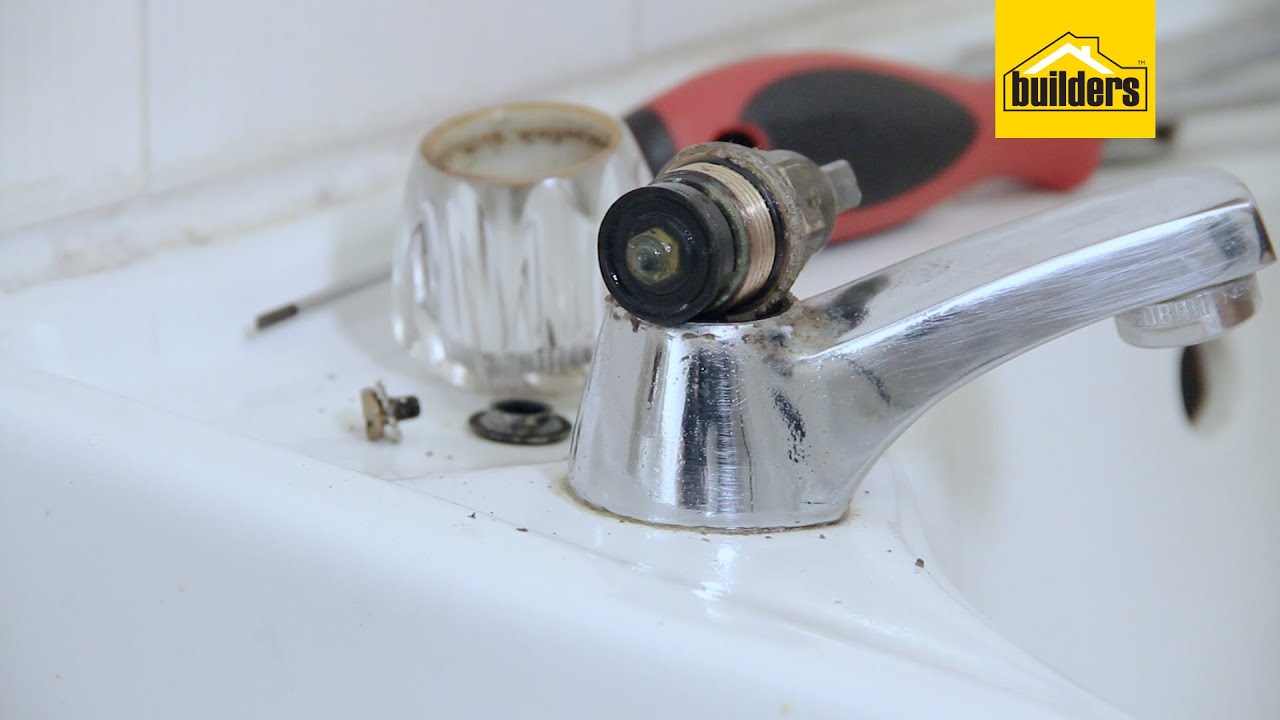
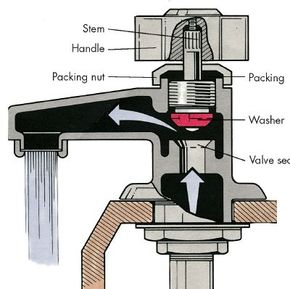
Replacing a bathroom faucet washer is a relatively straightforward process that can save you from the inconvenience of a leaky faucet. The first step is to turn off the water supply to the faucet. Locate the shut-off valves under the sink and turn them clockwise until they’re tightly closed. This ensures that no water will be flowing during the repair. Next, remove the faucet handle to access the problematic washer. This typically involves locating a screw or set screw, often hidden under a decorative cap, and using an appropriate screwdriver to loosen and remove it.
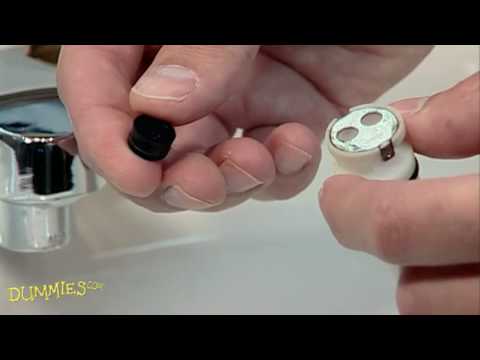
Once the handle is removed, you’ll have access to the stem assembly, which houses the old washer. The washer is a small, rubber or plastic disc that sits at the end of the stem and creates a seal to prevent water from leaking. Carefully remove the old washer and inspect it for signs of damage or wear. If it’s visibly worn or cracked, it’s time for a replacement. Take the old washer to a hardware store to find an identical or compatible replacement. Installing the new washer is as simple as placing it on the stem in the same position as the old one.
After replacing the washer, reassemble the faucet by reversing the steps you took to disassemble it. Tighten any screws or set screws securely, ensuring that the handle is snugly in place. Turn the water supply back on and test the faucet for leaks. If the repair was successful, you should no longer experience any dripping or water seepage. This step-by-step process allows you to address a leaky faucet efficiently, promoting water conservation and preventing potential water damage in your bathroom. Regularly checking and replacing faucet washers as needed can contribute to the overall maintenance and longevity of your plumbing fixtures.
Images Related to How To Replace A Bathroom Faucet Washer
Dripping Tap? How to change a Faucet Washer. Installation of a new tap. Leaking Bath sink basin
There are so many style options in bathroom faucets these days, that it is important to see how they will coordinate as well as fit in your bath. These faucets offer the highest quality in relation to durability, efficiency and convenience. Those with ceramic disc or maybe the cartridge models are much less vulnerable to leaking and will last longer.
How to Repair (Not Replace) Any Leaking Bathroom Faucet (Sink or
How to Change a Faucet Washer Plumbing By Jake

Dripping Delta faucet, replacing washers.

How to Fix a Washer Type Faucet Repair a Bathroom or Kitchen

How to Fix a Bathroom Faucet: 14 Steps (with Pictures) – wikiHow

How to Change a Tap Washer
How to Do Faucet Repairs: Tips and Guidelines HowStuffWorks
How to Fix a Leaky Faucet
How to Repair a Washerless Faucet. Plumbing Tips!

How to remove the handles from this faucet – Home Improvement

Related articles:
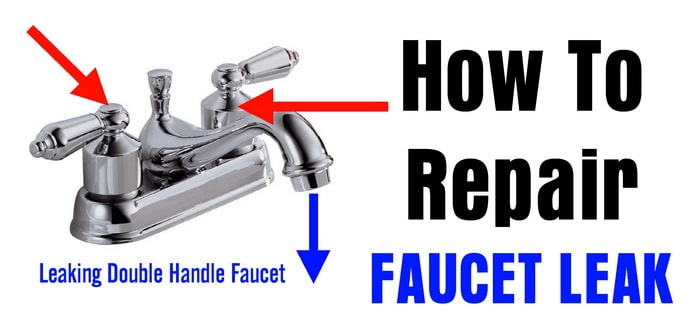
- How To Repair Bathroom Faucet Leak
- Antique Nickel Bathroom Faucet
- Best Modern Bathroom Faucets
- Brass Gold Bathroom Faucets
- Bathroom Faucets For Pedestal Sinks
- Oil Rubbed Brass Bathroom Faucets
- Bathroom Faucet Polished Nickel
- Bathroom Faucets Double Handle
- How To Fix A Leaking Bathroom Faucet Handle
- Modern Brass Bathroom Faucets
How To Replace A Bathroom Faucet Washer
Replacing a bathroom faucet washer is something that many homeowners can easily do. It is an inexpensive and straightforward way to fix common issues such as a leaky faucet. By following the simple steps below, you can replace a bathroom faucet washer quickly and easily.
Preparing for the Job
Before attempting to replace the washer, it’s important to be fully prepared for the job. The most important items to have are a screwdriver, adjustable wrench, and new washer. Make sure that you have these items before beginning the job, as it will save time and make it easier. Additionally, you should turn off the water supply to the faucet before beginning any work. This will ensure that you don’t get any unexpected surprises while working on the faucet.
Removing the Old Washer
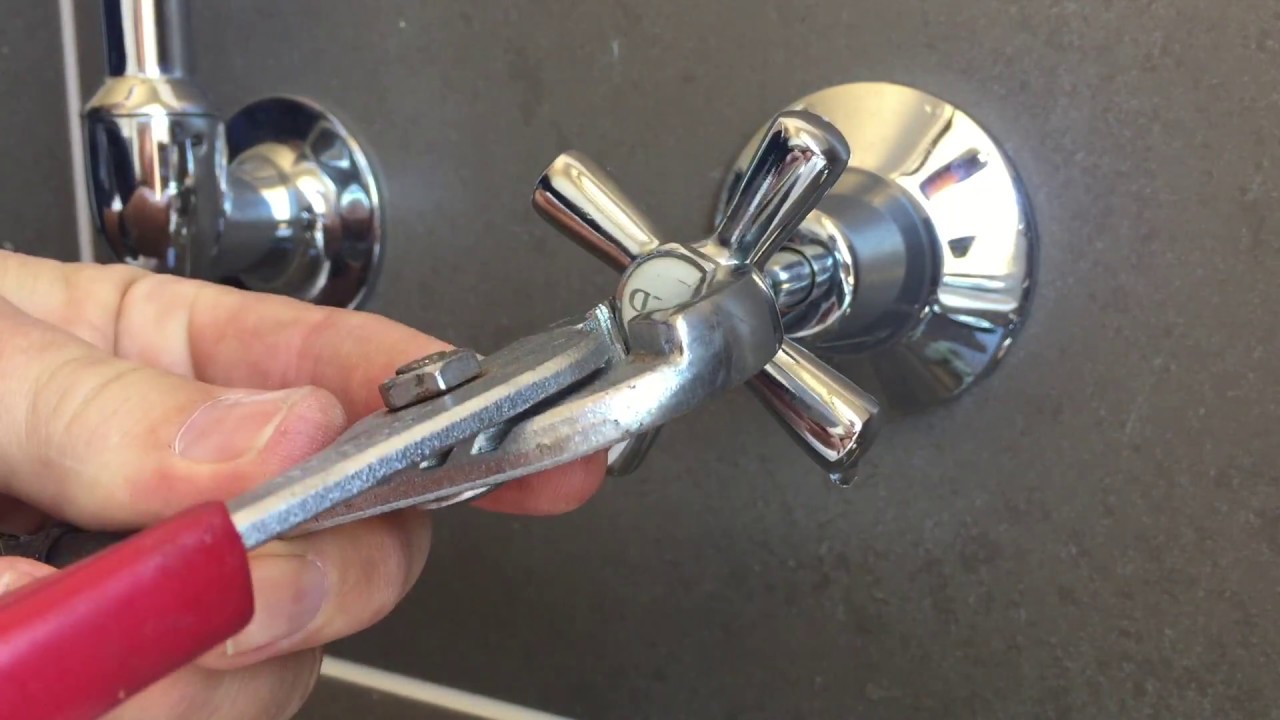
Once everything is ready, it’s time to remove the old washer and begin replacing it with a new one. Begin by using an adjustable wrench or pliers to loosen the nut at the base of the faucet handle. Once this nut is loose, use a screwdriver to remove the screw that holds the handle in place. Once this is done, the handle should come off easily, exposing the washer beneath it. Use an adjustable wrench or pliers to loosen and remove this nut as well. Once this is done, you should be able to pull off the old washer from beneath the handle.
Installing The New Washer
Now that you have removed the old washer, it’s time to install a new one. Begin by placing the new washer into place beneath the faucet handle. Make sure that it is snugly in place before proceeding. Then use an adjustable wrench or pliers to tighten up the nut beneath it so that it won’t move around when in use. After this is done, use a screwdriver to secure the handle back into its original position. Once all of these steps are complete, you should be able to turn on your water supply and enjoy a leak-free bathroom faucet!
FAQs
What kind of tools do I need?
You will need a screwdriver, adjustable wrench or pliers, and a new washer for this job.
How do I turn off my water supply?
This will depend on your particular water supply system, but typically you will want to locate your main shutoff valve and turn it off before beginning any repairs on your faucet.
Can I use an old washer?
No – you should always use a new washer when replacing an old one as they are designed specifically for their purpose and using an old one could lead to further damage or leaks down the line.
What tools are needed to replace a bathroom faucet washer?
- Flathead and Phillips head screwdriver
- Adjustable wrench
- Channel-type pliers
- Replacement washer
- Teflon tape (optional)
What kind of tools are needed to remove a bathroom faucet?
The tools needed to remove a bathroom faucet typically include an adjustable wrench, a basin wrench, and possibly a pair of pliers. Depending on the type of faucet, you may also need a screwdriver.
What type of wrench is needed to remove a bathroom faucet?
A basin wrench is typically used to remove a bathroom faucet. This type of wrench has a long, flexible handle and an open-ended jaw that can reach behind the faucet to loosen it. An adjustable wrench or pliers may also be used in some cases.
What tools are needed to fix a bathroom faucet?
Tools needed to fix a bathroom faucet include: adjustable wrench, screwdriver, pliers, basin wrench, pipe wrench, hex key set and a crescent wrench. Additionally, depending on the type of faucet, you may need a flathead screwdriver, a Phillips head screwdriver and/or Teflon tape.
What type of wrench is needed to fix a bathroom faucet?
A basin wrench is typically used to fix a bathroom faucet. This type of wrench has a long, flexible handle and an open-ended jaw that can reach behind the faucet to loosen it. An adjustable wrench or pliers may also be used in some cases.
What is the size of the wrench needed to fix a bathroom faucet?
The size of the wrench needed to fix a bathroom faucet will depend on the type of faucet you have. If you have a compression-style faucet, you will need an adjustable wrench or a basin wrench. If you have a cartridge-style faucet, you will need a socket wrench with an appropriate sized hex head.
What size of wrench is needed to remove a bathroom faucet?
Depending on the type of faucet, a wrench size of 11/16 or 3/8 may be needed. If you have a compression-style faucet, you will need an adjustable wrench or a basin wrench. If you have a cartridge-style faucet, you will need a socket wrench with an appropriate sized hex head.
What tools are needed to remove a bathroom faucet?
- Adjustable wrench
- Phillips head screwdriver
- Flathead screwdriver
- Pliers
- Sponge or cloth to clean up any debris or water
- Basin wrench
- Pipe wrench
- Hex key set (optional)
- Crescent wrench (optional)
What type of wrench is needed to remove a bathroom faucet?
A basin wrench is usually the most effective tool for removing bathroom faucets.