Replacing the O-ring in a bathroom faucet is a practical DIY task that can fix a common issue – leaks around the faucet handle. Over time, O-rings can wear out or become damaged, causing water to seep out and potentially leading to water wastage and damage to your fixtures. Here, we’ll guide you through the step-by-step process of replacing the O-ring in a bathroom faucet.
Gather Your Tools and Materials: Before you begin, it’s essential to have the necessary tools and materials ready. You’ll typically need an adjustable wrench, pliers, a screwdriver (usually Phillips or flat-head, depending on your faucet), and a replacement O-ring that matches the size and style of your faucet. It’s a good idea to turn off the water supply to your faucet before starting the repair.
Disassemble the Faucet Handle: Start by removing the faucet handle. Usually, there is a decorative cap or cover on top of the handle that can be pried off with a flat-head screwdriver. Underneath, you’ll find a screw that attaches the handle to the faucet stem. Use the appropriate screwdriver to remove this screw and gently lift off the handle.
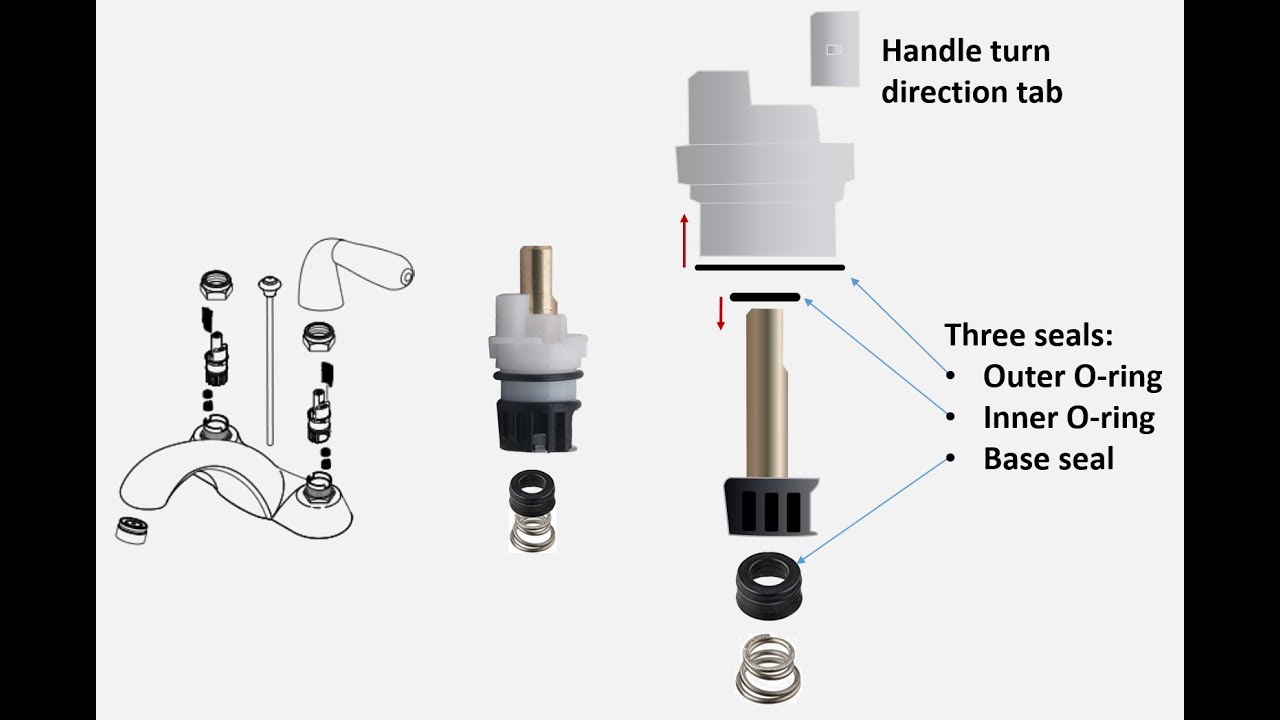
Access the O-ring: With the handle removed, you’ll now have access to the O-ring. The O-ring is typically located around the base of the faucet stem, creating a seal between the stem and the faucet body. Use pliers or your fingers to carefully remove the old O-ring. Take note of its size and thickness as you’ll need this information when purchasing a replacement.
Replace the O-ring: Once the old O-ring is removed, slide the new O-ring onto the faucet stem in the same position as the old one. Ensure it sits snugly and creates a proper seal. Applying a small amount of silicone grease to the O-ring can help ensure a watertight seal and ease future maintenance.

Reassemble the Faucet: With the new O-ring in place, reattach the faucet handle by reversing the steps you took to remove it. Tighten the screw securely, but be careful not to overtighten, as this can damage the handle or the faucet.
Test for Leaks: Turn the water supply back on and slowly open the faucet to test for any leaks. If you notice any leaks, double-check the tightness of the handle and make sure the O-ring is correctly seated.
Replacing the O-ring in a bathroom faucet is a straightforward DIY repair that can save you money on water bills and prevent further damage to your fixtures. By following these steps and taking your time, you can successfully replace the O-ring and restore your faucet to a leak-free condition. If you’re unsure or encounter any difficulties during the process, it’s always a good idea to consult a professional plumber for assistance.
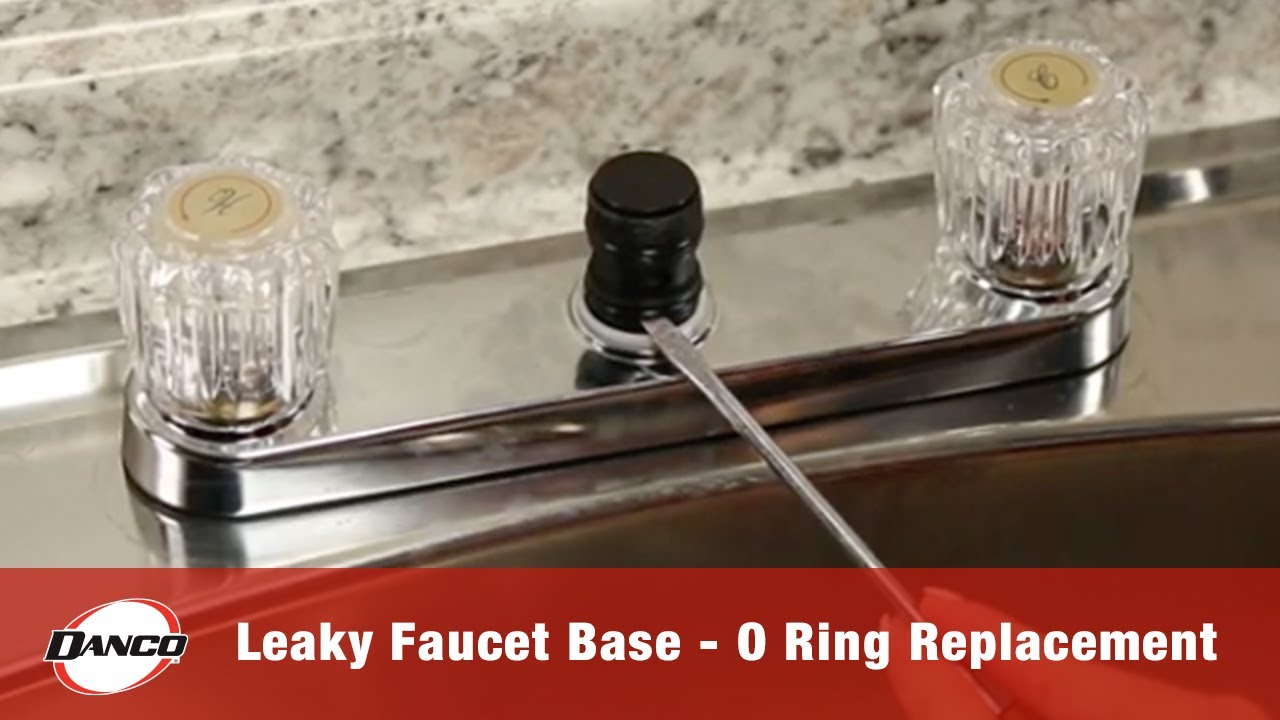
Leaky Faucet Base u2013 O-Ring Replacement
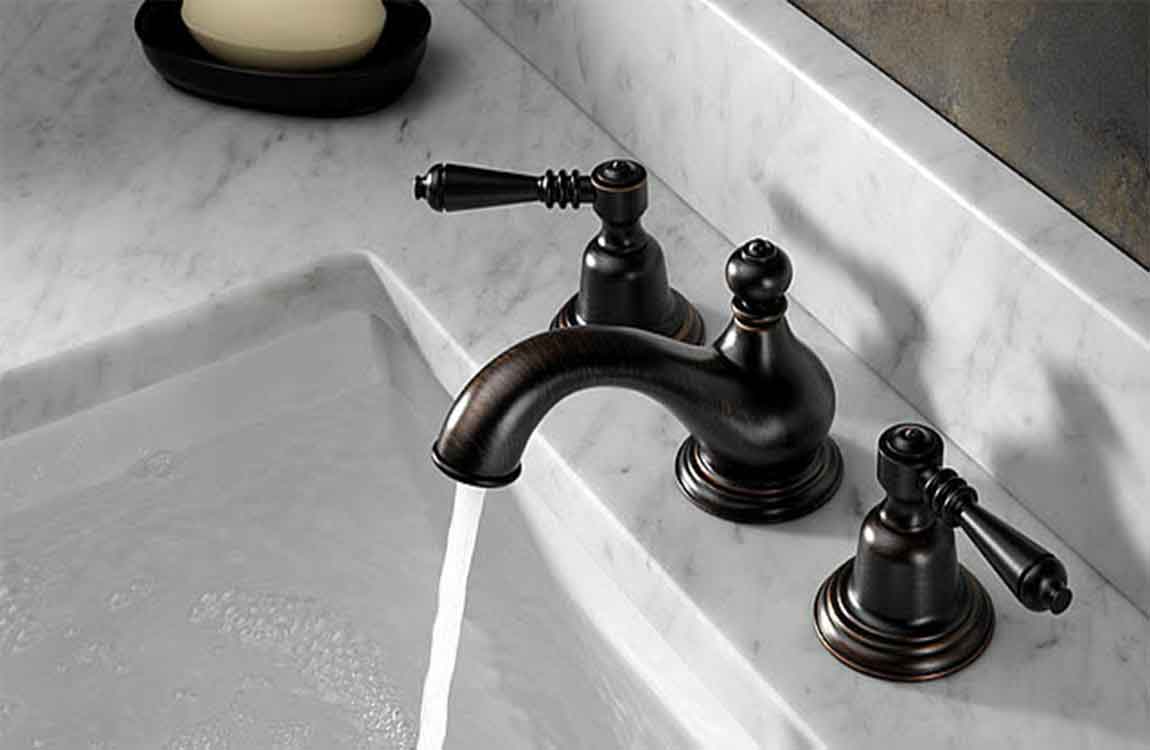
Replacing the aged faucets of yours with the contemporary and sleek styles of Delta bathroom faucets will considerably add to the looks of the bath room of yours. From the two types of handles, two-fold handles are a lot more standard. The spigot and each treat are different assemblies which are mounted into the respective holes of theirs as three separate units.
Quickly Fix a Leaky Faucet Cartridge (DIY) Family Handyman

faucet (grohe arden?) leak. how do i remove the handle, get to the
Shower Handle O-ring Replacement – iFixit Repair Guide

How to Fix a Bathroom Faucet: 14 Steps (with Pictures) – wikiHow

Quickly Fix a Leaky Faucet Cartridge (DIY) Family Handyman

How to Fix a Bathroom Faucet? Barana Sanitary Wares
Moen Bathroom Faucet Repair – Moen 1225

How to replace the o-rings on this faucet and handle so they stop

How to Replace an O-Ring in a Moen Faucet

How to Repair a 2-Handle Cartridge Faucet
/repair-a-two-handle-cartridge-faucet-1824887-hero-46a7f7b8303a40e88a3efea73c3381d3.jpg)
Related articles:
- Black Bathroom Faucets For Sale
- Moen Adler Single Handle Bathroom Faucet
- Bathroom Faucet Repair Single Handle
- Bathroom Faucet Drain Stopper
- Black Nickel Bathroom Faucet
- Bathroom Faucet Extractor
- Kohler Two Handle Bathroom Faucet Repair
- Gerber Bathroom Faucet Repair
- Kohler 8 Inch Bathroom Faucets
- 1 Handle Bathroom Faucets
How To Replace The O Ring In A Bathroom Faucet
Replacing the O ring in a bathroom faucet is a fairly easy task that can be done by most do-it-yourselfers. It is important to know how to replace the O ring so that you can keep your faucet in good working order and prevent any future problems. By following these simple steps, you can easily replace the O ring in your bathroom faucet and keep it running smoothly.
Gather Your Tools
Before you begin, make sure you have all the tools you will need. You will need an adjustable wrench, a Phillips head screwdriver, needle nose pliers, and a replacement O ring. You may also need some lubricant or pipe joint compound if there are any corroded connections. It is also helpful to have some rags or paper towels handy for cleaning up any messes that may occur during the repair process.
Remove the Faucet Handle
The first step is to remove the faucet handle. Most handles simply unscrew from the valve stem using an adjustable wrench. If necessary, use needle nose pliers to loosen any stuck screws or connections. Once the handle is removed, set it aside and prepare to remove the valve stem.
Take Off The Valve Stem
Next, use a Phillips head screwdriver to remove the valve stem from its housing. This can usually be done by unscrewing the screw at the base of the stem or by gently prying off the stem with a flathead screwdriver. Once you have removed the valve stem, use a rag or paper towel to clean up any excess lubricant or moisture that may have been left behind.
Replace The O Ring
Now it’s time to replace the old O ring with a new one. Remove the old O ring and discard it. Then, apply a light layer of lubricant or pipe joint compound to both sides of the new O ring before carefully placing it onto the valve stem. Make sure that it is properly seated and not twisted or bent in any way before continuing on to reassemble your faucet handle and valve stem.
Put Back The Valve Stem & Reassemble The Handle
Once your new O ring is in place, reassemble your faucet handle by reversing the steps from earlier in this article. First, insert your valve stem back into its housing and tighten any screws with a Phillips head screwdriver as needed. Then, reattach your faucet handle using an adjustable wrench and make sure everything is securely fastened before testing out your newly replaced O ring.
FAQs About Replacing The O Ring In A Bathroom Faucet
Q: What tools do I need to replace my bathroom faucet’s O ring?
A: You will need an adjustable wrench, a Phillips head screwdriver, needle nose pliers, and a replacement O ring. You may also need some lubricant or pipe joint compound if there are any corroded connections. It is also helpful to have some rags or paper towels handy for cleaning up any messes that may occur during the repair process.
Q: How do I remove my faucet handle?
A: Most handles simply unscrew from the valve stem using an adjustable wrench. If necessary, use needle nose pliers to loosen any stuck screws or connections before carefully removing it from its housing.
Q: How do I install my new O ring?
A: Before installing your new O ring, apply a light layer of lubricant or pipe joint compound to both sides of it before carefully placing it onto the valve stem. Make sure that it is properly seated and not twisted or bent in any way before continuing on to reassemble your faucet handle and valve stem .
What tools are needed to replace an O-ring in a bathroom faucet?
Tools needed to replace an O-ring in a bathroom faucet include:
– Adjustable wrench
– Flathead screwdriver
– Pliers
– Replacement O-ring
– Penetrating oil (optional)
– Lubricant or pipe joint compound (optional)
– Rags or paper towels (optional)
What type of lubricant should be used when replacing an O-ring in a bathroom faucet?
Silicone-based lubricant should be used when replacing an O-ring in a bathroom faucet. This will help ensure a tight seal and prevent any leaks. It’s also important to make sure that the O-ring is properly seated and not twisted or bent in any way before reassembling the faucet handle and valve stem.
What tools are needed to replace an O-ring in a bathroom faucet?
To replace an O-ring in a bathroom faucet, you will need a flathead screwdriver, needle-nose pliers, and a replacement O-ring. You may also need lubricant or pipe joint compound and a rag or paper towel to clean up any messes that may occur during the repair process.
What is the best way to remove an O-ring from a bathroom faucet?
The best way to remove an O-ring from a bathroom faucet is to use a pair of needle-nose pliers to gently pull it off. Make sure not to grab the O-ring too tightly and be careful not to damage it while removing it.
What tools are needed to remove an O-ring from a bathroom faucet?
To remove an O-ring from a bathroom faucet, you will need a flathead screwdriver, pliers, and a pair of needle-nose pliers.