Repairing a Kohler bathroom faucet can be a cost-effective and environmentally friendly way to address common issues like leaks and drips. Kohler, a trusted name in plumbing fixtures, has designed their faucets with repairability in mind. In this comprehensive guide, we’ll walk you through the essential steps for repairing your Kohler bathroom faucet, ensuring it continues to function flawlessly for years to come.
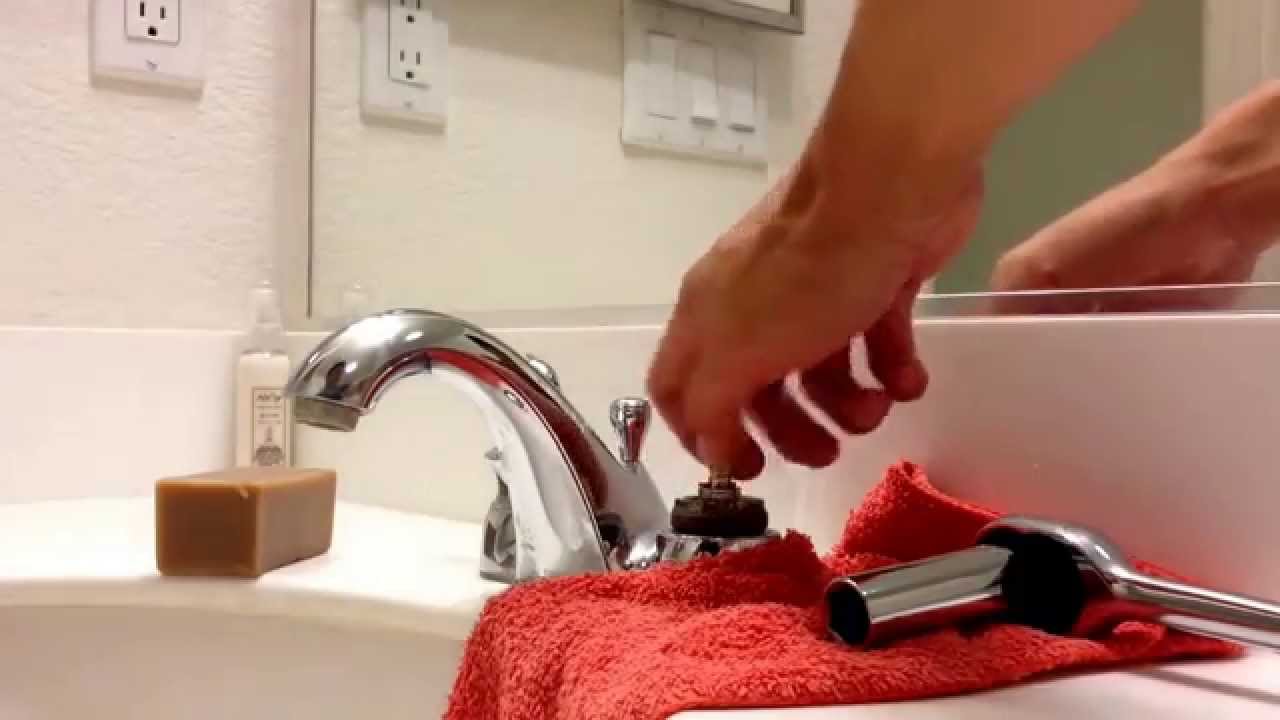
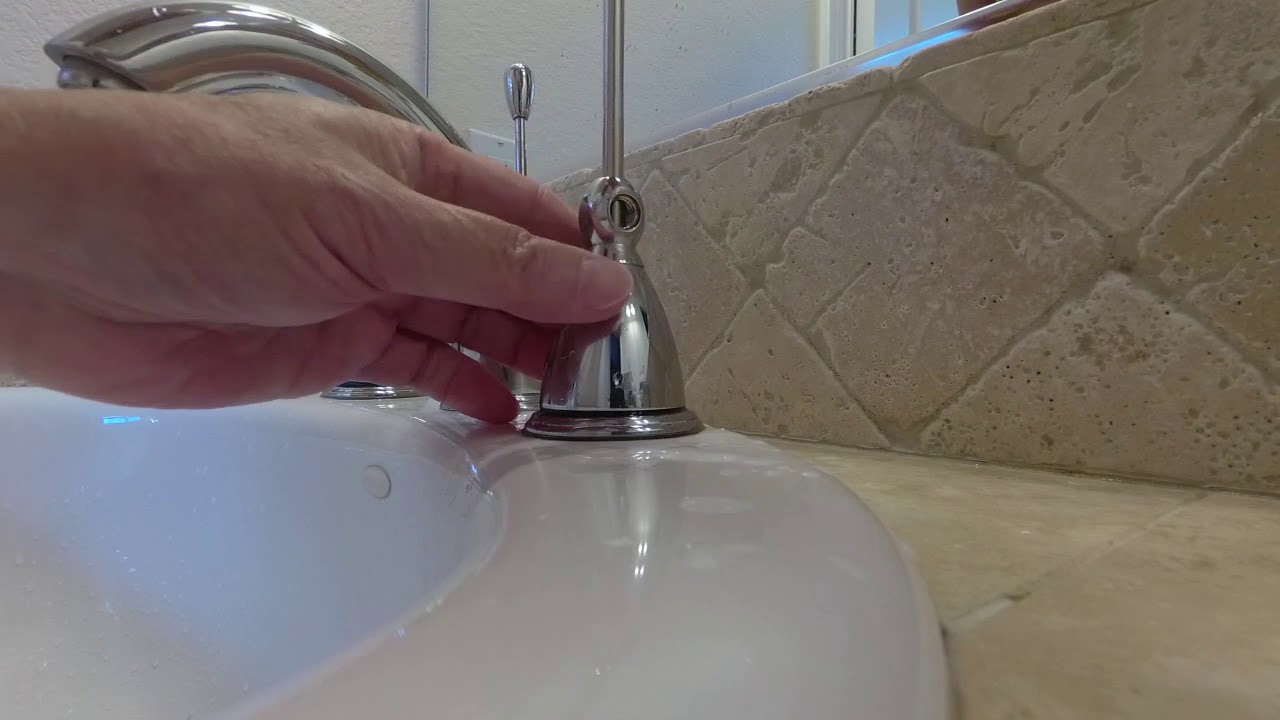
The first step in any faucet repair is identifying the problem. If your Kohler faucet is leaking or dripping, it’s often due to worn-out internal components, such as the cartridge or O-rings. Start by turning off the water supply to the faucet, which is typically done by shutting off the valves located under the sink. Next, disassemble the faucet by removing the handle, which usually involves locating a small screw or cap and using an appropriate tool.
Once the handle is removed, you can access the cartridge or valve, which may need replacement. Kohler provides detailed instructions in their product manuals or on their website, including diagrams and part numbers to make the process easier. Replace the damaged components, reassemble the faucet, and turn the water supply back on. Regular maintenance and timely repairs can extend the lifespan of your Kohler bathroom faucet and prevent water wastage.

In addition to repairing leaks, Kohler bathroom faucets may require occasional cleaning to maintain their aesthetic appeal. Over time, mineral deposits and soap scum can build up on the faucet’s surface, affecting its shine and appearance. To clean your Kohler faucet, start by using a mild, non-abrasive cleaner and a soft cloth or sponge. Avoid using abrasive pads or harsh chemicals, as they can damage the faucet’s finish.
Rinse thoroughly with water and dry the faucet with a clean, soft cloth to prevent water spots. For stubborn stains or mineral buildup, you can use a mixture of equal parts white vinegar and water to gently dissolve the deposits. Apply the solution with a soft cloth, let it sit for a few minutes, and then rinse and dry as usual. Regular cleaning not only keeps your Kohler bathroom faucet looking beautiful but also helps maintain its functionality by preventing clogs and blockages.
Kohler Forte Faucet Troubleshooting u0026 Repair Guide

Kohler Widespread Lavatory Faucet K-12265-4 eReplacementParts.com
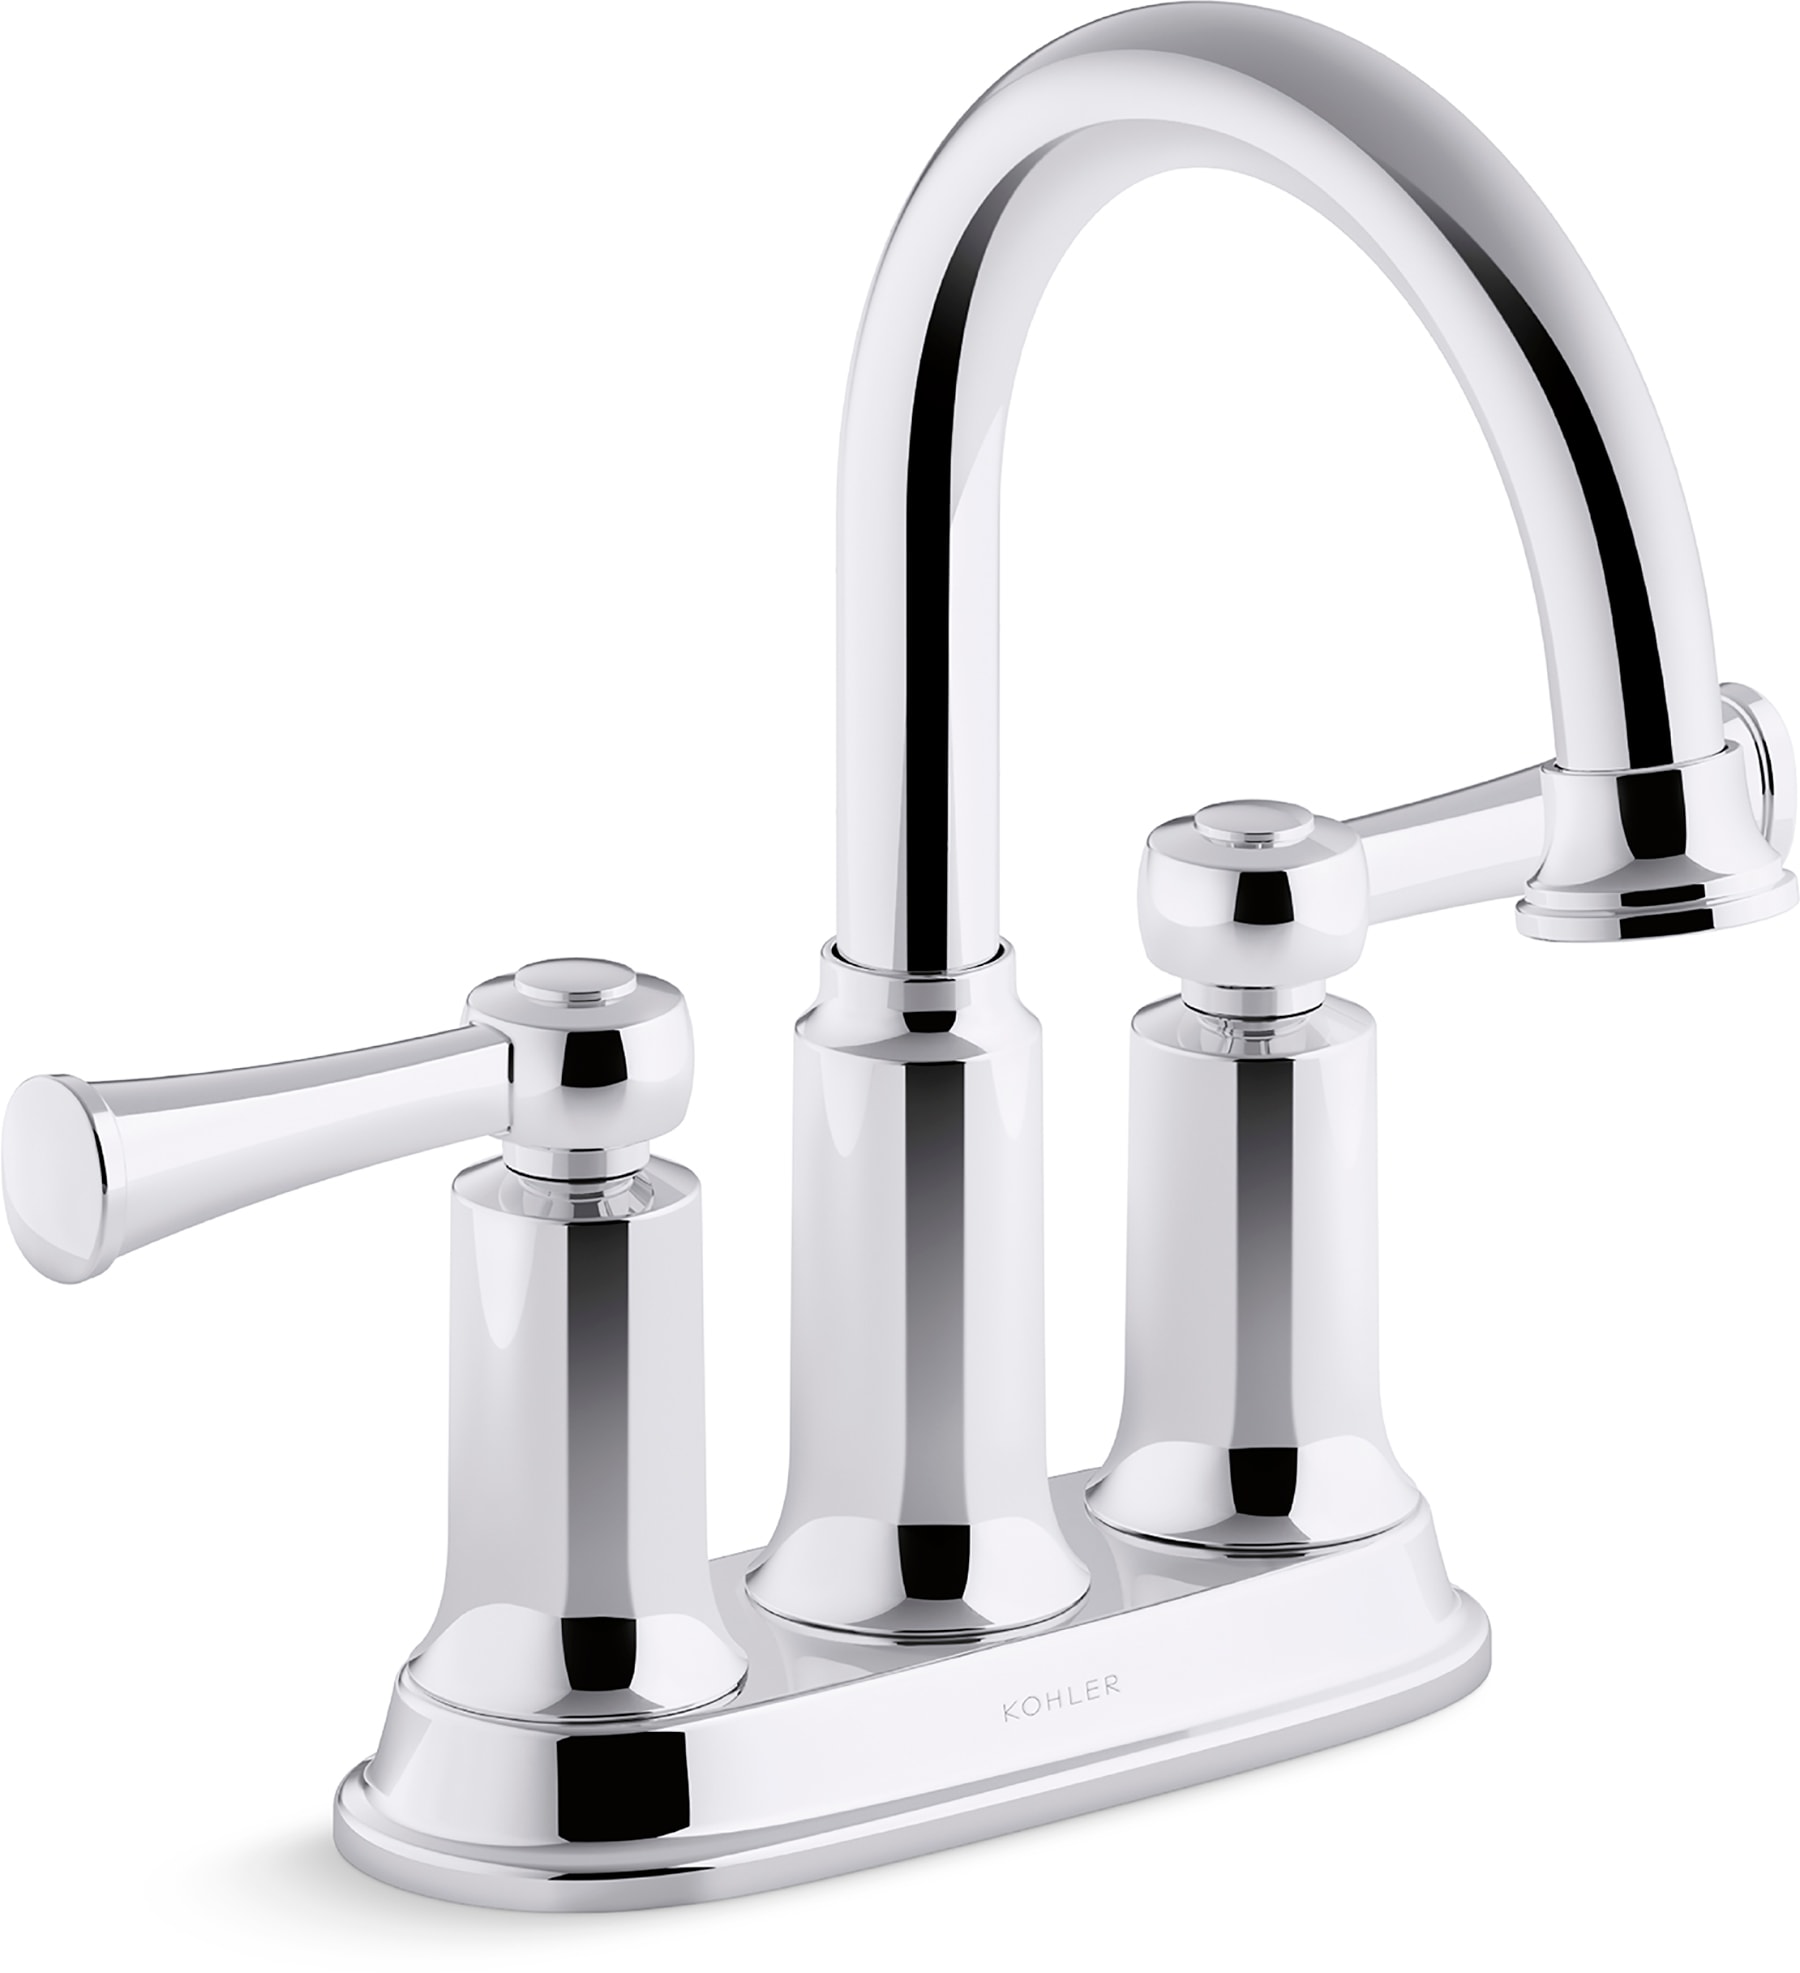
KOHLER Aderlee Polished Chrome 2-Handle 4-in centerset WaterSense
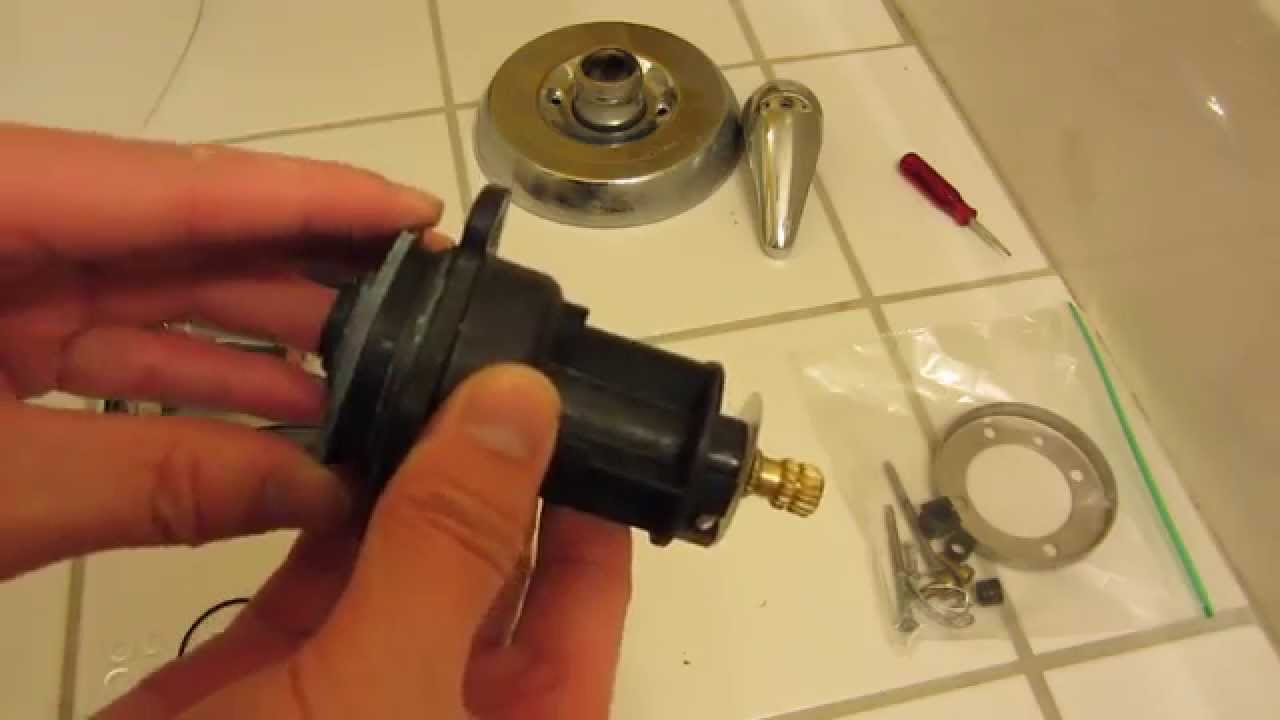
Kohler Shower Repair in HD Part 2 – Close-up of Replacement Parts
Maintenance u0026 Replacement Parts KOHLER
u0026$PartLanding$)
Kohler bathroom faucet Terry Love Plumbing Advice u0026 Remodel DIY

Related articles:
- How To Repair Bathroom Faucet Leak
- Antique Nickel Bathroom Faucet
- Best Modern Bathroom Faucets
- Brass Gold Bathroom Faucets
- Bathroom Faucets For Pedestal Sinks
- Oil Rubbed Brass Bathroom Faucets
- Bathroom Faucet Polished Nickel
- Bathroom Faucets Double Handle
- How To Fix A Leaking Bathroom Faucet Handle
- Modern Brass Bathroom Faucets
Kohler Bathroom Faucets Repair Instructions
Kohler bathroom faucets are some of the most popular fixtures available on the market today. Whether you’re looking for a new sink or updating your existing plumbing, Kohler has a wide selection of products to meet your needs. While most of these faucets are designed for easy installation and minimal maintenance, there may come a time when you need to repair your Kohler faucet. The good news is that repairing Kohler bathroom faucets is a relatively straightforward process that can be completed with minimal tools and supplies. This article will provide detailed instructions on how to complete the repair process.
Tools and Supplies Needed
Before attempting any repairs, it is important to make sure you have all the necessary tools and supplies on hand. Depending on the type of Kohler bathroom faucet you have, you may need different tools and supplies. For example, if you have a single-handle model, you will need a Phillips head screwdriver, an adjustable wrench, plumber’s tape, and a bucket or container to catch any water that drips out during the repair. If you have a two-handle model, you will need two adjustable wrenches and a flathead screwdriver in addition to the other tools and supplies listed above.
Step-by-Step Repair Guide
Once you have gathered all the necessary tools and supplies, you can begin the repair process. To ensure proper installation and prevent damage to your plumbing system, follow these steps carefully:
1. Turn off the water supply: Before doing anything else, make sure the water supply to your bathroom is turned off completely. This can be done by locating and turning off the valve located underneath the sink or behind it in the wall. Once the valve is closed, open both hot and cold handles so any remaining water in the pipes can drain out.
2. Remove handle: Using an adjustable wrench, unscrew the handle from its base and set it aside in a safe place. If necessary, use pliers to remove any stuck screws or nuts that may be holding it in place.
3. Remove fixture: Using an adjustable wrench or Phillips head screwdriver (depending on your model), remove the mounting nuts or screws that hold the fixture in place. Once they have been removed, carefully pull out the entire fixture from its housing without damaging any of its components.
4. Replace parts: Now it’s time to replace any worn or damaged parts with new ones. Start by carefully examining each component of the fixture for signs of wear or damage such as cracked O-rings or corroded seals. If necessary, use pliers to remove any stuck pieces before replacing them with new ones from your local hardware store or online retailer. Make sure all connections are tight before moving on to step five.
5. Reinstall fixture: Once all components are replaced, it’s time to put everything back together again in reverse order from step two through four above. Make sure all connections are tight before turning on your water supply again at its source valve located underneath or behind your sink/bathroom plumbing system.
6 Test results: After reassembling everything back together again, turn on your water supply at its source valve and test out your newly repaired Kohler bathroom faucet for leaks by running both hot and cold handles simultaneously for several minutes while watching for any drips coming from underneath your sink or around its base/fixture housing area. If no leaks are present after this test run then congratulations! You have successfully completed repairs on your Kohler bathroom faucet!
FAQs About Kohler Bathroom Faucets Repair Instructions
Q1: How do I know if my Kohler bathroom faucet needs repair?
A1: Signs that indicate your Kohler bathroom faucet may need repair include leaking around the base of the fixture housing area; uneven water flow due to clogged aerators; difficulty turning handles due to worn O-rings; discoloration due to corrosion; cracking seals; broken pieces; and/or strange noises coming from inside pipes when using hot water handles only (indicating possible buildup inside pipes).
Q2: What tools do I need for repairing A Kohler bathroom faucet?
A2: Depending on the type of Kohler faucet you have, you may need different tools and supplies. For a single-handle model, you will need a Phillips head screwdriver, an adjustable wrench, plumber’s tape, and a bucket or container to catch any water that drips out during the repair. For two-handle models, you will need two adjustable wrenches and a flathead screwdriver in addition to the other tools mentioned above.
What tools are needed to repair a Kohler bathroom faucet?
The tools needed to repair a Kohler bathroom faucet include a wrench, pliers, screwdriver, adjustable wrench, and adjustable pliers. You may also need a basin wrench or a drill, depending on the specific type of faucet being repaired.