Replacing a bathroom sink plug hole is a task that homeowners may encounter due to wear and tear, damage, or the desire to upgrade the sink’s components. The process involves removing the old plug-hole assembly and installing a new one, and it can be accomplished with a few tools and steps. To begin, turn off the water supply to the sink and use a pipe wrench or pliers to unscrew and remove the existing drain plug. This may involve loosening the locknut underneath the sink and disconnecting the pivot rod connected to the stopper assembly.

Once the old plug hole is removed, clean the area thoroughly and inspect the new plug hole assembly. Ensure that it is compatible with the sink and fits securely into the opening. Apply the plumber’s putty around the edges of the new plug hole to create a watertight seal when installed. Insert the new plug hole into the opening, pressing down to secure it in place. From underneath the sink, attach the locknut and tighten it to hold the plug hole assembly securely. Reconnect the pivot rod to the stopper assembly and test the new plug hole by running water to check for leaks. This step-by-step process allows homeowners to replace a bathroom sink plug-hole efficiently, refreshing the sink’s functionality and appearance.

When choosing a new plug-hole assembly, homeowners have the option to select from a variety of materials and finishes to match their bathroom decor. Common materials include chrome, stainless steel, or brushed nickel, offering both durability and aesthetic appeal. Additionally, some plug holes may feature advanced mechanisms, such as pop-up stoppers or click-clack drains, providing added convenience and modernizing the sink’s functionality. Ultimately, replacing a bathroom sink plug-hole is a manageable DIY project that allows homeowners to maintain and update their bathroom fixtures easily.
Images Related to Replace Bathroom Sink Plug Hole
How to Replace a Sink Stopper (with Pictures) – wikiHow

9 Easy Steps to Remove a Bathroom Sink Stopper
9 Easy Steps to Remove a Bathroom Sink Stopper

Ep1 Wash Basin Install – Plug Hole Attachment – Plumbing Tips

How to Remove a Sink Stopper – Mother Daughter Projects

How to Remove a Sink Stopper – Mother Daughter Projects
How to Install Push Pop-Up Drain Plug Stopper and Review

Bathroom Sink Popup and Stopper Problems
How to Fix a Bathtub or Sink Pop-up Stopper

How to Replace a Sink Stopper (with Pictures) – wikiHow

Related articles:
- Bathroom Sink Drain Repair Kit
- Bathroom Sink Drain Mesh
- Delta Bathroom Sink Stopper Replacement
- Bathroom Sink Faucets Cheap
- How To Fix Bathroom Sink Drain Stopper
- Bathroom Sinks Montreal
- Install Bathroom Sink Drain Assembly
- Bathroom Sink Clog Remover
- Bathroom Sink Clogged Behind Wall
- Bathroom Sink Pivot Rod
How to Replace a Bathroom Sink Plug Hole?
Replacing a bathroom sink plug hole is a relatively simple task that only requires a few basic tools and supplies. With the right steps, you can easily replace a worn-out or broken plug hole in your bathroom sink in no time. In this article, we’ll go through the steps you’ll need to take to get your bathroom sink working like new again.
Gather the Necessary Tools and Supplies
The first step in replacing your bathroom sink plug-hole is to gather the necessary tools and supplies. You’ll need a screwdriver, pliers, a wrench, a replacement sink plug hole, and some silicone caulk. You may also need some pipe thread sealant if your sink has threaded pipes instead of compression fittings.
Remove the Old Plug Hole
Once you have all of the necessary tools and supplies gathered, it’s time to remove the old plug hole. Start by removing the screws that hold the plug hole in place with a screwdriver. Once the screws have been removed, use pliers to gently pull out the old plug hole. Be careful not to damage any of the surrounding components. Once you have removed the old plug-hole, you can begin to install the new one.
Install the New Plug Hole
Installing a new plug hole is fairly straightforward. Begin by applying some silicone caulk around the edges of the new plug hole. This will help ensure that it is securely in place after installation. Next, insert the new plug hole into place and tighten down any screws or bolts with a wrench or screwdriver until it is secure. If your sink has threaded pipes, you may need to apply some pipe thread sealant to ensure that there are no leaks when using your new plug hole. After installation is complete, clean up any excess caulk and allow it to dry before using your new sink.
FAQs on Replacing a Bathroom Sink Plug Hole
Can I replace my bathroom sink plug hole without any tools?
Unfortunately no, replacing a bathroom sink plug hole requires several basic tools such as a screwdriver, pliers and a wrench as well as supplies such as silicone caulk and pipe thread sealant (if needed).
How do I know what kind of sink I have?
Your sink will either have compression fittings or threaded pipes depending on its age and type of installation. Compression fittings are typically found on older sinks while threaded pipes are more common on newer models. If you’re not sure which type of installation your sink has, you can consult with an experienced plumber for further assistance.
What should I do if my new plug hole isn’t fitting properly?
If your new plug hole isn’t fitting properly, it likely needs to be adjusted or replaced with one that is of compatible size and shape. You may also want to check if any obstructions are preventing it from fitting correctly before replacing it completely. If all else fails, consulting an experienced plumber can help you determine what needs to be done to get your new sink functioning properly again.
Replacing a bathroom sink plug hole is an easy task that anyone with basic DIY skills can do without too much difficulty or expense. All you need are some basic tools and supplies such as silicone caulk and pipe thread sealant (if needed), along with a replacement sink plug hole of compatible size and shape for your particular model of bathroom sink. With these items on hand, you can easily replace your existing bathroom sink plug hole in no time at all!
How do you remove a bathroom sink plug?
- Put on gloves and find a suitable container to catch the water that will come out.
- Find the stopper in the drain of the sink. It may be located under a cap, depending on the type of sink.
- If you have an overflow hole in your sink, use a flathead screwdriver to remove the cap.
- If there is no overflow hole, use needle-nose pliers or a basin wrench to loosen the nut holding the stopper in place.
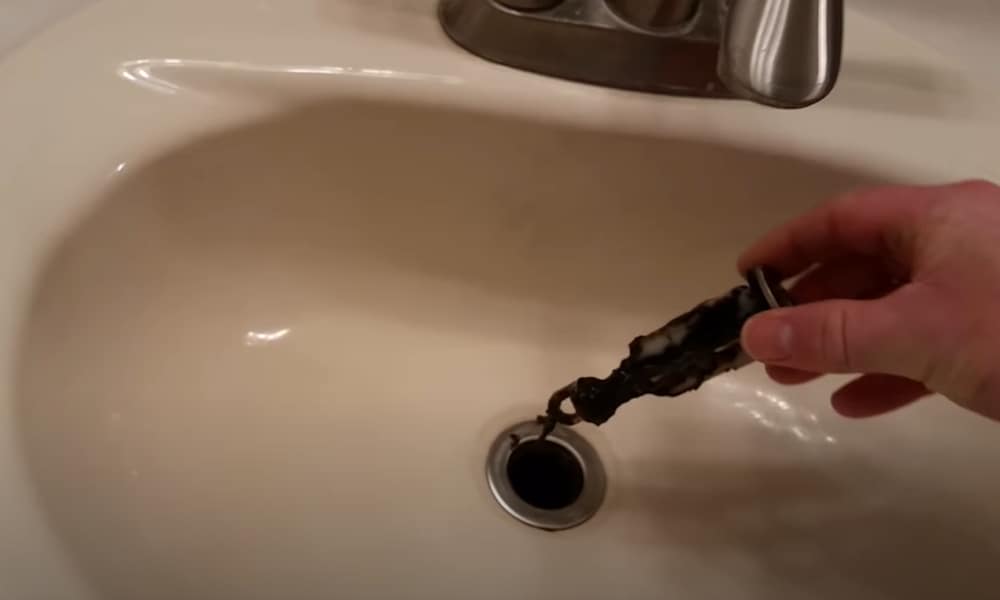
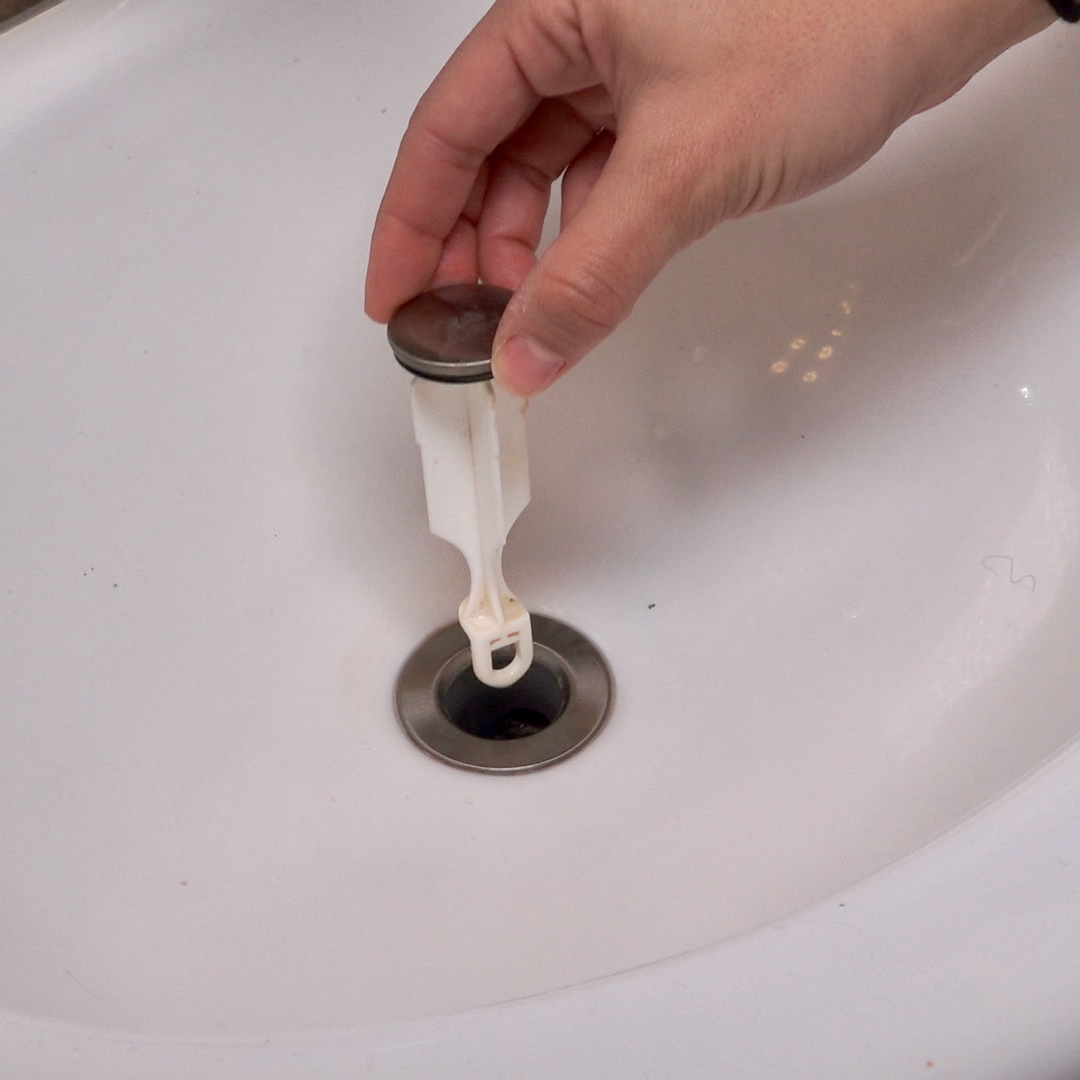
- Carefully pull out the stopper and set it aside.
- Place the cap back onto the drain and tighten it with a screwdriver or basin wrench if necessary.
- Clean the area around the drain, then reassemble the sink and turn on the water to check for any leaks.
What tools are needed to remove a bathroom sink plug?
Typically, a wrench and a pair of slip-joint pliers are the tools needed to remove a bathroom sink plug. Depending on the type of plug, additional tools may be necessary. For example, if the plug is secured with a nut, a basin wrench may be required. If it is held in place with a cap, a flathead screwdriver may be necessary to remove it.
What type of wrench is needed to remove a bathroom sink plug?
A basin wrench (or sink wrench) is typically used to remove a bathroom sink plug. This type of wrench is designed to reach tight spaces and provides enough leverage to loosen the nut that holds the plug in place. If the plug is secured with a cap, a flathead screwdriver may be necessary to remove it.