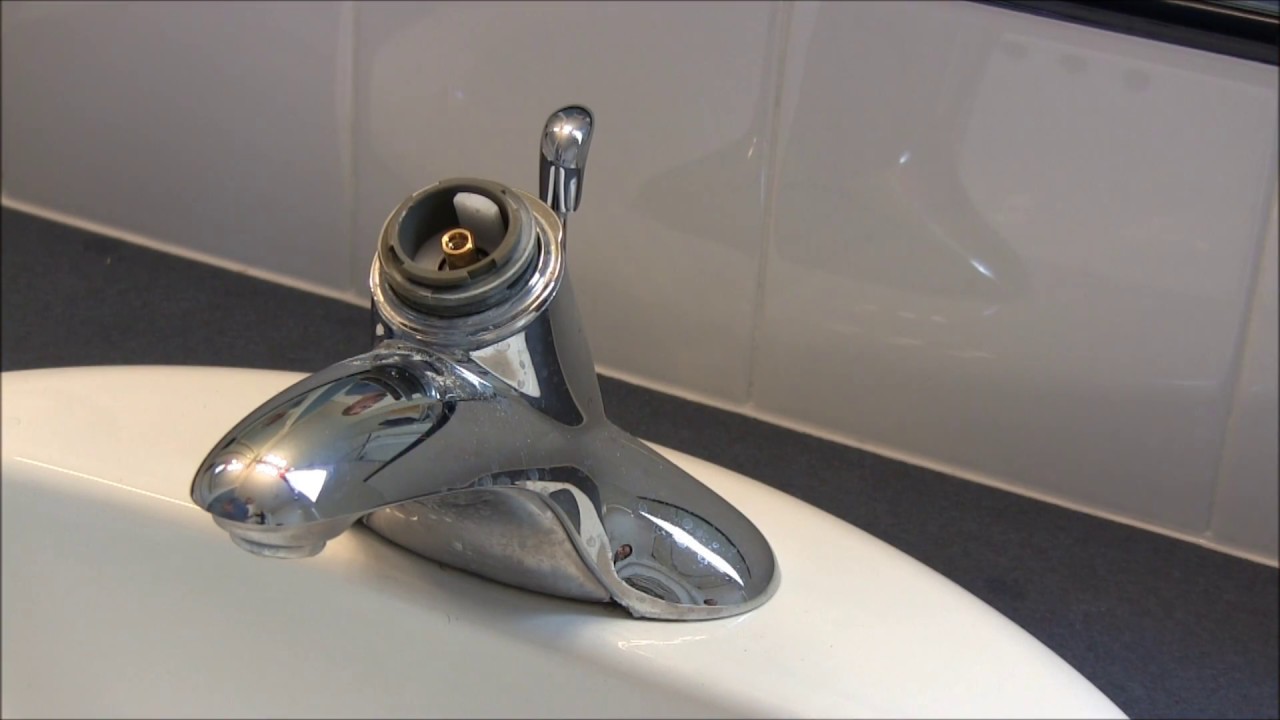
Repairing an old Moen bathroom faucet is a practical and cost-effective approach to addressing common issues that may arise over time. One prevalent problem in older Moen faucets is a leaking or dripping faucet, often caused by worn-out or damaged internal components. To begin the repair process, turn off the water supply to the faucet and cover the drain to prevent any small parts from falling into it. Disassemble the faucet by removing the handle and unscrewing the escutcheon plate. Once exposed, use an adjustable wrench to loosen and remove the retaining nut that holds the cartridge in place. Replace the cartridge with a new one, ensuring that it matches the model of the old Moen faucet.
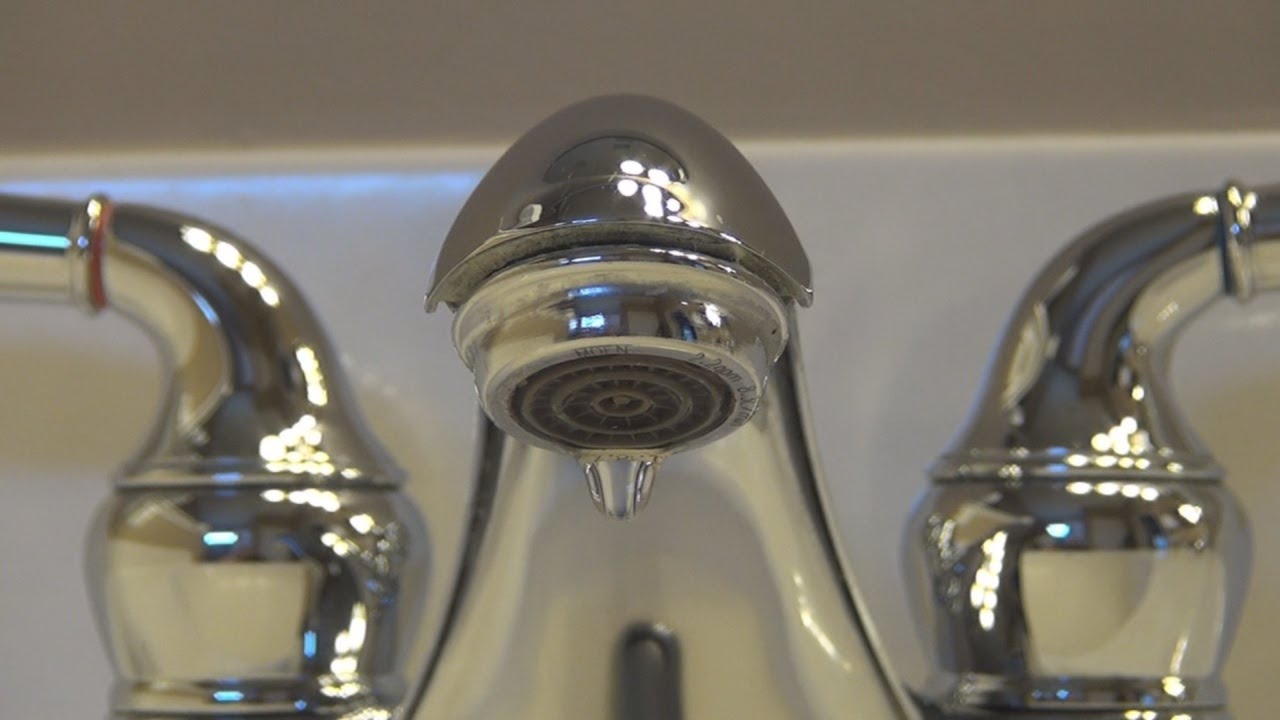
In addition to addressing leaks, repairing an old Moen bathroom faucet may involve fixing issues with water pressure or temperature control. For instances of low water pressure, check for mineral deposits or debris in the aerator, which can be cleaned by soaking it in a mixture of water and vinegar. If the issue lies in temperature control, it may be related to a faulty mixing valve or cartridge. Inspect these components and replace them if necessary. It’s essential to consult the manufacturer’s documentation for specific details on repairing the particular model of the Moen faucet, as the process may vary.
Regular maintenance and care can also prevent common problems in old Moen bathroom faucets. Periodically cleaning aerators, checking for mineral buildup, and lubricating moving parts can extend the lifespan of the faucet. However, if more complex issues arise or if the faucet is beyond repair due to extensive wear, homeowners may consider replacing the entire faucet with a new Moen model, taking advantage of updated features and designs while ensuring a reliable and efficient bathroom fixture.
Images Related to Old Moen Bathroom Faucet Repair
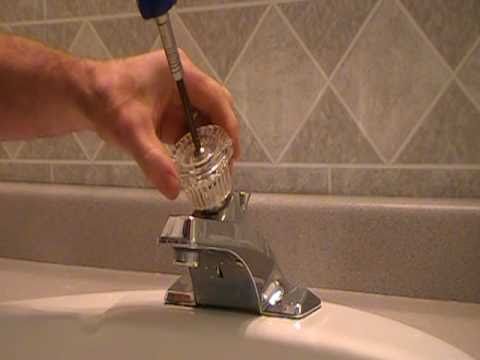
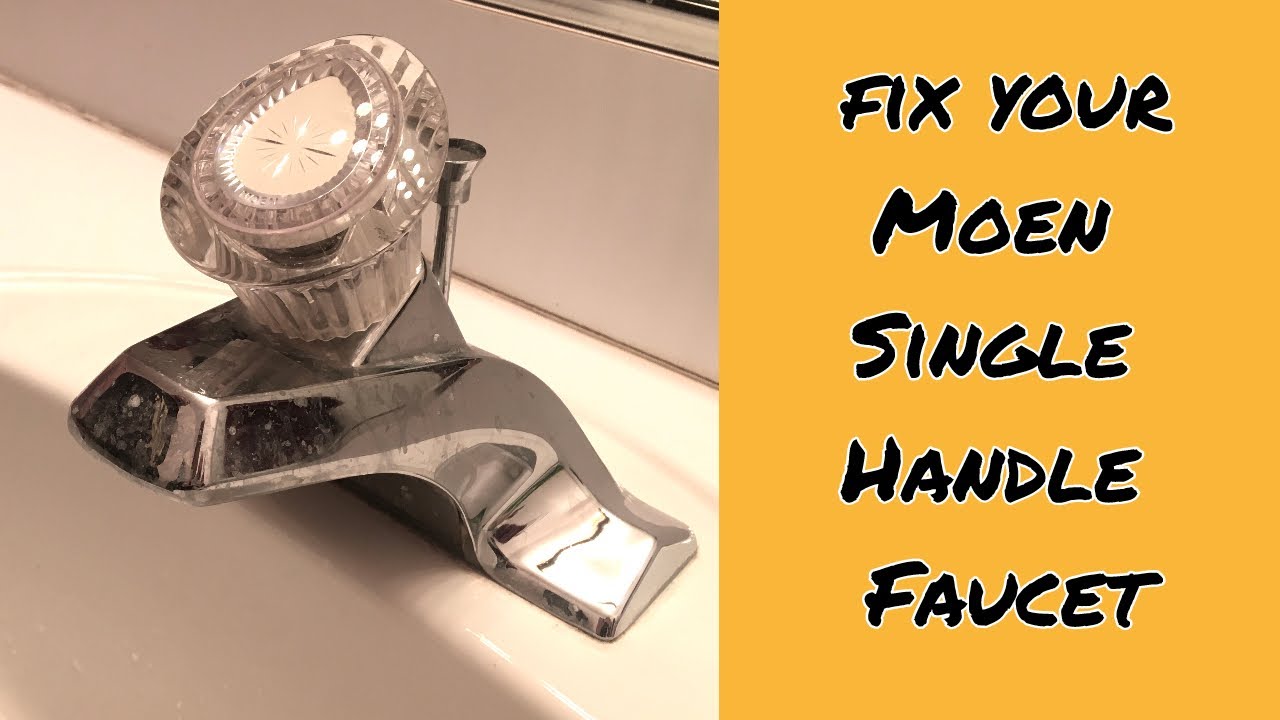
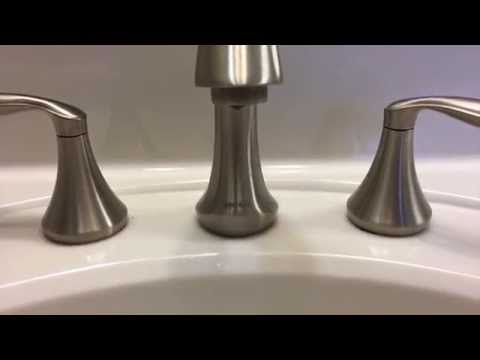
How to repair Moen bathroom faucet dripping water – cartridge removal replace single lever
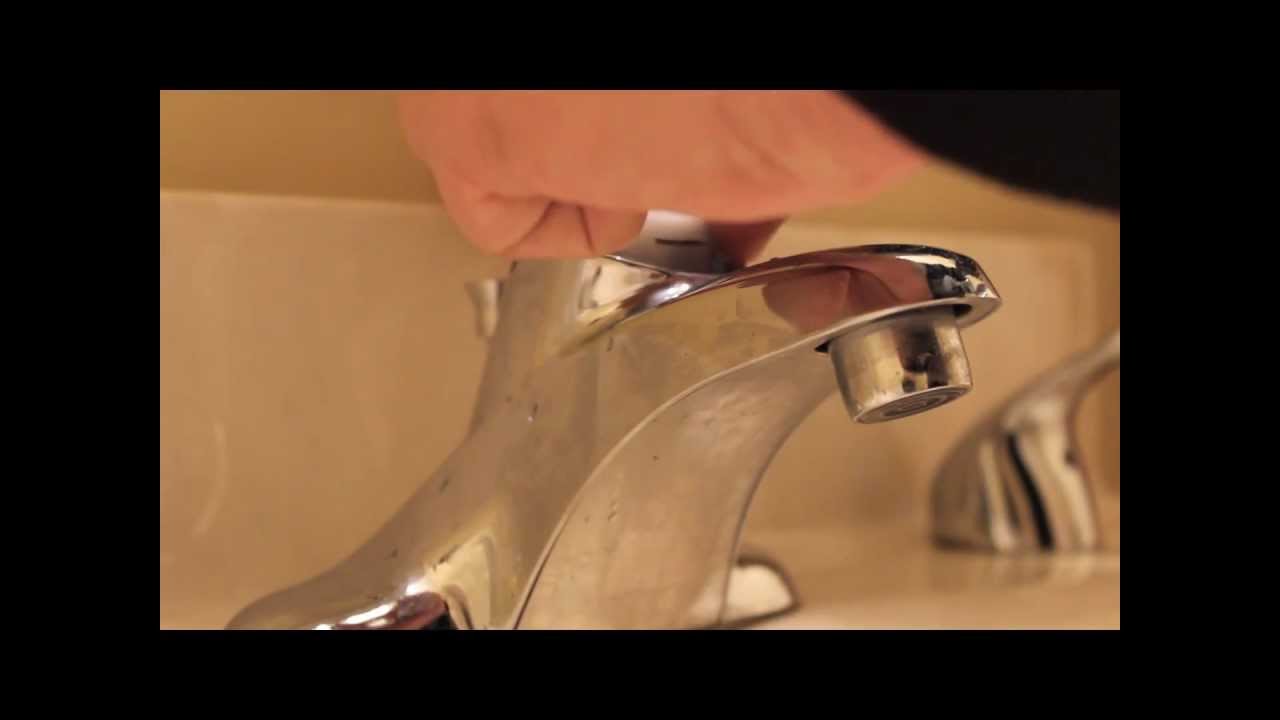
Fixing a Leaking Moen Bathroom Faucet
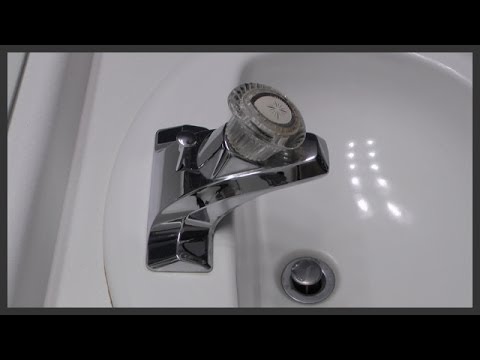
How do I replace my Moen bathroom faucet cartridge?
Bathroom faucet cartridge replacement
Moen Monticello, Trouble removing sink faucet Terry Love

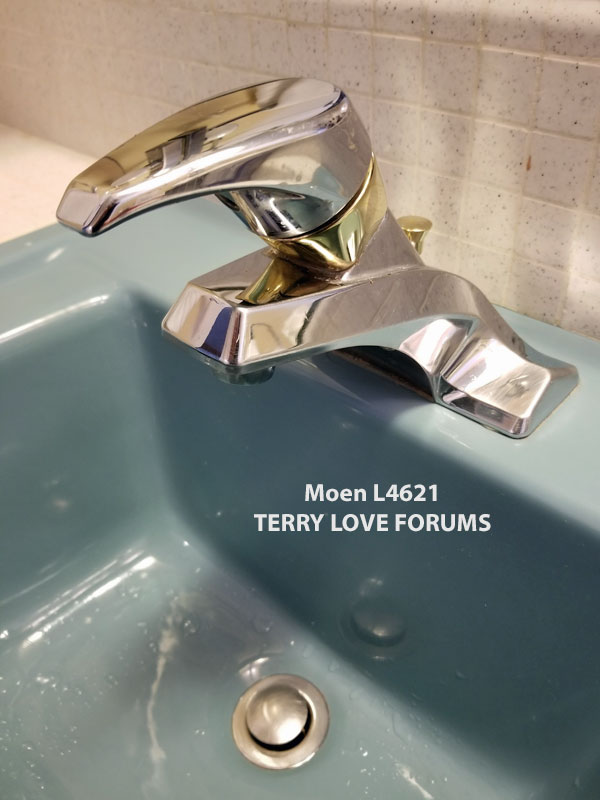
Moen Chateau L4621 single-handle lavatory repair, older style
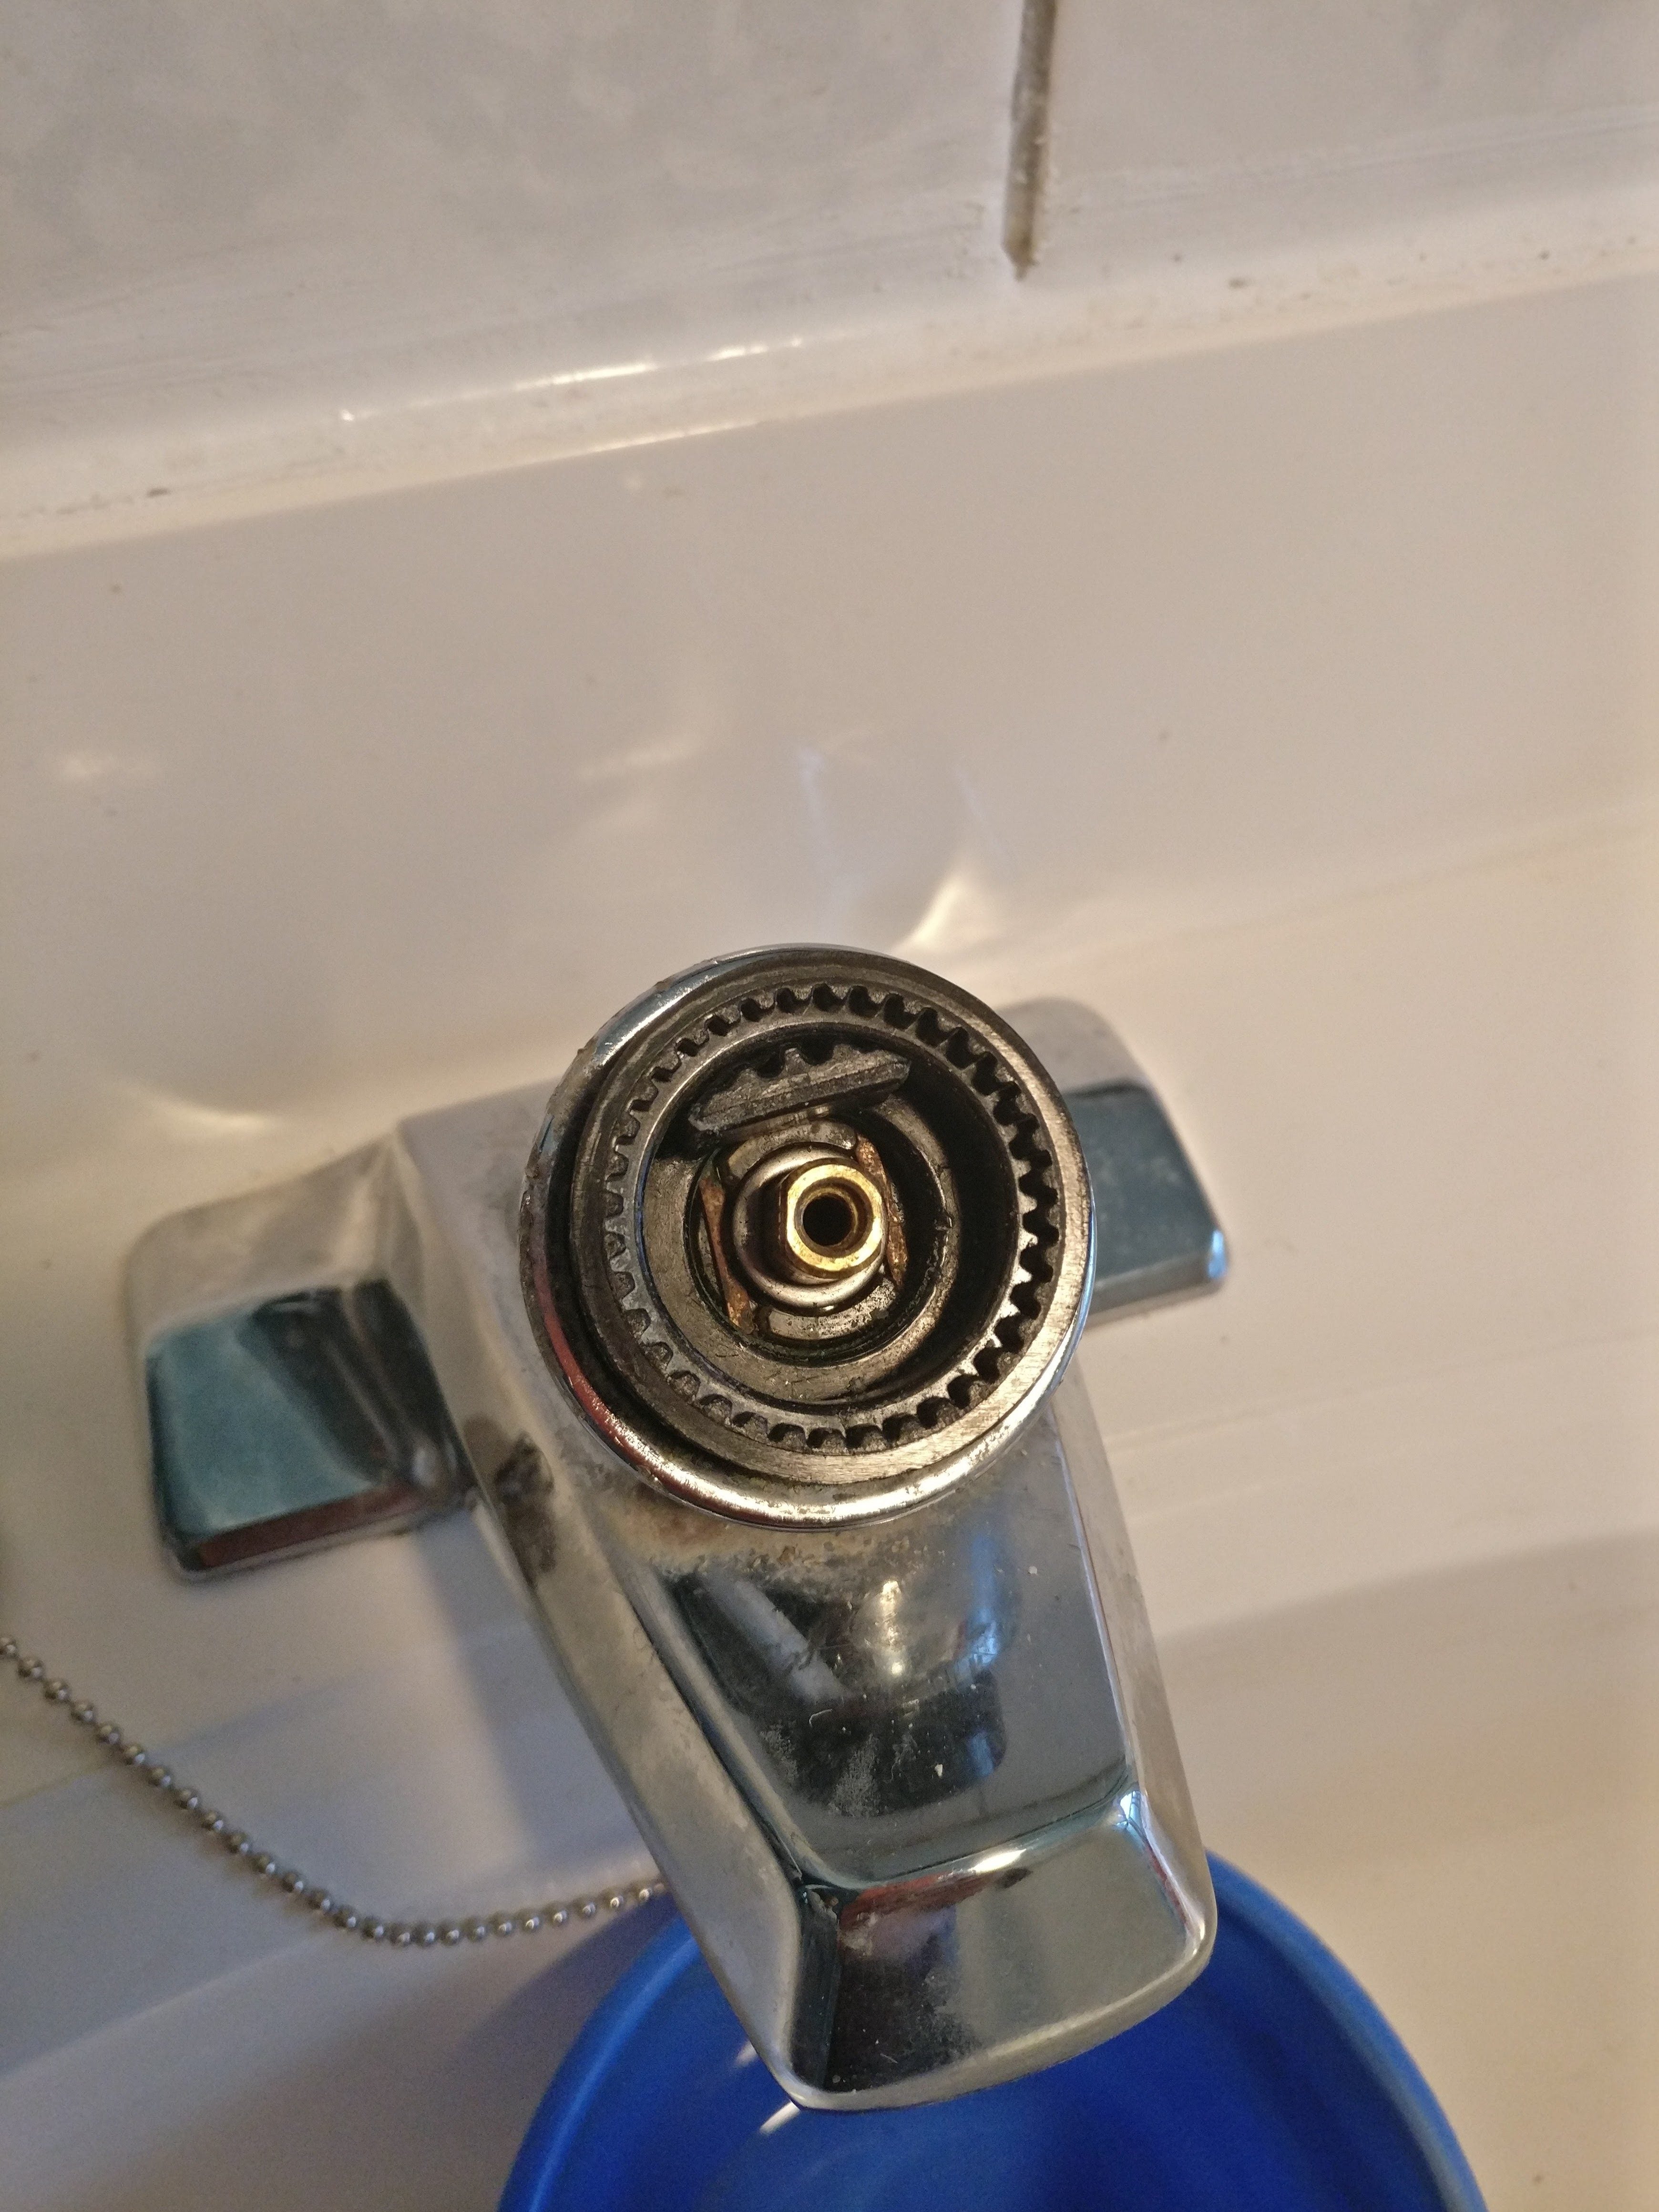
Old Moen bathroom faucet cartridge
How to Fix a Leaking Moen 1225 Series Bathroom Faucet by Replacing the Cartridge
Moen Monticello. Trying to Remove Bathroom Faucet Terry Love

Moen Monticello faucet removal

Related articles:
- How To Repair Bathroom Faucet Leak
- Antique Nickel Bathroom Faucet
- Best Modern Bathroom Faucets
- Brass Gold Bathroom Faucets
- Bathroom Faucets For Pedestal Sinks
- Oil Rubbed Brass Bathroom Faucets
- Bathroom Faucet Polished Nickel
- Bathroom Faucets Double Handle
- How To Fix A Leaking Bathroom Faucet Handle
- Modern Brass Bathroom Faucets
Old Moen Bathroom Faucet Repair: A Comprehensive Guide
Moen is a well-known and trusted brand of plumbing fixtures, and its bathroom faucets are no exception. Moen bathroom faucets are known for their reliable performance and durability, but eventually, like all plumbing fixtures, they will need to be repaired. If you find yourself in need of repairs for your Moen bathroom faucet, this guide will give you the information you need to get the job done quickly and safely.
Identifying the Problem
The first step in repairing any plumbing fixture is identifying the problem. Common problems with Moen bathroom faucets include leaking at the base or handle, difficulty turning the handle, or poor water pressure. Depending on the type of Moen bathroom faucet you have, these problems can stem from a variety of causes. It is important to identify and diagnose the problem before attempting any repairs.
Gather Your Supplies
Once you have identified the problem, it’s time to gather your supplies. You will need a set of pliers, a replacement cartridge if necessary, a wrench, some rags or towels, and some pipe thread compound (also known as pipe dope). Make sure that all of your supplies are clean and in good condition before beginning your repair.
Turn Off The Water Supply
Before attempting any repair on your Moen bathroom faucet, you must turn off the water supply to the fixture. This can usually be done by turning a knob located under the sink. Once you have turned off the water supply, open up the faucet to make sure that no water remains in the pipes.
Disassembling The Fixture
Now that you have your supplies and have turned off the water supply, it’s time to disassemble your Moen bathroom faucet. Start by removing any escutcheons or trim pieces around the base of the faucet using a wrench. Next, use your pliers to loosen and remove the handle from the stem of the faucet. Once you have removed both pieces, inspect them for any visible signs of damage or corrosion. If necessary, replace any damaged parts with new ones before continuing with your repair.
Repairing Your Fixture
If all of your parts look in good condition but are still not functioning properly, then it may be time to replace your cartridge. To do this, use your pliers to remove any screws that hold the cartridge in place and then carefully lift out the old cartridge from its housing. Insert a new cartridge into its housing and then reattach any screws that were holding it in place before testing for proper operation. If replacing your cartridge does not solve your problem or if there is visible damage to other parts such as O-rings or seals, then it may be necessary to replace those components as well before continuing with your repair.
Reassembling Your Fixture
Once all of your repairs are complete, it’s time to reassemble your Moen bathroom faucet. Start by cleaning each part with a rag or towel before applying pipe thread compound to each connection point where two pieces join together. Reattach each piece back into its original position using either screws or pliers before turning on the water supply and testing for proper operation once again.
FAQs:
How do I know if I need to replace my cartridge?
If you’ve already replaced other components such as O-rings or seals but still find that your Moen bathroom faucet isn’t working properly then it may be time to replace your cartridge as well. It is important to inspect each component for signs of damage or corrosion before making this decision however as replacing just one component won’t always solve all problems with a fixture.
Do I need any special tools when repairing my Moen bathroom faucet?
Generally speaking, no. You will likely need a set of pliers, a wrench, and some rags or towels, however. It’s also important to have some pipe thread compound on hand as this will help to ensure that all connections are properly sealed and will prevent any future leaks.
What should I do if my faucet is still not working after I’ve reassembled it?
If you’ve followed all of the steps listed above and your faucet still isn’t working properly then it may be time to call a professional. They will have the experience and knowledge necessary to identify any underlying issues with your fixture and can make sure that it is functioning properly before you use it again.