When dealing with a broken bathroom tile, it’s essential to approach the task with patience and care. Here are six comprehensive and detailed steps to guide you through the process of fixing a broken bathroom tile.
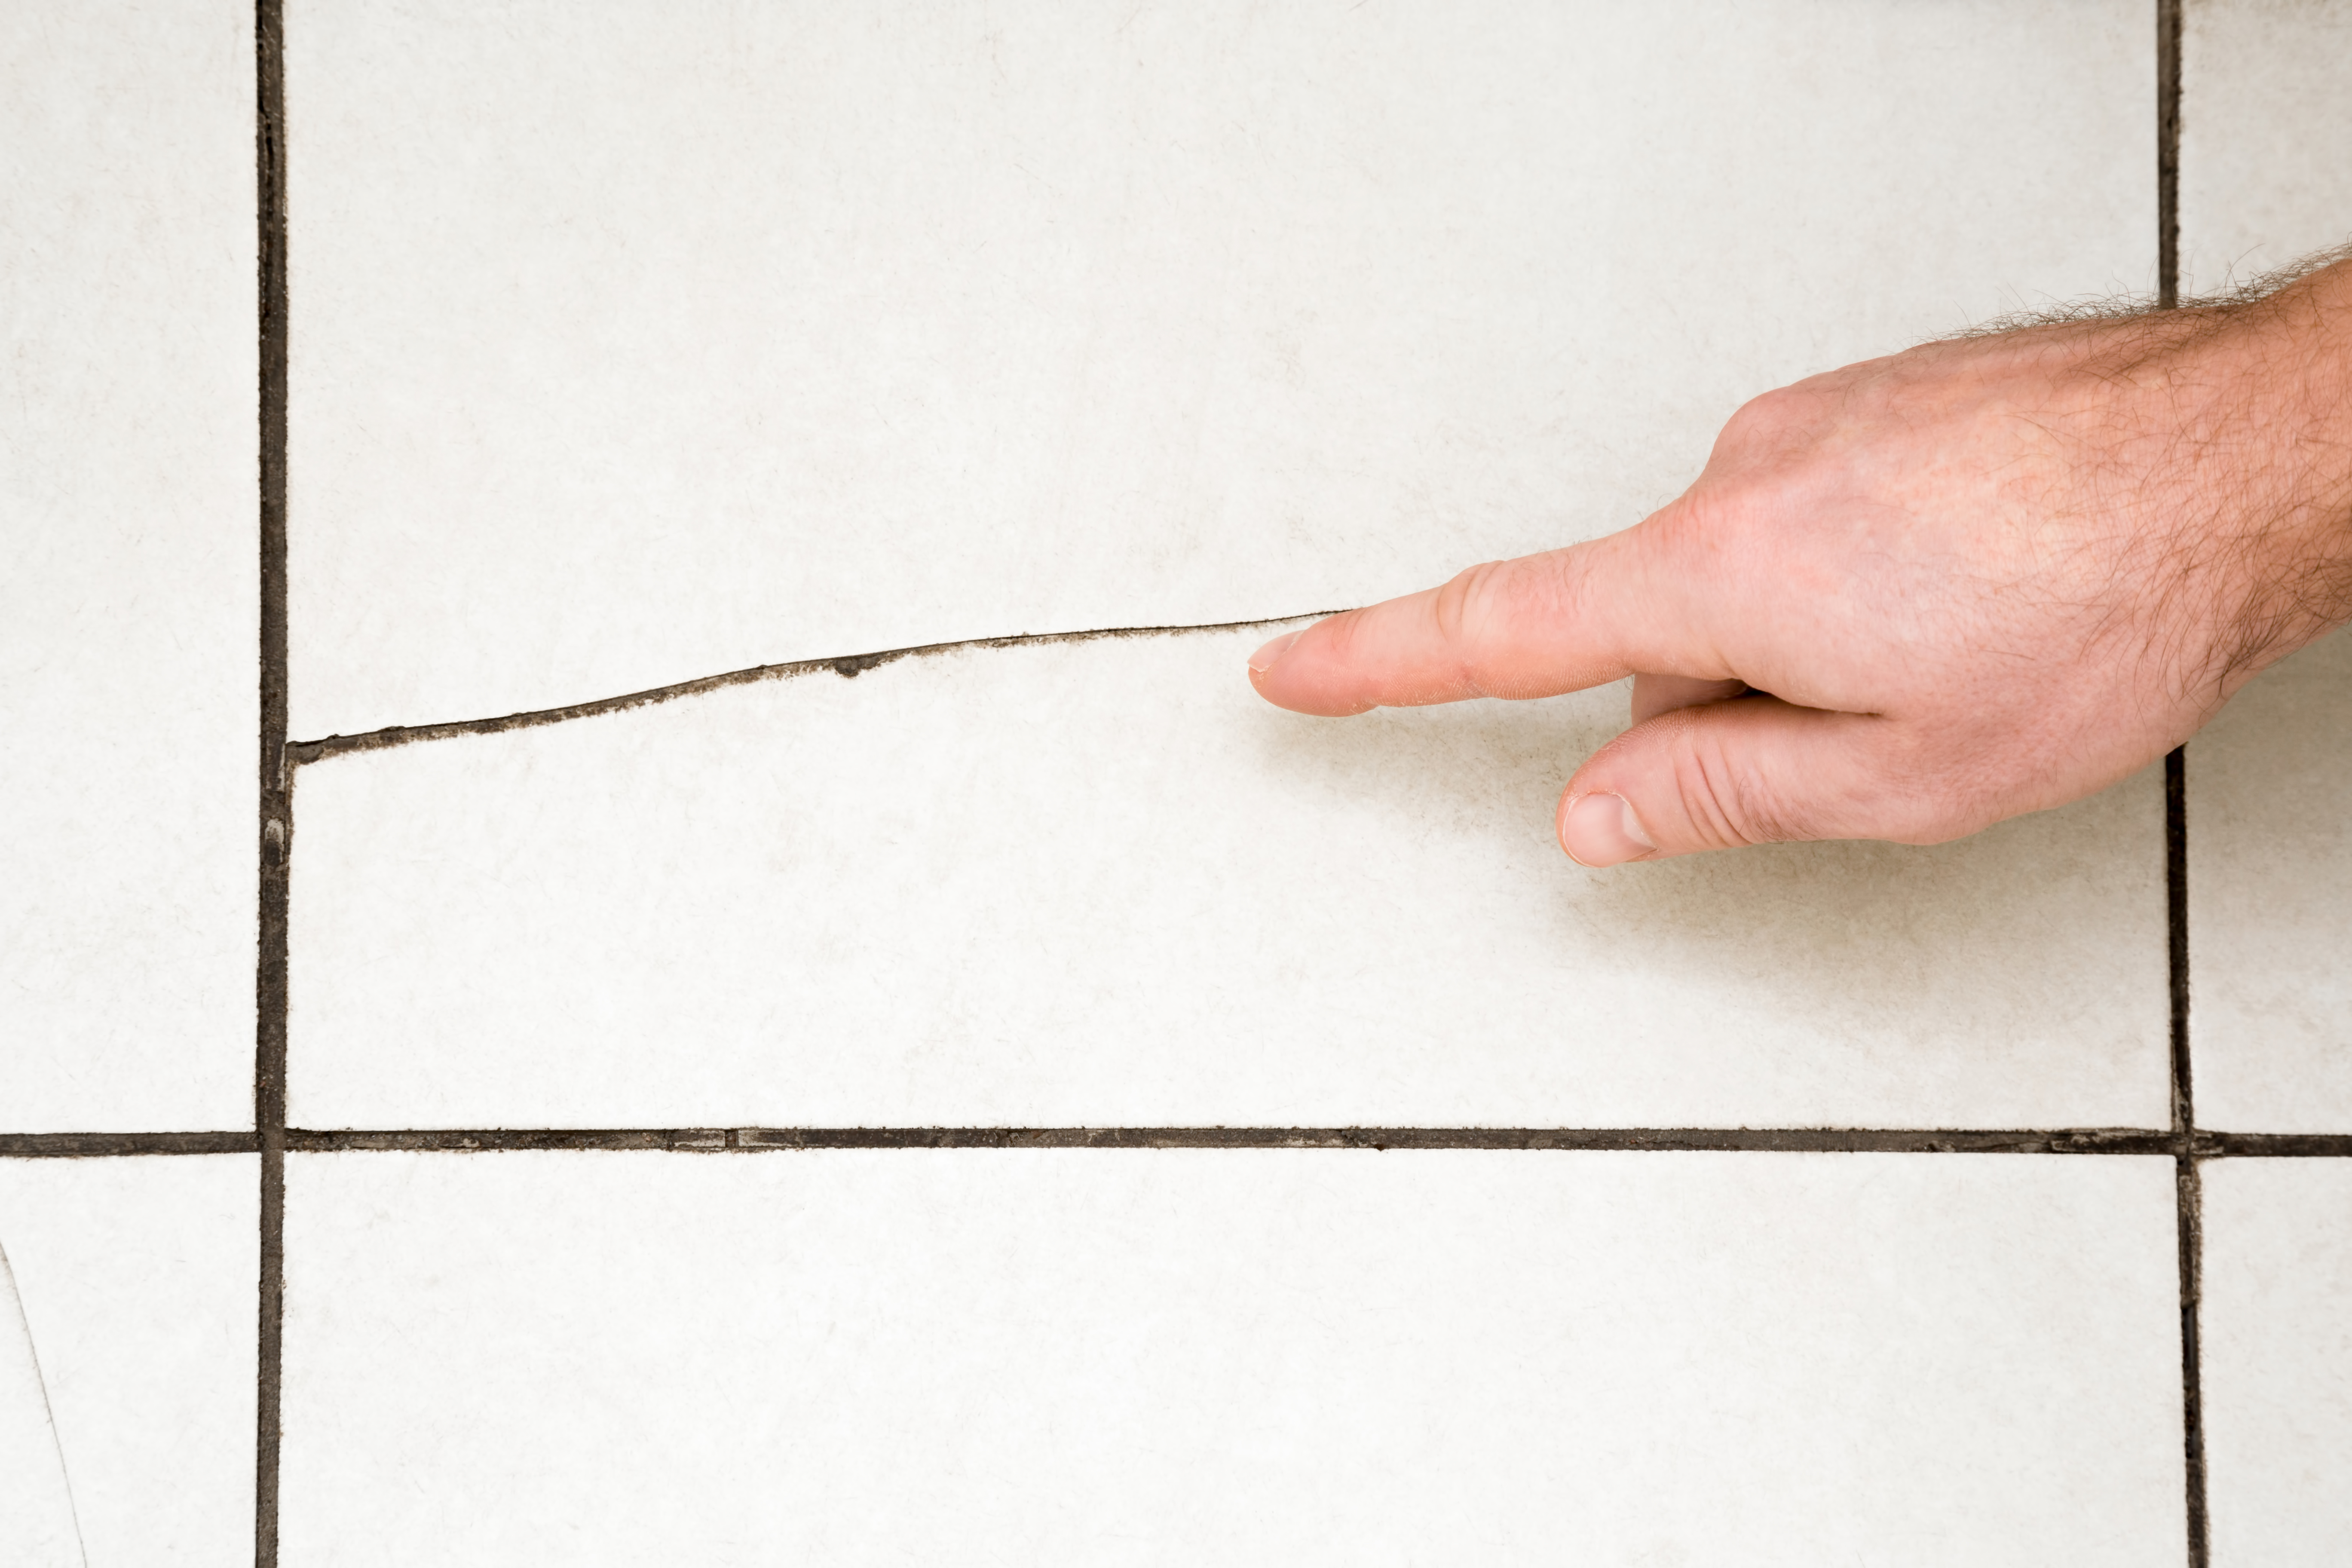
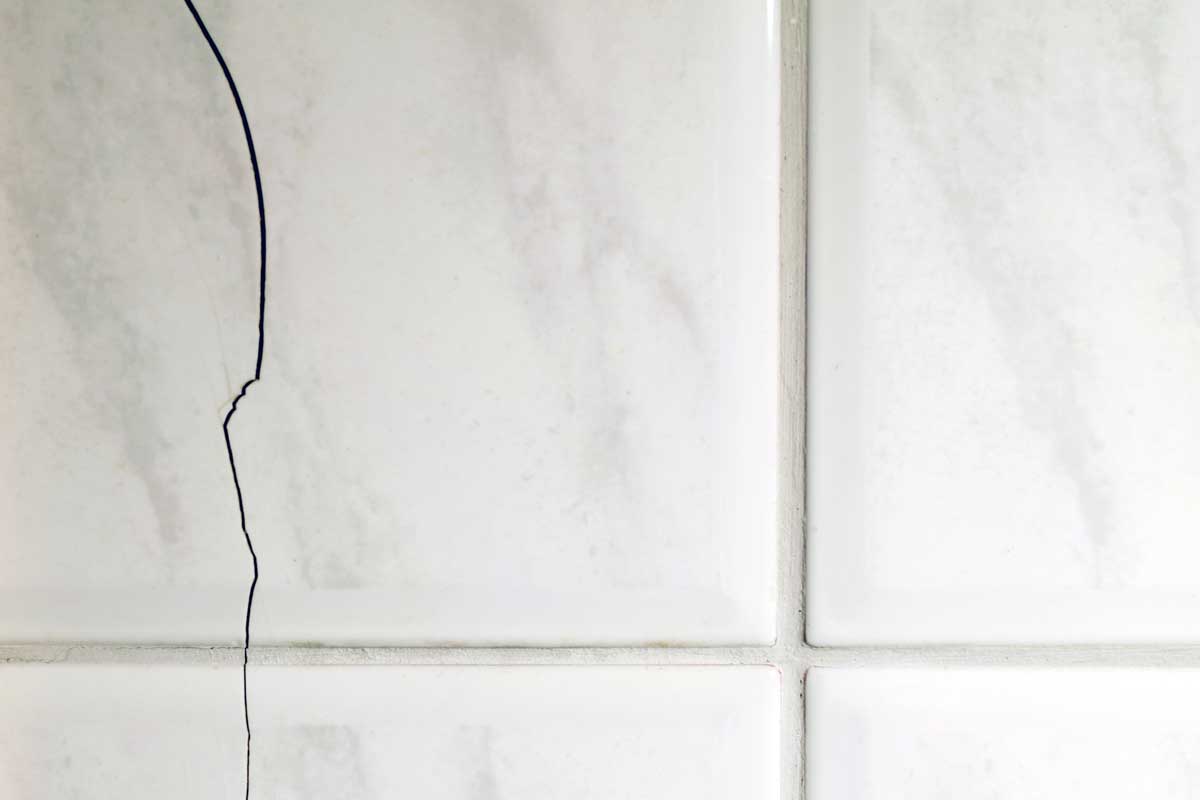
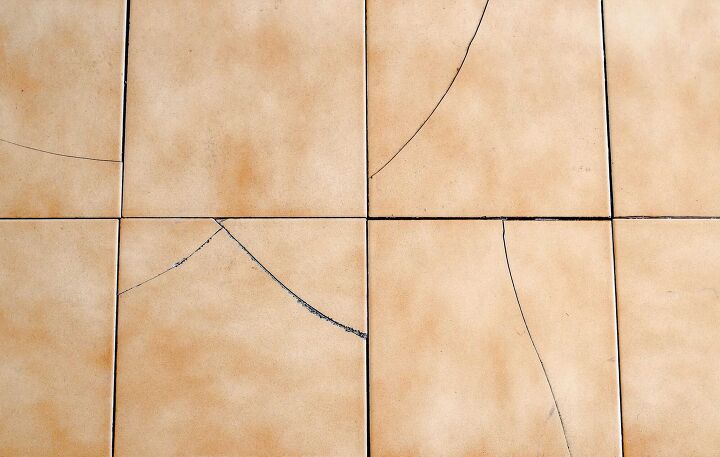
Assess the damage: Begin by examining the broken tile and the surrounding area. Look for any loose or damaged grout, as this will also need to be addressed. Determine the cause of the damage, whether it’s due to impact or water infiltration. Understanding the root cause will help prevent future issues.
Remove the broken tile: To remove the broken tile, use a chisel or putty knife to carefully chip away at the grout surrounding it. Be cautious not to damage neighboring tiles. Once the grout is removed, gently pry the broken tile away from the surface using a putty knife or similar tool. Clean the area thoroughly to remove any debris or adhesive residue.
Prepare the surface: Before installing a new tile, ensure the surface is clean and smooth. Use a scraper or sandpaper to remove any remaining adhesive or grout. If the underlying surface is damaged, consider applying a thin layer of mortar or adhesive to create an even and stable base for the new tile.
Install the new tile: Apply a thin layer of tile adhesive or mortar to the back of the replacement tile. Press the tile firmly into place, making sure it aligns with the surrounding tiles. Use spacers to maintain consistent spacing between tiles. Wipe away any excess adhesive or mortar with a damp cloth.
Grout the tile: Once the adhesive or mortar has dried, mix the grout according to the manufacturer’s instructions. Use a grout float to spread the grout evenly over the tiled area, ensuring it fills the gaps. Remove any excess grout using a damp sponge, taking care not to disturb the newly installed tile. Allow the grout to cure for the recommended time.
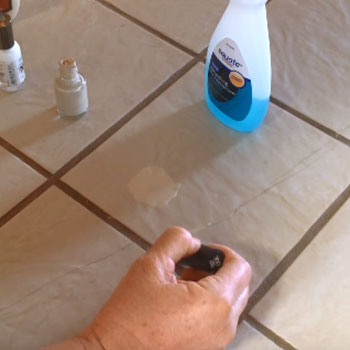
Seal the grout: To protect the grout from moisture and staining, apply a grout sealer once it has fully cured. Follow the product instructions for application and drying time. Regularly maintain the sealed grout by cleaning it with a non-abrasive cleaner to ensure its longevity.
By following these comprehensive steps, you can effectively fix a broken bathroom tile and restore the functionality and appearance of your bathroom. Remember, it’s crucial to exercise caution and take your time during each stage to achieve the best results.
Why Do Bathroom Tiles Crack? (And How To Fix That) – Home Decor Bliss
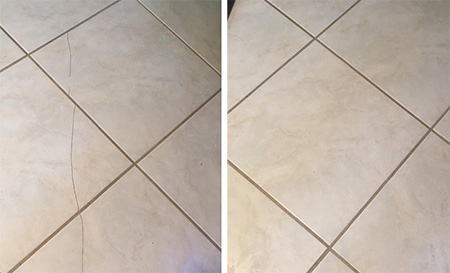
How To Fix Broken Tile Without Replacing
How to Repair Cracked Tiles Bathroom repair, Diy tile shower

How To Fix A Broken Tile Without Replacing It u2013 Upgraded Home
How to Replace Cracked and Broken Shower Tiles

How to Replace a Broken Tile (Shower Wall Repair!)

HOME DZINE Bathrooms Fix chipped or cracked tiles
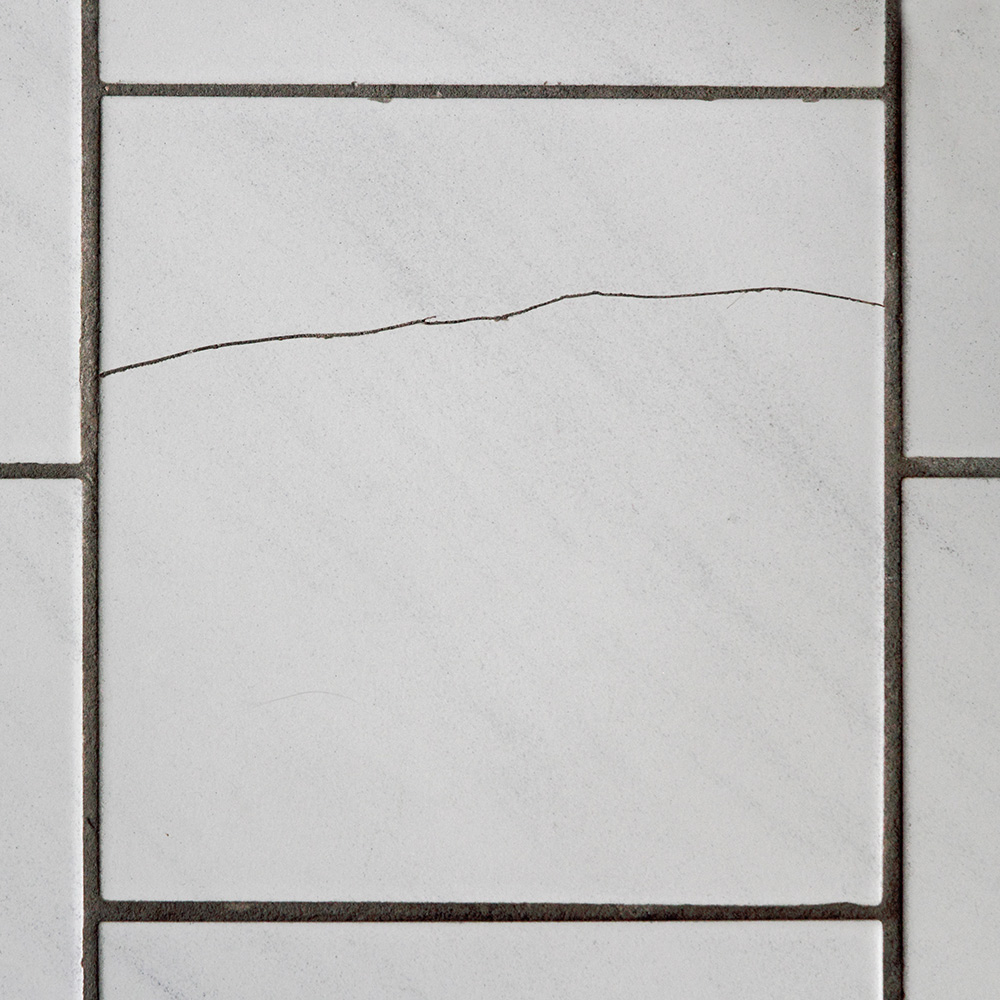
How to Fix Cracked Tile
How to Remove and Replace Tiles with Wickes
Why Cracked Tiles in Your Bathroom Are a Problem Shower Sealed

Related articles:
- How To Mix Grout For Bathroom Tile
- Bathroom Tile Designs Glass Mosaic
- Marble Bathroom Tile Designs
- Can You Paint Old Bathroom Tile
- How To Fix Bathroom Tile Leak
- Yellow Bathroom Tile Decor
- Bathroom Tiles Light Grey
- Best Way To Clean Bathroom Tile Floor
- Bathroom Tile Sealing Strip
- Bathroom Tile Laying Patterns
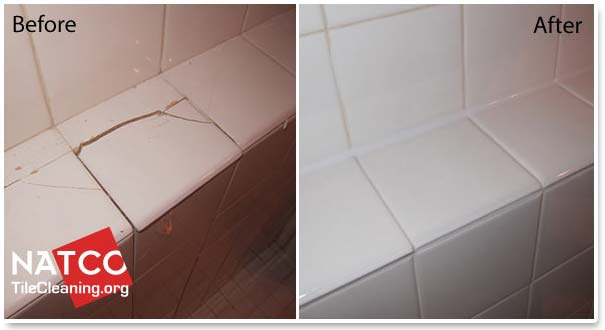
How To Fix Broken Bathroom Tile
It’s easy to take bathroom tile for granted until it gets damaged. Whether a tile is cracked, chipped, or otherwise broken, the resulting damage can be both unsightly and dangerous. Fortunately, fixing a broken bathroom tile is not as difficult as you might think. With the right tools and materials, you can restore your bathroom to its former glory in no time.
Tools & Materials Needed for Repairing Broken Bathroom Tile
Before starting any repair project, it’s important to make sure that you have all the necessary tools and materials. For repairing broken bathroom tile, you will need:
- Tile adhesive
- Grout
- Mastic
- Grout float
- Trowel
- Wet saw
- Safety goggles
- Bucket
- Sponge
- Putty knife
- Grout sealer (optional)
- Tile cutter (optional)
Removing the Broken Tile Piece
The first step in repairing a broken bathroom tile is to remove the broken piece. This can be done with either a wet saw or a tile cutter. If using a wet saw, make sure to wear safety goggles and use caution when handling the blade. Once the broken piece has been removed, use a putty knife to scrape away any remaining grout or adhesive from the area.
Preparing the Surface for New Tile
Once the broken piece has been removed, it’s important to thoroughly clean and prepare the surface for new tile. Use a bucket of warm water and a sponge to remove any dirt or debris from the area. Then use a damp cloth to wipe away any grout residue or dust particles that may remain. Allow the surface to dry completely before proceeding with the installation of the new tile.
Applying Adhesive & Mastic
Once the surface is clean and dry, it’s time to apply adhesive and mastic to secure the new tile in place. Start by spreading adhesive over the entire area with a notched trowel. Then spread mastic over the adhesive with a rubber float. Make sure that both materials are evenly spread over the entire area before laying down new tiles.
Applying New Tiles
Once adhesive and mastic are applied, it’s time to place new tiles into place. Start by laying down one corner of the tile and pressing it firmly into place with your hands or a rubber mallet. Continue pressing each succeeding tile firmly into place until all of them are in position. Be sure that each one is pressed firmly into place to ensure that they stay securely in place once grouting begins.
Grouting New Tiles
Once all of your tiles are in place, it’s time to grout them to finish off the repairs. Start by mixing up some grout according to package instructions in a separate bucket or container. Then begin spreading grout over each tile with a rubber float, making sure that there are no gaps between tiles. Allow grout to set for at least 24 hours before applying grout sealer (optional).
Cleaning Up Once Grouting Is Complete
After grouting has set for at least 24 hours, it’s time to clean up any remaining messes and residue from your work area. Use a damp cloth to wipe away any excess grout or adhesive from your tiles and surrounding areas. Allow everything to dry completely before reusing your bathroom space as normal.
How do I know if my broken bathroom tile needs replacing?
If your broken tile is cracked or chipped beyond repair, then you should replace it rather than attempting any type of repair job on it yourself. It is also important to inspect other surrounding tiles for signs of damage such as cracking or warping which may indicate that they too need replacing for your repair job to be successful.
Can I repair my bathroom tiles?
Yes! You can repair your bathroom tiles as long as you have access to all of the necessary tools and materials such as adhesive, Grout, mastic, a trowel, safety goggles, and a wet saw. Just make sure to follow all safety precautions when using these tools and materials.
What type of grout should I use for my bathroom tile repair?
It is best to use a sanded grout for repairing bathroom tiles. This type of grout is more durable and less likely to crack over time than other types of grout.
Q: How much does it cost to replace broken bathroom tile?
The cost of replacing broken bathroom tile will depend on the type of tile, the labor involved, and any other materials that may be necessary for the repair. Generally, you can expect to pay anywhere from $50 to $200 or more per square foot of tile installation.
Q: How long does it take to replace broken bathroom tile?
The time it takes to replace broken bathroom tile can vary depending on the size and complexity of the repair. Generally, small repairs can take about an hour, while larger repairs might take up to an entire day. Additionally, the type of tile being replaced and the ease of access to the area can also affect the amount of time needed for repair.