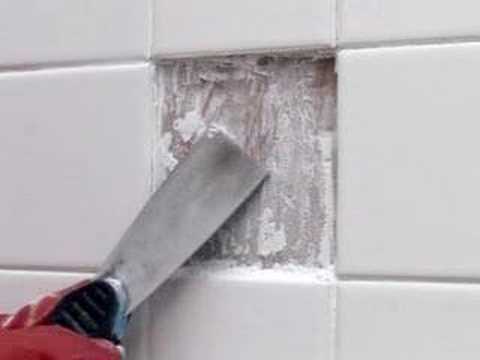
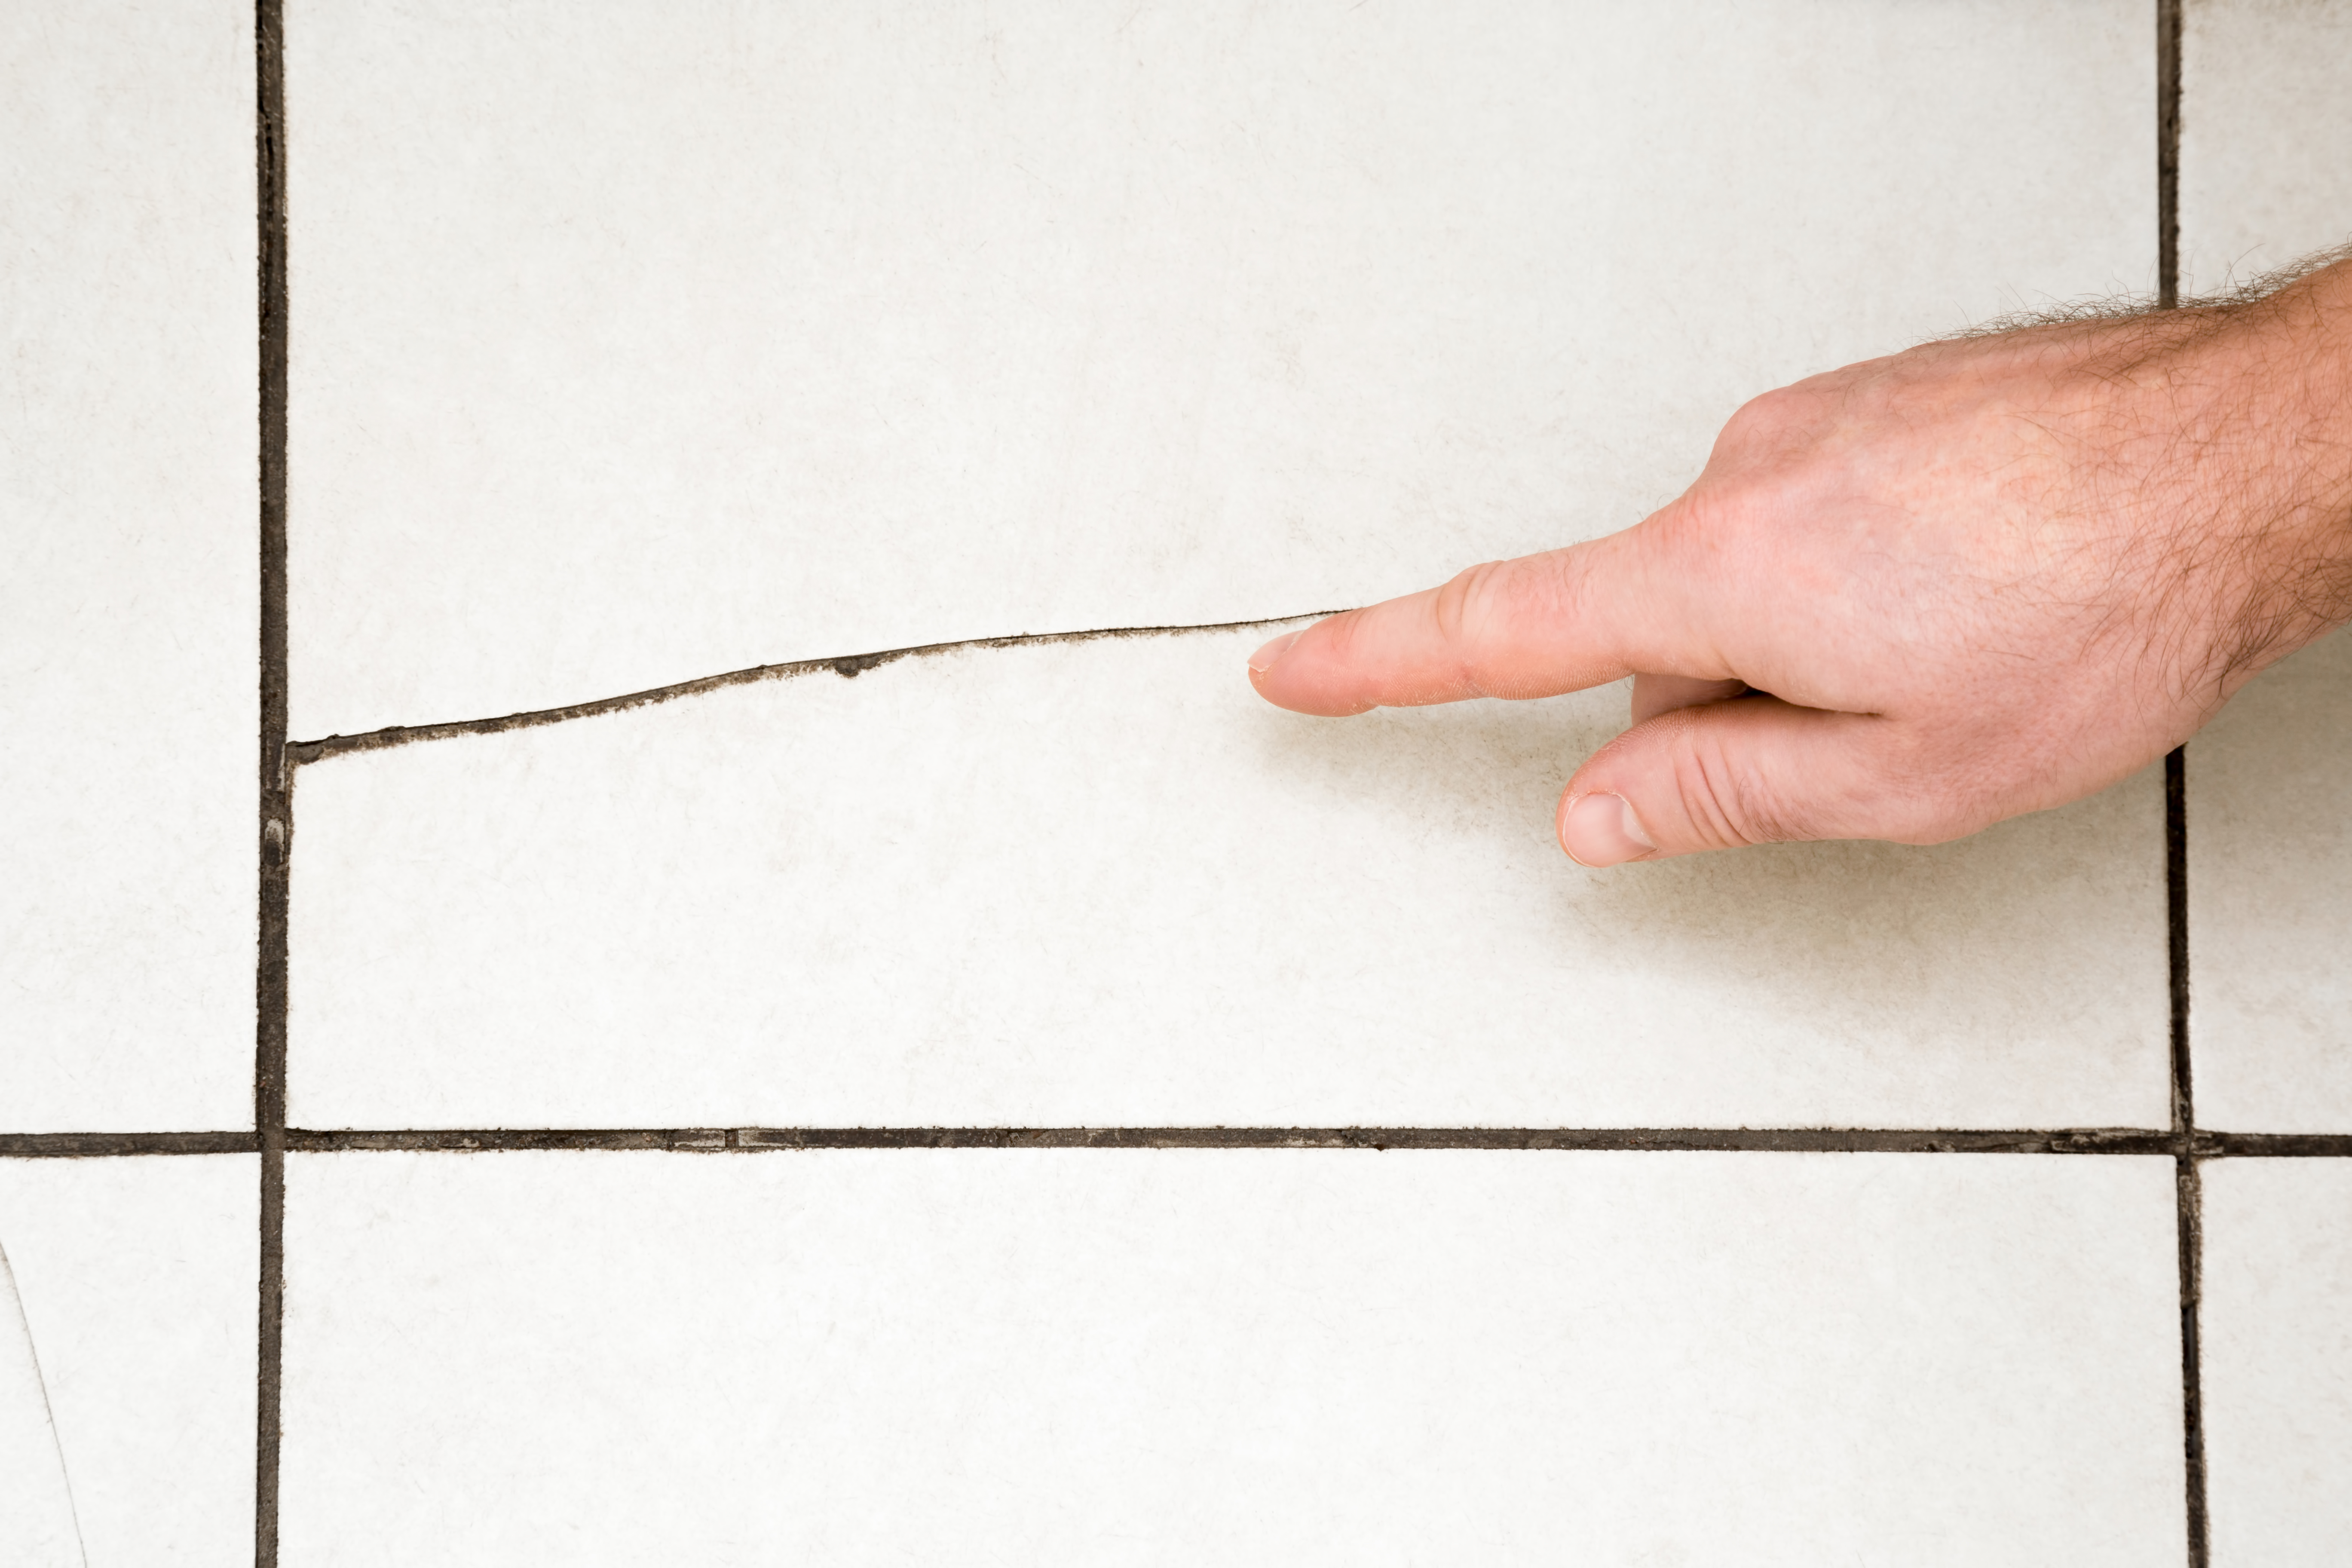
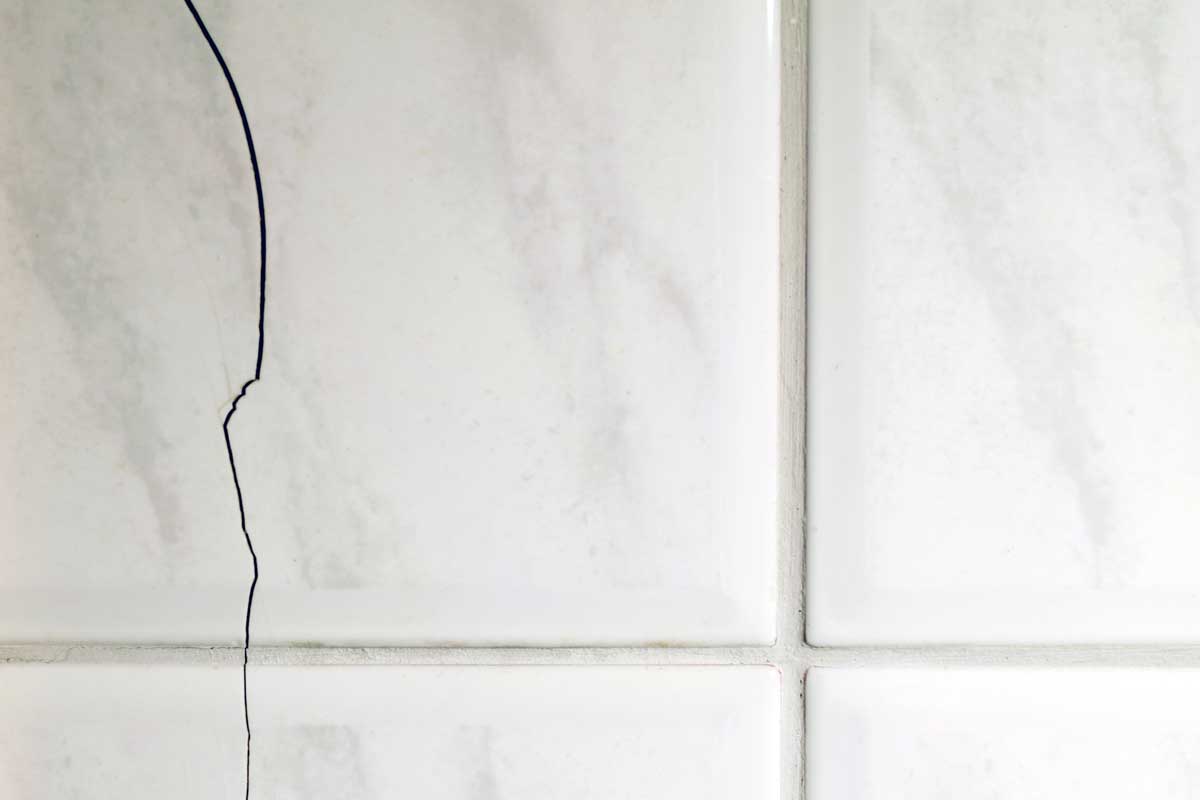
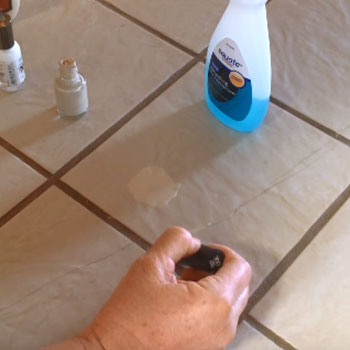
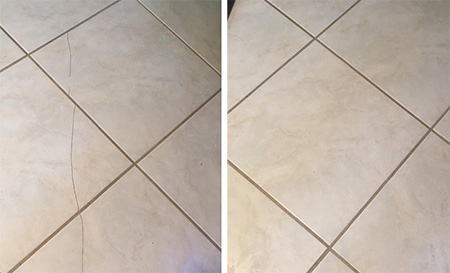
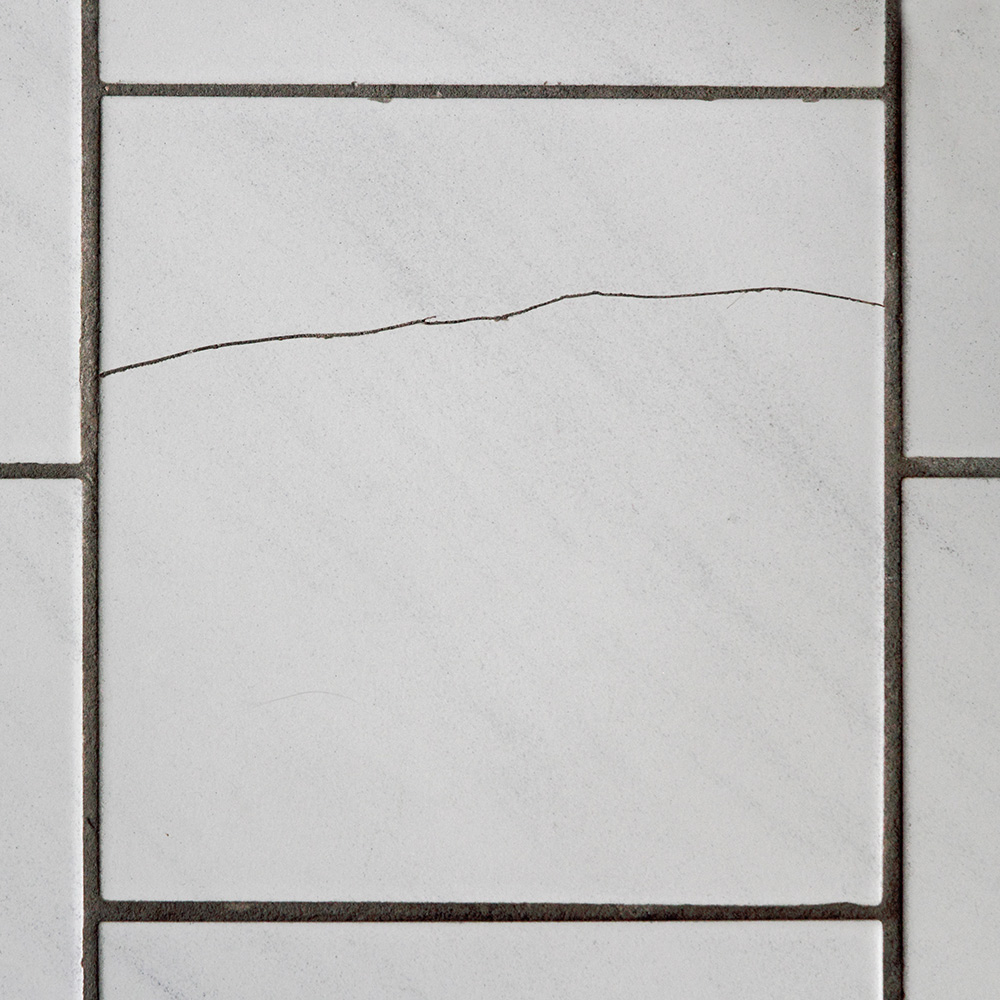
Repairing broken bathroom tiles can be a DIY project that revitalizes the aesthetic appeal of your bathroom without the need for a complete overhaul. The first step in this process is assessing the extent of the damage. If the tile is merely chipped or has a small crack, you might consider using epoxy or resin-based fillers to seamlessly repair the imperfection. For larger breaks or completely shattered tiles, it’s advisable to carefully remove the damaged tile using a chisel and hammer. This requires caution to avoid damaging surrounding tiles. Once removed, the next step involves cleaning the area thoroughly, and removing any old adhesive or grout to create a clean surface for the new tile.
Selecting the right replacement tile is crucial for a seamless repair. Matching the color, size, and texture is essential to ensure that the replaced tile blends seamlessly with the existing ones. Additionally, it’s recommended to use a high-quality adhesive specifically designed for tiles to ensure a strong and long-lasting bond. Applying the adhesive evenly and using spacers to maintain uniform spacing between tiles is crucial for achieving a professional finish. Once the adhesive has cured, grouting becomes the final step. Choosing a grout color that matches the existing grout helps create a cohesive look. After applying and cleaning excess grout, allow it to cure before using the repaired area.
Repairing broken bathroom tiles involves a systematic approach, starting with the assessment of damage and followed by careful removal and cleaning. Selecting the right replacement tile and using high-quality adhesive are key factors in achieving a seamless and durable repair. Attention to detail during the grouting process is the finishing touch that ensures the repaired area looks as good as new. By following these steps, even those with limited DIY experience can successfully repair broken bathroom tiles, saving both time and money compared to a complete tile replacement project.
Images Related to How To Repair Broken Bathroom Tile
How To Fix A Broken Tile Without Replacing It u2013 Upgraded Home
How to Repair Cracked Tiles Bathroom repair, Diy tile shower

How to Replace Cracked and Broken Shower Tiles

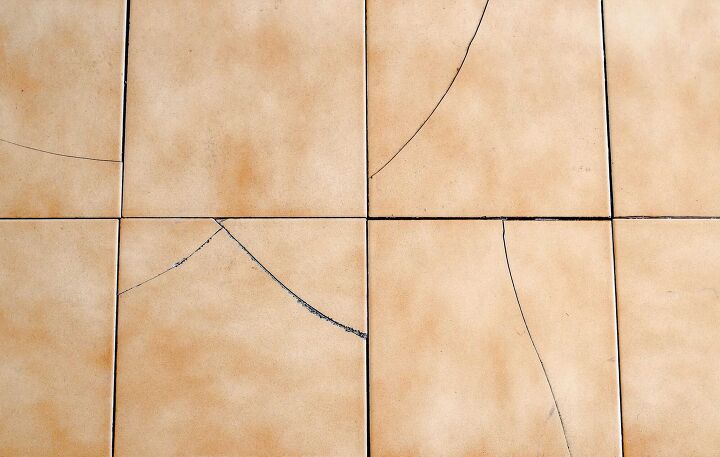
Why Do Bathroom Tiles Crack? (And How To Fix That) – Home Decor Bliss
How to Replace a Broken Tile (Shower Wall Repair!)

How To Fix Broken Tile Without Replacing
Repair Cracked Tile – Ceramic Tile Fix

HOME DZINE Bathrooms Fix chipped or cracked tiles
How to Fix Cracked Tile
Related articles:
- Large Dark Grey Bathroom Tiles
- How To Mix Grout For Bathroom Tile
- Bathroom Tile Designs Glass Mosaic
- Marble Bathroom Tile Designs
- Can You Paint Old Bathroom Tile
- How To Fix Bathroom Tile Leak
- Yellow Bathroom Tile Decor
- Bathroom Tiles Light Grey
- Best Way To Clean Bathroom Tile Floor
- Bathroom Tile Sealing Strip
How To Repair Broken Bathroom Tile: A Step-by-Step Guide
Bathroom tiles are a great way to add an aesthetically pleasing and luxurious look to any bathroom. Unfortunately, due to their placement in a bathroom, these tiles can be prone to breaking. Whether it is from dropping a heavy object on the floor or simply due to wear and tear, it is important to know how to repair broken bathroom tile when it happens. This article will provide a step-by-step guide on how to repair broken bathroom tiles.
Gathering the Supplies Needed
The first step in repairing broken bathroom tile is gathering the supplies needed for the job. Depending on how extensive the damage is, you may need different items. Generally, however, you will need:
- Tile adhesive
- Tile grout
- Grout sealer
- Spacers
- Tape measure
- Utility knife
- Notched trowel
- Caulk gun
- Chisel or hammer
- Putty knife
- Sandpaper or grinding wheel
- Masking tape and newspaper
Preparing the Area for Repairing Broken Tiles
Once you have gathered all of the supplies needed for the job, you can begin preparing the area for repairing broken tiles. Begin by removing any furniture or objects that are in the way of your repairs. Then use masking tape and newspaper to cover up any areas that you would like to protect from any debris or dust that may come from your repairs. Finally, use a chisel or hammer to break up any loose pieces of tile that may still be attached to the wall, and then sweep up any debris before beginning repairs.
Removing Damaged Tiles and Applying Adhesive
Now that the area has been prepared, you can begin removing damaged tiles and applying adhesive. Start by using a putty knife and hammer to carefully pry up any broken pieces of tile from the wall. Once all of the pieces have been removed, use a notched trowel to spread adhesive onto both the back of a new tile as well as onto the wall where it will be installed. Make sure that there is an even layer of adhesive spread across both surfaces before proceeding with installation.
Installing New Tiles and Applying Grout
Once you have applied adhesive on both surfaces, it is time to install your new tiles onto the wall. Place each tile into position on the wall and press firmly so that it adheres properly. When all tiles are in place, use spacers between each one so that they are evenly spaced apart. Then use a utility knife to cut off any excess adhesive along the edges of each tile so that they all have uniform edges. Now you can begin applying grout between each tile using a caulking gun and spreading it evenly with a putty knife or trowel. Allow for at least 24 hours for everything to dry completely before continuing to seal grout lines.
Sealing Grout Lines
After allowing enough time for everything to dry completely, your final step is sealing grout lines with grout sealer. Begin by wiping down any excess grout from around each tile with a damp cloth or sponge before applying sealer with either a foam brush or spray bottle depending on what type of sealer you choose to use. Allow at least two hours for this sealer coat to dry completely before using your newly repaired bathroom tiles again!
FAQs About Repairing Broken Bathroom Tile
What are some tips for preventing my bathroom tiles from breaking?
There are several tips you can follow to prevent your bathroom tiles from breaking such as avoiding dropping heavy objects on them, using mats near sinks and tubs where water may splash onto them often, sealing your grout regularly, and avoiding harsh cleaning chemicals when cleaning them. Following these tips can help keep your bathroom tiles looking great for years!
How long does it take for repaired bathroom tiles to dry?
Generally speaking, it will take anywhere from 24 hours up to 72 hours for repaired bathroom tiles to dry completely depending on what type of materials were used when repairing them as well as environmental factors Such as humidity and temperature.
What tools are needed to repair broken bathroom tile?
- Trowel
- Tile Spacers
- Grout Float
- Sponge
- Tile Cutter or Wet Saw
- Safety Glasses
- Caulk Gun
- Grout Sealer
- Tile Adhesive
- Chisel or Hammer
- Putty knife
- Sandpaper or grinding wheel
- Masking tape and newspaper
What type of grout should be used to repair broken bathroom tile?
Epoxy grout is the best type of grout to use when repairing broken bathroom tile. It is waterproof, highly durable, and resistant to mold and mildew. It is also very easy to clean and does not require sealing like other types of grout.
What kind of sealant should be used after grouting broken bathroom tiles?
A latex-based sealant, such as a silicone caulk, should be used after grouting broken bathroom tile. The sealant will help to protect the grout from water and prevent any further damage to the tiles.